
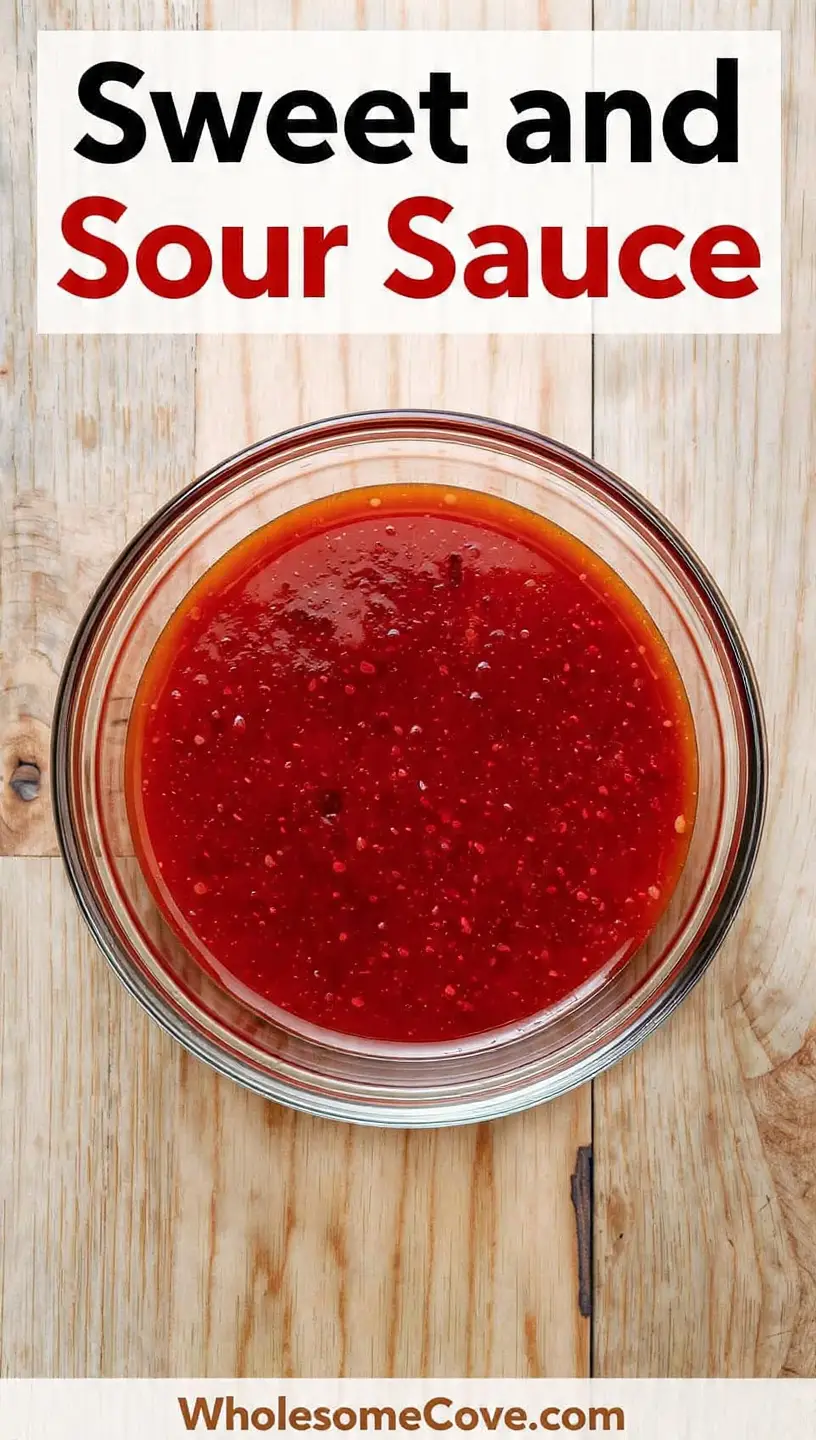
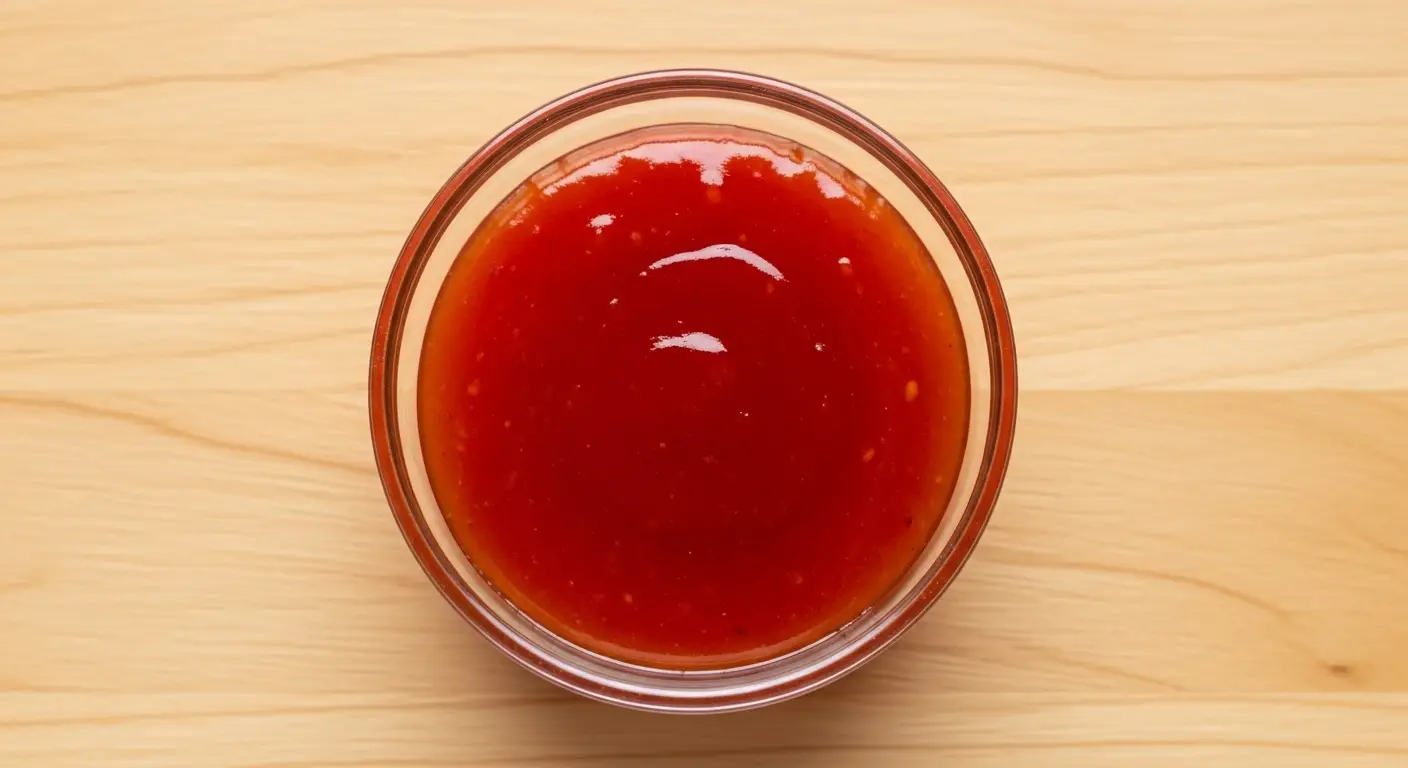
There’s nothing quite like dipping a crispy egg roll into a glossy, tangy sweet and sour sauce. I’ve been making this sweet and sour sauce recipe at home for years, and honestly, it blows away anything you’d get in those little plastic containers from takeout. The balance of sweet pineapple, sharp vinegar, and savory soy sauce creates that addictive flavor we all crave.
My love affair with homemade sweet and sour sauce started on a random Tuesday when I realized I had all the ingredients sitting in my pantry. No more waiting for delivery or settling for the store-bought stuff that tastes like pure corn syrup.
| Quick Recipe Summary | |
|---|---|
| Prep Time | 5 minutes |
| Cook Time | 8 minutes |
| Total Time | 13 minutes |
| Servings | About 2 cups (16 servings) |
| Difficulty Level | Easy |
Looking for more delicious homemade condiments? You might also enjoy: Hoisin Sauce Recipe
Why You’ll Love This Sweet and Sour Sauce Recipe
This sauce is ridiculously simple to make, with ingredients you probably already have. It comes together in less than 15 minutes, which is faster than ordering takeout and waiting for delivery.
The flavor is incredibly versatile and works with everything from chicken nuggets to stir-fries. You control the sweetness and tang, so you can adjust it to your exact preferences.
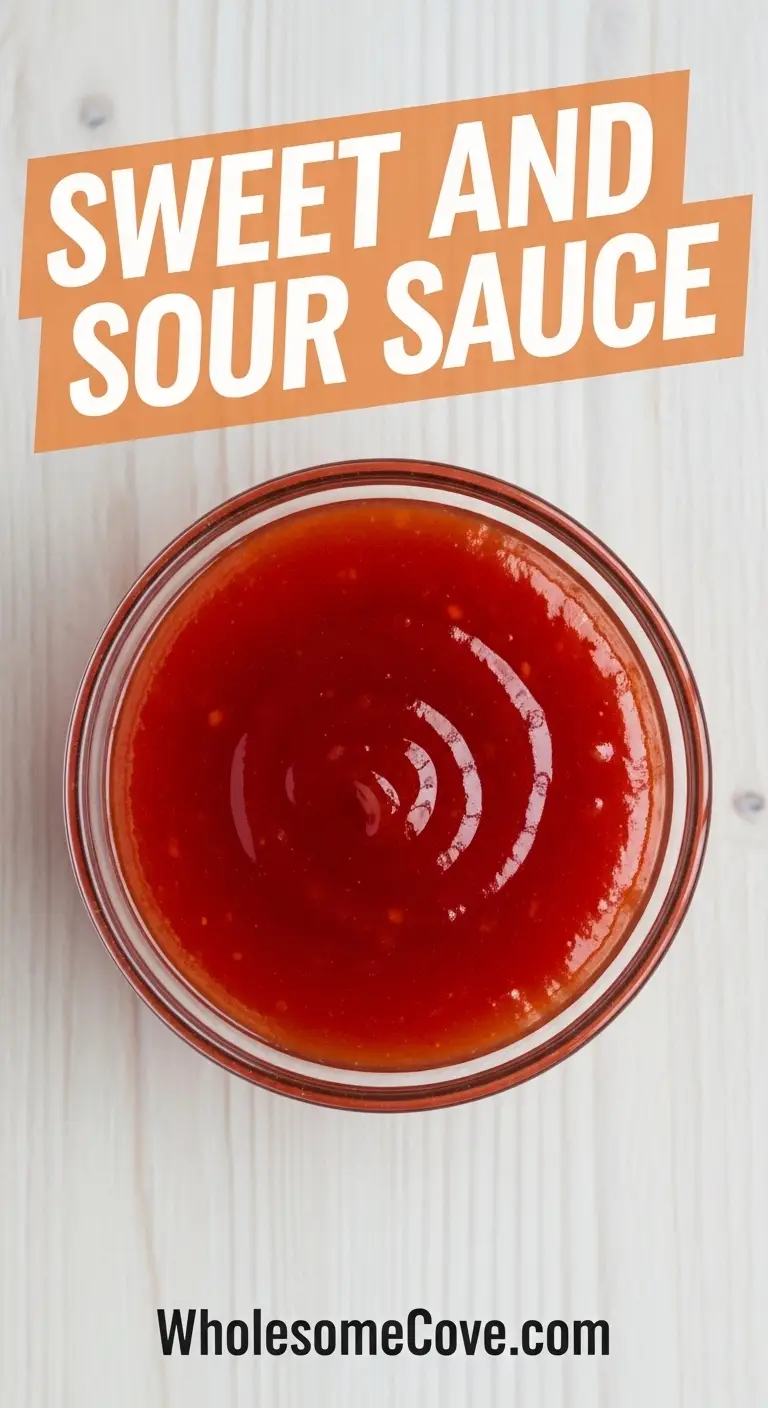
It’s free from weird preservatives and artificial colors (unless you want that bright red look, which I’ll explain later). Plus, it keeps beautifully in the fridge for weeks, so you can make a big batch and use it whenever the craving hits.
Here’s what makes this recipe special:
- Ready in under 15 minutes from start to finish
- Uses simple pantry staples you likely have on hand
- Tastes better than any restaurant or store-bought version
- Perfectly balanced sweet, sour, and savory flavors
- No artificial ingredients or preservatives
- Customizable to your taste preferences
- Stores well for up to 3 weeks in the refrigerator
- Costs a fraction of what you’d pay for takeout
Read Also: Teriyaki Sauce Recipe
Ingredients
This sweet and sour sauce comes together with just a handful of ingredients that create that iconic balance of flavors. Here’s what you’ll need to make this restaurant-quality sauce at home.
For the Sauce Base:
- 1 cup pineapple juice (canned is perfect)
- ⅓ cup rice vinegar (or apple cider vinegar)
- ½ cup light brown sugar, packed
- ¼ cup granulated sugar
- ⅓ cup ketchup
- 2 tablespoons soy sauce (or tamari for gluten-free)
- ½ cup water
For the Thickener:
- 3 tablespoons cornstarch
- 3 tablespoons cold water
Optional:
- 3-5 drops red food coloring (for that classic bright red color)
If you’re looking for more Asian-inspired flavors, check out my Stir Fry Sauce Recipe for another weeknight staple.
Kitchen Equipment Needed
You don’t need any fancy equipment to make this sauce, which is one of the reasons I love it so much. Here’s the simple setup I use every time.
Essential Equipment:
- Medium saucepan (stainless steel or non-reactive)
- Whisk
- Small bowl (for cornstarch slurry)
- Measuring cups and spoons
- Storage jar or airtight container
Optional But Helpful:
- Immersion blender (for extra-smooth sauce)
- Ladle (for easy pouring)
Important note: Don’t use cast iron or carbon steel pans for this recipe. The vinegar will react with the metal and strip the seasoning. I learned this the hard way when I ruined my favorite cast iron skillet!
Another favorite: Bang Bang Sauce Recipe
Recommended Products for This Recipe
After making this sauce dozens of times, I’ve found a few products that make the process even easier and the results even better. These aren’t necessary, but they’re worth considering if you make this sauce regularly.
1. Dole Pineapple Juice
The quality of your pineapple juice makes a real difference in the final flavor. I always reach for Dole because it has that perfect balance of sweetness and acidity without any weird aftertaste. The cans are shelf-stable too, so I keep a few in my pantry for whenever the sauce craving hits.
2. Marukan Seasoned Rice Vinegar
This rice vinegar has become my go-to for all Asian-inspired cooking. It’s got a milder, slightly sweeter taste than regular white vinegar, which works beautifully in sweet and sour sauce. A little bottle lasts forever, and the flavor is consistently excellent.
3. All-Clad Stainless Steel Saucepan
If you make a lot of sauces like I do, investing in a good stainless steel saucepan is worth every penny. This All-Clad pan heats evenly, which means no hot spots or burnt sugar. The non-reactive surface is perfect for acidic sauces, and it’ll last you decades.
4. KitchenAid Immersion Blender
While not essential, an immersion blender takes this sauce from good to restaurant-quality smooth. If you want that perfectly glossy, velvety texture without any graininess, a quick buzz with an immersion blender does the trick. I use mine for soups and sauces all the time.
For more sauce inspiration, try my Yum Yum Sauce Recipe.
Step-by-Step Instructions: How to Make Sweet and Sour Sauce
Making this sauce is honestly easier than you’d think. The key is having everything measured and ready to go before you start cooking, because once you begin, it moves quickly.
1. Prepare the Cornstarch Slurry
- In a small bowl, whisk together 3 tablespoons of cornstarch with 3 tablespoons of cold water.
- Whisk thoroughly until completely smooth with no lumps. The mixture should look milky and have a consistency similar to heavy cream.
- Set this aside near your stove so it’s ready when you need it. Don’t skip this step or add dry cornstarch directly to the sauce, or you’ll end up with clumps.
2. Combine the Sauce Ingredients
- In a medium saucepan (stainless steel or non-reactive), add 1 cup pineapple juice, ½ cup water, ⅓ cup rice vinegar, ½ cup packed light brown sugar, and ¼ cup granulated sugar.
- Add ⅓ cup ketchup and 2 tablespoons soy sauce to the pan.
- Place the saucepan over medium-high heat.
- Whisk everything together vigorously until the sugars begin to dissolve. You want a smooth mixture with no pockets of ketchup or sugar.
3. Bring to a Boil
- Continue heating the mixture, whisking occasionally, until it comes to a full rolling boil.
- Once boiling, let it bubble for about 1 minute. This helps the flavors meld together and creates that signature sweet and sour taste.
- You’ll notice the sauce will look quite thin at this stage. That’s normal and exactly what you want.
4. Thicken the Sauce
- Give your cornstarch slurry one more quick whisk to make sure it’s smooth and well-combined.
- Slowly pour the cornstarch slurry into the boiling sauce while whisking constantly. Don’t just dump it all in at once.
- Keep whisking as you add the slurry to prevent any lumps from forming.
- Continue to cook and whisk for about 1-2 minutes. You’ll see the sauce transform from thin and watery to thick and glossy almost immediately.
- The sauce should coat the back of a spoon when it’s ready. If you run your finger through the sauce on the spoon, it should leave a clear trail.
5. Add Optional Food Coloring
- If you want that classic bright red color you see in restaurants, now’s the time to add 3-5 drops of red food coloring.
- Stir it in thoroughly until the color is evenly distributed.
- Start with just 3 drops and add more if you want a deeper red. Remember, you can always add more but can’t take it away.
6. Cool and Store
- Remove the saucepan from heat immediately once the sauce has thickened to your liking.
- Let the sauce cool for about 10-15 minutes at room temperature. It will continue to thicken slightly as it cools.
- Once cooled, transfer the sauce to an airtight container or jar.
- Store in the refrigerator for up to 3 weeks. The sauce will thicken more in the fridge, so don’t worry if it seems a bit thick when cold. It will loosen up when you reheat it or bring it to room temperature.
You might also love my Cocktail Sauce Recipe for seafood nights.
Tips for The Best Sweet and Sour Sauce
I’ve made this sauce more times than I can count, and along the way, I’ve picked up some tricks that make all the difference. Here are my top tips for getting that perfect restaurant-quality sauce every time.
Key Tips for Success:
- Always make a cornstarch slurry first. Never add dry cornstarch directly to the sauce, or you’ll get lumps that are nearly impossible to remove. Mix it with cold water first until it’s completely smooth.
- Use pineapple juice from a can. Fresh pineapple juice can be too acidic and unpredictable. The canned stuff gives you consistent results every time.
- Don’t use cast iron or carbon steel pans. The vinegar will react with these metals and strip the seasoning. Stick with stainless steel or non-reactive cookware.
- Whisk while adding the slurry. This is crucial for preventing lumps. Add the slurry slowly in a steady stream while whisking constantly.
- The sauce will thicken more as it cools. Don’t panic if it seems a bit thin when hot. It firms up nicely once it’s cooled down.
- Taste and adjust. Too sweet? Add a splash more vinegar. Too sour? Add a bit more sugar. Make it your own.
- For extra-smooth sauce, use an immersion blender. A quick 10-second blitz makes the sauce incredibly silky and glossy.
- Store in a glass jar. The sauce can stain plastic containers, so I always use glass mason jars for storage.
- Shake before using. If the sauce has been sitting in the fridge, give it a good shake to redistribute everything before using.
- Reheat gently if needed. Microwave for 15-20 seconds or warm on the stovetop over low heat, stirring frequently.
If you love making sauces from scratch, don’t miss my Buffalo Sauce Recipe.
What to Serve with Sweet and Sour Sauce
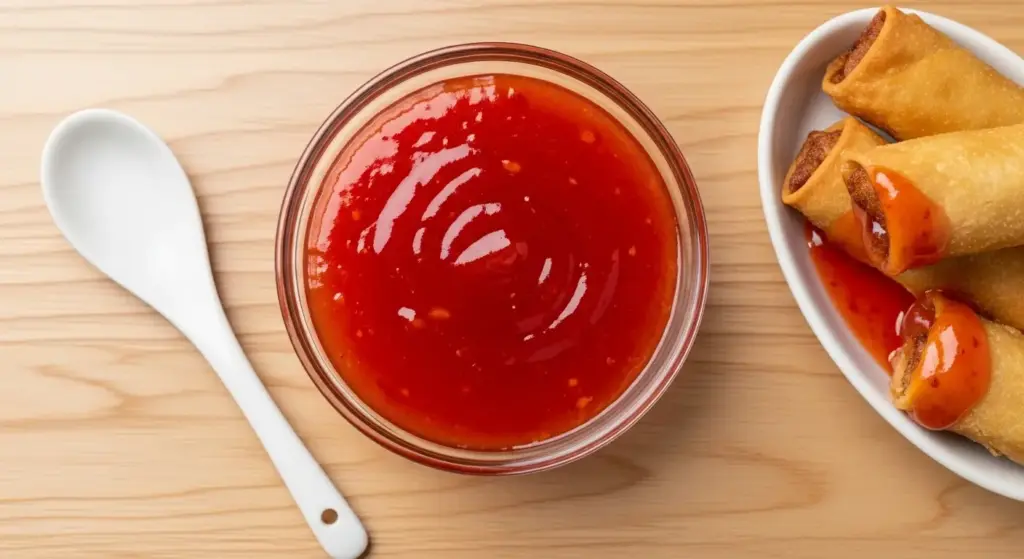
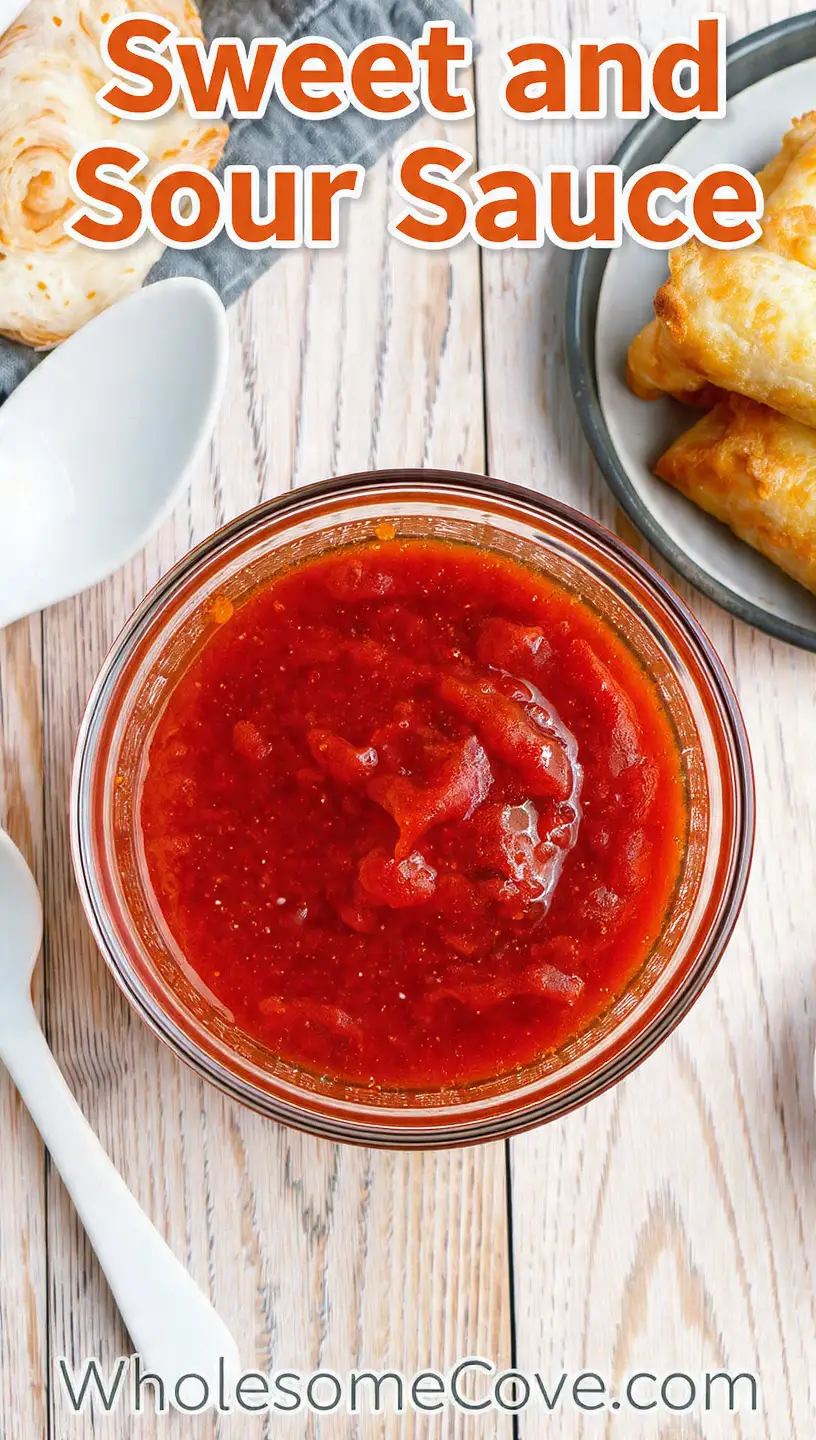
This sauce is incredibly versatile and works with so many different foods. I originally made it for egg rolls, but now I use it for everything. Here are my favorite ways to use it.
Perfect Pairings:
The classic pairing is with Chinese takeout favorites like egg rolls, spring rolls, crab rangoons, and wontons. It’s also amazing with chicken nuggets, popcorn chicken, or fried chicken tenders for a fun twist on a family favorite. My kids love dipping their nuggets in this sauce.
I also love using it as a glaze for proteins. Brush it on chicken wings during the last few minutes of baking, or toss crispy fried chicken pieces in it for homemade sweet and sour chicken. It works beautifully with shrimp too.
For a complete meal, use it in stir-fries with bell peppers, onions, and your choice of protein. Pour it over fried rice for an instant flavor upgrade. I even drizzle it on pork chops or meatballs for an easy weeknight dinner.
- Appetizers: Deviled Eggs, Air Fryer Popcorn Chicken, Air Fryer Avocado Egg Rolls
- Main Dishes: Sweet and sour chicken, sweet and sour pork, Teriyaki Grilled Chicken
- Side Dishes: Air Fryer French Fries, fried rice, Mexican Street Corn
- More Dipping Options: Pizza, Air Fryer Mozzarella Cheese Sticks, tempura vegetables
Check out my Peanut Sauce Recipe for another versatile dipping sauce option.
Variations of Sweet and Sour Sauce
Once you’ve mastered the basic recipe, it’s fun to experiment with different variations. Here are some of my favorite twists on the classic sauce.
Delicious Variations to Try:
- Spicy Sweet and Sour Sauce: Add 1-2 teaspoons of sriracha, sambal oelek, or red pepper flakes for a kick. I love this version with chicken wings.
- Orange Sweet and Sour Sauce: Replace half the pineapple juice with fresh orange juice for a citrusy twist. The orange adds a bright, fresh flavor.
- Ginger Sweet and Sour Sauce: Add 1 tablespoon of freshly grated ginger to the sauce base for an aromatic depth. Cook it with the other ingredients from the start.
- Garlic Sweet and Sour Sauce: Stir in 2-3 cloves of minced garlic when you add the cornstarch slurry. It adds a savory punch.
- Honey Sweet and Sour Sauce: Replace half the granulated sugar with honey for a richer, more complex sweetness.
- Plum Sweet and Sour Sauce: Add 2 tablespoons of plum sauce along with the ketchup for a fruity, slightly tart flavor.
- Less Sweet Version: Use only ¼ cup of brown sugar instead of ½ cup, and skip the granulated sugar. This makes a more balanced, Hong Kong-style sauce.
- Without Ketchup: Replace the ketchup with 3 tablespoons of tomato paste cooked in a bit of oil first. This gives a deeper, less sweet tomato flavor.
- Thicker Sauce: Increase the cornstarch to 4 tablespoons for a thicker, glaze-like consistency perfect for coating proteins.
- Island Style: Add ½ cup of crushed pineapple to the finished sauce for texture and extra tropical flavor.
Want more Asian-inspired recipes? Try my Summer Vegetable Stir Fry.
Storage and Reheating
Proper storage is key to keeping this sauce fresh and delicious for weeks. Here’s everything you need to know about storing and using your homemade sweet and sour sauce.
Storage Guidelines:
- Refrigerator: Store in an airtight container or glass jar in the refrigerator for up to 3 weeks. The sauce will thicken considerably when cold, which is completely normal.
- Freezer: I don’t recommend freezing this sauce. Cornstarch-thickened sauces tend to break down and become watery when frozen and thawed. The texture won’t be the same.
- Room Temperature: This sauce should not be left at room temperature for more than 2 hours due to the fresh ingredients.
- Portion Control: Consider storing the sauce in smaller containers so you can grab just what you need without repeatedly opening the same jar.
Reheating Instructions:
- Microwave: Transfer the desired amount to a microwave-safe bowl. Heat in 15-20 second intervals, stirring between each interval, until warmed through.
- Stovetop: Pour the sauce into a small saucepan and warm over low heat, stirring frequently. Add a splash of water or pineapple juice if it seems too thick.
- No Reheating Needed: The sauce is also delicious served cold or at room temperature, especially as a dipping sauce.
- Shake It Up: Before using refrigerated sauce, give the container a good shake to redistribute any settled ingredients and restore the smooth texture.
You might also enjoy my Enchilada Sauce Recipe for Mexican night.
Nutritional Facts
Here’s the approximate nutritional information per serving (2 tablespoons):
- Calories: 52
- Total Fat: 0g
- Saturated Fat: 0g
- Cholesterol: 0mg
- Sodium: 145mg
- Total Carbohydrates: 13g
- Dietary Fiber: 0g
- Sugars: 12g
- Protein: 0g
Note: Nutritional values are approximate and will vary based on specific brands and ingredients used. The sauce is relatively low in calories and fat-free, but it does contain a significant amount of sugar, which is typical for sweet and sour sauce.
For a healthier condiment option, try my Tzatziki Sauce Recipe.
Health Benefits of Key Ingredients
While sweet and sour sauce is definitely a treat rather than a health food, some of the ingredients do offer nutritional benefits. Here’s what you’re getting with each component.
Nutritional Highlights:
Pineapple juice provides vitamin C, manganese, and bromelain, an enzyme that aids digestion. It also adds natural sweetness and a tropical flavor that makes the sauce so addictive. The juice contains antioxidants that support immune health.
Vinegar, especially rice vinegar, may help with blood sugar control and digestion. It adds that essential sour note while potentially offering some health benefits. Some studies suggest regular vinegar consumption may support heart health.
Soy sauce contributes protein and essential amino acids, though it is high in sodium. It adds umami depth and savory complexity to balance the sweetness. Look for low-sodium versions if you’re watching your salt intake.
Ketchup provides lycopene, a powerful antioxidant from tomatoes. While it does contain sugar, it also offers some nutritional value from the tomato base. The lycopene content may support heart and prostate health.
- Vitamin C from pineapple juice supports immune function
- Bromelain aids in protein digestion and reduces inflammation
- Antioxidants from both pineapple and tomatoes fight free radicals
- Manganese supports bone health and metabolism
- Amino acids from soy sauce provide essential nutrients
- Acetic acid from vinegar may support blood sugar regulation
For another flavorful homemade sauce, check out my Cheese Sauce Recipe.
FAQs About Sweet and Sour Sauce
1. Can I make sweet and sour sauce without pineapple juice?
Yes, you can substitute orange juice, apple juice, or even water for the pineapple juice. The flavor will be slightly different, but it will still work. I’ve tried it with orange juice, and it creates a brighter, more citrusy sauce that’s really delicious.
Keep in mind that pineapple juice adds both sweetness and a distinct tropical flavor that’s hard to replicate perfectly. If you use water, you may want to add a bit more sugar to compensate for the lost sweetness.
2. Why is my sweet and sour sauce watery?
The most common reason is not using enough cornstarch or not letting the sauce simmer long enough after adding the slurry. Make sure you’re measuring accurately and cooking the sauce for 1-2 minutes after adding the cornstarch mixture.
Another issue could be adding the slurry when the sauce isn’t boiling. The sauce needs to be at a full boil for the cornstarch to activate and thicken properly. If your sauce is still too thin, you can make additional slurry (1 tablespoon cornstarch + 1 tablespoon water) and add it while the sauce is boiling.
3. Can I use white sugar instead of brown sugar?
Absolutely! You can use all white granulated sugar instead of brown sugar. The brown sugar adds a slight molasses flavor and deeper color, but white sugar works fine. I actually prefer a mix of both for complexity, but use what you have on hand.
Some people even use honey or agave nectar for a different type of sweetness. Just keep in mind that liquid sweeteners will slightly change the consistency, so you might need a touch more cornstarch.
4. How do I get that bright red color like in restaurants?
Most restaurants use red food coloring to achieve that vibrant color. Add 3-5 drops of red food coloring to your finished sauce and stir well. You can find natural food coloring options made from beets if you want to avoid artificial dyes.
Honestly, the sauce tastes identical with or without the coloring. I usually skip it at home unless I’m making the sauce for a party or special occasion where presentation matters.
5. Can I double or triple this recipe?
Yes, this recipe scales beautifully! Just multiply all the ingredients by the same amount. Keep in mind that larger batches will take slightly longer to come to a boil and thicken. The sauce stores well, so making a big batch is a great idea if you use it frequently.
I often make a triple batch and keep it in the fridge. It’s so convenient to have homemade sweet and sour sauce ready whenever we want Chinese food at home.
Another delicious sauce to try: BBQ Sauce Recipe
Sweet and Sour Sauce
Ingredients
- 1 cup pineapple juice - 240ml, canned is perfect
- ⅓ cup rice vinegar - 80ml, or apple cider vinegar
- ½ cup light brown sugar - 100g, packed
- ¼ cup granulated sugar - 50g
- ⅓ cup ketchup - 80ml
- 2 tablespoons soy sauce - 30ml, or tamari for gluten-free
- ½ cup water - 120ml
- 3 tablespoons cornstarch - 24g
- 3 tablespoons cold water - 45ml
- 3-5 drops red food coloring - For classic bright red color
Equipment
- Medium saucepan - Stainless steel or non-reactive
- Whisk
- Small bowl - For cornstarch slurry
- Measuring cups and spoons
- Storage jar or airtight container
- Immersion blender - (optional) For extra-smooth sauce
- Ladle - (optional) For easy pouring
Method
- In a small bowl, whisk together 3 tablespoons cornstarch with 3 tablespoons cold water until completely smooth with no lumps. Set aside near your stove.
- In a medium saucepan, combine pineapple juice, water, rice vinegar, both sugars, ketchup, and soy sauce. Whisk everything together vigorously until the sugars begin to dissolve.
- Place the saucepan over medium-high heat and bring to a full rolling boil. Once boiling, let it bubble for about 1 minute to help the flavors meld together.
- Give your cornstarch slurry one more quick whisk, then slowly pour it into the boiling sauce while whisking constantly. Continue to cook and whisk for 1-2 minutes until the sauce thickens and becomes glossy.
- If desired, stir in 3-5 drops of red food coloring until the color is evenly distributed. Start with 3 drops and add more for a deeper red.
- Remove from heat and let cool for 10-15 minutes. Transfer to an airtight container and store in the refrigerator for up to 3 weeks.
Nutrition
Notes
- Always make a cornstarch slurry first—never add dry cornstarch directly to the sauce or you’ll get lumps.
- Use pineapple juice from a can for consistent results. Fresh pineapple juice can be too acidic and unpredictable.
- Don’t use cast iron or carbon steel pans. The vinegar will react with these metals and strip the seasoning.
- The sauce will thicken more as it cools, so don’t panic if it seems a bit thin when hot.
- Taste and adjust: too sweet? Add a splash more vinegar. Too sour? Add a bit more sugar.
- For extra-smooth sauce, use an immersion blender for a quick 10-second blitz.
- Store in a glass jar as the sauce can stain plastic containers.
- Shake before using if the sauce has been sitting in the fridge to redistribute everything.
- Reheat gently in the microwave for 15-20 seconds or on the stovetop over low heat, stirring frequently.
- The sauce is also delicious served cold or at room temperature, especially as a dipping sauce.
Private Notes
Tried this recipe?
Let us know how it was!Final Thoughts
Making your own sweet and sour sauce at home is one of those small cooking victories that feels really satisfying. It’s faster than ordering takeout, tastes better than anything from a bottle, and you know exactly what’s going into it.
I hope this recipe becomes a staple in your kitchen like it has in mine. Once you see how easy it is, you’ll never go back to store-bought. Give it a try this week and let me know what you think in the comments below!
Recommended:
- Worcestershire Sauce Recipe
- Vodka Sauce Recipe
- Tomato Sauce Recipe
- Tartar Sauce Recipe
- Sunshine Sauce Recipe
- Garlic Parmesan Sauce Recipe
- Spaghetti Sauce Recipe
- Pizza Sauce Recipe
- Bechamel Sauce Recipe
- Caramel Sauce Recipe