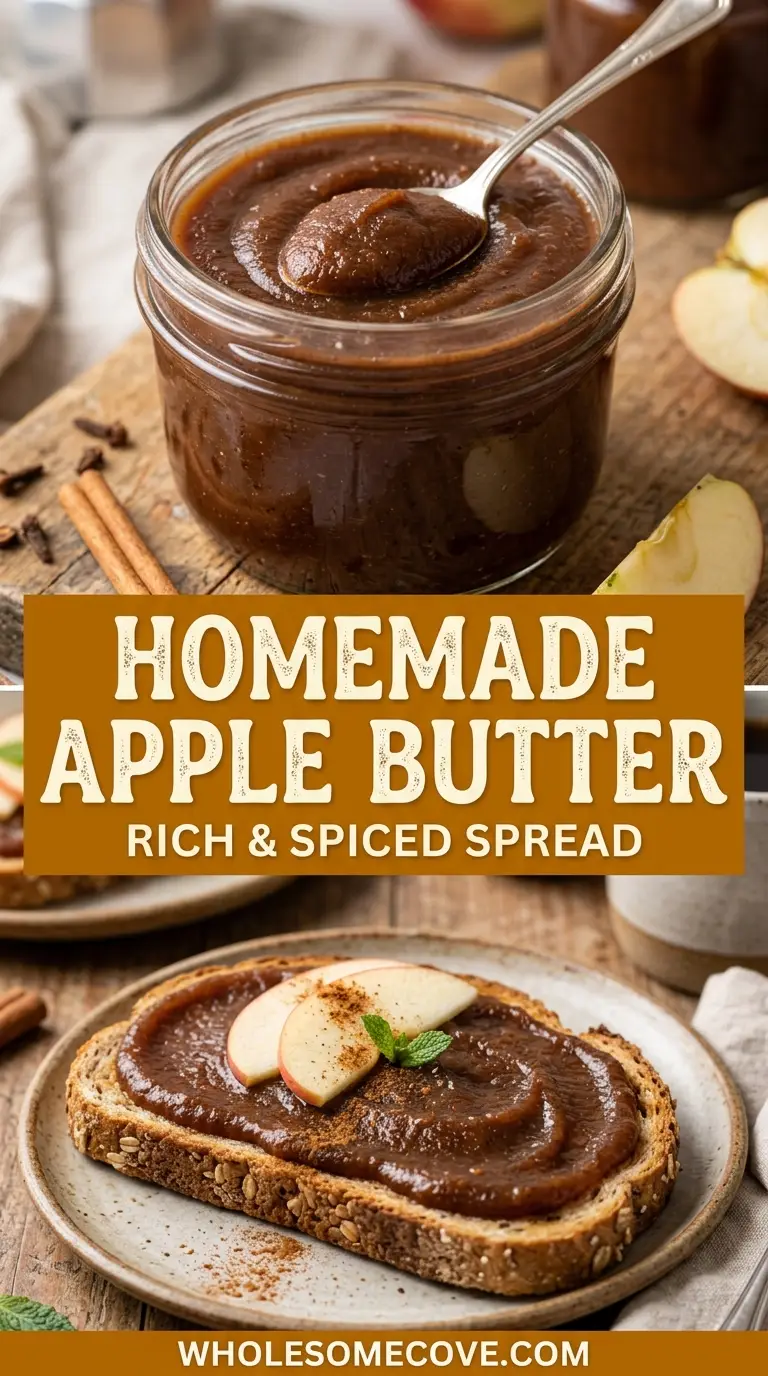
This apple butter recipe cooks down 4 pounds of apples with brown sugar and warm spices into a dark, glossy spread thick enough to hold its shape on a spoon. The deep mahogany color and caramelized flavor come from time on the stove, not from any actual butter.
The most common complaint with homemade batches is that they finish runny and taste more like spiced applesauce. That happens when the puree isn’t cooked long enough to drive off the water and caramelize the natural sugars.
This version fixes that with a two-stage method: simmer the apples soft, blend, then reduce uncovered until the color darkens and the texture turns velvety. You get about 3 cups of finished spread from roughly 90 minutes of mostly hands-off cooking.
Despite the name, there is no dairy here. The word “butter” refers only to how smoothly it spreads across warm toast, biscuits, and pancakes.
| Quick Recipe Summary | |
|---|---|
| Prep Time | 15 minutes |
| Cook Time | 1 hour 30 minutes |
| Total Time | 1 hour 45 minutes |
| Servings | 3 cups (about 24 tablespoons) |
| Difficulty Level | Easy |
For a warm drink to sip while the pot reduces, try this Mulled Apple Cider.
Why You’ll Love This Apple Butter Recipe
This is a low-effort spread with a big payoff. Most of the cooking time needs nothing from you beyond an occasional stir.
It also scales cleanly, so you can double the batch when apples are cheap in peak season and stock the freezer.
Here is what makes it worth keeping in your fridge all season:
- It sets up thick, not watery. The uncovered reduction stage removes enough moisture that the spread holds its shape instead of running off the spoon.
- The flavor is deep and caramelized. Slow cooking browns the natural sugars in the apples, which gives that signature mahogany color and rich taste.
- You control the sweetness. With 4 pounds of apples and just half a cup of brown sugar, the fruit stays the star rather than the sugar.
- It uses pantry-friendly ingredients. Apples, brown sugar, cinnamon, cloves, and a splash of lemon juice are the backbone.
- It works on almost anything. Toast, biscuits, oatmeal, pancakes, yogurt, and pork chops all take well to a spoonful.
- It stores and gifts easily. A batch keeps for weeks in the fridge and freezes for months, so it’s an easy homemade gift.
Read Also: Homemade Cinnamon Applesauce
Ingredients
The ingredient list is short, and the apples do most of the heavy lifting. A mix of sweet and tart varieties gives the most balanced flavor, though any baking apple works.
The sugar amounts here are deliberately restrained so the fruit stays in front. If your apples are on the sweeter side, you can cut the granulated sugar back further without hurting the set.
Here is everything you’ll need, with both imperial and metric measurements:
- 4 pounds (1.8 kg) apples, peeled, cored, and chopped into 1-inch pieces (about 8 to 10 medium apples; use a mix of Granny Smith apples and Honeycrisp or Fuji)
- 1 cup (240 ml) water or apple cider (cider gives a more concentrated apple flavor)
- 1/2 cup (110 g) dark brown sugar, packed (light brown sugar works too)
- 1/4 cup (50 g) granulated sugar
- 1 tablespoon (15 ml) fresh lemon juice
- 2 teaspoons ground cinnamon
- 1/4 teaspoon ground cloves
- 1/4 teaspoon ground nutmeg
- 1/8 teaspoon fine salt
- 1 teaspoon pure vanilla extract (optional, stirred in at the end)
I’ve found that leaving one tart apple unpeeled and blending it in adds a faint rosy tint and a touch more pectin, which helps the finished spread set a little firmer.
For another fruit spread made the same slow-reduced way, see Peach Butter.
Kitchen Equipment Needed
You don’t need any special gear for this, just a heavy pot and something to puree with. The right pot matters most, since a thin one scorches the sugars during the reduction stage.
Here is what to have ready:
- A heavy-bottomed saucepan or Dutch oven, 4-quart or larger
- An immersion blender (or a regular blender, used in batches)
- A vegetable peeler
- A sharp knife and cutting board
- A wooden spoon or silicone spatula for stirring
- Measuring cups and spoons
- Glass storage jars with lids for the finished butter
A splatter screen helps here too, because the thick puree tends to bubble and pop as it reduces.
You might also enjoy: Honey Butter
Recommended Products for This Recipe
These are the tools and ingredients I reach for when making apple butter. Each one solves a specific problem I ran into while testing the recipe.
1. Enameled Cast Iron Dutch Oven
Thin pots let the sugar-heavy puree scorch on the bottom before the rest reduces, which taints the whole batch with a burnt note. A heavy enameled Dutch oven spreads heat evenly and holds a steady low simmer, so you can stir less often without risking a scorched layer.
2. Immersion Blender
Ladling hot puree into a countertop blender in batches is messy and slightly dangerous. An immersion blender lets you puree the apples right in the pot, which means fewer dishes and no risk of a hot splash.
3. Apple Peeler Corer Slicer
Peeling and coring 4 pounds of apples by hand is the slowest part of this recipe. A crank-style peeler corer slicer does all three jobs in one motion and cut my prep time roughly in half.
4. Wide-Mouth Glass Storage Jars
Apple butter is thick, so a narrow jar makes it hard to scoop the last of it out. Wide-mouth jars let a spoon reach the bottom easily and stack neatly in the fridge or freezer.
For more ideas in this style, see Apple Pie Filling.
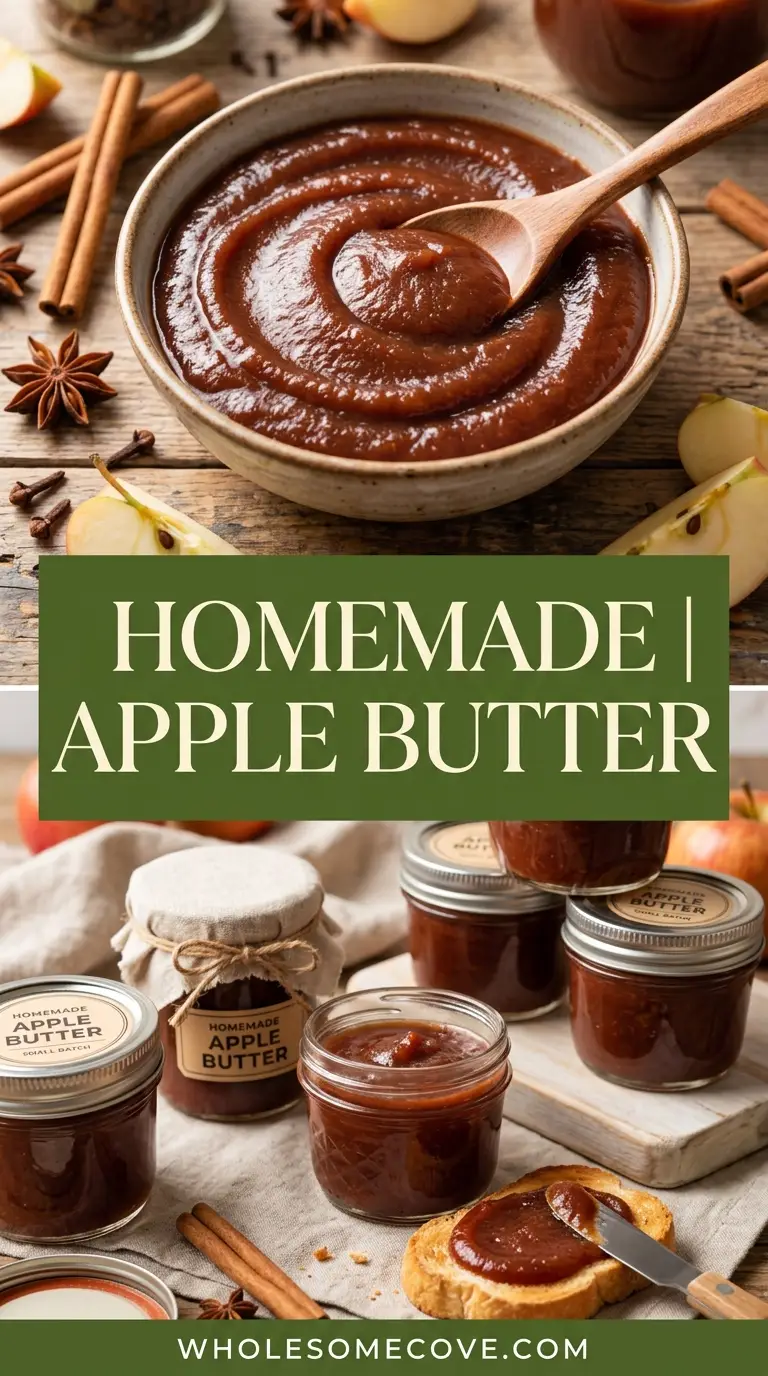
Step-by-Step Instructions: How to Make Apple Butter
Follow these steps in order and you’ll have a thick, deeply spiced apple butter ready in under two hours.
Step 1: Prep the Apples
- Peel each apple, cut it into quarters, and remove the core.
- Chop the quarters into roughly 1-inch (2.5 cm) pieces so they cook down quickly and evenly.
- Aim for about 4 pounds (1.8 kg) of prepped apple pieces once peeled and cored.
Step 2: Simmer Until Soft
- Add the chopped apples and 1 cup (240 ml) of water or apple cider to your heavy saucepan.
- Bring to a gentle boil over medium heat, then reduce to a low simmer.
- Cover and cook for about 20 minutes, stirring once or twice, until the apples are fork-tender and falling apart.
- The apples should mash easily against the side of the pot with a spoon before you move on.
Step 3: Add the Sugars and Spices
- Stir in the dark brown sugar, granulated sugar, cinnamon, cloves, nutmeg, and salt.
- Add the lemon juice, which brightens the flavor and keeps the color from turning dull.
- Stir well so the sugar dissolves and the spices distribute evenly.
Step 4: Puree Until Smooth
- Turn off the heat for a moment so the puree doesn’t splatter.
- Use an immersion blender to blend the mixture directly in the pot until completely smooth.
- If using a regular blender, work in small batches and leave the lid vented to let steam escape, then return the puree to the pot.
Step 5: Reduce Uncovered
- Set the heat to low and leave the pot uncovered so moisture can escape.
- Cook for 45 to 60 minutes, stirring every 5 to 10 minutes, especially toward the end when it thickens and can catch on the bottom.
- The butter is ready when it has darkened to a deep mahogany brown and mounds on a spoon without a ring of liquid separating out.
- The clearest doneness signal is the spoon trail: drag the spoon across the bottom of the pot, and when the exposed track holds open for a second before the butter flows back, it’s ready.
Step 6: Finish and Cool
- Stir in the vanilla extract if using, then remove the pot from the heat.
- To test the set, drop a spoonful on a chilled plate; it should hold a soft mound rather than spreading into a puddle.
- Let it cool slightly, then transfer to clean jars. It will thicken a little more as it cools.
Read Also: Apple Crumble
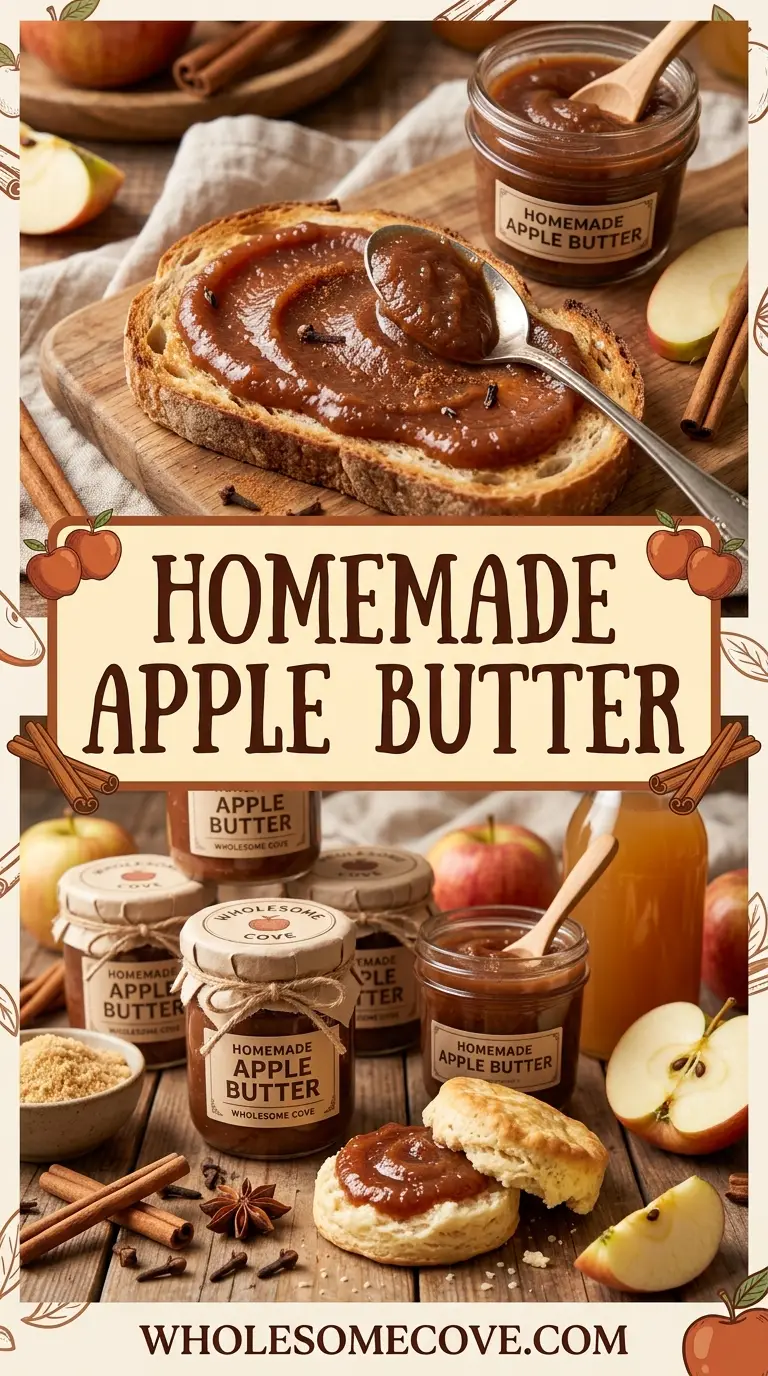
Tips for The Best Apple Butter
Small adjustments make the difference between a loose, sauce-like result and a thick, spreadable one. These are the habits that gave me the most consistent batches.
Keep these tips in mind:
- Use a mix of apple varieties. Tart apples like Granny Smith balance the sweetness, while softer apples like McIntosh or Fuji break down faster and add body.
- Don’t rush the reduction. The uncovered stage is where the color deepens and the texture sets. Pulling it off the heat early is the top reason batches turn out thin.
- Watch for the spoon test. A spoonful placed on a cold plate should hold its shape without weeping liquid around the edges.
- Stir more often near the end. As the butter thickens, the bottom scorches fast. I burned a batch once by walking away during the final 10 minutes, so now I stay close and stir constantly at that stage.
- Taste before jarring. Adjust cinnamon or add a pinch more salt if the flavor feels flat.
- Cook low, not high. High heat splatters and scorches before the water has a chance to cook off gently.
- Chop apples to an even size. Uniform 1-inch pieces soften at the same rate, so you don’t end up with mushy edges and firm centers going into the blender.
- Let it cool before judging thickness. Apple butter firms up noticeably as it drops to room temperature, so pull it a touch looser than your target.
For a different apple project, try: Apple Pie
What to Make with Apple Butter
Apple butter is a building block as much as a spread. Its concentrated flavor works its way into breakfasts, baked goods, and savory dishes. This section covers the many ways to put a jar to use.
Here are the best ways to use it:
- Swirl it into a bowl of Overnight Oats or warm oatmeal for instant fall flavor
- Spread it over slices of French Toast before serving
- Stack it between fluffy Belgian Waffles
- Layer it onto a warm Homemade Biscuit
- Glaze roasted Apple Cider Glazed Pork Chops with a spoonful in the pan
- Stir it into Easy Pancake batter or dollop it on top
- Fold it into muffin batter, such as these Fall Bread Recipes
- Add a spoonful to a fall cheese board alongside sharp cheddar
- Bake it into Old-Fashioned Pumpkin Bread for extra moisture and spice
- Stir a spoonful into plain yogurt with granola
- Use it as the filling swirl in a coffee cake or quick bread batter
- Whisk it into a vinaigrette with cider vinegar for a fall salad dressing
A related fruit spread worth trying is Peach Jam.
Variations of Apple Butter
Once you have the base method down, the recipe takes well to small changes. These variations shift the flavor without changing the core technique of simmer, blend, and reduce.
Each one starts from the same base and adjusts a single element, so you can layer them if you like.
Try one of these spins:
- Apple Cider Apple Butter: Swap the water for apple cider to deepen the apple flavor even further.
- Pear and Apple Butter: Replace half the apples with ripe pears for a softer, floral sweetness.
- Pink Apple Butter: Add a cup of cranberries before simmering for a tart edge and a rosy color.
- Maple Apple Butter: Replace the granulated sugar with pure maple syrup for a woodsy sweetness.
- Bourbon Apple Butter: Stir a tablespoon of bourbon in with the vanilla at the end for a grown-up version.
- No-Sugar-Added Apple Butter: Skip the added sugars and lean on naturally sweet apples like Fuji or Gala, cooking a bit longer to concentrate.
- Extra-Spiced Apple Butter: Add a pinch of ground allspice or cardamom along with the cinnamon for a more complex warmth.
Read Also: Apple Crisp
Storage and Reheating
Apple butter keeps well because the long cooking and sugar concentration act as natural preservatives. Proper storage lets you enjoy a batch for months.
Follow these guidelines:
- Refrigerator: Store in airtight jars for up to 3 weeks.
- Freezer: Freeze in 1-cup portions, leaving headspace for expansion, for up to 1 year. Thaw overnight in the fridge.
- Canning: For shelf-stable storage, ladle into sterilized jars, wipe the rims, seal with fresh lids, and process in a boiling water bath for 10 minutes.
- Serving temperature: Enjoy it cold from the jar, or warm a spoonful in the microwave for 10 to 15 seconds to loosen it into a pourable syrup for pancakes or ice cream.
- Make-ahead note: The flavor actually improves after a day in the fridge, as the spices meld and settle.
- Jarring tip: Ladle the butter into clean jars while it’s still warm so it settles without air pockets, then seal once fully cooled.
- Label and date: Frozen batches look similar, so mark each container with the date to rotate through them before the year is up.
You might also enjoy: Poached Pears
Nutritional Facts
The values below are estimates for one 2-tablespoon serving, based on a yield of about 24 tablespoons. Actual values vary with apple variety and how much sugar you use.
| Nutrient | Amount per Serving (2 tbsp) |
|---|---|
| Calories | 62 kcal |
| Total Fat | 0.1 g |
| Sodium | 13 mg |
| Total Carbohydrates | 16 g |
| Dietary Fiber | 1.2 g |
| Sugars | 14 g |
| Protein | 0.2 g |
| Vitamin C | 2% DV |
For a lighter apple dessert, see Healthy Apple Pie.
Tips for Using Apple Butter Like a Pro
Apple butter is versatile, but getting the most out of a jar takes a few tricks. These pointers cover consistency, flavor, and the best ways to work it into other dishes.
Keep these in mind:
- Adjust the thickness after the fact. If your batch set too thick, stir in a teaspoon of water or cider until it loosens to a spreadable consistency.
- Rescue a runny batch. If it never thickened, return it to a low simmer uncovered and reduce further until it mounds on a spoon.
- Use it as a butter or oil replacement. Swap it in for part of the fat in muffin or quick-bread recipes to add moisture and spice.
- Build a savory glaze. Whisk apple butter with a splash of cider vinegar and a pinch of salt to brush over pork or chicken during the last few minutes of roasting.
- Balance the sweetness in sauces. A spoonful stirred into a barbecue sauce or pan gravy adds body and a mellow apple note.
- Warm it before spreading. A brief warm-up makes cold apple butter glide across toast or biscuits without tearing them.
- Portion for gifting. Small 4-ounce jars make thoughtful, ready-to-share fall gifts, and the butter holds up well once sealed.
- Match it to breakfast. A thin layer under peanut butter on toast adds sweetness without the extra sugar of jam.
- Deglaze with it. After searing pork or sausage, a spoonful stirred into the pan with a splash of stock lifts the browned bits into an instant sauce.
Read Also: Pork And Apple Skillet
FAQs About Apple Butter
1. Is there actual butter in apple butter?
No, there is no dairy or butter in apple butter at all. The name refers to its smooth, spreadable, butter-like texture rather than any ingredient.
It’s simply apples cooked down slowly with sugar and spices until thick.
2. What is the difference between apple butter and applesauce?
Both start as cooked, pureed apples, but apple butter is cooked much longer. That extra time drives off water and caramelizes the natural sugars.
The result is thicker, darker, and more intensely spiced than applesauce.
3. Why is my apple butter watery?
The most common cause is not reducing it long enough during the uncovered stage. The puree needs time for the moisture to cook off.
Return it to a low simmer and keep cooking, stirring often, until it mounds on a spoon.
4. What are the best apples for apple butter?
A mix of tart and sweet apples gives the most balanced flavor. Granny Smith adds tartness, while Fuji, Gala, or Honeycrisp bring softness and sweetness.
Softer varieties like McIntosh break down quickly and are great for texture.
5. Do I need to peel the apples?
Peeling gives the smoothest result, which most people prefer. If you blend thoroughly, unpeeled apples can work, since the peels soften during long cooking.
An immersion blender helps break down any remaining bits of skin.
6. How long does homemade apple butter last?
It keeps for about 3 weeks in the fridge in an airtight jar. In the freezer, it lasts up to a year.
Properly canned in a water bath, sealed jars are shelf-stable for much longer.
7. Can I make apple butter with less sugar?
Yes, you can reduce or skip the added sugar, especially if using naturally sweet apples. You may need to cook it a little longer to concentrate the flavor.
Keep in mind that sugar also helps with preservation and shelf life.
For another fruit preserve to try, see: Crab Apple Jelly
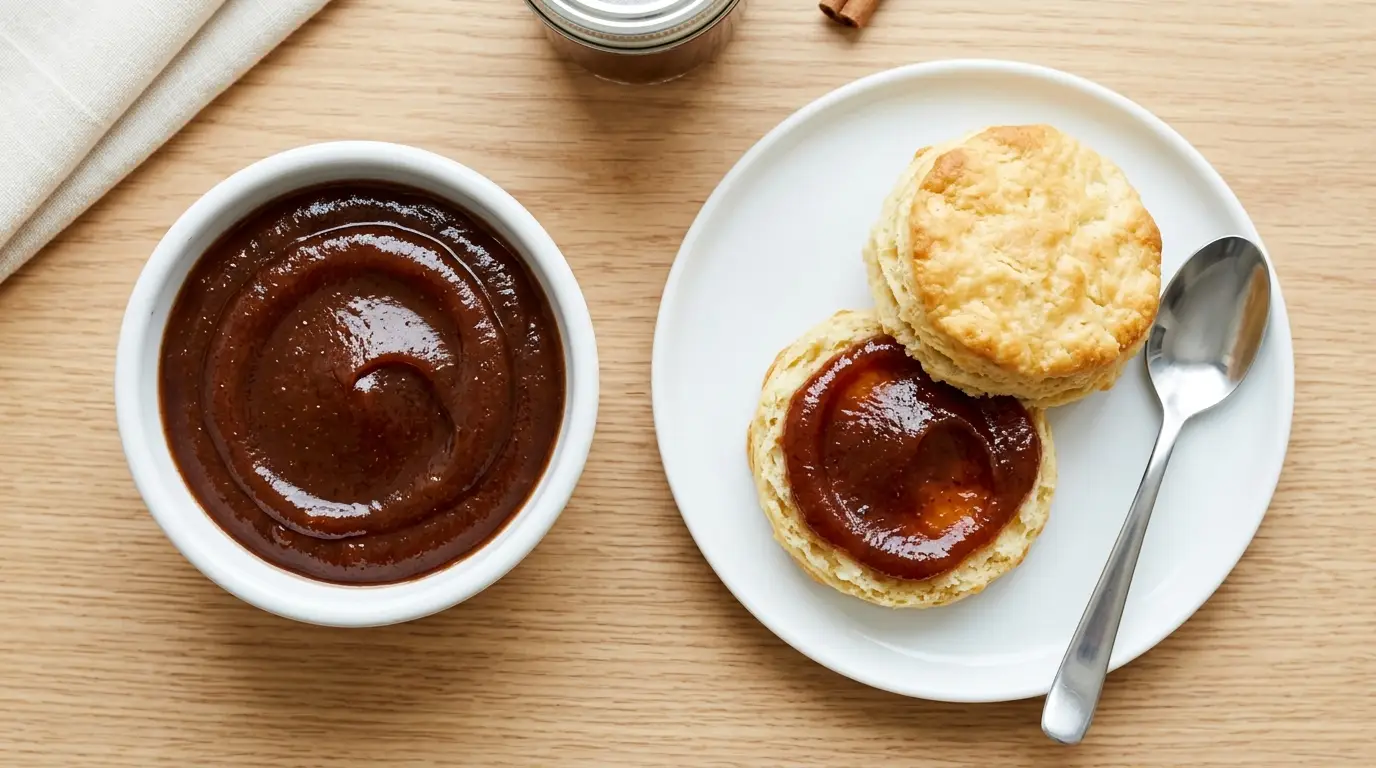
Homemade Apple Butter
Ingredients
- 4 pounds apples - 1.8 kg, peeled, cored, and chopped into 1-inch pieces (about 8 to 10 medium apples; use a mix of Granny Smith and Honeycrisp or Fuji)
- 1 cup water or apple cider - 240 ml; cider gives a more concentrated apple flavor
- 1/2 cup dark brown sugar - 110 g, packed; light brown sugar works too
- 1/4 cup granulated sugar - 50 g
- 1 tablespoon fresh lemon juice - 15 ml
- 2 teaspoons ground cinnamon
- 1/4 teaspoon ground cloves
- 1/4 teaspoon ground nutmeg
- 1/8 teaspoon fine salt
- 1 teaspoon pure vanilla extract - optional, stirred in at the end
Equipment
- Heavy-bottomed saucepan or Dutch oven - 4-quart or larger
- Immersion blender - or regular blender used in batches
- Wooden spoon or silicone spatula - for stirring
- Glass storage jars - with lids for the finished butter
- Splatter screen - (optional)
Method
- Peel each apple, cut it into quarters, and remove the core. Chop the quarters into roughly 1-inch (2.5 cm) pieces so they cook down quickly and evenly.
- Add the chopped apples and 1 cup (240 ml) of water or apple cider to your heavy saucepan. Bring to a gentle boil over medium heat, then reduce to a low simmer. Cover and cook for about 20 minutes, stirring once or twice, until the apples are fork-tender and falling apart.
- Stir in the dark brown sugar, granulated sugar, cinnamon, cloves, nutmeg, and salt. Add the lemon juice, which brightens the flavor and keeps the color from turning dull. Stir well so the sugar dissolves and the spices distribute evenly.
- Turn off the heat for a moment so the puree doesn’t splatter. Use an immersion blender to blend the mixture directly in the pot until completely smooth. If using a regular blender, work in small batches and leave the lid vented to let steam escape, then return the puree to the pot.
- Set the heat to low and leave the pot uncovered so moisture can escape. Cook for 45 to 60 minutes, stirring every 5 to 10 minutes, especially toward the end when it thickens and can catch on the bottom. The butter is ready when it has darkened to a deep mahogany brown and mounds on a spoon without a ring of liquid separating out.
- Stir in the vanilla extract if using, then remove the pot from the heat. To test the set, drop a spoonful on a chilled plate; it should hold a soft mound rather than spreading into a puddle. Let it cool slightly, then transfer to clean jars. It will thicken a little more as it cools.
Nutrition
Notes
- Use a mix of apple varieties. Tart apples like Granny Smith balance the sweetness, while softer apples like McIntosh or Fuji break down faster and add body.
- Don’t rush the reduction. The uncovered stage is where the color deepens and the texture sets. Pulling it off the heat early is the top reason batches turn out thin.
- Watch for the spoon test. A spoonful placed on a cold plate should hold its shape without weeping liquid around the edges.
- Stir more often near the end. As the butter thickens, the bottom scorches fast. Stay close and stir constantly during the final 10 minutes.
- Taste before jarring. Adjust cinnamon or add a pinch more salt if the flavor feels flat.
- Cook low, not high. High heat splatters and scorches before the water has a chance to cook off gently.
- Chop apples to an even size. Uniform 1-inch pieces soften at the same rate, so you don’t end up with mushy edges and firm centers going into the blender.
- Let it cool before judging thickness. Apple butter firms up noticeably as it drops to room temperature, so pull it a touch looser than your target.
- Storage: Refrigerate in airtight jars for up to 3 weeks; freeze in 1-cup portions for up to 1 year; or can in a boiling water bath for 10 minutes for shelf-stable storage.
- Rescue a runny batch: If it never thickened, return it to a low simmer uncovered and reduce further until it mounds on a spoon.
Private Notes
Tried this recipe?
Let us know how it was!Final Thoughts
A jar of homemade apple butter turns a few pounds of apples into the taste of fall you can spread on almost anything. The slow reduction is what gives it that deep color and rich, caramelized flavor.
Once you make it yourself, the store-bought version is hard to go back to. It fills the kitchen with the smell of cinnamon and apples while it cooks.
Give this one a try the next time you have a bowl of apples to use up. If you make it, leave a comment below and share how you used your batch.
Recommended:
- Amish Apple Cake
- Pumpkin French Toast
- Baked Oatmeal
- Pumpkin Pie
- Pumpkin Spice Latte
- Fall Muffin Recipes
- Maple Glazed Carrots
- Crockpot Fall Recipes
- Pumpkin Roll
- Starbucks Banana Bread