
I’ve been making apple pie for over a decade now, and I can honestly say it’s the one dessert that never fails to bring people together around my kitchen table. My grandmother taught me her version when I was barely tall enough to see over the counter, and I’ve been tweaking and perfecting this apple pie recipe ever since.
The first time I made apple pie on my own was a complete disaster. I used the wrong apples, rolled the crust too thin, and ended up with a soggy bottom that could have doubled as a swimming pool. But that failure taught me everything I needed to know about what makes a truly spectacular pie.
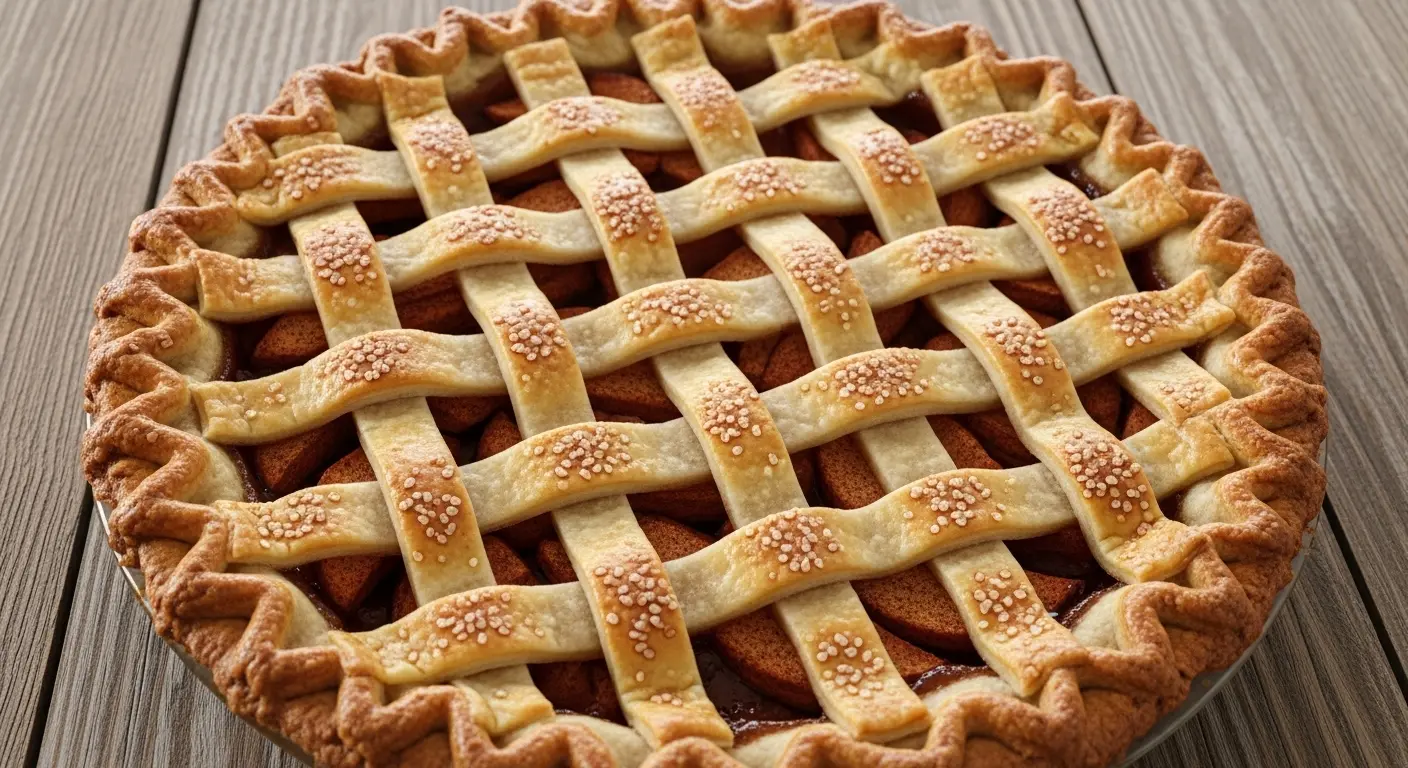
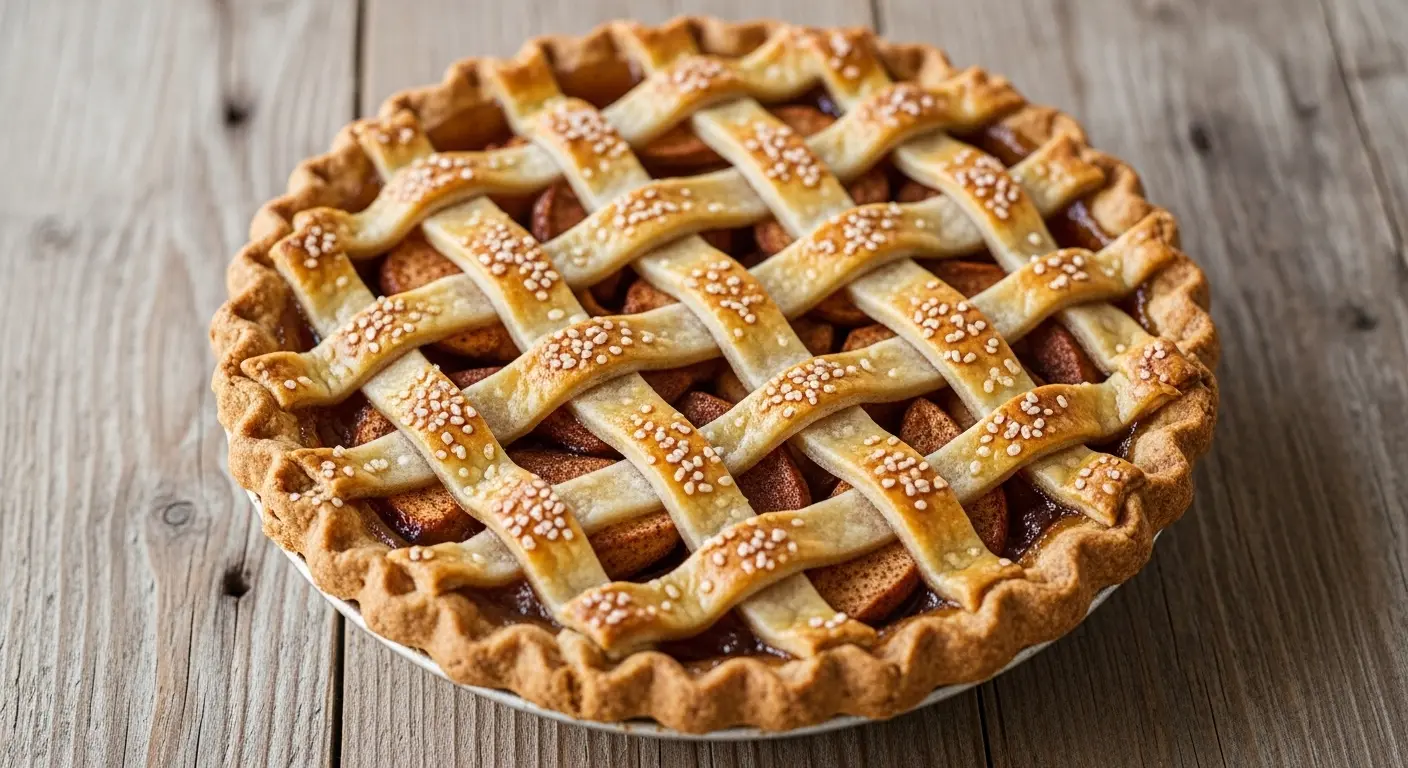
This recipe combines a buttery, flaky crust with tender-crisp apples that hold their shape beautifully. The filling strikes that perfect balance between sweet and tart, with just enough cinnamon to make your kitchen smell like a fall dream.
| Quick Recipe Summary | |
|---|---|
| Prep Time | 30 minutes |
| Cook Time | 50 minutes |
| Total Time | 1 hour 20 minutes |
| Servings | 8 slices |
| Difficulty Level | Medium |
Why You’ll Love This Apple Pie Recipe
This isn’t just another apple pie. It’s the pie that convinced my pie-hating husband that homemade desserts are worth the effort.
The crust is genuinely foolproof, even if you’ve never made pie dough before. I’ve taught this recipe to complete beginners who ended up with results that looked bakery-worthy.
Here’s what makes this apple pie recipe stand out:
- The crust stays crispy on the bottom thanks to a simple blind-baking trick I learned after years of soggy disasters
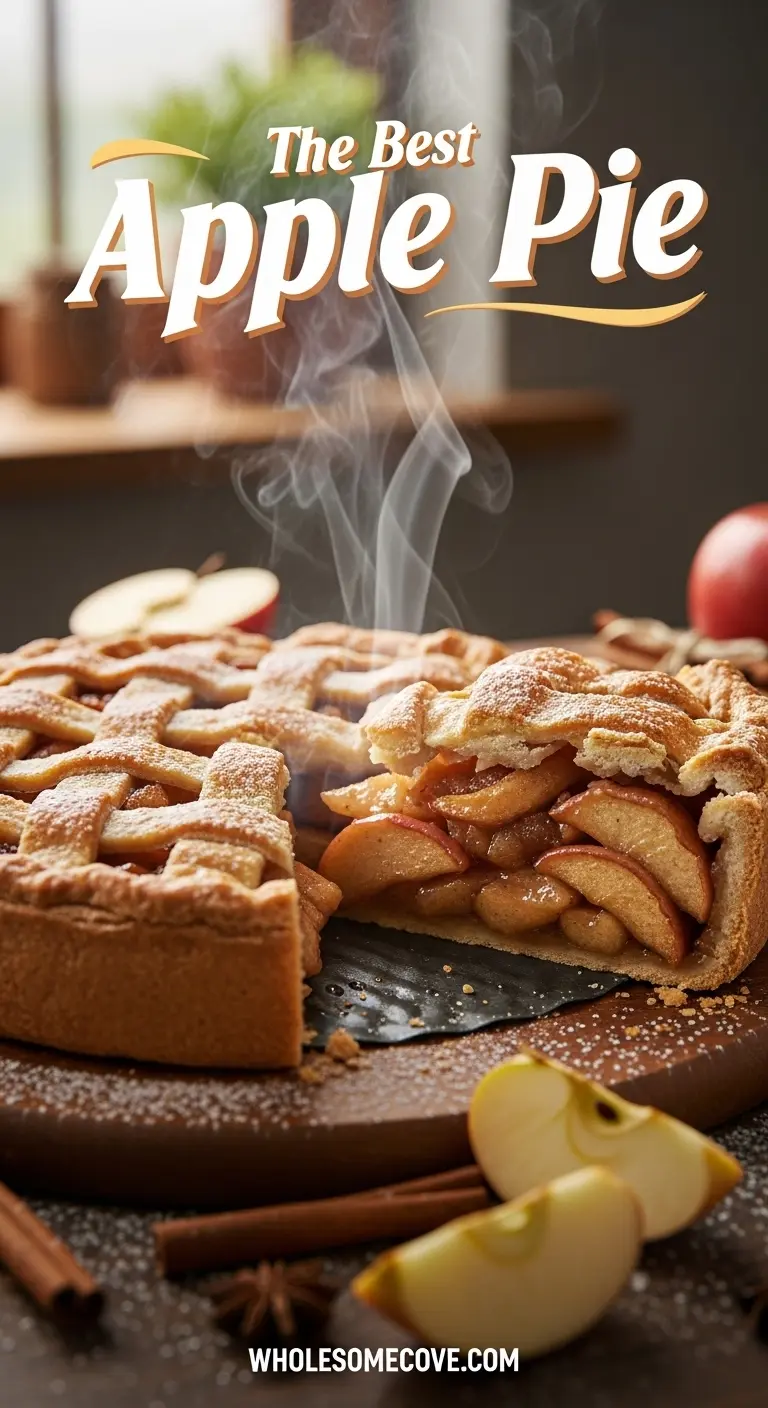
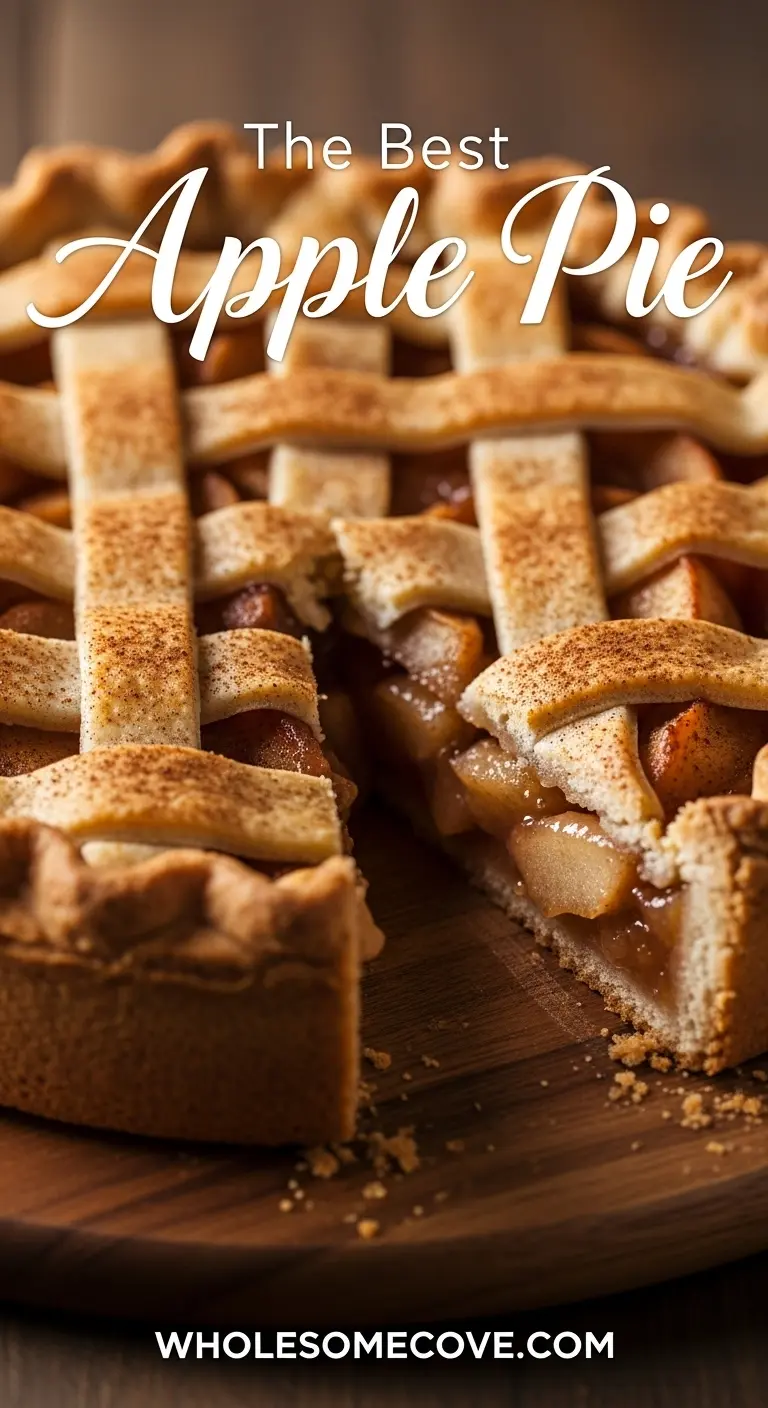
- The apples maintain their texture instead of turning into applesauce, giving you distinct apple slices in every bite
- The spice blend is perfectly balanced with cinnamon, nutmeg, and a hint of cardamom that adds unexpected depth
- It’s make-ahead friendly so you can prep the components the day before and assemble when you’re ready
- The lattice top is optional but impressive, and I’ll show you an easy method that looks fancy but takes just minutes
- It freezes beautifully which means you can have homemade pie ready for unexpected guests or sudden cravings
If you’re looking for another crowd-pleasing dessert, try my Coconut Cream Pie for a tropical twist.
Ingredients
This recipe relies on simple, quality ingredients that you can find at any grocery store. The key is using the right variety of apples and real butter for that authentic flavor.
For the Pie Crust (Double Crust):
- 2½ cups (310g) all-purpose flour, plus extra for dusting
- 1 tablespoon (12g) granulated sugar
- 1 teaspoon (6g) salt
- 1 cup (226g) cold unsalted butter, cut into small cubes
- 6-8 tablespoons (90-120ml) ice water
For the Apple Filling:
- 6-7 cups (about 3 pounds or 1.4kg) Granny Smith and Honeycrisp apples, peeled, cored, and sliced ¼-inch thick
- ¾ cup (150g) granulated sugar
- ¼ cup (50g) light brown sugar, packed
- 2 tablespoons (16g) all-purpose flour
- 2 tablespoons (16g) cornstarch
- 1½ teaspoons (3g) ground cinnamon
- ¼ teaspoon (0.5g) ground nutmeg
- ⅛ teaspoon (0.3g) ground cardamom
- ¼ teaspoon (1.5g) salt
- 1 tablespoon (15ml) fresh lemon juice
- 1 teaspoon (5ml) vanilla extract
- 2 tablespoons (28g) cold unsalted butter, cut into small pieces
For the Egg Wash:
- 1 large egg
- 1 tablespoon (15ml) milk or heavy cream
- 2 tablespoons (25g) coarse sugar (such as turbinado or sanding sugar)
Kitchen Equipment Needed
Having the right tools makes pie-making so much easier. Trust me, I learned this the hard way after trying to roll dough with a wine bottle.
- 9-inch deep-dish pie pan (glass or ceramic works best for even browning)
- Large mixing bowls (at least 2)
- Pastry cutter or food processor
- Rolling pin
- Pastry brush for egg wash
- Sharp knife or pizza cutter (for lattice strips)
- Apple peeler/corer (optional but a huge time-saver)
- Measuring cups and spoons
- Aluminum foil or pie crust shield
- Cooling rack
- Plastic wrap
- Bench scraper (helpful for handling dough)
Recommended Products for This Recipe
After making countless apple pies, I’ve found a few products that genuinely make the process easier and the results better. These aren’t necessary, but they’ll upgrade your pie-baking experience.
1. Emile Henry Modern Classics Pie Dish
This ceramic pie dish is a total workhorse in my kitchen. The fluted edges make crimping the crust almost foolproof, and it distributes heat so evenly that I’ve never had issues with undercooked bottoms since switching to it. Plus, it goes from oven to table beautifully.
2. Granny Smith Apples Fresh Produce
For consistent results, I order fresh Granny Smith apples in bulk during peak season. They hold their shape perfectly when baked and provide that classic tart flavor that balances the sweetness. Having quality apples delivered saves a trip to the store and ensures you’re working with the best fruit.
3. Nielsen-Massey Pure Vanilla Extract
This vanilla extract is expensive, but it makes a noticeable difference in the filling. The flavor is rich and complex without any artificial aftertaste. One bottle lasts me months, and it elevates everything from pies to morning coffee.
4. Mrs. Anderson’s Baking Pie Crust Shield
This reusable silicone shield has saved so many pie edges from burning. I used to make foil rings every single time, and they’d always slip or tear. This just sits on top perfectly and protects the crust while the filling finishes cooking.
Step-by-Step Instructions: How to Make Apple Pie
Follow these detailed steps, and you’ll have a bakery-quality apple pie even if you’ve never made one before. I’ve broken down each part so there’s no confusion.
1. Prepare the Pie Crust Dough
- In a large mixing bowl, whisk together the flour, sugar, and salt until well combined
- Add the cold butter cubes to the flour mixture, making sure they’re evenly distributed
- Using a pastry cutter or your fingertips, work the butter into the flour until the mixture resembles coarse crumbs with some pea-sized pieces of butter remaining (this takes about 3-4 minutes of cutting)
- Drizzle 6 tablespoons of ice water over the mixture, one tablespoon at a time, and use a fork to gently mix after each addition
- Press a small amount of dough between your fingers to test if it holds together; if it’s still too crumbly, add the remaining water one tablespoon at a time until the dough just comes together
- Turn the dough out onto a clean work surface and divide it into two portions, making one slightly larger than the other (about 60/40 split)
- Shape each portion into a flat disk about 1 inch thick, wrap tightly in plastic wrap, and refrigerate for at least 1 hour or up to 2 days
Another recipe that benefits from this same butter-and-flour technique is my Pumpkin Pie.
2. Prepare the Apple Filling
- Peel all the apples using a vegetable peeler or apple peeler, then core them and slice into ¼-inch thick pieces (aim for uniform thickness so they cook evenly)
- Place the sliced apples in a large mixing bowl and toss immediately with the lemon juice to prevent browning
- In a separate small bowl, whisk together both sugars, flour, cornstarch, cinnamon, nutmeg, cardamom, and salt until no lumps remain
- Sprinkle the sugar-spice mixture over the apples and toss everything together with your hands or a large spoon, making sure every apple slice is coated
- Add the vanilla extract and toss once more to distribute evenly
- Let the apple mixture sit at room temperature while you roll out the crust (this allows the apples to release some moisture and the flavors to meld, which takes about 15-20 minutes)
3. Roll Out the Bottom Crust
- Remove the larger disk of dough from the refrigerator and let it sit at room temperature for about 5 minutes to make it easier to roll
- Lightly flour your work surface and rolling pin to prevent sticking
- Place the dough disk in the center of the floured surface and begin rolling from the center outward, rotating the dough a quarter turn after every few rolls to maintain a circular shape
- Continue rolling until you have a circle about 12 inches in diameter and roughly ⅛ inch thick
- Carefully roll the dough around your rolling pin and transfer it to your 9-inch pie pan, centering it so there’s equal overhang on all sides
- Gently press the dough into the bottom and sides of the pan, being careful not to stretch it (stretched dough will shrink during baking)
- Trim the excess dough to leave about 1 inch of overhang all around the edge
- Place the pie pan with the bottom crust in the refrigerator while you prepare the top crust
4. Roll Out the Top Crust and Create Lattice (Optional)
- Remove the second disk of dough from the refrigerator and let it rest for 5 minutes
- Roll it out on a lightly floured surface just like you did with the bottom crust, creating a circle about 11 inches in diameter
- If making a solid top crust, set it aside on a piece of parchment paper and refrigerate until needed
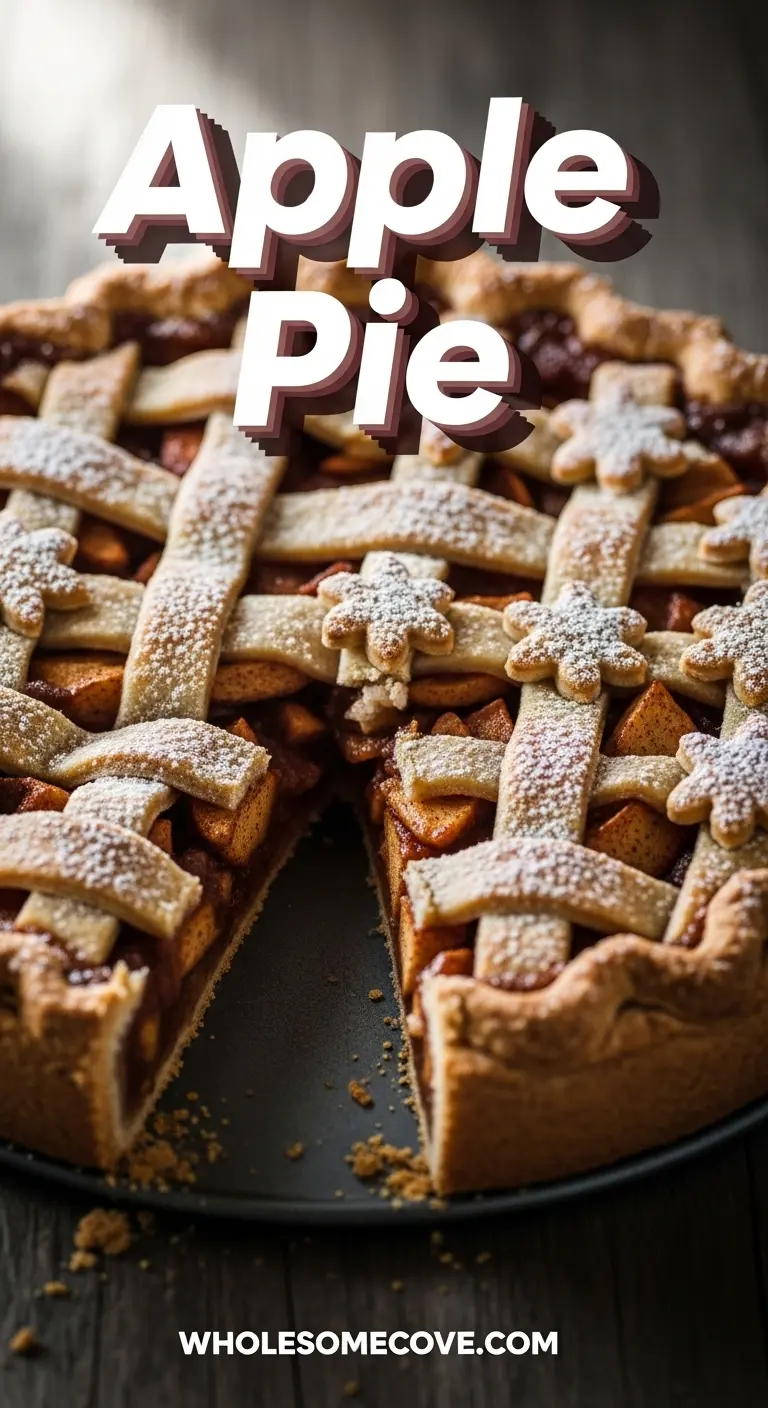
- For a lattice top, use a sharp knife or pizza cutter to cut the dough into 10-12 strips, each about ¾ to 1 inch wide
- Place the strips on a parchment-lined baking sheet and refrigerate them for 15 minutes (cold dough is much easier to weave)
5. Fill the Pie
- Preheat your oven to 425°F (220°C) and position a rack in the lower third of the oven
- Remove the pie pan with the bottom crust from the refrigerator
- If there’s excess liquid at the bottom of your apple bowl from the sitting time, use a slotted spoon to transfer the apples to the pie crust, leaving most of the liquid behind (too much liquid makes a soggy pie)
- Arrange the apple slices in the pie shell, mounding them slightly higher in the center because they’ll cook down
- Dot the top of the apples with the small pieces of cold butter, distributing them evenly across the surface
6. Add the Top Crust
- If using a solid top crust, drape it over the apples, then trim the excess to match the bottom crust overhang
- Fold the edges of both crusts under themselves to create a thick border that sits on the rim of the pie pan
- Crimp or flute the edges decoratively by pinching the dough between your thumb and forefinger every inch or so
- Cut 4-5 small slits in the top of the crust to allow steam to escape during baking
- If making a lattice top, weave the chilled strips over the apples in an over-under pattern, trimming the ends to match the bottom crust overhang
- Fold the bottom crust overhang up and over the ends of the lattice strips, then crimp to seal
- Brush the entire top crust (including the crimped edges) with the egg wash made by whisking together the egg and milk
- Sprinkle the coarse sugar generously over the egg-washed surface for a beautiful sparkle and slight crunch
You might also enjoy: Apple Crisp
7. Bake the Pie
- Place the pie on a rimmed baking sheet to catch any drips and transfer to the preheated oven
- Bake at 425°F (220°C) for 20 minutes to set the crust and get it started browning
- After 20 minutes, reduce the oven temperature to 375°F (190°C) without opening the door
- Continue baking for another 30-35 minutes, checking at the 25-minute mark to see if the edges are browning too quickly
- If the crust edges are getting too dark, cover them loosely with aluminum foil or place a pie crust shield over them
- The pie is done when the crust is deep golden brown, the filling is bubbling vigorously through the vents or lattice, and you can see thick juices (this typically takes 50-55 minutes total baking time)
- A thermometer inserted into the center should read about 200°F (93°C) when the pie is fully baked
8. Cool and Serve
- Remove the pie from the oven and place it on a wire cooling rack
- Let it cool for at least 4 hours (I know this is torture, but it’s crucial) or preferably overnight at room temperature
- The filling needs this time to set properly; cutting into a hot pie will result in a runny mess that won’t hold its shape
- Once cooled and set, slice with a sharp knife, wiping it clean between cuts for neat slices
- Serve at room temperature or warm it gently in a 300°F (150°C) oven for 10-15 minutes before serving
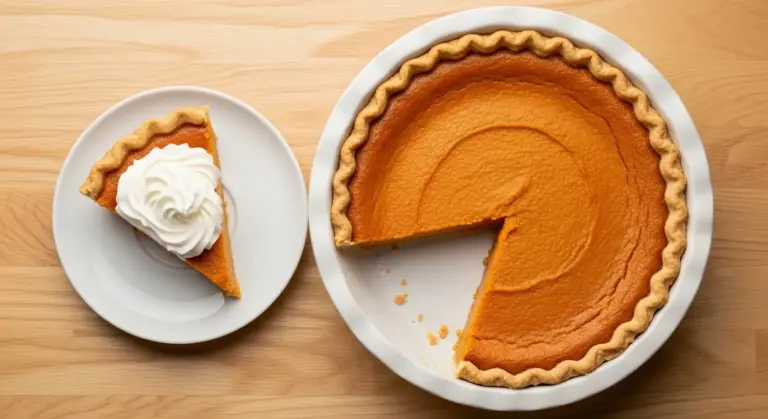
- Top with vanilla ice cream, whipped cream, or a slice of sharp cheddar cheese if you’re feeling adventurous
Tips for The Best Apple Pie
These are the hard-won lessons from my years of pie-making. Following these tips will save you from the mistakes I’ve made.
- Use a mix of apple varieties for the most complex flavor; I recommend combining tart Granny Smiths with sweeter Honeycrisp or Braeburn apples in a 2:1 ratio
- Keep everything cold when making pie dough, including your butter, water, and even your mixing bowl if your kitchen is warm
- Don’t overwork the dough or you’ll develop too much gluten, resulting in a tough, chewy crust instead of a flaky one
- Let the dough rest in the refrigerator for at least an hour to allow the gluten to relax and the butter to firm up again
- Slice apples uniformly so they cook at the same rate; a mandoline makes this incredibly easy
- Don’t skip the lemon juice as it brightens the flavors and prevents the apples from browning
- Mound the apples high because they’ll shrink significantly during baking, and you don’t want a gap between the crust and filling
- Use cornstarch and flour together for the perfect filling consistency that’s neither too runny nor too thick
- Brush the egg wash carefully to avoid pooling, which can make the crust soggy in spots
- Rotate the pie halfway through baking if your oven has hot spots, ensuring even browning all around
- Don’t cut the pie too soon no matter how tempting; the filling absolutely must set or it will run all over the plate
- Blind bake if you’re nervous about soggy bottoms by lining the crust with parchment and pie weights, then baking for 15 minutes at 375°F before adding the filling
- Freeze extra dough for up to 3 months so you always have pie crust ready when the mood strikes
Read Also: Homemade Cinnamon Applesauce
Serving Suggestions
Apple pie is incredibly versatile and pairs beautifully with all sorts of accompaniments. Here are my favorite ways to serve it.
The classic pairing is vanilla ice cream, and I’ll never get tired of watching it melt into warm pie filling. For something different, try caramel ice cream or even butter pecan.
- Serve with a generous dollop of homemade whipped cream flavored with vanilla or a hint of cinnamon
- Drizzle warm Honey Butter over each slice for extra indulgence
- Add a scoop of vanilla bean ice cream and drizzle with salted caramel sauce
- Pair with sharp cheddar cheese for a sweet-savory combination that’s traditional in some regions
- Serve alongside hot coffee or spiced apple cider for the ultimate fall experience
- Top with a spoonful of crème fraîche or Greek yogurt for tangy contrast
- Garnish with candied pecans or walnuts for added crunch and richness
- Serve with Pumpkin Spice Latte for a cozy autumn dessert spread
Variations of Apple Pie
Once you master the basic recipe, these variations will keep your apple pie exciting. I rotate through these depending on the season and my mood.
- Dutch Apple Pie: Replace the top crust with a crumb topping made from flour, butter, brown sugar, and oats for a streusel-style finish
- Salted Caramel Apple Pie: Drizzle ½ cup of caramel sauce over the apple filling before adding the top crust, and sprinkle the finished pie with flaky sea salt
- Apple Cranberry Pie: Add 1 cup of fresh or frozen cranberries to the apple filling for a tart, festive twist perfect for Thanksgiving
- Cheddar Crust Apple Pie: Mix 1 cup of shredded sharp cheddar cheese into your pie dough for a savory-sweet crust that’s absolutely addictive
- Bourbon Apple Pie: Add 2 tablespoons of bourbon to the apple filling along with the vanilla extract for a grown-up version with depth
- Apple Maple Pie: Replace half the granulated sugar with pure maple syrup and add ½ teaspoon of maple extract
- Spiced Apple Pie: Increase the spices and add ¼ teaspoon each of ground ginger, allspice, and cloves for a more intensely spiced version
- Apple Pear Pie: Substitute 2-3 cups of the apples with firm pears like Bosc or Anjou for a mellower, aromatic pie
- Mini Apple Pies: Use a muffin tin to create individual hand pies, adjusting the baking time to 25-30 minutes
- Gluten-Free Apple Pie: Use your favorite gluten-free flour blend in a 1:1 substitution, adding 1 teaspoon of xanthan gum if your blend doesn’t include it
- Vegan Apple Pie: Replace butter with cold coconut oil or vegan butter, and use non-dairy milk for the egg wash
Another favorite fall dessert: Pumpkin Bar
Storage and Reheating
Proper storage keeps your apple pie tasting fresh for days. Here’s exactly how to handle leftovers and make-ahead options.
- Room temperature: Cover the cooled pie loosely with aluminum foil or plastic wrap and store at room temperature for up to 2 days
- Refrigerator: Wrap the pie tightly in plastic wrap or transfer slices to an airtight container and refrigerate for up to 5 days (let it come to room temperature or warm it before serving for best flavor)
- Freezer (baked): Wrap the completely cooled pie tightly in plastic wrap, then in aluminum foil, and freeze for up to 3 months; thaw overnight in the refrigerator before reheating
- Freezer (unbaked): Assemble the entire pie, wrap it tightly without the egg wash, and freeze for up to 3 months; bake from frozen, adding 15-20 minutes to the baking time and applying egg wash just before baking
- Reheating individual slices: Place a slice on a microwave-safe plate and heat for 20-30 seconds, or warm in a 300°F (150°C) oven for 10-12 minutes
- Reheating whole pie: Cover the pie loosely with foil and warm in a 350°F (175°C) oven for 20-25 minutes until heated through
- Make-ahead dough: Prepare the pie dough up to 3 days in advance and refrigerate, or freeze the disks for up to 3 months and thaw overnight in the refrigerator before using
- Pre-sliced apples: Toss peeled and sliced apples with lemon juice and store in an airtight container in the refrigerator for up to 24 hours before assembling the pie
Nutritional Facts
Here’s the approximate nutritional information per slice (based on 8 servings):
- Calories: 410
- Total Fat: 18g
- Saturated Fat: 11g
- Cholesterol: 50mg
- Sodium: 320mg
- Total Carbohydrates: 62g
- Dietary Fiber: 3g
- Sugars: 35g
- Protein: 4g
Please note that these values are estimates and can vary based on specific ingredients used and portion sizes. The nutritional content will change if you modify the recipe or use different varieties of apples.
Health Benefits of Key Ingredients
While apple pie is definitely a treat, it does contain some nutritious ingredients that offer health benefits. Don’t kid yourself into thinking it’s health food, but you can feel slightly less guilty knowing these facts.
The apples in this pie provide valuable nutrition beyond just great flavor.
- Apples are rich in fiber, particularly pectin, which supports digestive health and helps you feel full longer
- They contain vitamin C which supports immune function and acts as an antioxidant to protect your cells
- The antioxidants in apples, including quercetin and flavonoids, may help reduce inflammation and support heart health
- Cinnamon has been shown to help regulate blood sugar levels and has anti-inflammatory properties
- Nutmeg contains minerals like manganese, copper, and magnesium that support bone health and metabolism
- Apples provide polyphenols that research suggests may help protect against chronic diseases when consumed regularly
- The combination of soluble and insoluble fiber in apples promotes healthy gut bacteria and regular digestion
For a healthier alternative, check out my Healthy Apple Pie.
FAQs About Apple Pie
1. What are the best apples for apple pie?
The best apples for pie are firm varieties that hold their shape when baked, like Granny Smith, Honeycrisp, Braeburn, or a combination of tart and sweet apples. I personally use a mix of Granny Smith and Honeycrisp in a 2:1 ratio for the perfect balance of tartness and sweetness.
2. How do I prevent a soggy bottom crust?
To prevent a soggy bottom, make sure your oven is fully preheated, bake the pie on the lower rack where it’s hotter, and consider blind baking the bottom crust for 15 minutes before adding the filling. Also, don’t add too much liquid from the apple mixture when filling the pie.
3. Can I make apple pie ahead of time?
Yes, you can make apple pie up to 2 days ahead and store it covered at room temperature, or freeze it baked or unbaked for up to 3 months. The dough can also be made 3 days ahead and refrigerated, making it easy to prepare in stages.
4. Why is my apple pie filling runny?
Runny filling usually results from not using enough thickener (flour and cornstarch), cutting the pie before it’s fully cooled and set, or using apples that released too much moisture. Make sure to let your pie cool for at least 4 hours before slicing.
5. How long does apple pie last?
Apple pie lasts 2 days at room temperature when loosely covered, up to 5 days in the refrigerator when tightly wrapped, and up to 3 months in the freezer. For best flavor and texture, I recommend eating it within 3 days of baking.
Read Also: Gingerbread Cookie
Final Thoughts
There’s truly nothing quite like pulling a golden, bubbling apple pie from the oven and watching your family’s faces light up. This recipe has been my go-to for years because it consistently delivers that perfect combination of flaky crust and tender, flavorful apples.
Don’t be intimidated if you’ve never made pie before. Start with this recipe, follow the steps carefully, and be patient during the cooling process. Your first attempt might not be perfect, but I promise it will still be delicious.
I’d love to hear how your apple pie turns out! Leave a comment below with your results, any variations you tried, or questions you have. And if you loved this recipe, please share it with your friends who deserve a homemade apple pie in their lives.
Recommended:
- Pumpkin Pie Recipe
- Apple Crisp Recipe
- Authentic Italian Tiramisu Recipe
- Healthy Carrot Cake Recipe
- Easy Banana Bread Recipe
- Gingerbread Cookie Recipe
- Sweet Potato Bread Recipe
- Amish Apple Cake Recipe
- French Toast Recipe
- Baked Oatmeal Recipe

