
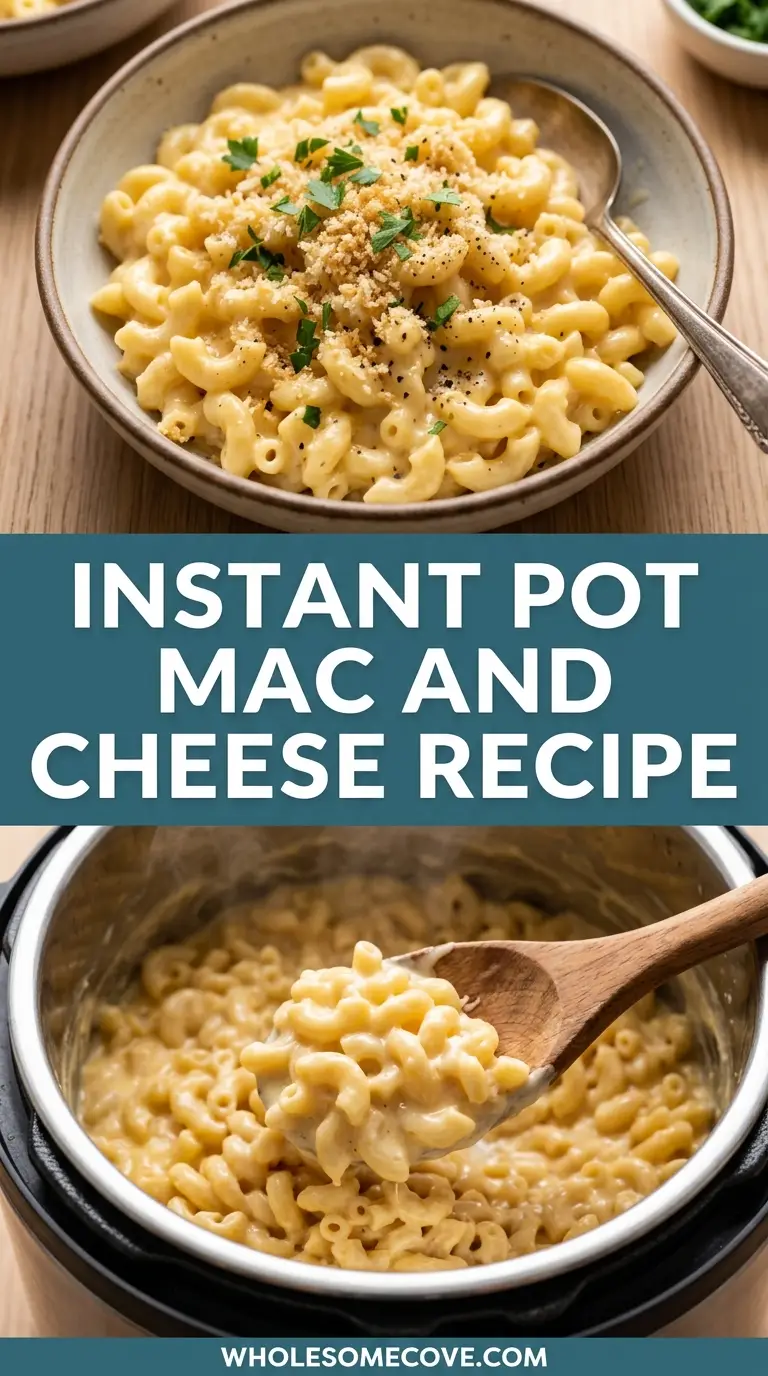
I did not believe it the first time my neighbor told me her Instant Pot Mac and Cheese Recipe was ready in under 15 minutes from start to finish. I’d been boiling pasta, draining it, making a separate roux, and whisking in cheese for years, and the idea that a pressure cooker could skip all of that felt too good to be true.
It wasn’t. The first time I made it, I stood at my counter spooning bite after bite straight from the pot, genuinely shocked at how silky and rich it tasted.
I’ve since made this recipe at least two dozen times for my kids, for weeknight dinners when life is hectic, and for potlucks where it disappears within minutes. The pasta cooks right in seasoned liquid, which means no draining, no colander, and no second pot to wash.
This is now my household’s most-requested weeknight meal. If you’ve been skeptical about Instant Pot pasta, this is the recipe that will change your mind.
| Quick Recipe Summary | |
|---|---|
| Prep Time | 5 minutes |
| Cook Time | 4 minutes (plus ~10 minutes pressure build) |
| Total Time | About 25 minutes |
| Servings | 6 servings |
| Difficulty Level | Easy |
If you love a good stovetop or slow cooker version too, my Crock Pot Mac and Cheese is another family favorite worth bookmarking.

Why You’ll Love This Instant Pot Mac and Cheese Recipe
This recipe checks every box for a busy weeknight meal. It’s quick, it’s made entirely in one pot, and the cleanup takes about two minutes.
The pasta cooks right in the liquid it needs, so you’re not boiling a separate pot of water or worrying about perfectly al dente noodles. The pressure cooker does all of that work for you.
What I love most is how consistently creamy it turns out. Because the starchy pasta water stays in the pot, it acts as a natural thickener for the cheese sauce.
Kids love it, adults love it, and picky eaters who usually push their food around the plate always ask for seconds. It’s genuinely one of those rare recipes that pleases everyone at the table.
- Ready in about 25 minutes: From cold pot to creamy dinner in under half an hour, even on the most chaotic nights.
- One pot, minimal cleanup: Everything cooks in the Instant Pot insert, so you’re not dealing with a stack of dishes afterward.
- Perfectly creamy every time: The starchy cooking liquid stays in the pot and helps the cheese sauce come together beautifully.
- Totally customizable: Add bacon, broccoli, hot sauce, or different cheeses to make it exactly how your family likes it.
- Kid-friendly and crowd-pleasing: I’ve served this at potlucks and family dinners and the pot is always empty by the end.
- No draining required: The pasta absorbs just the right amount of liquid, which means no colander and no risk of overcooked noodles.
- Better than boxed: With real cheese and simple pantry ingredients, this tastes like comfort food actually should.
Read Also: Baked Mac and Cheese Recipe
Ingredients
You only need a handful of pantry staples and good cheese for this recipe to shine. The biggest tip I can share is to grate your own cheese from a block rather than buying pre-shredded bags. Pre-shredded cheese is coated with anti-caking agents that prevent it from melting smoothly, and the difference in texture is very noticeable.
- 1 lb (453g) elbow macaroni, uncooked
- 4 cups (960ml) water (or low-sodium chicken broth for extra flavor)
- 1 tsp (5g) kosher salt
- 1 tbsp (14g) unsalted butter
- 1/2 tsp (1g) garlic powder
- 1/2 tsp (1g) paprika
- 1/4 tsp (0.5g) dry mustard powder
- 1/4 tsp (0.5g) black pepper
- 1 cup (240ml) whole milk or half-and-half (added after cooking)
- 2 cups (226g) sharp cheddar cheese, freshly grated from a block
- 1 cup (113g) mild white cheddar or Gruyere, freshly grated (optional but recommended for depth of flavor)
- A few dashes of hot sauce (optional, to taste)
For a fun twist on the classic, you might also enjoy my Tini’s Mac and Cheese for a viral-worthy variation.
Kitchen Equipment Needed
You don’t need much beyond your pressure cooker, which is the main reason this recipe is such a win. A 6-quart Instant Pot is the most common size and works perfectly for one pound of pasta. If you have an 8-quart, that works just as well and gives you room to double the recipe.
- 6-quart Instant Pot (or any electric pressure cooker)
- Box grater for freshly grating cheese
- Silicone spatula or wooden spoon for stirring
- Measuring cups and spoons
- Long oven mitts for safe pressure release
You might also enjoy this Instant Pot Potato Soup as another easy one-pot meal to add to your weeknight rotation.
Recommended Products for This Recipe
These are products I genuinely use and have made a difference in how this recipe turns out for me.
1. Instant Pot Duo 6-Quart Electric Pressure Cooker
This is the model I’ve used for years and it handles one pound of pasta without any issues. The 6-quart is the ideal size for this recipe and it doubles as a slow cooker, rice cooker, and yogurt maker. It’s the most versatile appliance in my kitchen by a wide margin.
2. Cuisipro Box Grater
Pre-shredded cheese is one of the fastest ways to ruin creamy mac and cheese, and a good box grater makes freshly grating a full block of cheddar take less than two minutes. This one has sharp, sturdy blades that make the job genuinely easy.
3. Cabot Seriously Sharp Cheddar Cheese Block
Not all cheddar is created equal, and this block cheese melts beautifully with a rich, sharp flavor that really carries the sauce. I’ve used it exclusively in this recipe for a long time, and it consistently delivers the best results.
4. OXO Good Grips Silicone Flexible Turner Spatula
You’ll be stirring in cheese over low heat and you want a spatula that can reach the curved bottom of the Instant Pot insert without scratching it. This OXO silicone spatula does exactly that and is heat-safe up to 600°F.
Another great cheesy comfort food to try: Velveeta Mac and Cheese
Step-by-Step Instructions: How to Make Instant Pot Mac and Cheese
Step 1: Add the Pasta and Liquid to the Instant Pot
- Place the inner pot insert into your Instant Pot base and make sure it’s properly seated.
- Pour in all 1 lb (453g) of dry elbow macaroni. Do not rinse the pasta, as the starch on the surface helps thicken the cheese sauce later.
- Add 4 cups (960ml) of water or low-sodium chicken broth directly over the pasta. Chicken broth adds a subtle savory depth that water alone can’t provide.
- Add 1 tbsp (14g) of unsalted butter, 1 tsp (5g) kosher salt, 1/2 tsp (1g) garlic powder, 1/2 tsp (1g) paprika, 1/4 tsp (0.5g) dry mustard powder, and 1/4 tsp (0.5g) black pepper.
- Give everything a gentle stir to distribute the seasonings and make sure all of the pasta is submerged beneath the liquid as much as possible.
- Do not add the milk or cheese at this stage. Dairy added before pressure cooking can cause the milk to curdle and scorch on the bottom of the pot.
Step 2: Seal and Pressure Cook
- Place the Instant Pot lid on and twist it clockwise to lock it into place. You should hear or feel it click into a secure position.
- Make sure the pressure release valve on the top of the lid is turned to the “Sealing” position. This is essential. If it’s set to “Venting,” the pot will never come to pressure.
- Press the “Pressure Cook” or “Manual” button depending on your model, and set the cooking time to 4 minutes on High Pressure.
- The Instant Pot will first go through a pre-heating and pressure-building phase that typically takes 8 to 12 minutes. During this time the display may show “On” before switching to the countdown timer.
- Once the timer reaches zero, the pot will beep and switch to the “Keep Warm” setting automatically.
Step 3: Quick Release the Pressure
- Immediately after the cooking time is done, perform a Quick Release by carefully turning the pressure release valve from “Sealing” to “Venting.”
- Use a long oven mitt, a folded kitchen towel, or a wooden spoon handle to turn the valve. Hot steam will shoot out of the valve and can cause burns if you hold it directly with bare hands.
- If liquid starts sputtering out along with the steam, close the valve and wait 10 to 15 seconds before opening it again in short bursts. This is more likely with a full pot of starchy pasta.
- Wait until the float valve (the small silver pin next to the main valve) has fully dropped down before opening the lid. This confirms all pressure has been released safely.
- Open the lid carefully, tilting it away from you so any condensation drips back into the pot rather than onto your hands.
Step 4: Stir in the Butter and Cheese
- You’ll notice there is a small amount of liquid remaining in the pot. This is normal and is part of what makes the sauce so creamy. Do not drain it.
- Switch the Instant Pot to “Saute” mode on Low heat. This will gently warm the pasta while you add your dairy.
- Add the 1 cup (240ml) of whole milk or half-and-half to the pot and stir gently. Start with 3/4 cup (180ml) and add more if needed.
- Now add the freshly grated sharp cheddar in 3 to 4 separate handfuls, stirring each addition until fully melted before adding the next. Adding all the cheese at once can cause it to clump.
- Add the white cheddar or Gruyere the same way, one handful at a time, stirring between each addition.
- Keep stirring gently until the sauce is completely smooth, glossy, and coats every piece of pasta.
Step 5: Season and Serve
- Taste the mac and cheese and adjust seasoning as needed. You may want a pinch more salt, a few dashes of hot sauce, or a little more black pepper.
- If the sauce is thicker than you’d like, stir in another splash of milk, a tablespoon at a time, until you reach your preferred consistency. The mac and cheese will continue to thicken slightly as it cools.
- Turn off the “Saute” function to prevent the bottom from scorching.
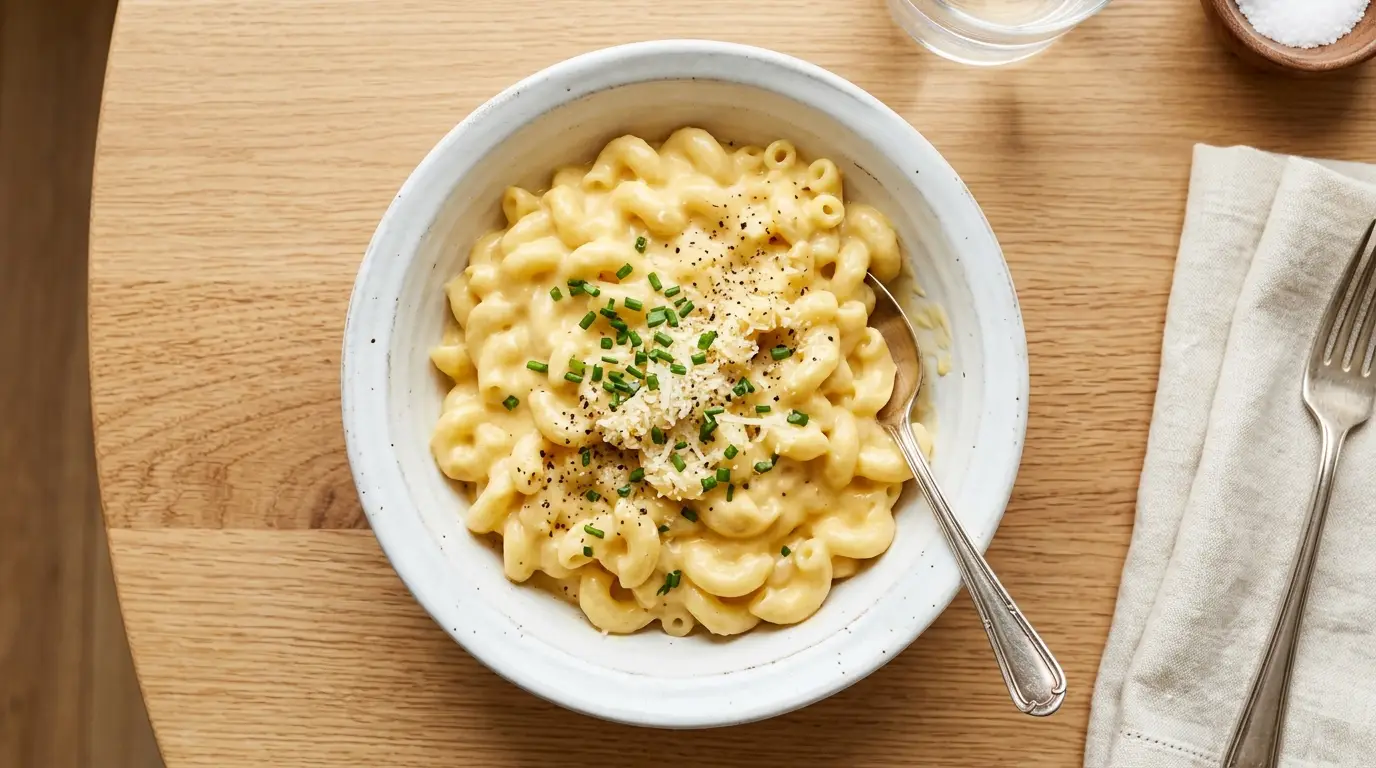
- Scoop into bowls immediately and serve hot. Garnish with a sprinkle of extra grated cheese, a dusting of paprika, or freshly cracked black pepper if desired.
For another impressive mac and cheese variation, try my Air Fryer Mac and Cheese for crispy, golden-topped perfection.

Tips for The Best Instant Pot Mac and Cheese
These are the small details I had to learn through trial, error, and one very grainy batch of cheese sauce before I figured out what actually matters.
- Always grate your own cheese: Block cheese melts smooth and creamy every time. Pre-shredded bags contain cellulose and other anti-caking agents that make the sauce grainy and separated.
- Use whole milk or half-and-half: Low-fat milk works in a pinch, but higher fat dairy produces a noticeably creamier, richer sauce. Heavy cream is also excellent if you want an especially indulgent result.
- Add cheese in batches: Dumping all of the cheese in at once traps air pockets and makes it clump. Adding it in 3 to 4 handfuls with stirring in between guarantees a smooth, even sauce.
- Do a Quick Release immediately: Letting the pressure naturally release even for just a few extra minutes will overcook the pasta and leave you with mushy noodles. Set a timer and be ready to release as soon as it beeps.
- Don’t stir before pressure cooking: After you add everything to the pot, just give it one gentle stir to distribute the seasonings. Stirring too much before cooking can cause the pasta to stick together under pressure.
- Use chicken broth instead of water: Low-sodium chicken broth gives the pasta more flavor as it cooks and adds a savory undertone that plain water just cannot replicate.
- Dry mustard is the secret ingredient: A small amount of dry mustard powder rounds out the cheese flavor and adds a barely-there tang that makes everything taste richer without being identifiable.
- Don’t skip the hot sauce: You don’t need much, just a few dashes, and it does not make the dish spicy. It brightens the cheese flavor in a way that’s almost magic.
- Let it rest two minutes before serving: The sauce continues to thicken slightly after you turn off the heat. Giving it a couple of minutes before serving gets you the ideal consistency.
- Salt your liquid: Adding salt to the cooking liquid seasons the pasta from the inside out as it cooks, which produces much better flavor than salting only at the end.
You might also love my Best Bacon Mac and Cheese for a smoky, indulgent upgrade to this classic.
What to Serve with Instant Pot Mac and Cheese
This recipe is rich and filling enough to be a complete meal on its own, but it pairs wonderfully with lighter sides that add color and freshness to the plate.
A crisp vegetable or a simple green salad balances the richness of the cheese sauce perfectly, while a warm protein turns it into a full and satisfying dinner spread.
- Roasted Sweet Potato: The natural sweetness and caramelized edges of roasted sweet potatoes are a fantastic contrast to the savory, cheesy pasta.
- Broccoli Salad: Crunchy, tangy broccoli salad is one of my favorite things to serve alongside mac and cheese. The acidity cuts right through the richness.
- Deviled Eggs: Creamy, tangy deviled eggs make an excellent appetizer or side dish to round out a mac and cheese dinner.
- Coleslaw: The cool crunch of coleslaw pairs beautifully with warm, cheesy pasta, especially at cookouts and summer gatherings.
- Roasted broccoli: Simply tossed with olive oil and roasted at 425°F for about 20 minutes, roasted broccoli is the easiest and most classic pairing for mac and cheese.
- Fried chicken or roast chicken: Mac and cheese is the natural companion to a crispy piece of fried chicken or a simple roasted chicken breast.
- Green salad: A lightly dressed salad with a vinaigrette cuts through the richness of the cheese sauce and refreshes the palate between bites.
- BBQ pulled pork: Pile mac and cheese alongside smoky, saucy pulled pork for a crowd-pleasing plate that works great at summer cookouts and potlucks.
- Sliced tomatoes: Simple, ripe tomato slices with a little salt and olive oil are surprisingly good alongside a bowl of cheesy mac.
Variations of Instant Pot Mac and Cheese
The base recipe is endlessly adaptable, which is one of the reasons I keep coming back to it. Here are some of my favorite ways to mix things up depending on what’s in my fridge or what kind of meal I’m going for.
- Bacon Mac and Cheese: Cook 4 to 6 strips of bacon until crispy, crumble them, and stir into the finished mac and cheese. The smoky, salty crunch takes this recipe to the next level.
- Broccoli Mac and Cheese: Steam or microwave 2 cups of small broccoli florets and fold them in after the cheese sauce is fully made. Kids who normally avoid broccoli will eat it happily this way.
- Spicy Mac and Cheese: Add 1/2 teaspoon of cayenne pepper to the cooking liquid and stir in a tablespoon of your favorite hot sauce at the end. It adds a warming heat that’s genuinely addictive.
- Smoky Gouda Mac and Cheese: Swap out half the cheddar for smoked Gouda. The smoky, buttery flavor of Gouda turns this into something that feels almost fancy.
- Lobster Mac and Cheese: Stir in cooked lobster meat after adding the cheese sauce for a special-occasion version. Check out the Best Lobster Mac and Cheese for full inspiration.
- Ham and Mac and Cheese: Dice up leftover cooked ham and stir it in at the end. This is one of the best ways to use up holiday ham leftovers.
- Vegan Mac and Cheese: Use unsweetened plant milk like oat or cashew milk, vegan butter, and a combination of nutritional yeast and vegan cheddar shreds. The texture is different but still very satisfying.
- White Mac and Cheese: Use all white cheeses like white cheddar, Gruyere, and Fontina for a more sophisticated flavor profile that’s great for dinner parties.
- Four-Cheese Mac and Cheese: Combine sharp cheddar, Gruyere, Fontina, and Parmesan for an ultra-rich, deeply savory sauce that is absolutely over the top in the best way.
Storage and Reheating
This mac and cheese does make great leftovers, though it will thicken considerably once it cools in the fridge. The key to reheating it well is adding a splash of liquid to loosen it back up before warming.
- Refrigerator: Transfer cooled leftovers into an airtight container and refrigerate for up to 3 days. The mac and cheese will stiffen in the cold but will loosen right back up when warmed.
- Freezer: This recipe can technically be frozen for up to 2 months, though the texture of the pasta and sauce changes after thawing and reheating. It’s best enjoyed fresh or from the fridge.
- Microwave reheating: Add 1 to 2 tablespoons of milk per cup of mac and cheese before microwaving. Heat in 45-second intervals, stirring between each round, until warmed through and creamy again.
- Stovetop reheating: Place leftovers in a small saucepan over low heat. Add a splash of milk and stir frequently until the sauce is smooth and everything is heated through. This method gives you the best texture.
- Do not overheat: High heat will cause the cheese to break and turn greasy and grainy. Always use low to medium-low heat when reheating on the stovetop.
- Refresh seasoning: After reheating, taste and add a small pinch of salt or extra cheese if needed, as the flavors can mellow after refrigeration.
For another easy Instant Pot dinner perfect for cold nights, try this Instant Pot Chicken Noodle Soup.
Nutritional Facts
The following estimates are based on one serving (approximately 1/6 of the full recipe) using whole milk and a blend of sharp cheddar and white cheddar. Values will vary based on exact ingredients and portion sizes used.
| Nutrient | Amount Per Serving |
|---|---|
| Calories | 480 kcal |
| Total Fat | 18g |
| Saturated Fat | 10g |
| Cholesterol | 52mg |
| Sodium | 540mg |
| Total Carbohydrates | 60g |
| Dietary Fiber | 2g |
| Sugars | 4g |
| Protein | 20g |
| Calcium | 380mg (29% DV) |
| Iron | 2.5mg (14% DV) |
| Potassium | 210mg |
| Vitamin A | 8% DV |
You might also enjoy learning about the foundational building block of this dish: Cheese Sauce Recipe.
Health Benefits of Key Ingredients
This recipe is comfort food, and it’s worth enjoying it as exactly that. That said, several of the key ingredients do bring real nutritional value to the table alongside the richness.
Elbow macaroni provides a steady source of complex carbohydrates that fuel energy, and cheese delivers a meaningful amount of calcium, protein, and fat-soluble vitamins in every bite.
- Sharp cheddar cheese: Cheddar is an excellent source of calcium, which is essential for strong bones and teeth. It also provides protein, phosphorus, and fat-soluble vitamins A and K2, which supports cardiovascular and bone health.
- Whole milk: Whole milk contributes additional calcium, vitamin D, riboflavin, and protein. The natural fat in whole milk is what gives the sauce its creamy, rich texture.
- Elbow macaroni: Pasta provides a good source of complex carbohydrates, which the body converts to steady energy. It also contains small amounts of iron and B vitamins, especially if you choose enriched pasta.
- Dry mustard powder: Mustard seeds contain compounds called glucosinolates that have been studied for their anti-inflammatory properties. In small amounts, dry mustard also helps stimulate digestive enzymes.
- Garlic powder: Derived from real garlic, garlic powder contains allicin, a sulfur compound linked to immune support and reduced inflammation.
- Paprika: Paprika contains antioxidants including vitamin A and carotenoids like beta-carotene and capsanthin, which support eye health and immune function.
Read Also: Healthy Cornbread Recipe
FAQs About Instant Pot Mac and Cheese
1. Can I use a different pasta shape instead of elbow macaroni?
Yes, you can use other small pasta shapes like small shells, rotini, cavatappi, or ditalini. The cooking time in the Instant Pot is typically half the package cook time, so adjust accordingly and check the pasta after pressure cooking before you stir in the cheese.
2. Why did my mac and cheese turn out grainy?
A grainy sauce is almost always caused by pre-shredded cheese, which contains anti-caking agents that prevent smooth melting. Always grate your cheese fresh from a block. Overheating on the saute function can also cause the proteins in the cheese to seize up, so keep the heat on low when stirring in the cheese.
3. What if my mac and cheese is too thick?
Simply stir in an additional splash of whole milk, about 2 tablespoons at a time, until the sauce reaches your preferred consistency. The pasta will continue to absorb liquid as it sits, so it’s normal for leftovers to be thicker than when freshly made.
4. Can I make this recipe in a 3-quart mini Instant Pot?
Yes, but you’ll need to halve the recipe to avoid overfilling the smaller pot. Use 8 oz (226g) of pasta, 2 cups (480ml) of liquid, and half of all other ingredients. The pressure cooking time remains the same at 4 minutes.
5. Can I add the milk before pressure cooking?
This is not recommended. Dairy added before pressure cooking is very likely to curdle and scorch on the bottom of the pot, which can trigger a burn notice on your Instant Pot. Always add milk and cheese only after the pressure cooking cycle is complete.
For another easy Instant Pot recipe to add to your rotation, check out this Instant Pot Refried Beans.
Instant Pot Mac and Cheese
Ingredients
- 1 lb elbow macaroni - 453g, uncooked; do not rinse before adding to the pot
- 4 cups water or low-sodium chicken broth - 960ml; chicken broth adds extra savory depth
- 1 tsp kosher salt - 5g; added to the cooking liquid
- 1 tbsp unsalted butter - 14g; added before pressure cooking
- 1/2 tsp garlic powder - 1g
- 1/2 tsp paprika - 1g
- 1/4 tsp dry mustard powder - 0.5g; adds depth and rounds out the cheese flavor
- 1/4 tsp black pepper - 0.5g
- 1 cup whole milk or half-and-half - 240ml; added after pressure cooking only; start with 3/4 cup and add more as needed
- 2 cups sharp cheddar cheese - 226g, freshly grated from a block; do not use pre-shredded
- 1 cup mild white cheddar or Gruyere - 113g, freshly grated; optional but recommended for extra depth of flavor
- hot sauce - A few dashes, to taste; brightens the cheese flavor without adding heat
Equipment
- 6-Quart Instant Pot - Or any 6 or 8-quart electric pressure cooker
- Box grater - For freshly grating cheese from a block
- Silicone spatula or wooden spoon - For stirring cheese into the sauce
- Measuring cups and spoons
- Long Oven Mitts - For safe pressure release
Method
- Place the inner pot into the Instant Pot base and add the dry elbow macaroni, water or chicken broth, butter, salt, garlic powder, paprika, dry mustard powder, and black pepper. Stir gently once to distribute the seasonings and ensure all pasta is submerged in liquid.
- Lock the lid in place and turn the pressure release valve to the Sealing position. Press Pressure Cook or Manual, set to High Pressure for 4 minutes, and allow the pot to fully come to pressure (about 8 to 12 minutes) before the countdown begins.
- As soon as the timer beeps, carefully turn the pressure release valve to Venting using a long oven mitt or wooden spoon to perform a Quick Release. Wait until the float valve drops completely before opening the lid, tilting it away from you as you do.
- Switch the Instant Pot to Saute mode on Low, then stir in the milk. Add the grated sharp cheddar and white cheddar (or Gruyere) in 3 to 4 separate handfuls, stirring each addition until fully melted and smooth before adding the next.
- Taste and adjust with additional salt, black pepper, or a few dashes of hot sauce as desired. Turn off the Saute function and serve immediately, garnished with extra grated cheese and a dusting of paprika if desired.
Nutrition
Notes
- Always grate cheese fresh from a block. Pre-shredded cheese contains anti-caking agents that prevent smooth melting and cause a grainy sauce.
- Use whole milk or half-and-half for the creamiest results. Low-fat milk works but produces a noticeably less rich sauce.
- Add cheese in 3 to 4 separate handfuls, stirring between each addition, to prevent clumping and ensure a silky smooth sauce.
- Do a Quick Release immediately after cooking. Even a few extra minutes of natural release will overcook the pasta and make it mushy.
- Do not add milk or cheese before pressure cooking. Dairy added before pressure cooking will curdle and may cause a burn notice.
- Swap water for low-sodium chicken broth to add extra savory depth to the pasta as it cooks.
- If the sauce is too thick, stir in additional milk one tablespoon at a time until you reach your desired consistency.
- Store leftovers in an airtight container in the refrigerator for up to 3 days. Reheat with a splash of milk over low heat on the stovetop or in 45-second microwave intervals, stirring in between.
- For a different flavor profile, try swapping half the cheddar for smoked Gouda, Gruyere, Fontina, or Monterey Jack.
- Mix-in ideas: crumbled cooked bacon, steamed broccoli florets, diced cooked ham, or a pinch of cayenne for heat.
Private Notes
Tried this recipe?
Let us know how it was!Final Thoughts
I’ve made a lot of mac and cheese in my life, and this Instant Pot version has genuinely earned a permanent spot in my weekly dinner lineup.
It’s fast enough for a Tuesday night when no one has the energy to cook, and it’s good enough that my family asks for it on weekends too.
If you try this recipe, I’d love to hear how it went! Drop a comment below and let me know if you added any fun mix-ins or used a different cheese blend.
Sharing a photo or tagging me online always makes my day, and your feedback helps other home cooks find their way to a great bowl of mac and cheese.
Recommended:
- Tini’s Mac and Cheese Recipe
- Baked Ziti Recipe
- Instant Pot Basmati Rice Recipe
- Broccoli Cheese Potato Soup Recipe
- Scrambled Eggs with Cheese Recipe
- Cheesy Potatoes Recipe
- Shrimp Macaroni Salad Recipe
- Chicken Spaghetti Recipe
- Stuffed Shells Recipe
- Scalloped Potatoes Recipe
