

I first made these chocolate chip cookies on a rainy Saturday afternoon when my daughter asked if we could bake something together. I didn’t realize that my casual “sure, let’s try” would turn into a weekly tradition that’s now lasted three years.
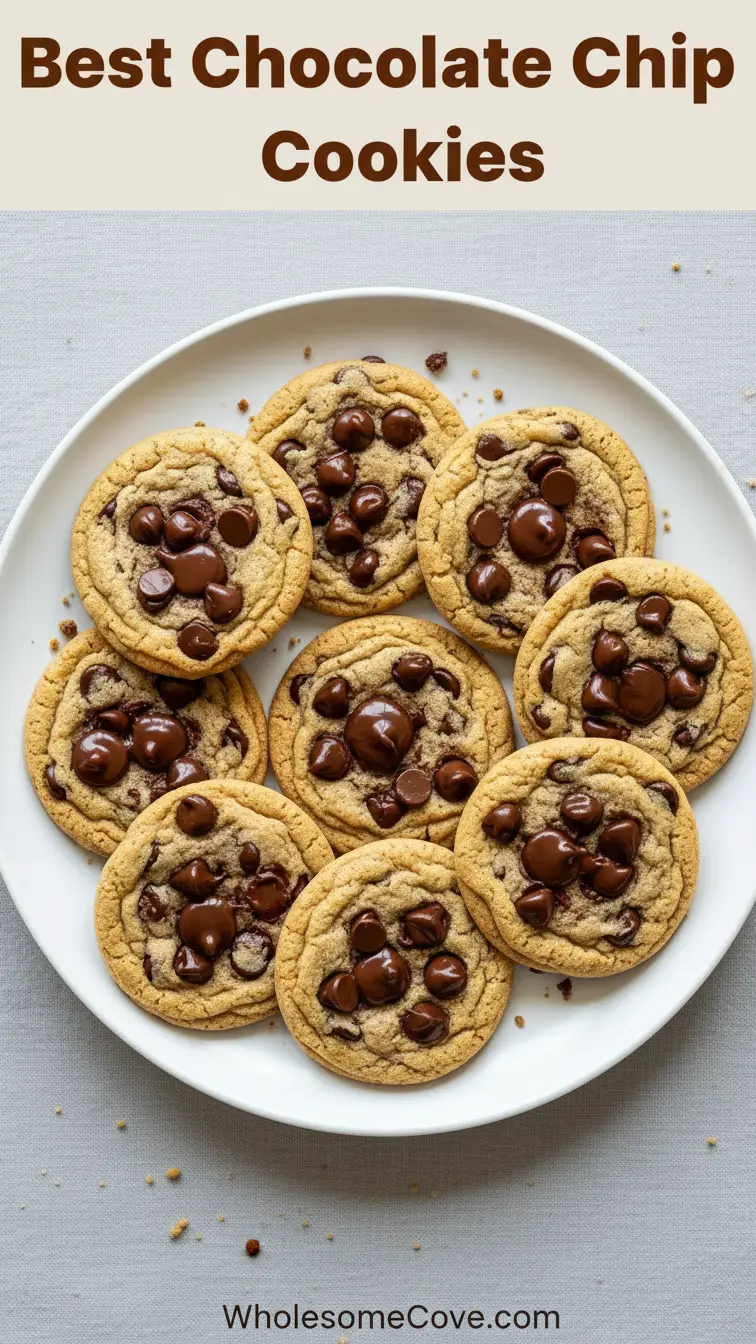
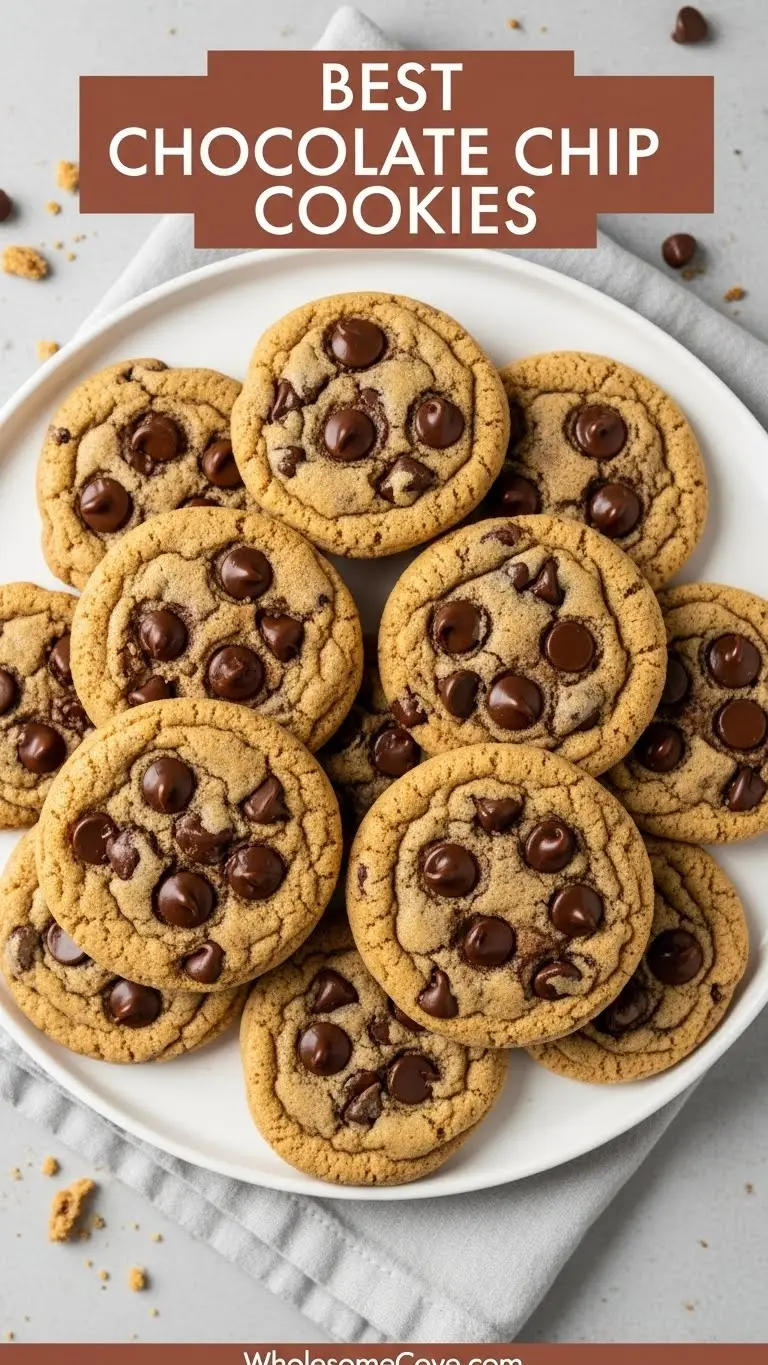
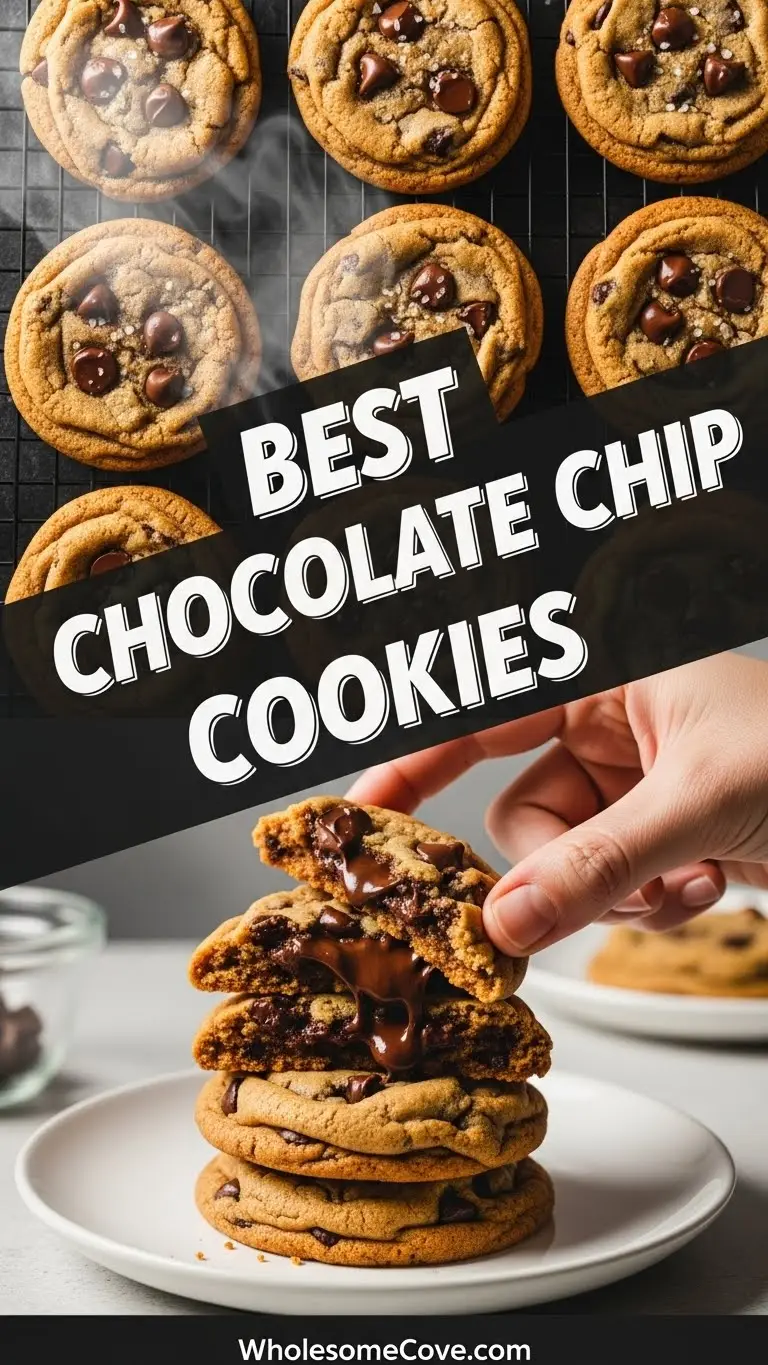
What started as a basic recipe from my grandmother’s worn cookbook has evolved into something truly special. After countless batches and plenty of trials (some ending in crispy disks, others in cakey pucks), I’ve finally nailed down the perfect Chocolate Chip Cookies Recipe that delivers those coveted crispy edges with impossibly soft, chewy centers.
The secret isn’t just in the ingredients. It’s in the techniques I stumbled upon through happy accidents and deliberate experimentation.
Brown butter made all the difference when I accidentally left mine on the stove a minute too long. The aroma that filled my kitchen was so intoxicating that I decided to roll with it, and the resulting cookies had a depth of flavor I’d never achieved before.
These cookies have become my go-to for everything from impromptu coffee dates to holiday cookie exchanges. They’re the ones my kids request for their lunchboxes, the ones my husband sneaks from the cooling rack when he thinks I’m not looking.
| Quick Recipe Summary | |
|---|---|
| Prep Time | 15 minutes |
| Cook Time | 12 minutes |
| Total Time | 27 minutes |
| Servings | 24 cookies |
| Difficulty Level | Easy |
Why You’ll Love This Chocolate Chip Cookies Recipe
This recipe consistently produces bakery-quality cookies that’ll make you wonder why you ever bought the refrigerated dough. The combination of brown butter and a careful balance of sugars creates layers of flavor that standard recipes simply can’t match.
I’ve tested this recipe at sea level and at 6,000 feet elevation. I’ve made it in humid Florida summers and dry Colorado winters. It works beautifully every single time, which is why I’m confident sharing it with you.
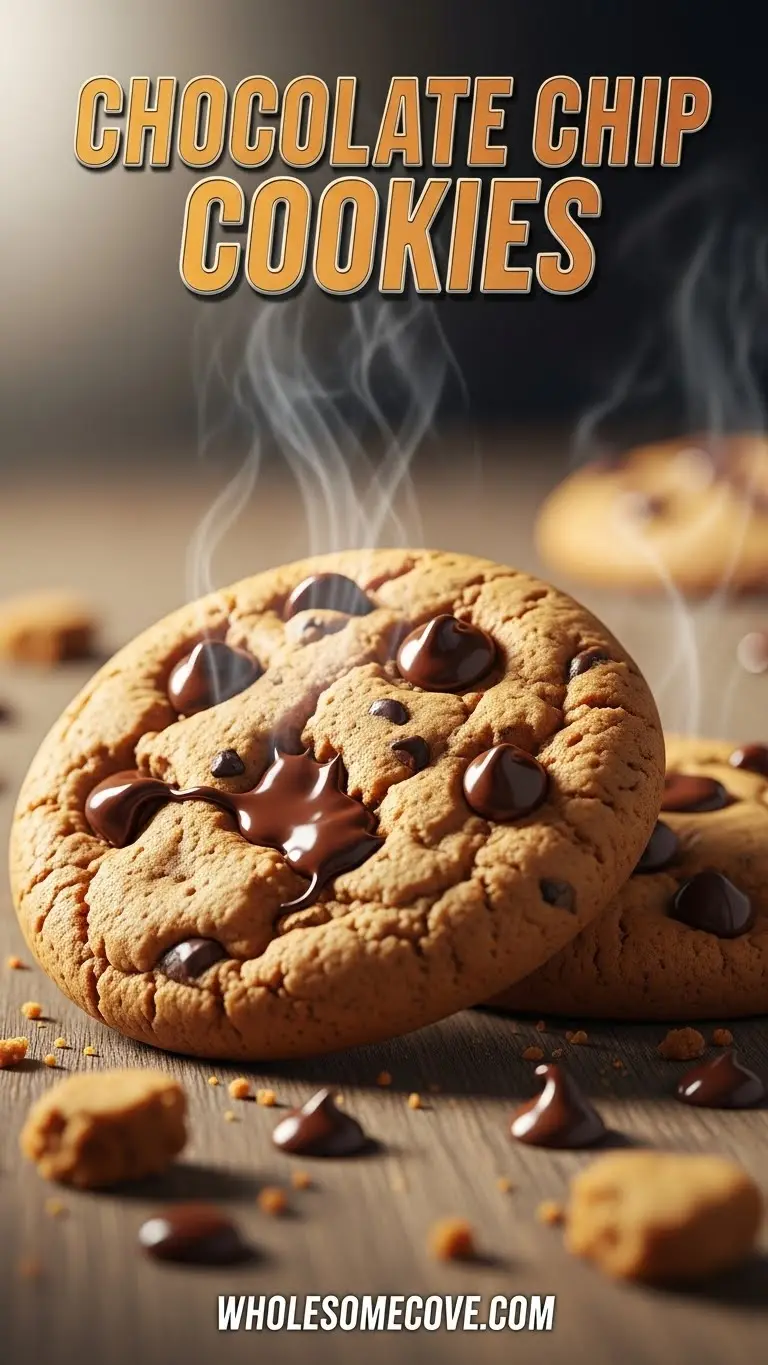
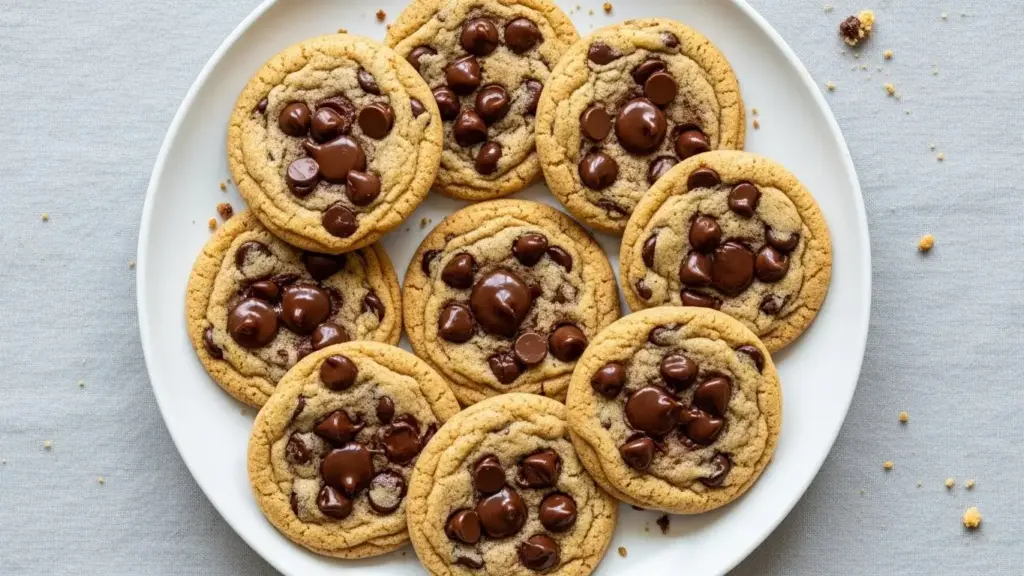
The texture is what really sets these cookies apart. You get those signature crispy, caramelized edges that shatter when you bite into them, immediately giving way to a soft, almost gooey center that stays chewy for days (if they last that long).
Here’s what makes this recipe special:
- Foolproof technique that works for beginners and experienced bakers alike
- Customizable chocolate ratio so you can add as much or as little as your heart desires
- Make-ahead friendly with dough that freezes beautifully for up to 3 months
- Minimal equipment needed – no fancy mixers or special tools required
- Crowd-pleasing flavor that appeals to kids and adults equally
For those watching their nutrition, you might also enjoy my Healthy Chocolate Chip Cookies Recipe, which uses wholesome ingredients without sacrificing flavor.
Ingredients
The quality of your ingredients directly impacts the final result. I learned this the hard way when I tried using margarine instead of butter to save money, and ended up with flat, greasy cookies that nobody wanted to eat.
Dry Ingredients:
- 2¼ cups (280g) all-purpose flour
- 1 teaspoon baking soda
- 1 teaspoon fine sea salt
Wet Ingredients:
- 1 cup (226g) unsalted butter
- ¾ cup (150g) granulated sugar
- ¾ cup (165g) packed light brown sugar
- 2 large eggs, room temperature
- 2 teaspoons pure vanilla extract
Mix-ins:
- 2 cups (340g) semi-sweet chocolate chips
- 1 cup (170g) dark chocolate chunks (optional, for extra richness)
- Flaky sea salt for topping (optional but highly recommended)
Kitchen Equipment Needed
You don’t need a fancy kitchen to make incredible cookies. These are the essential tools I use every single time I bake these.
Essential Equipment:
- Heavy-bottomed saucepan (for browning butter)
- Large mixing bowl
- Electric hand mixer or stand mixer
- Whisk
- Rubber spatula
- Cookie scoop (2-tablespoon size for uniform cookies)
- Baking sheets (at least 2)
- Parchment paper or silicone baking mats
- Wire cooling rack
- Measuring cups and spoons
Recommended Products for This Recipe
After years of testing and refining this recipe, I’ve found a few products that genuinely elevate the final result. These aren’t necessary, but they do make a noticeable difference.
1. Ghirardelli Semi-Sweet Chocolate Chips
I’ve tried every brand of chocolate chips you can imagine, and Ghirardelli consistently delivers the best flavor and melt. They maintain their shape during baking while still creating those beautiful chocolate puddles, and the quality of chocolate is noticeably superior to generic brands.
2. KitchenAid Heavy Duty Cookie Sheet
This isn’t just marketing hype. The even heat distribution on this pan means no more cookies that are burnt on the bottom and raw in the middle. The heavy gauge aluminum prevents warping, which was a constant problem with my old cheap pans that would buckle in the oven and create uneven cookies.
3. Madagascar Bourbon Pure Vanilla Extract
The difference between imitation vanilla and real vanilla extract is night and day in cookies. This particular extract has a rich, complex flavor that amplifies the butter and sugar notes. I use it in everything now, and one bottle lasts months.
4. OXO Good Grips Cookie Scoop
Uniform cookie size means even baking, and this scoop has a comfortable grip that doesn’t tire out your hand when you’re making multiple batches. The release mechanism actually works smoothly, unlike cheaper scoops that require wrestling with the dough.
Step-by-Step Instructions: How to Make Chocolate Chip Cookies
Follow these steps carefully, especially if you’re new to baking. I’ve included all the little details that make the difference between good cookies and exceptional ones.
1. Brown the Butter
- Cut your butter into tablespoon-sized pieces so it melts evenly in the pan
- Place butter in a light-colored, heavy-bottomed saucepan over medium heat (light-colored pans let you see the browning process)
- Stir constantly with a whisk or wooden spoon as the butter melts, watching for it to foam and then subside
- Continue cooking, stirring constantly, until you see golden-brown specks forming at the bottom of the pan and smell a nutty, toasted aroma (this takes about 5-7 minutes)
- Immediately pour the browned butter into a heatproof bowl to stop the cooking process (leaving it in the hot pan can burn it quickly)
- Let it cool to room temperature, about 20-25 minutes (you can speed this up by placing the bowl in the refrigerator for 10-15 minutes, stirring occasionally)
2. Mix the Dry Ingredients
- In a medium bowl, whisk together the flour, baking soda, and salt until completely combined
- Make sure there are no clumps of baking soda, as these can create bitter spots in your cookies
- Set this bowl aside while you work on the wet ingredients
3. Cream the Butter and Sugars
- Pour the cooled brown butter into a large mixing bowl
- Add both the granulated sugar and brown sugar to the butter
- Using an electric mixer on medium speed, beat the mixture for 2-3 minutes until it becomes light and fluffy
- The mixture should look slightly paler in color and have increased in volume
- Scrape down the sides of the bowl with a rubber spatula to ensure everything is evenly mixed
4. Add Eggs and Vanilla
- Crack the eggs into a small bowl first to check for shells, then add them one at a time to the butter-sugar mixture
- Beat on medium speed for 30 seconds after adding each egg, making sure the first egg is fully incorporated before adding the second
- Add the vanilla extract and mix for another 30 seconds until completely combined
- The mixture should look smooth, glossy, and slightly increased in volume
You might also enjoy: Sugar Cookies Recipe
5. Incorporate the Dry Ingredients
- Add the flour mixture to the wet ingredients all at once
- Using a rubber spatula or the mixer on the lowest speed, gently fold or mix until you see just a few streaks of flour remaining
- Stop mixing when about 10% of the flour is still visible (the dough will look slightly undermixed)
- Overmixing at this stage develops gluten, which makes cookies tough and cakey instead of tender and chewy
6. Fold in the Chocolate
- Add your chocolate chips and chunks (if using) to the dough
- Using a sturdy rubber spatula, fold the chocolate into the dough with broad, sweeping motions from the bottom of the bowl upward
- Continue folding until the chocolate is evenly distributed and no streaks of flour remain
- The dough should look thick, slightly glossy, and hold together when pressed
7. Chill the Dough (Critical Step)
- Cover the bowl tightly with plastic wrap, pressing it directly onto the surface of the dough to prevent a skin from forming
- Refrigerate for at least 30 minutes, or up to 72 hours (longer chilling time develops more complex flavors)
- Cold dough spreads less in the oven, creating thicker cookies with better texture
- If you’re in a hurry, you can chill for just 15 minutes in the freezer, but I really recommend the full 30-minute refrigeration for best results
8. Prepare for Baking
- Position oven racks in the upper third and lower third of your oven
- Preheat your oven to 375°F (190°C) for at least 15 minutes before baking
- Line two baking sheets with parchment paper or silicone baking mats (this prevents sticking and promotes even browning)
- If you only have one baking sheet, you’ll need to bake in batches, allowing the sheet to cool completely between batches
9. Shape the Cookies
- Using a 2-tablespoon cookie scoop or a regular spoon, portion out the dough into rounds
- Roll each portion briefly between your palms to create smooth balls (this helps them spread evenly)
- Place the dough balls on the prepared baking sheets, spacing them about 3 inches (7.5cm) apart to allow for spreading
- You should fit about 6-8 cookies per standard baking sheet
- Press 2-3 extra chocolate chips onto the top of each dough ball for a bakery-style appearance
10. Bake the Cookies
- Place one baking sheet on the upper rack and one on the lower rack
- Bake for 6 minutes, then quickly rotate the pans (move the top pan to the bottom rack and vice versa) to ensure even baking
- Continue baking for another 5-6 minutes, watching carefully during the last few minutes
- The cookies are done when the edges are golden brown and set, but the centers still look slightly underdone and puffy
- They should jiggle just slightly when you gently shake the pan
- Remove from the oven even if they look underbaked (they’ll continue cooking on the hot pan)
Read Also: Peanut Butter Cookies Recipe
11. Cool and Finish
- Let the cookies sit on the baking sheet for exactly 5 minutes (setting a timer helps)
- While they’re still hot, gently press down on any cookies that have spread too much to create a more uniform thickness
- If using, sprinkle a small pinch of flaky sea salt on top of each cookie while they’re still warm
- After 5 minutes, use a wide spatula to carefully transfer the cookies to a wire cooling rack
- Allow them to cool completely before storing, about 20-30 minutes (though eating one warm is absolutely encouraged)
Tips for The Best Chocolate Chip Cookies
These tips come from my years of cookie-making mistakes and successes. Pay attention to these details, and your cookies will turn out perfect every time.
Pro Tips:
- Room temperature eggs are crucial for proper emulsification and even mixing (place cold eggs in warm water for 5 minutes to bring them to room temperature quickly)
- Don’t skip browning the butter as it adds incredible depth and nutty flavor that standard cookies lack
- Measure flour correctly by spooning it into your measuring cup and leveling it off (scooping directly from the bag packs in too much flour)
- Use a kitchen scale for precision (weighing ingredients eliminates variables and ensures consistent results every time)
- Let the dough rest in the refrigerator for at least 30 minutes, or ideally overnight (this allows the flour to fully hydrate and develops better flavor)
- Don’t overbake as cookies continue cooking on the hot pan after you remove them from the oven
- Rotate pans halfway through baking to compensate for hot spots in your oven
- Use parchment paper instead of greasing pans (it prevents spreading and makes cleanup effortless)
- Freeze portioned dough on a baking sheet, then transfer to a freezer bag for fresh-baked cookies anytime (bake from frozen, adding 2-3 extra minutes)
- Experiment with chocolate varieties by mixing milk, dark, and semi-sweet chocolates for complex flavor
- Add a pinch of espresso powder to intensify the chocolate flavor without making cookies taste like coffee
- Bang the pan on the counter halfway through baking to create those signature ripples and crinkles on top
- Store cookies properly in an airtight container with a slice of bread to maintain their soft texture
What to Serve with Chocolate Chip Cookies
These cookies are incredibly versatile and pair beautifully with so many treats. The rich chocolate and butter flavors complement both simple and elaborate desserts.
I love serving these cookies with Hot Chocolate on cold winter evenings. The combination of warm, melted chocolate and cold milk creates an amazing contrast.
Serving Ideas:
- Classic milk dunk using whole milk or cold brew coffee for the ultimate dunking experience
- Ice cream sandwiches made by sandwiching your favorite ice cream between two slightly underbaked cookies
- Cookie sundae by crumbling warm cookies over vanilla ice cream with hot fudge and whipped cream
- Breakfast treat alongside French Toast and fresh berries
- Dessert platter with Creme Brulee and fresh fruit
- Gift packaging in mason jars tied with ribbon for holidays and special occasions
- Cookie butter by blending cookies in a food processor with a bit of oil until smooth and spreadable
- Snack pairing with cheese and fruit for an unexpected sweet and savory combination
Variations of Chocolate Chip Cookies
Once you’ve mastered the basic recipe, these variations add exciting new dimensions without requiring you to learn entirely new techniques.
Delicious Variations:
- Pumpkin chocolate chip by reducing butter to ¾ cup and adding ½ cup pumpkin puree (similar to my Pumpkin Chocolate Chip Cookies Recipe)
- Browned butter oatmeal by replacing 1 cup flour with 1½ cups old-fashioned oats
- Triple chocolate by using ⅓ cup cocoa powder in place of ⅓ cup flour, then mixing in white, milk, and dark chocolate chips
- Nutty delight by adding 1 cup toasted pecans or walnuts, chopped
- Sea salt caramel by pressing a soft caramel candy into the center of each cookie before baking
- S’mores style by adding mini marshmallows and graham cracker pieces to the dough
- Coffee shop cookie by adding 2 tablespoons instant espresso powder and using dark chocolate chunks
- Kitchen sink by mixing in ½ cup each of pretzels, potato chips, and caramel bits for sweet and salty perfection
- Peppermint by adding 1 teaspoon peppermint extract and crushed candy canes (perfect for the holidays)
- Butterscotch by swapping half the chocolate chips for butterscotch chips
- Coconut chocolate by adding 1 cup toasted coconut flakes
- Stuffed cookies by wrapping dough around Rolos, peanut butter cups, or cookie butter
Another favorite: Oatmeal Cookies Recipe
Storage and Reheating
Proper storage keeps these cookies tasting fresh-baked for days. I’ve tested every storage method imaginable to find what works best.
Storage Instructions:
- Room temperature in an airtight container for up to 5 days (place a slice of bread in the container to keep cookies soft)
- Refrigerator storage for up to 2 weeks in an airtight container (let come to room temperature before serving for best texture)
- Freezer storage for baked cookies up to 3 months (layer between parchment paper in a freezer-safe container)
- Freeze cookie dough as portioned balls on a baking sheet, then transfer to a freezer bag for up to 3 months
- Separate soft and crispy cookies during storage (storing them together makes crispy cookies soft)
- Never store warm cookies as condensation inside the container will make them soggy
- Use wax paper between layers of cookies to prevent them from sticking together
Reheating Tips:
- Microwave method for 8-10 seconds to restore that just-baked texture and melt the chocolate chips
- Oven method by placing cookies on a baking sheet at 300°F (150°C) for 3-4 minutes
- Toaster oven at 325°F (160°C) for 2-3 minutes works perfectly for just a few cookies
- Bake from frozen dough by adding 2-3 extra minutes to the baking time (no need to thaw)
Nutritional Facts
Per cookie (based on 24 cookies):
- Calories: 185
- Total Fat: 9g
- Saturated Fat: 6g
- Cholesterol: 30mg
- Sodium: 140mg
- Total Carbohydrates: 24g
- Dietary Fiber: 1g
- Sugars: 16g
- Protein: 2g
Note: Nutritional values are approximate and may vary based on specific ingredients used.
Health Benefits of Key Ingredients
While these cookies are definitely a treat, some ingredients do offer nutritional benefits. I always remind myself that homemade is better than store-bought, where you actually know and control what goes in.
Ingredient Benefits:
- Dark chocolate contains flavonoids that support heart health and provide antioxidants (choosing 70% cocoa or higher maximizes these benefits)
- Eggs provide high-quality protein, vitamins B12 and D, and choline for brain health
- Butter offers fat-soluble vitamins A, E, and K2, plus conjugated linoleic acid when from grass-fed cows
- Vanilla extract contains small amounts of antioxidants and has been shown to have calming properties
- Sea salt provides trace minerals that table salt lacks, including magnesium and potassium
For an even healthier version, try these Healthy Chocolate Chip Cookies made with wholesome alternatives.
FAQs About Chocolate Chip Cookies
1. Why are my cookies spreading too much in the oven?
Your butter might be too warm, or your dough needs more chilling time. Make sure your butter has cooled to room temperature after browning, and always chill the dough for at least 30 minutes before baking. Using melted butter instead of softened creates flatter cookies, and warm dough will spread excessively.
2. Can I use salted butter instead of unsalted?
Yes, but reduce the added salt in the recipe to ½ teaspoon to avoid overly salty cookies. I prefer unsalted butter because it gives you complete control over the salt level, which affects both flavor and texture in subtle but important ways.
3. How do I get bakery-style thick cookies?
Use cold dough, portion slightly larger cookies, and pull them from the oven when they still look slightly underbaked in the center. The secret is also in chilling the dough for at least an hour, which firms up the fat and prevents excessive spreading. Some bakers also freeze portioned dough balls before baking for maximum thickness.
4. My cookies turned out cakey instead of chewy. What happened?
You likely overmixed the dough after adding the flour, which develops gluten and creates a cake-like texture. Mix just until the flour disappears, even if a few streaks remain. Also check your measurements—too much flour or too little fat will yield cakey cookies.
5. Can I make this dough ahead of time?
Absolutely! The dough actually improves with time. Refrigerate it for up to 72 hours or freeze portioned dough balls for up to 3 months. Many bakers swear that 24-48 hours of chilling creates the absolute best flavor as the dough has time to develop complexity.
Read Also: Gingerbread Cookie Recipe
Final Thoughts
These chocolate chip cookies have brought so much joy to my kitchen over the years. From late-night baking sessions when I can’t sleep to special occasions with family, they’ve been there for it all.
The beauty of this recipe is that it’s both reliable and flexible. You can follow it exactly as written and get perfect results, or you can make it your own with different chocolates, nuts, or mix-ins.
I hope these cookies become as beloved in your home as they are in mine. There’s something magical about the smell of fresh cookies baking, and the smiles they create are worth every minute spent in the kitchen.
Try making a batch this weekend and let me know how they turn out in the comments below! I’d love to hear about any creative variations you come up with or how your family enjoys them.
Recommended:
- No Bake Cookies Recipe
- Oatmeal Raisin Cookie Recipe
- Creme Brulee Cookies Recipe
- Eggnog Cookies Recipe
- Pumpkin Cookies Recipe
- Pumpkin Snickerdoodle Cookies Recipe
- Pumpkin Oatmeal Cookies Recipe
- Fudge Brownie Recipe
- Caramel Sauce Recipe
- Pumpkin Bar Recipe

