
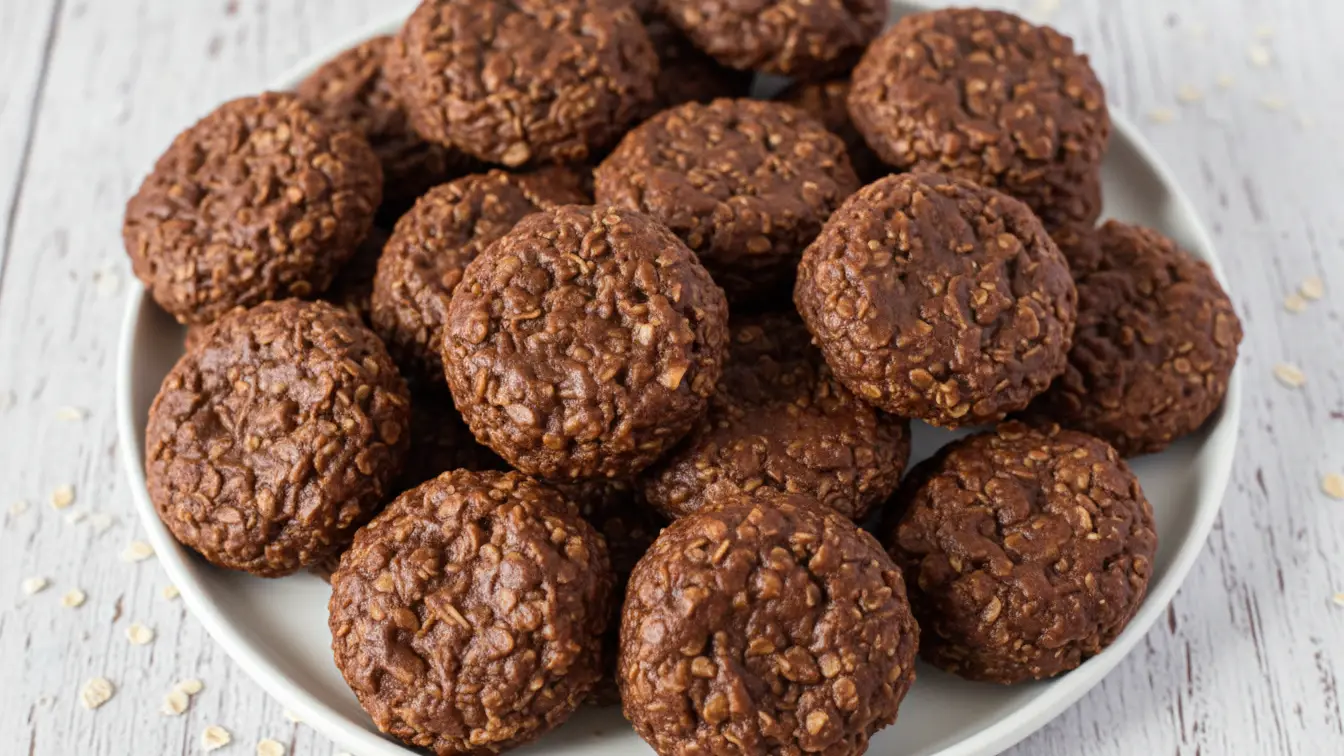
I remember the first time my grandmother taught me how to make this no bake cookies recipe. I was eight years old, standing on a wobbly step stool in her tiny kitchen, watching chocolate and peanut butter melt together into something magical.
She told me these cookies saved her sanity during the hot Texas summers when turning on the oven felt like pure punishment. Back then, I couldn’t understand why anyone wouldn’t want to bake, but now, living in my own un-air-conditioned apartment during August, I finally get it.
This recipe has become my go-to whenever I need a quick dessert for unexpected guests or when my sweet tooth strikes at 10 PM on a Tuesday. The best part is that you probably have all the ingredients in your pantry right now, and in less than 30 minutes, you’ll have chewy, chocolatey cookies cooling on your counter.
| Quick Recipe Summary | |
|---|---|
| Prep Time | 10 minutes |
| Cook Time | 3 minutes |
| Total Time | 13 minutes (plus 30 minutes chilling) |
| Servings | 30 cookies |
| Difficulty Level | Easy |

Why You’ll Love This No Bake Cookies Recipe
These cookies are foolproof, which is saying something coming from someone who once burned water (don’t ask). I’ve made them countless times, sometimes at midnight when the craving hits, and they’ve never let me down.
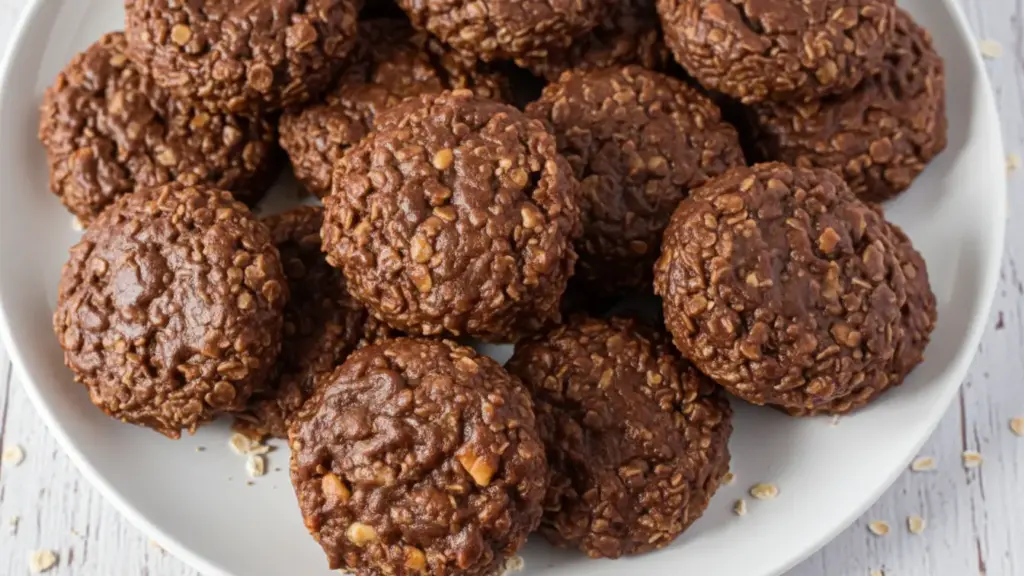
The texture is perfectly chewy with a slight crunch from the oats, and the combination of chocolate and peanut butter is absolutely addictive. My kids request these weekly, and I’ve started making double batches because they disappear within hours.
Here’s why this recipe will become your favorite:
- No oven required: Perfect for summer or when your oven is occupied
- Ready in 15 minutes: Faster than ordering takeout dessert
- Kid-friendly: Safe for children to help make (no hot oven involved)
- Minimal cleanup: Just one pot and a spoon
- Budget-friendly: Uses pantry staples you likely already have
- Crowd-pleaser: Loved by picky eaters and food snobs alike
- Customizable: Easily adapted to different dietary needs
If you’re looking for more easy cookie recipes, check out my oatmeal cookies recipe for another quick treat.
Ingredients
The beauty of this no bake cookies recipe lies in its simplicity. I’ve tweaked the ratios over the years to get the perfect balance of chocolate and peanut butter, and I promise this combination works like a charm.
- 2 cups (400g) granulated sugar
- 1/2 cup (120ml) whole milk (don’t use skim, trust me on this)
- 1/2 cup (115g) unsalted butter
- 1/4 cup (25g) unsweetened cocoa powder
- 1/2 cup (130g) creamy peanut butter
- 1 teaspoon vanilla extract
- 3 cups (270g) old-fashioned rolled oats (not instant)
- Pinch of salt (1/4 teaspoon)
Important ingredient notes: I learned the hard way that quick oats turn these cookies into mush. Stick with old-fashioned rolled oats for the proper texture. Also, whole milk creates a creamier consistency than low-fat alternatives, though you can use what you have in a pinch.
Kitchen Equipment Needed
You don’t need fancy equipment for these cookies, which is part of their charm. Here’s everything you’ll need to have ready before you start:
- Medium saucepan (2-3 quart capacity)
- Wooden spoon or heat-resistant silicone spatula
- Measuring cups and spoons
- Parchment paper or wax paper
- Baking sheets (for setting cookies on)
- Timer (seriously, don’t eyeball the boiling time)
Pro tip: Line your baking sheets with parchment paper before you start cooking. Once the mixture is ready, you’ll need to work quickly, and scrambling for paper while the mixture cools will stress you out.
Recommended Products for This Recipe
After making these cookies hundreds of times, I’ve found a few products that genuinely make the process easier and the results better. These aren’t necessary, but they’ve made a real difference in my kitchen.
1. Ghirardelli Premium Baking Cocoa
This cocoa powder has transformed my no bake cookies from good to absolutely incredible. The Dutch-processed cocoa gives a deeper, richer chocolate flavor without any bitterness, and a little goes a long way. I’ve tried at least a dozen brands over the years, and this is the one I keep coming back to.
2. Quaker Old Fashioned Oats
Not all oats are created equal, and Quaker’s old-fashioned rolled oats give these cookies the perfect chewy texture. They hold their shape during cooking without getting mushy, and they’re readily available everywhere. I always keep two canisters in my pantry because we go through them so fast.
3. All-Clad Stainless Steel Saucepan
This is the saucepan I reach for every single time I make these cookies. It heats evenly without hot spots, which means your sugar mixture won’t scorch in one corner while barely warming in another. I’ve had mine for seven years, and it still looks brand new. The heavy bottom is perfect for candy-making and any recipe that requires precise temperature control.
4. Jif Natural Creamy Peanut Butter
After testing every peanut butter brand I could find, Jif Natural gives the best results for this recipe. It’s creamy without being oily, and it mixes smoothly into the chocolate mixture. The natural version has a cleaner peanut flavor that really shines through. Avoid the natural peanut butters that separate, as they can make the cookies grainy.

Step-by-Step Instructions: How to Make No Bake Cookies
I’m going to walk you through this process exactly as I do it in my kitchen. Follow these steps carefully, especially the timing, and you’ll have perfect cookies every time.
1. Prep Your Workspace
Before you start cooking anything, this prep step is crucial:
- Line 2-3 baking sheets with parchment paper and set them near your stove
- Measure out your oats, peanut butter, and vanilla extract in separate bowls
- Clear a space on your counter near the stove where you can work quickly
- Have your spoon ready and within arm’s reach
- Set your timer where you can easily see it
Why this matters: Once the sugar mixture boils, everything happens fast. Having everything prepped means you won’t be frantically searching for ingredients while your mixture overcooks.
2. Combine the Base Ingredients
This is where the magic begins:
- Add the sugar, milk, butter, and cocoa powder to your saucepan
- Place the pan over medium-high heat
- Stir constantly with your wooden spoon to prevent scorching
- Continue stirring until the butter melts completely and the mixture is smooth
- Watch for the mixture to come to a full rolling boil
Common mistake: Many people walk away from the stove during this step. Don’t! The sugar can burn quickly if left unattended. I keep stirring in a figure-eight pattern to ensure even heating.
You might also enjoy: Peanut Butter Cookies Recipe
3. Boil the Mixture
This is the most critical step that determines your cookie texture:
- Once the mixture reaches a full rolling boil (large bubbles breaking the surface), start your timer immediately
- Let it boil for exactly 90 seconds (1 minute and 30 seconds) while stirring continuously
- Do not stop stirring, even for a second
- The mixture will bubble vigorously, and that’s exactly what you want
- After 90 seconds, immediately remove the pan from heat
Timing is everything: I can’t stress this enough. Under-boiled cookies will be too soft and won’t set properly. Over-boiled cookies turn crumbly and dry. I use a digital timer and keep my eyes on it the entire time. This 90-second window is what I discovered after making these cookies wrong about a dozen times.
4. Add Peanut Butter and Vanilla
Work quickly but carefully during this step:
- Remove the pan from the heat source
- Immediately add the peanut butter and vanilla extract
- Stir vigorously until the peanut butter melts completely
- The mixture should become glossy and smooth
- This should take about 30 seconds of stirring
Texture check: The mixture should look shiny and flow smoothly off your spoon. If you see any lumps of peanut butter, keep stirring until they disappear.
5. Fold in the Oats
This is where your cookies come together:
- Add all the oats at once to the chocolate mixture
- Fold them in with your spoon, making sure every oat gets coated
- Work quickly because the mixture starts to set as it cools
- Scrape the sides and bottom of the pan to incorporate everything evenly
- The mixture will be thick and slightly sticky
Important: Don’t overmix once you add the oats. Stir just enough to coat them evenly, then move on to shaping.
Read Also: Oatmeal Raisin Cookie Recipe
6. Drop and Shape the Cookies
Time to form your cookies:
- Using a spoon or cookie scoop, drop heaping tablespoons of the mixture onto your prepared baking sheets
- Work quickly, as the mixture sets fast
- Space cookies about 1 inch apart (they won’t spread)
- Press down gently with the back of your spoon to flatten slightly if desired
- If the mixture becomes too stiff to scoop, you can use damp hands to roll into balls
Speed tip: I can usually get all the cookies formed in about 3-4 minutes if I work efficiently. If you’re new to this, have a helper drop cookies on a second sheet while you scoop.
7. Let Cookies Set
The final step requires patience:
- Leave the cookies at room temperature to set completely
- This takes about 30-45 minutes in a normal kitchen
- Don’t try to move them before they’re set or they’ll fall apart
- In very hot weather, you can refrigerate them to speed up setting
- They’re ready when they’re firm to the touch and no longer shiny
Setting check: Gently touch the top of a cookie. If it’s firm and doesn’t leave an indent, they’re ready. If it’s still soft, give them more time.

Tips for The Best No Bake Cookies
I’ve learned these lessons through trial and error, and they’ll help you avoid the mistakes I made when I was figuring out this recipe:
- Use a reliable timer: Seriously, those 90 seconds of boiling are non-negotiable. I’ve tried “winging it,” and the results are never as good.
- Fresh oats matter: Stale oats can make cookies taste off. If your oats have been sitting in the pantry for months, get a fresh container.
- Don’t double the batch: The cooking time changes when you double the recipe, and it’s nearly impossible to get the texture right. Make two separate batches if you need more.
- Room temperature ingredients work better: Cold peanut butter won’t melt smoothly into the hot mixture. I learned this after dealing with lumpy cookies more times than I’d like to admit.
- Humidity affects setting time: On humid days, these cookies take longer to set. If you’re in a sticky climate, pop them in the fridge.
- Test your first cookie: If your first couple of cookies don’t set properly, you can reheat the remaining mixture for 15-20 seconds and try again.
- Natural peanut butter requires adjustments: If you use the kind that separates, your cookies might turn out oily. Stick with regular creamy peanut butter for consistent results.
- Altitude matters: If you live above 3,000 feet, you may need to boil for an extra 15-30 seconds. The lower boiling point of water at altitude affects the sugar mixture.
Serving Suggestions
These cookies are delicious on their own, but here are some of my favorite ways to serve them:
I love packing these for road trips because they travel well and don’t need refrigeration. My kids request them for school lunches, and they’ve become the star of every bake sale I’ve participated in.
- With coffee or tea: The perfect afternoon snack companion
- Crumbled over ice cream: Creates an incredible sundae topping
- Sandwiched with frosting: Spread vanilla buttercream between two cookies for an indulgent treat
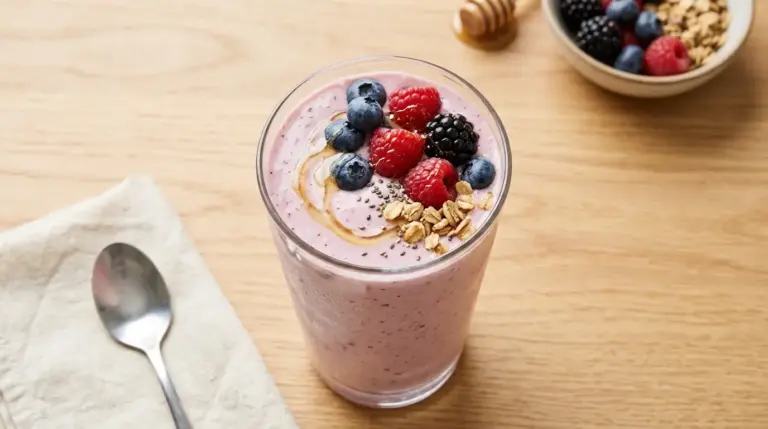
- Alongside fresh fruit: Balances the richness with something light
- With a glass of cold milk: Classic combination that never gets old
- Packaged as gifts: Wrap them in cellophane bags with ribbon for homemade gifts
These pair wonderfully with my hot chocolate recipe during winter months.
Variations of No Bake Cookies
Once you’ve mastered the basic recipe, these variations will keep things interesting:
- Almond butter version: Swap peanut butter for almond butter and add 1/2 teaspoon almond extract. I make this for my nephew who’s allergic to peanuts.
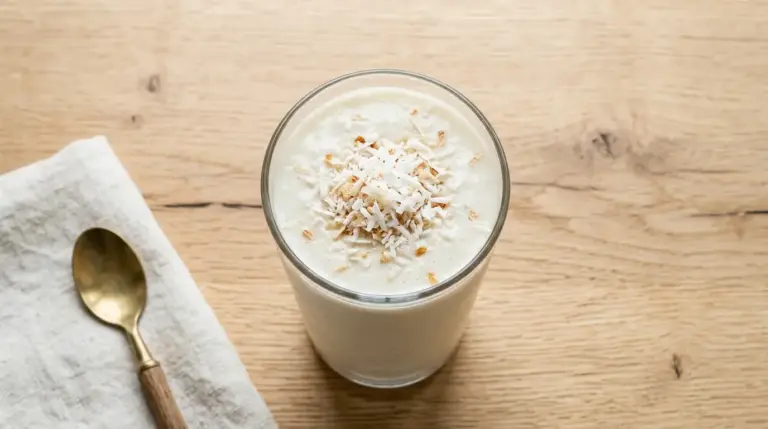
- Coconut twist: Replace 1 cup of oats with shredded coconut for a tropical flavor.
- Espresso chocolate: Add 1 tablespoon instant espresso powder to the chocolate mixture. This creates an incredible mocha flavor that adults go crazy for.
- Crunchy style: Use crunchy peanut butter instead of creamy for added texture.
- Butterscotch variation: Replace cocoa powder with butterscotch chips. This changes the flavor profile completely and is surprisingly delicious.
- Protein boost: Add 1/4 cup protein powder to the oat mixture. I do this for post-workout snacks.
- Nutella version: Replace the cocoa powder and peanut butter with 3/4 cup Nutella. My teenage daughter requests this version constantly.
- White chocolate: Omit cocoa powder and add 1 cup white chocolate chips to the sugar mixture. Stir until melted before adding oats.
- Mint chocolate: Add 1/2 teaspoon peppermint extract along with the vanilla. Perfect for holiday cookie trays.
Another favorite: Sugar Cookies Recipe
Storage and Reheating
Proper storage keeps these cookies fresh for days, though they rarely last that long in my house:
- Room temperature: Store in an airtight container with parchment paper between layers. They’ll stay fresh for 5-7 days.
- Refrigerator: These cookies keep for up to 2 weeks when refrigerated. Let them come to room temperature before serving for the best texture.
- Freezer: Layer cookies between parchment paper in a freezer-safe container. They freeze beautifully for up to 3 months. Thaw at room temperature for about 20 minutes.
- Container choice: I use a plastic container with a tight-fitting lid. Glass works too, but plastic is lighter for stacking in the pantry.
- Humidity control: In very humid climates, add a small packet of food-safe silica gel to your container to prevent cookies from becoming sticky.
- Stacking tip: Place a sheet of parchment paper between each layer of cookies to prevent them from sticking together.
Reheating note: These cookies are meant to be enjoyed at room temperature or chilled. Don’t microwave them, as they’ll melt into a sticky mess. If they’ve been refrigerated and you want them softer, just let them sit out for 15-20 minutes.

Nutritional Facts
Here’s the nutritional breakdown per cookie (based on 30 cookies):
- Calories: 145
- Total Fat: 5g
- Saturated Fat: 2g
- Cholesterol: 6mg
- Sodium: 25mg
- Total Carbohydrates: 23g
- Dietary Fiber: 1.5g
- Sugars: 15g
- Protein: 3g
These cookies do contain a fair amount of sugar, but they’re also packed with whole grain oats and peanut butter, which provide fiber and protein. I consider them an occasional treat rather than an everyday snack, though I won’t judge if you eat them more frequently (I certainly do).
Health Benefits of Key Ingredients
While these are definitely dessert cookies, some of the ingredients offer nutritional benefits:
The oats in these cookies provide soluble fiber, which supports heart health and helps maintain steady blood sugar levels. Peanut butter contributes protein, healthy fats, and vitamin E, making these more satisfying than sugar-only treats.
- Oats: Rich in beta-glucan fiber, which can help lower cholesterol levels and promote digestive health
- Peanut butter: Good source of protein, healthy monounsaturated fats, magnesium, and vitamin E
- Cocoa powder: Contains flavonoids and antioxidants that may support heart health
- Milk: Provides calcium and vitamin D for bone health
- Butter: Contains vitamin A and conjugated linoleic acid in small amounts
I’m not claiming these are health food, but knowing they contain some beneficial ingredients makes me feel slightly less guilty about eating three in one sitting.
Read Also: Gingerbread Cookie Recipe
FAQs About No Bake Cookies
1. Why didn’t my no bake cookies harden?
The most common reason is under-boiling the sugar mixture. If you didn’t boil it for the full 90 seconds at a rolling boil, the cookies won’t set properly.
The mixture needs to reach 235°F (soft ball stage) to set correctly. I recommend using a digital timer and watching for large, vigorous bubbles before starting your count.
2. Can I make these cookies without peanut butter?
Absolutely! I’ve made successful batches using almond butter, cashew butter, sunflower seed butter, and even tahini. The texture and flavor will vary slightly, but they all work.
Sunflower seed butter is my go-to for peanut-free environments like my daughter’s school. Just keep the same measurements.
3. My cookies turned out dry and crumbly. What went wrong?
This happens when the mixture is boiled too long or at too high a temperature. Over-boiling evaporates too much liquid, resulting in a dry, crumbly texture.
Stick strictly to the 90-second boiling time and use medium-high heat, not high. I’ve made this mistake myself, and unfortunately, there’s no fix once it’s happened.
4. Can I use quick oats instead of old-fashioned oats?
I don’t recommend it. Quick oats are thinner and more processed, so they absorb liquid differently and can turn mushy. Old-fashioned rolled oats provide the chewy texture these cookies are known for.
I tried using quick oats once when I ran out of regular oats, and the cookies turned into a sticky, shapeless mess. Learn from my mistake!
5. How do I fix cookies that are too soft and won’t hold their shape?
If your cookies are too soft, they likely didn’t boil long enough. You can actually scrape them all back into the pot, reheat until boiling, and boil for another 30-45 seconds.
Then quickly drop them again onto fresh parchment paper. I’ve salvaged several batches this way, and while it’s not ideal, it works in a pinch.
Final Thoughts
This no bake cookies recipe holds a special place in my heart because it connects me to my grandmother and reminds me that the best recipes are often the simplest ones. I’ve made these cookies through every season of life—as a kid helping in the kitchen, as a broke college student needing cheap comfort food, and now as a parent making memories with my own children.
The beauty of this recipe is that it’s nearly impossible to mess up once you understand the timing. Give it a try, and I promise you’ll be making these cookies for years to come. Drop a comment below and let me know how your cookies turned out, or tell me about your favorite variation!
Recommended:
- Peanut Butter Fudge Recipe
- Fudge Recipe
- Fudge Brownie Recipe
- Pumpkin Cookies Recipe
- Healthy Chocolate Chip Cookies Recipe
- Eggnog Cookies Recipe
- Pumpkin Chocolate Chip Cookies Recipe
- Pumpkin Snickerdoodle Cookies Recipe
- Caramel Sauce Recipe
- Strawberry Sauce Recipe
