
My grandmother gave me her sugar cookies recipe almost twenty years ago, and it’s become the foundation of every holiday celebration in our house. I still remember standing on a wooden stool in her kitchen, my hands covered in flour, carefully cutting out snowflakes and gingerbread shapes from the dough.
When I finally made these cookies on my own years later, I realized why her version tasted so much better than anything I’d made before. The secret wasn’t just the ingredients (though quality butter really does make a difference), but understanding how to handle the dough and bake them to that perfect golden-edge stage. After countless batches and a few burnt attempts, I’ve perfected this recipe and I’m thrilled to share it with you.
Sugar cookies are the ultimate canvas for your creativity, whether you’re decorating them for Christmas, Easter, or just because it’s Tuesday and you deserve something sweet.
| Quick Recipe Summary | |
|---|---|
| Prep Time | 20 minutes |
| Chill Time | 30 minutes |
| Bake Time | 10-12 minutes |
| Total Time | 1 hour |
| Servings | 36-48 cookies |
| Difficulty Level | Easy |

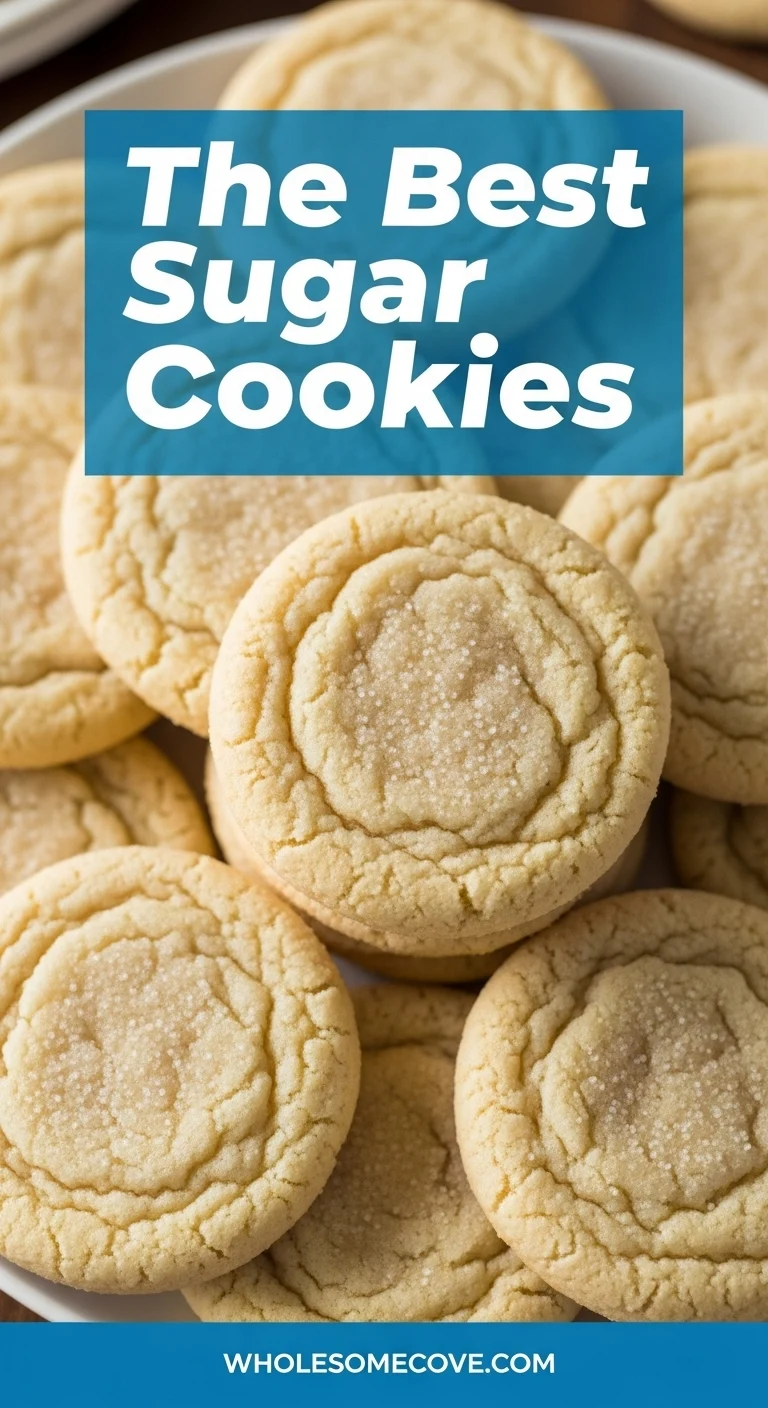
Why You’ll Love This Sugar Cookies Recipe
These cookies stay soft and chewy on the inside with just a hint of crispness at the edges. They’re buttery without being greasy, and the vanilla flavor is subtle enough to let your decorations shine but prominent enough to make them truly special.
The dough comes together in minutes, and the best part is that you can chill it ahead of time. I often make the dough the night before, which means I can have fresh-baked cookies ready for an afternoon coffee with friends without any last-minute stress.
The cookies hold their shape beautifully when you cut them out, so you get those clean edges that are perfect for decorating. Unlike some sugar cookie recipes, these don’t spread too much in the oven, which means your intricately cut snowflakes actually stay snowflakes.
Once you taste them, you’ll understand why this recipe has been passed down through my family for generations. They’re absolutely foolproof if you follow a few key techniques, which I’ll share with you in the tips section.
You might also enjoy making Pumpkin Snickerdoodle Cookies for a seasonal twist.
Ingredients
This recipe uses simple, high-quality ingredients to create the most flavorful sugar cookies. Each component serves a specific purpose, and I’ve learned through trial and error exactly why each one matters.
- 2 3/4 cups (330g) all-purpose flour
- 3/4 teaspoon (4g) baking soda
- 1/2 teaspoon (3g) salt
- 1 cup (226g) unsalted butter, softened to room temperature
- 1 1/2 cups (300g) granulated sugar
- 1 large egg (about 50g)
- 1 teaspoon (5ml) vanilla extract
- 1/2 teaspoon (2ml) almond extract (optional but highly recommended)
- 2 tablespoons (30ml) heavy cream or whole milk
- 1/4 teaspoon (1g) nutmeg (adds unexpected depth)
- Additional sugar for rolling (optional, about 1/4 cup or 50g)
Kitchen Equipment Needed
You’ll need some basic baking equipment to make this recipe successfully, though nothing fancy or expensive. I’ve listed the essentials plus a few items that will make your life easier.
- Large mixing bowl (or use a stand mixer if you have one)
- Electric hand mixer or stand mixer
- Measuring cups and spoons (digital kitchen scale is ideal for precision)
- Wooden spoon for stirring
- Rolling pin (silicone or marble works beautifully)
- Cookie sheets or baking sheets
- Parchment paper
- Cookie cutters in your favorite shapes
- Small bowl for mixing dry ingredients
- Wire cooling rack
- Offset spatula for transferring warm cookies
- Silicone baking mat (highly useful for even baking)
- Pastry brush (for egg wash if desired)
Recommended Products for This Recipe
Based on my years of making these cookies, I’ve found that a few specific products really elevate the baking experience and give you better results. These are the items I reach for every single time I make a batch.
1. European Butter (Kerrygold or Similar)
European butter has a higher fat content (86% versus 80% in American butter) and makes these cookies taste richer and more flavorful. The color is slightly more golden, and the taste is noticeably better.
2. Silicone Baking Mats
These prevent sticking without adding extra flour to your cookies, which means they stay tender and don’t dry out. They also distribute heat evenly for consistent golden edges.
3. Marble Rolling Pin
A chilled marble rolling pin is my secret weapon for keeping dough cool while rolling. Cold dough means less spreading in the oven and cleaner edges on your cut cookies.
4. Stainless Steel Cookie Cutters
These hold their shape better than plastic and create cleaner edges. They’re worth the investment because they’ll last for decades in your kitchen.
5. Wilton Royal Icing Mix
If you’re planning to decorate these cookies professionally, this mix is foolproof. It’s not absolutely necessary, but it makes decorating so much easier than making icing from scratch.

Step-by-Step Instructions: How to Make Sugar Cookies
1. Prepare Your Ingredients and Equipment
Before you start mixing anything, gather all your ingredients and place them on your counter. This technique, called mise en place, prevents you from forgetting an ingredient mid-recipe.
- Take the butter out of the refrigerator and cut it into smaller cubes so it softens more quickly
- Crack your egg into a small bowl and set aside
- Measure out all your dry ingredients (flour, baking soda, salt, nutmeg) and combine them in a separate bowl, then whisk together for about 30 seconds to distribute the leavening agents evenly
- Line your baking sheets with parchment paper or silicone mats
2. Cream the Butter and Sugar Together
Place the softened butter in your large mixing bowl and beat on medium speed for about 1 minute until it’s light and fluffy. The butter should be pale yellow and almost airy looking.
- Add the granulated sugar slowly while continuing to beat on medium speed
- Scrape down the sides of the bowl with a spatula to ensure even mixing
- Beat for approximately 3-4 minutes total until the mixture is very light, fluffy, and pale (this is crucial for texture)
- The mixture should look almost like frosting at this point
3. Add the Egg and Extracts
Add the beaten egg to your butter mixture and continue beating on medium speed. The mixture might look slightly curdled at first, but keep beating.
- Mix for about 1 minute until the egg is fully incorporated
- Add the vanilla extract and almond extract (if using)
- Add the heavy cream or milk and beat for another 30 seconds until well combined
- The mixture should look smooth and creamy now
4. Combine Wet and Dry Ingredients
Reduce your mixer to low speed and gradually add the flour mixture you prepared earlier. Add it in three parts to prevent overmixing.
- Mix on low speed for about 20-30 seconds after each addition of flour
- After all the flour is incorporated, mix on low for just another 10-15 seconds until no visible flour remains
- Do not overmix at this stage, as it can make the cookies tough
5. Chill the Dough
Turn the dough out onto a large piece of plastic wrap and flatten it into a disk about 1 inch (2.5cm) thick. Wrap it tightly and refrigerate for at least 30 minutes, or up to overnight.
- If your kitchen is particularly warm, you might want to chill it for the full 30 minutes before rolling
- The cold dough is much easier to roll out and holds its shape better in the oven
- This is also a great time to prepare your decorating station if you’re planning to decorate
6. Roll Out the Dough
Remove the chilled dough from the refrigerator and let it sit at room temperature for about 3-5 minutes to soften slightly. It should be cool but pliable.
- Dust your work surface lightly with flour
- Place the dough on the floured surface and dust the top of the dough lightly with flour as well
- Using your rolling pin (chilled if possible), roll the dough to about 1/4 inch (6mm) thickness
- Roll from the center outward to maintain even thickness throughout
- If the dough becomes too warm and starts sticking, pop it back in the freezer for 5 minutes
7. Cut Out Your Cookie Shapes
Using your cookie cutters, cut shapes from the rolled dough. Press the cutter straight down without twisting, then lift it straight up for clean edges.
- Place the cut cookies on your prepared baking sheets, leaving about 1 inch (2.5cm) of space between each cookie
- You can re-roll the scraps, but note that the second rolling might not create quite as tender a cookie
- If your dough becomes too soft while cutting, return it to the freezer for a few minutes
8. Bake the Cookies
Preheat your oven to 350 degrees Fahrenheit (175 degrees Celsius). This moderate temperature is key to getting golden edges while keeping the inside soft and chewy.
- Place your baking sheets in the preheated oven
- Bake for 10-12 minutes, depending on your oven (every oven bakes differently, so start checking at the 10-minute mark)
- The cookies are done when the edges are very lightly golden brown but the centers still look slightly underdone
- The cookies will continue to cook slightly on the hot baking sheet after they come out of the oven
9. Cool the Cookies
Remove the baking sheets from the oven and let the cookies cool on the hot sheet for about 3-5 minutes. This allows them to set slightly so they won’t break when transferred.
- After 3-5 minutes, use an offset spatula to transfer the cookies to a wire cooling rack
- Let them cool completely on the rack before decorating (if decorating is part of your plan)
- Do not stack the cookies until they’re completely cooled
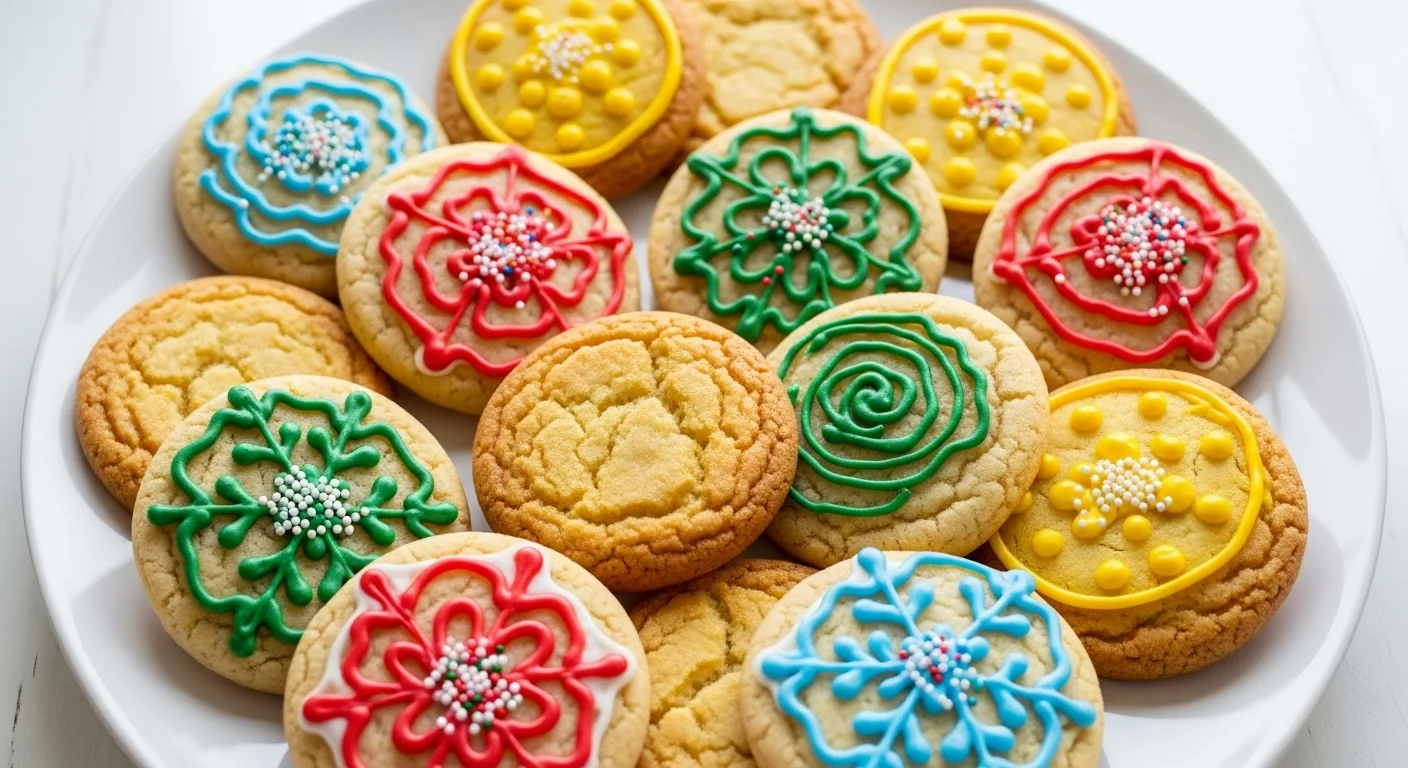
10. Decorate Your Sugar Cookies (Optional)
Once the cookies are completely cool, you can decorate them with royal icing, fondant, or sprinkles. My personal favorite is a simple royal icing with colorful sprinkles for a festive touch.
- If using royal icing, prepare it according to package directions
- Use a piping bag for detailed designs or a small brush to paint on icing
- Apply sprinkles immediately after icing while it’s still wet so they stick
- Let the icing set for at least 1 hour before stacking or packaging the cookies
Read Also: Pumpkin Oatmeal Cookies
Tips for The Best Sugar Cookies
These tips come from years of experience and more than a few batches that didn’t turn out perfectly. I’ve learned what makes the difference between mediocre cookies and extraordinary ones.
- Use room-temperature butter for creaming. Cold butter won’t incorporate enough air, resulting in dense cookies. However, if your kitchen is very warm, slightly cool butter (around 65-70°F/18-21°C) is better than hot, melted butter.
- Don’t skip the cream or milk. This small addition of liquid makes the cookies incredibly tender and prevents them from being too crumbly when you bite into them.
- Chill the dough. This is non-negotiable if you want clean-edged cookies that hold their shape. The extra 30 minutes in the refrigerator makes a tremendous difference in the final result.
- Avoid overbaking. The single biggest mistake people make is baking these cookies until they’re golden all over. They should be golden at the edges with pale centers. They’ll firm up as they cool.
- Use the almond extract. I know it sounds unnecessary, but that tiny bit of almond extract adds a subtle depth that makes people ask for your secret ingredient. It’s not overpowering; it just enhances the overall flavor.
- Cream the butter and sugar long enough. Spending a full 3-4 minutes on this step creates that light, fluffy texture that makes these cookies so special. Rushing this step results in denser cookies.
- Keep your dough cool. If you’re rolling out cookies on a warm day, return the dough to the freezer between batches so each batch comes out perfectly.
- Use parchment paper or silicone mats. These prevent the bottoms from browning too quickly and ensure even baking throughout. I’ve also noticed cookies baked on these never stick to the sheet.
Serving Suggestions
These cookies are perfect on their own, but they’re even better when paired with other treats or served as part of a larger spread. Here are my favorite ways to serve them.
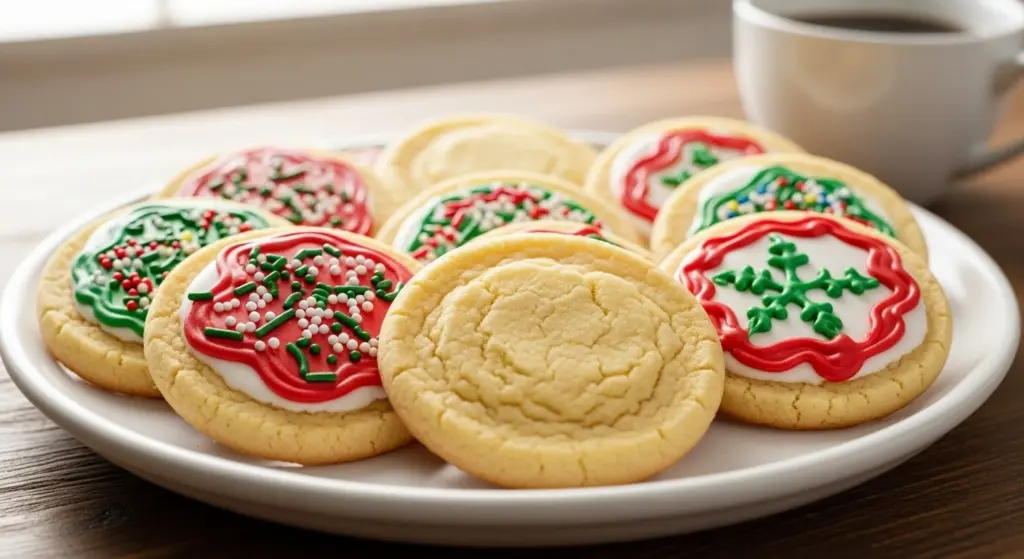
- With a cold glass of milk or hot cup of coffee for an afternoon treat
- Alongside Gingerbread Cookies for a holiday cookie platter that showcases different flavors and decorating styles
- Packed in a box as a homemade gift for neighbors, friends, or coworkers (they always impress)
- At the center of a festive dessert table with other treats like brownies and candy
- With hot cocoa or tea during winter months for the ultimate cozy moment
- As part of a Deviled Eggs and cookie combination for a sweet-and-savory appetizer spread
- In a gift basket combined with Honey Butter and other homemade treats
- At kids’ birthday parties as a fun activity where children decorate their own cookies
- Crumbled into ice cream for an instant cookie crumble dessert
- Boxed individually as take-home favors for weddings, baby showers, or special events
Variations of Sugar Cookies
Once you master the basic recipe, you’ll find endless ways to put your own spin on these classic cookies. The base dough is incredibly versatile and works with so many different flavor additions and decorating techniques.
- Lemon Sugar Cookies: Add 1 tablespoon (5g) of lemon zest and 1/2 teaspoon (2ml) of lemon extract for a bright, citrusy version
- Peppermint Sugar Cookies: Add 1/2 teaspoon (2ml) of peppermint extract and 1/4 cup (50g) of crushed peppermint candies to the dough
- Brown Butter Sugar Cookies: Brown the butter before creaming it with sugar for a slightly nutty, deeper flavor
- Chai Spiced Sugar Cookies: Add 1/2 teaspoon (2g) of cardamom, 1/4 teaspoon (1g) of ginger, and a pinch of black pepper to the dough
- Chocolate-Dipped Sugar Cookies: Dip half of each cooled cookie into melted chocolate and let it set on parchment paper
- Eggnog Sugar Cookies: Replace the vanilla extract with 1/2 teaspoon (2ml) of rum extract and add 1/4 teaspoon (1g) of nutmeg
- White Chocolate Chip Sugar Cookies: Fold 1 cup (175g) of white chocolate chips into the finished dough before chilling
- Matcha Green Tea Sugar Cookies: Whisk 1 tablespoon (7g) of matcha powder with your dry ingredients for an earthy flavor
- Coconut Sugar Cookies: Add 1/2 cup (45g) of shredded coconut to the dough and roll the dough balls in coconut before flattening and baking
- Birthday Cake Sugar Cookies: Add 1/2 teaspoon (2ml) of birthday cake extract and fold in 1/4 cup (30g) of sprinkles for a playful variation
You might also enjoy exploring Pumpkin Chocolate Chip Cookies for a fall-inspired option.
Storage and Reheating
These cookies keep well for quite a while, so you can make them ahead for busy times or enjoy them over the course of several days. Proper storage is key to maintaining that perfect texture.
- Store cooled cookies in an airtight container at room temperature for up to 5 days
- Layer cookies between parchment paper to prevent sticking and preserve decorations
- For longer storage, freeze cooled cookies in a freezer-safe container for up to 3 months
- To refresh cookies that have softened, place them on a baking sheet in a 300 degrees Fahrenheit (150 degrees Celsius) oven for 3-5 minutes
- You can also freeze the dough in disks for up to 3 months, then thaw and roll out whenever you want fresh cookies
- Place an apple slice or a slice of bread in the container with cookies to keep them soft and chewy (replace daily)
- Avoid storing decorated cookies directly against other items, as the icing can get damaged
Read Also: Pumpkin Cookies

Nutritional Facts
Understanding the nutritional content helps you make informed decisions about portion sizes and how often you enjoy these treats. One sugar cookie (without frosting) contains approximately:
- Calories: 85-95 calories per cookie
- Total Fat: 4.5g
- Saturated Fat: 2.8g
- Trans Fat: 0g
- Cholesterol: 12mg
- Sodium: 110mg
- Total Carbohydrate: 12g
- Dietary Fiber: 0g
- Sugars: 7g
- Protein: 1g
Note: Nutritional information is estimated and may vary based on exact ingredient brands and any decorations added.
Health Benefits of Key Ingredients
While these cookies are definitely a treat and not a health food, some of the ingredients do offer modest nutritional benefits. Understanding these can help you appreciate the recipe even more.
Sugar cookies rely on butter for their rich flavor and tender crumb, and real butter contains fat-soluble vitamins like vitamin A and K2. While cookies shouldn’t be your primary source of these nutrients, the butter does contribute something beyond just taste.
Eggs in this recipe provide protein and choline, which supports brain health. The single egg here isn’t substantial nutrition, but it does add nutritional value alongside its important role in texture and structure.
The almond extract, even in small amounts, adds compounds associated with various health benefits, though you’re not consuming enough in a cookie for significant health impact. That said, real ingredients like this beat artificial alternatives every time.
Vanilla extract contains antioxidants and has been used traditionally for various wellness purposes. Again, the amount in individual cookies is small, but real vanilla beats synthetic vanillin extract in both flavor and nutritional profile.
FAQs About Sugar Cookies
1. Can I make the dough ahead of time?
Absolutely! The dough actually improves if you let it rest in the refrigerator overnight. I often make the dough the night before I plan to bake, which gives me more flexibility the next day.
You can also freeze the dough for up to 3 months. Just thaw it in the refrigerator for a few hours before rolling and cutting.
2. Why did my cookies spread too much in the oven?
Spreading usually happens because the dough wasn’t cold enough before baking, or because your oven temperature was too low. Always chill your dough for at least 30 minutes before baking, and use an oven thermometer to verify your oven’s actual temperature.
If your cookies still spread too much, try reducing the liquid (cream or milk) by 1 tablespoon (15ml) the next time you make the recipe.
3. How do I get my cookies to have clean, sharp edges?
The key is a cold dough and pressing your cookie cutters straight down without twisting. Twist cutting can seal the edges and prevent them from rising properly in the oven.
I also like to dip my cookie cutters in flour between each cut, which helps them slide out of the dough more cleanly without dragging or distorting the shape.
4. Can I use margarine instead of butter?
I don’t recommend substituting margarine for butter. Butter has a superior flavor and creates a better texture in cookies. Margarine often contains water, which can affect the dough’s consistency and the cookies’ final texture.
If you need a dairy-free option, use a high-quality dairy-free butter substitute, though results may vary slightly from the original recipe.
5. What’s the difference between these cookies and shortbread cookies?
Sugar cookies contain baking soda and an egg, which makes them lighter and more cake-like. Shortbread contains only butter, sugar, and flour, making it denser and more crumbly. Sugar cookies are also usually decorated, while shortbread is typically plain.
The creaming method and the addition of the egg make sugar cookies rise and puff slightly in the oven, creating that tender, chewy texture shortbread doesn’t have.
Read Also: Homemade Biscuit
Final Thoughts
Making sugar cookies brings me back to my grandmother’s kitchen every single time. The simplicity of the ingredients and the ease of the process might fool you into thinking these are ordinary cookies, but once you taste them, you’ll understand their enduring appeal.
These cookies have been part of countless celebrations, midnight snacks, gift boxes, and family moments in my home. I hope they become just as meaningful in yours. The recipe yields enough for plenty of sharing, and I’ve never had a batch that didn’t disappear quickly.
I’d love to hear about your experience making these cookies! Let me know in the comments if you try any variations, how your decoration turned out, or what special occasion you made them for. Feel free to share photos on social media too – I always enjoy seeing the creative ways people decorate their sugar cookies.
Recommended:
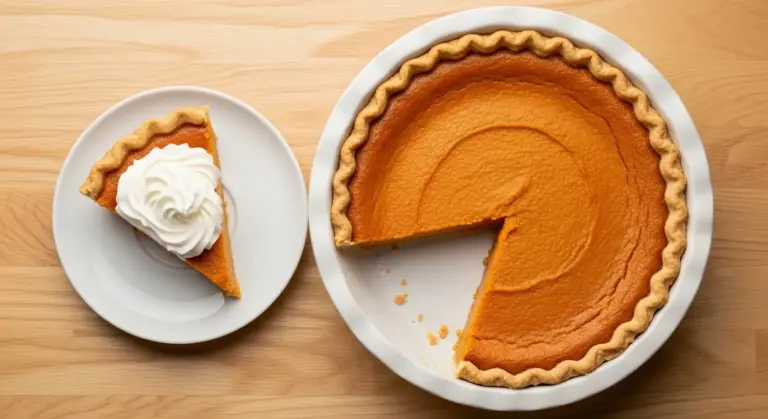
- Pumpkin Pie
- Pecan Pie
- Thanksgiving Stuffing
- Apple Crisp
- Sweet Potato Bread
- Maple Glazed Carrots
- Fall Dinner Recipes
- Dinner Rolls
- Roasted Brussels Sprouts with Bacon
- Healthy Mashed Potatoes
