
Making homemade pizza dough changed everything about pizza night in my house. I used to think ordering out was easier, but once I nailed down this Pizza Dough Recipe, I realized how simple it actually is to make from scratch.

The best part? You probably already have everything you need in your pantry.
I started making my own pizza dough about three years ago when my son declared he wanted to be a “pizza chef” for his birthday party. I needed to whip up enough dough for eight kids, and buying pre-made dough would have cost a fortune. So I took the plunge and made it myself.
That first batch was a revelation. The dough was soft, elastic, and baked up with those perfect air bubbles and a chewy crust that everyone raved about. Now it’s our Friday night tradition.
| Quick Recipe Summary | |
|---|---|
| Prep Time | 15 minutes |
| Rise Time | 1-2 hours |
| Total Time | 2 hours 15 minutes |
| Servings | 2 large pizzas (12-14 inches each) |
| Difficulty Level | Easy |
If you’re looking for more bread-making inspiration, check out my Dinner Rolls Recipe.
Why You’ll Love This Pizza Dough Recipe
This pizza dough delivers that authentic pizzeria texture without any fancy equipment or hard-to-find ingredients. It’s incredibly forgiving, which makes it perfect for beginners who might be intimidated by yeast dough.
The dough rises beautifully every single time, creating those gorgeous air pockets that make homemade pizza so special. Plus, you can make it ahead and refrigerate it for up to three days, which means you can prep on Wednesday and have fresh pizza ready in minutes on Friday.
Here’s why this recipe stands out:
- Perfectly chewy texture: The right balance of flour and water creates that signature pizzeria-style crust
- Versatile: Works beautifully for thin crust, thick crust, or even calzones
- Budget-friendly: Costs less than a dollar to make two large pizzas
- Make-ahead friendly: The dough actually improves with a slow rise in the fridge
- Kid-approved: My pickiest eater declared this “better than restaurant pizza”
- Customizable: Add herbs, garlic powder, or cheese directly into the dough for extra flavor
Another crowd-pleaser for dinner? Try my Baked Ziti Recipe.
Ingredients
This pizza dough uses simple pantry staples that you likely already have on hand. I’ve tested this recipe dozens of times to get the measurements just right.
- 4 cups (500g) all-purpose flour, plus extra for dusting
- 1 ½ cups (355ml) warm water (110°F/43°C)
- 2 ¼ teaspoons (7g) active dry yeast (1 standard packet)
- 2 tablespoons (30ml) extra virgin olive oil, plus more for greasing
- 2 teaspoons (10g) sugar
- 2 teaspoons (12g) salt
You might also enjoy my Homemade Biscuit Recipe.
Kitchen Equipment Needed
Having the right tools makes the pizza-making process so much smoother. You don’t need anything fancy, but these items will help you achieve professional results.
- Large mixing bowl: For combining and rising the dough
- Measuring cups and spoons: Accuracy matters with yeast dough
- Wooden spoon or sturdy spatula: For initial mixing
- Clean kitchen towel or plastic wrap: To cover the rising dough
- Rolling pin (optional): For shaping the dough, though hands work great too
- Pizza stone or baking sheet: For baking your pizza
- Bench scraper (optional): Makes dividing dough easier
- Kitchen scale (optional but recommended): For precise measurements
Another favorite: French Toast Recipe.
Recommended Products for This Recipe
After years of making pizza at home, I’ve found a few products that genuinely make a difference in the final result. These aren’t necessary, but they’ll elevate your pizza game.
1. King Arthur Bread Flour
While all-purpose flour works perfectly fine, switching to bread flour takes this recipe to the next level. The higher protein content creates a chewier, more structured crust with better rise. I started using it after my third or fourth batch, and I haven’t looked back.
2. Lodge Pre-Seasoned Cast Iron Pizza Pan
This 14-inch cast iron pan has become my secret weapon for perfectly crispy crusts. It retains heat beautifully and creates that deep golden color on the bottom that you’d get from a pizza oven. Plus, you can use it on the stovetop or in the oven.
3. Red Star Platinum Yeast
This instant yeast is more forgiving than active dry yeast and doesn’t require proofing. I keep it on hand for those days when I forget to plan ahead. It also stays fresh longer in the fridge.
4. California Olive Ranch Extra Virgin Olive Oil
Good olive oil makes a noticeable difference in pizza dough. This one has a mild, fruity flavor that enhances the dough without overpowering it. I use it in the dough itself and for brushing the crust before baking.
Looking for a hearty meal? Try my Lasagna Recipe.
Step-by-Step Instructions: How to Make Pizza Dough
Follow these detailed steps to create perfect pizza dough every time. Take your time with each stage, especially if you’re new to working with yeast.
1. Activate the Yeast
- Pour the warm water into your large mixing bowl (make sure it’s between 105-115°F/40-46°C; too hot will kill the yeast, too cold won’t activate it)
- Sprinkle the sugar over the water and stir briefly to dissolve
- Sprinkle the yeast over the sugared water and give it a gentle stir
- Let the mixture sit undisturbed for 5-10 minutes until it becomes foamy and bubbly on top (this means your yeast is alive and active)
- If the mixture doesn’t foam, your yeast might be dead or your water temperature was off; start over with fresh yeast
2. Mix the Dough
- Add the olive oil and salt to the foamy yeast mixture and stir to combine
- Add 2 cups of flour to the bowl and stir with a wooden spoon until incorporated
- Add another cup of flour and continue stirring until the mixture becomes thick and shaggy
- Add the remaining cup of flour gradually, stirring until a rough dough forms
- The dough should pull away from the sides of the bowl but still be slightly sticky
3. Knead the Dough
- Lightly flour a clean work surface with about 2 tablespoons of flour
- Turn the dough out onto the floured surface
- Knead the dough by pushing it away from you with the heels of your hands, then folding it back over itself
- Rotate the dough a quarter turn and repeat the kneading motion
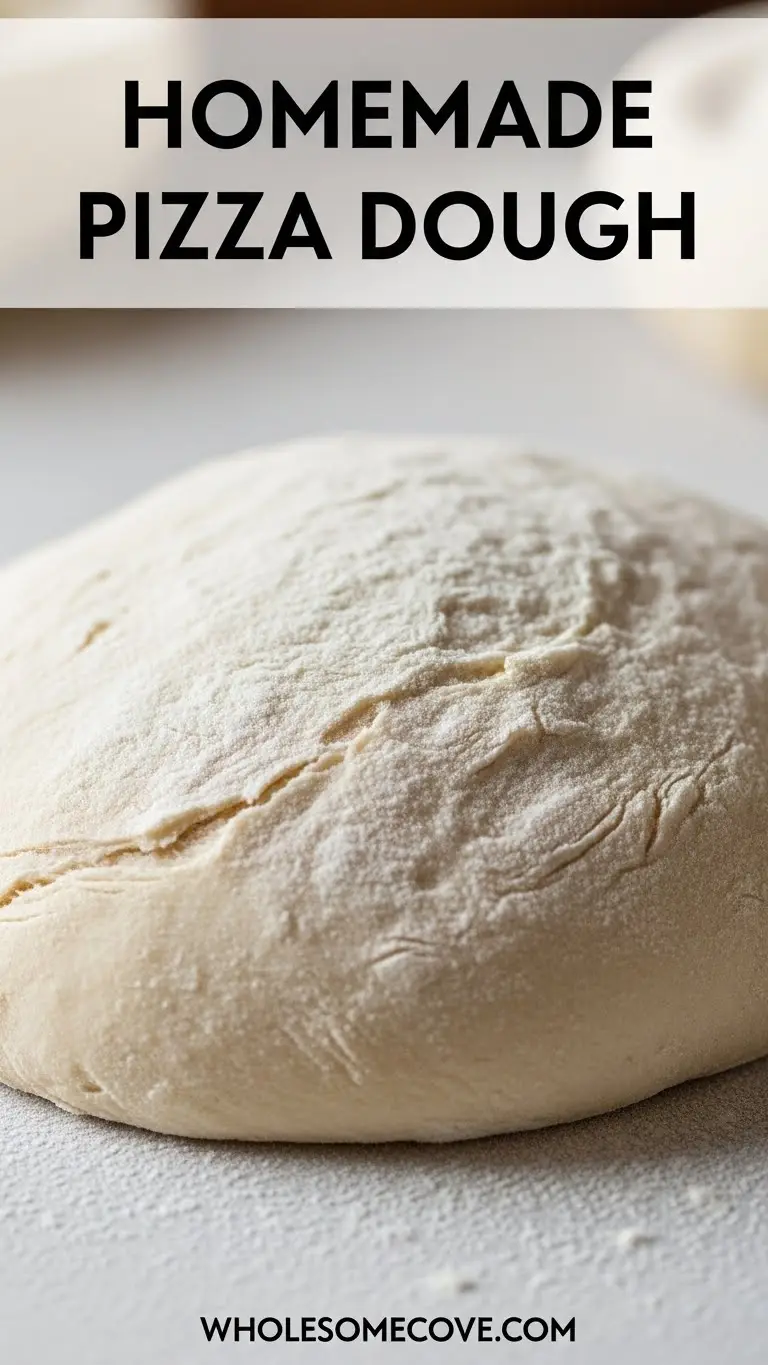
- Continue kneading for 8-10 minutes until the dough becomes smooth, elastic, and springs back when poked
- Add small amounts of flour (1 tablespoon at a time) if the dough is too sticky, but avoid adding too much or the crust will be tough
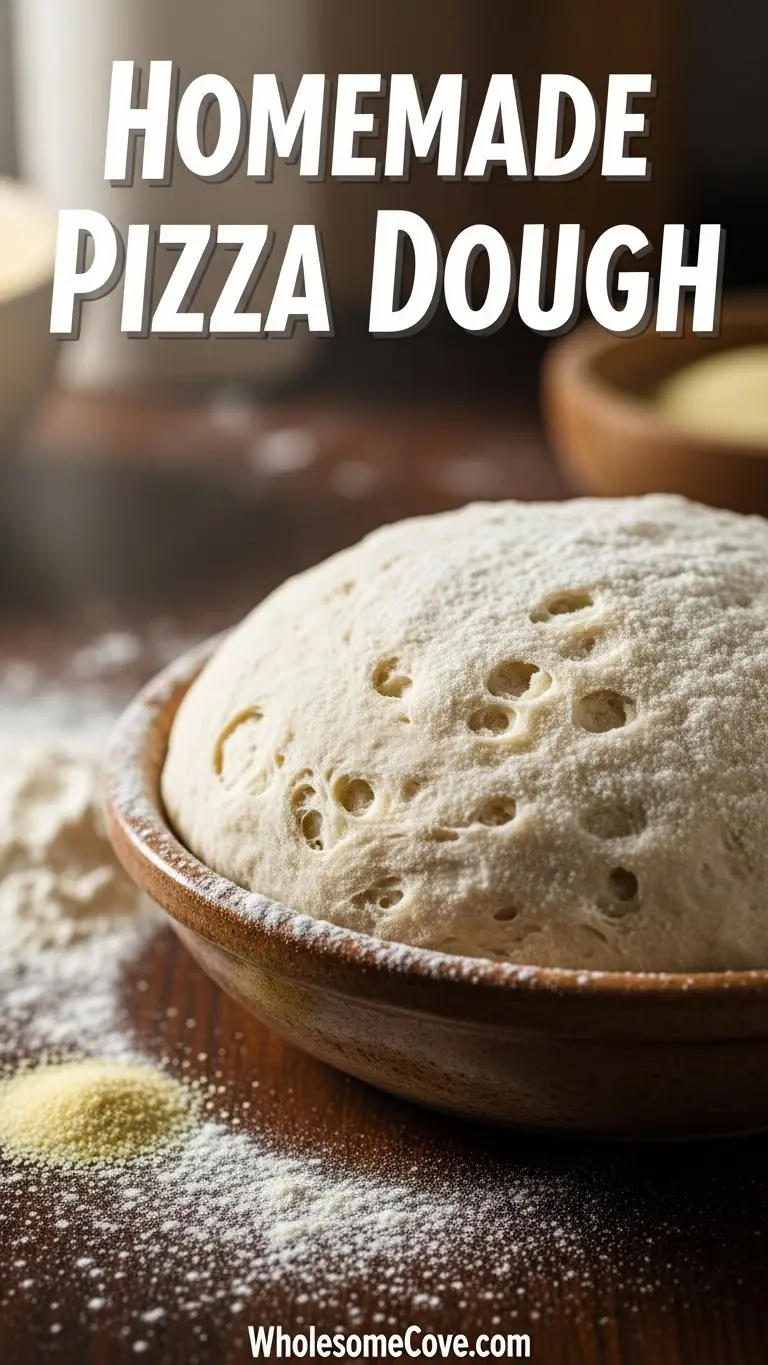
4. Let the Dough Rise (First Rise)
- Coat the inside of a large clean bowl with about 1 tablespoon of olive oil
- Shape the dough into a smooth ball by tucking the edges underneath
- Place the dough ball in the oiled bowl and turn it once to coat all sides with oil
- Cover the bowl tightly with a clean kitchen towel or plastic wrap
- Place the bowl in a warm, draft-free spot (I like to put mine in the oven with just the light on)
- Let the dough rise for 1-2 hours until it doubles in size (you should be able to poke it and the indentation stays)
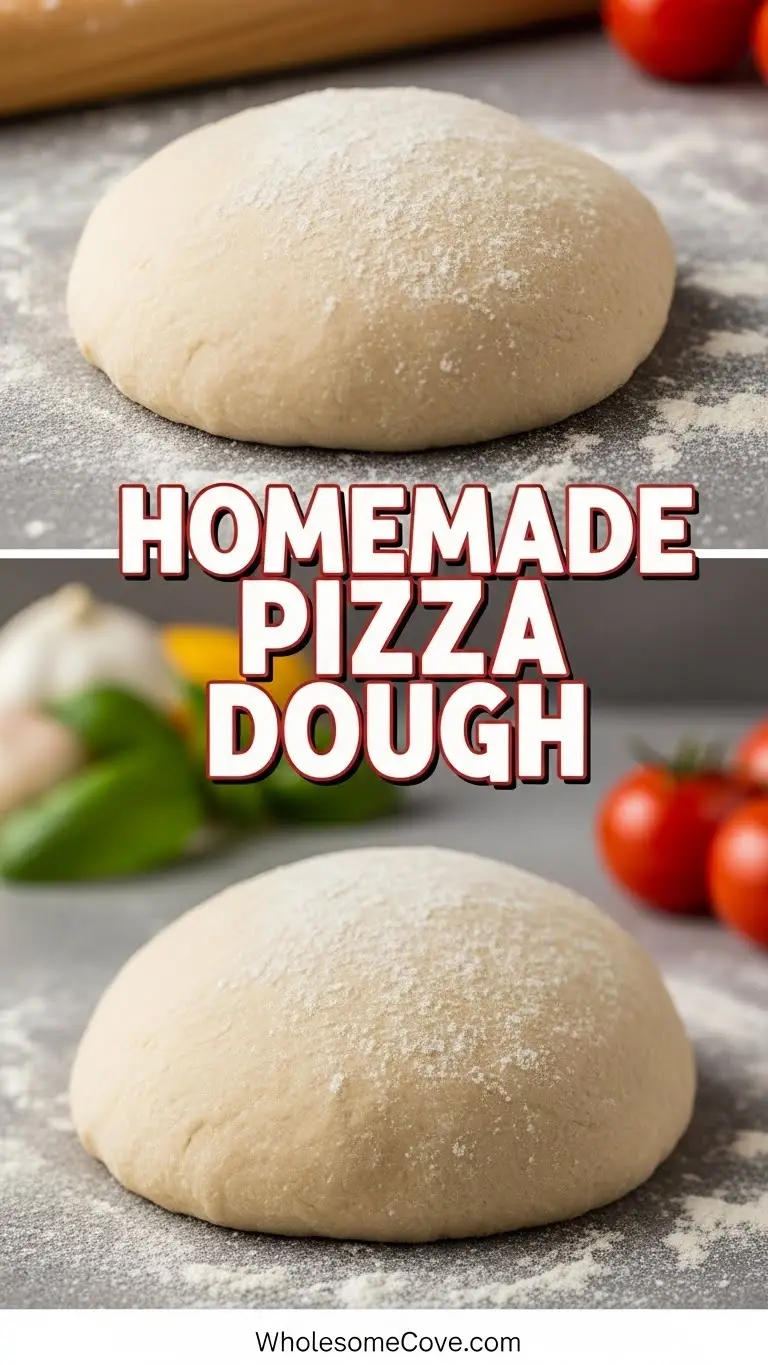
5. Punch Down and Divide
- Once the dough has doubled, gently punch it down in the center with your fist to release the air
- Turn the dough out onto a lightly floured surface
- Use a bench scraper or knife to divide the dough into two equal portions for two large pizzas
- Shape each portion into a smooth ball by tucking the edges underneath
6. Rest the Dough (Second Rise)
- Place the dough balls on a lightly floured surface and cover them with a kitchen towel
- Let them rest for 15-20 minutes to relax the gluten (this makes stretching easier)
- While the dough rests, preheat your oven to 475°F (245°C) and prepare your toppings
- If using a pizza stone, place it in the oven during preheating for the crispiest crust
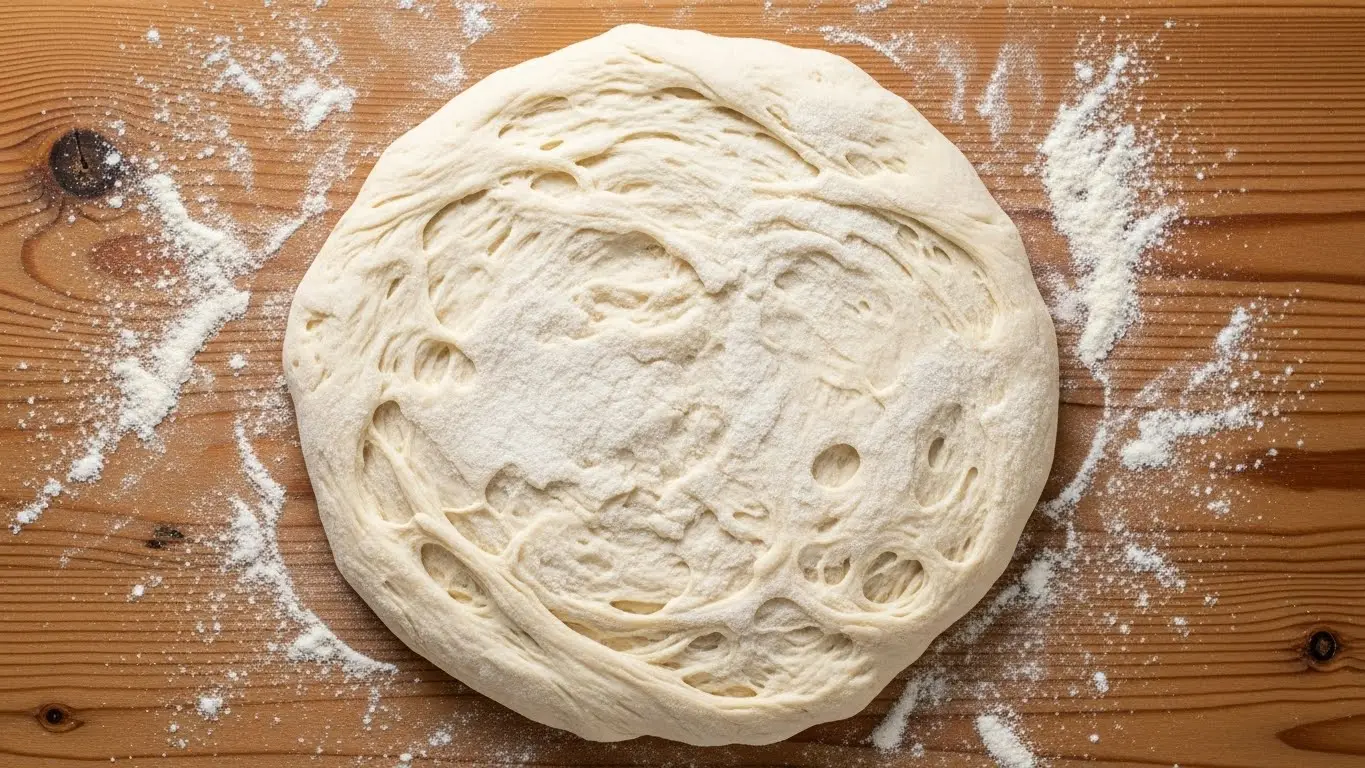
7. Shape and Prepare for Baking
- Take one dough ball and place it on a lightly floured surface
- Using your fingertips, press down gently starting from the center and working outward, leaving a slightly thicker edge for the crust
- Pick up the dough and let gravity help stretch it, rotating it in your hands
- Continue stretching until you reach your desired thickness (about 12-14 inches for a large pizza)
- Place the stretched dough on a piece of parchment paper or a floured pizza peel
- Add your favorite sauce, cheese, and toppings, leaving the outer edge bare for the crust
- Transfer to your preheated oven or pizza stone and bake for 12-15 minutes until the crust is golden and the cheese is bubbly
For pasta lovers, my Chicken Spaghetti Recipe is always a hit.
Tips for The Best Pizza Dough
These tips come from my own trial and error over the years. They’ll help you troubleshoot common issues and achieve bakery-quality results.
- Temperature matters: Keep your ingredients at room temperature except the water, which should be warm but not hot
- Don’t skip the kneading: Proper kneading develops the gluten structure that gives pizza dough its characteristic chew
- Use a kitchen scale: Measuring flour by weight instead of volume gives you consistent results every time
- Let it rise slowly: A longer, slower rise in the refrigerator (24-72 hours) develops incredible flavor
- Preheat thoroughly: Give your oven at least 30 minutes to reach temperature for the best crust
- Stretch, don’t roll: Using your hands instead of a rolling pin preserves those beautiful air bubbles
- Flour your surface lightly: Too much flour makes the dough tough and dry
- Check your yeast expiration: Old yeast won’t rise properly, so always check the date
- Oil your hands: When shaping sticky dough, lightly oil your hands instead of adding more flour
- Par-bake for crispy crust: Bake the shaped dough for 5 minutes before adding toppings for extra crispiness
- Room temperature rise: If your kitchen is cold, place the bowl in a turned-off oven with just the light on
You might also love my Stuffed Shells Recipe.
What to Serve with Pizza

Pizza is delicious on its own, but pairing it with the right sides creates a complete Italian feast. Here are my go-to accompaniments that complement homemade pizza perfectly.
These sides balance the richness of pizza and add variety to your meal:
- Simple green salad: Toss mixed greens with olive oil, balsamic vinegar, and shaved parmesan
- Caesar Salad: The creamy dressing cuts through the pizza’s richness beautifully
- Roasted Brussels Sprouts with Bacon: Adds a savory, slightly bitter contrast
- Tomato Basil Soup: Perfect for dipping pizza crusts
- Garlic bread: Yes, carbs on carbs, but so worth it
- Coleslaw: The tangy crunch provides a refreshing contrast
- Caprese Salad: Fresh mozzarella, tomatoes, and basil echo pizza flavors
- Antipasto platter: Olives, marinated artichokes, and cured meats
- Grilled Vegetable Skewers: Light and healthy alongside rich pizza
Check out my Italian Wedding Soup Recipe for another Italian classic.
Variations of Pizza Dough
Once you master the basic recipe, try these variations to keep things interesting. Each one brings a unique flavor or texture to your homemade pizza.
- Whole wheat pizza dough: Substitute half the all-purpose flour with whole wheat flour for a nuttier flavor and extra fiber
- Herb-infused dough: Add 2 tablespoons of dried Italian herbs, rosemary, or oregano to the flour mixture
- Garlic pizza dough: Mix in 2 teaspoons of garlic powder or 4 cloves of minced fresh garlic with the flour
- Cheese-stuffed crust: Roll string cheese into the edges of the dough before baking for that restaurant-style stuffed crust
- Honey wheat dough: Replace the sugar with honey and use half whole wheat flour for a slightly sweet, hearty crust
- Beer pizza dough: Replace half the water with beer for a complex, yeasty flavor (works great with IPAs)
- Sourdough pizza dough: Use sourdough starter instead of yeast for tangy, artisan-style crust
- Gluten-free version: Substitute with a gluten-free flour blend designed for pizza dough
- Thin and crispy: Roll the dough thinner and bake at a higher temperature (500°F/260°C) for a cracker-like crust
- Deep dish style: Press the dough into a greased cast iron skillet and build up the sides for Chicago-style pizza
- Cauliflower crust: Swap traditional dough for riced cauliflower mixed with cheese and egg for a low-carb option
My Healthy Pizza Dough Recipe offers another nutritious option.
Storage and Reheating
Proper storage extends the life of your pizza dough and lets you enjoy fresh pizza whenever the craving hits. Here’s how to store and use it later.
- Refrigerator storage: After the first rise, divide the dough, shape into balls, coat with olive oil, and place each in a covered container or resealable bag; store for up to 3 days
- Freezer storage: Wrap each dough ball tightly in plastic wrap, then place in a freezer bag; freeze for up to 3 months
- Thawing frozen dough: Transfer to the refrigerator 24 hours before use, or leave at room temperature for 2-3 hours
- Bring to room temperature: Always let refrigerated or frozen dough sit at room temperature for 30 minutes before stretching
- Baked pizza storage: Store leftover baked pizza in an airtight container in the refrigerator for up to 4 days
- Reheating pizza: The best method is in a skillet over medium heat covered with a lid for 5 minutes, or reheat in a 375°F (190°C) oven for 10 minutes
- Avoid the microwave: It makes the crust soggy and chewy instead of crispy
- Refresh old dough: If your refrigerated dough seems dry, brush it with water or olive oil before stretching
- Use cold dough for flavor: Refrigerating dough for 24-48 hours develops better flavor through slow fermentation
- Portion before freezing: Divide dough into individual pizza-sized portions so you can thaw only what you need
Try my Sourdough Focaccia Recipe for another bread-making adventure.

Nutritional Facts
Here’s the nutritional breakdown per serving (based on ⅛ of the total recipe, or 1 slice from a 2-pizza batch with 16 slices total). These values are for the dough only, without toppings.
- Calories: 165
- Total Fat: 3g
- Saturated Fat: 0.5g
- Cholesterol: 0mg
- Sodium: 295mg
- Total Carbohydrates: 30g
- Dietary Fiber: 1g
- Sugars: 1g
- Protein: 5g
- Vitamin D: 0mcg
- Calcium: 10mg
- Iron: 2mg
- Potassium: 45mg
Nutritional notes: This pizza dough is relatively low in fat and contains no cholesterol. Using bread flour instead of all-purpose adds slightly more protein. Adding whole wheat flour increases fiber content. The sodium content comes primarily from the salt, which is essential for flavor and gluten development.
Another comforting dish: Chicken Parmesan Recipe.
Health Benefits of Key Ingredients
While pizza dough is a comfort food, its simple ingredients actually offer some nutritional benefits. Here’s what each component brings to the table.
The basic ingredients work together to create an energy-rich, satisfying base:
- All-purpose flour: Provides carbohydrates for energy, enriched with B vitamins and iron in most brands
- Yeast: Contains B vitamins, particularly B12, and provides protein and trace minerals like selenium
- Olive oil: Rich in heart-healthy monounsaturated fats and antioxidants that fight inflammation
- Water: Hydrates the dough and helps with gluten development, essential for texture
- Salt: Provides sodium for electrolyte balance and strengthens gluten structure (use in moderation)
- Sugar: Feeds the yeast for proper rising and adds a touch of sweetness to balance flavors
For another healthy option, check out my Healthy Waffle Recipe.
FAQs About Pizza Dough
1. Can I use instant yeast instead of active dry yeast?
Yes, you can substitute instant yeast in the same amount as active dry yeast. The main difference is that instant yeast can be mixed directly into the flour without proofing, though I still prefer to proof it for consistent results.
2. Why didn’t my dough rise?
The most common reasons are dead yeast, water that was too hot or too cold, or a drafty rising environment. Check your yeast’s expiration date and make sure your water temperature is between 105-115°F (40-46°C). Try placing your dough in a warmer spot like an oven with just the light on.
3. Can I make pizza dough without a stand mixer?
Absolutely! This recipe is designed for hand mixing and kneading. Kneading by hand actually gives you better control and helps you develop a feel for the dough’s texture. It only takes 8-10 minutes of kneading to develop the gluten properly.
4. How do I know when the dough is kneaded enough?
Properly kneaded dough should be smooth, elastic, and spring back when poked. You can also do the “windowpane test”: stretch a small piece of dough between your fingers; if it stretches thin enough to see light through without tearing, the gluten is well-developed.
5. Can I make the dough ahead of time?
Yes, this is actually one of the best features of homemade pizza dough! After the first rise, you can refrigerate it for up to 3 days or freeze it for up to 3 months. The flavor actually improves with a slow, cold rise in the refrigerator for 24-48 hours.
For more Italian-inspired dishes, try my Pasta Fagioli Recipe.
Final Thoughts
Making your own pizza dough is one of those kitchen skills that seems intimidating at first but becomes second nature after a few tries. Once you get the hang of it, you’ll never want to go back to store-bought.
The satisfaction of pulling a homemade pizza out of the oven with a perfectly golden crust is worth every minute of mixing, kneading, and waiting. Plus, your whole house will smell amazing.
Give this Pizza Dough Recipe a try this weekend, and I promise you’ll be hooked. Let me know in the comments how your pizza turns out, and don’t forget to share your favorite topping combinations!
Recommended:
- Pizza Sauce Recipe
- Marinara Sauce Recipe
- Spaghetti Sauce Recipe
- Cheese Sauce Recipe
- Garlic Bread
- Meatloaf Recipe
- Swedish Meatball Recipe
- Sausage Balls Recipe
- Bechamel Sauce Recipe
- Velveeta Mac and Cheese Recipe