
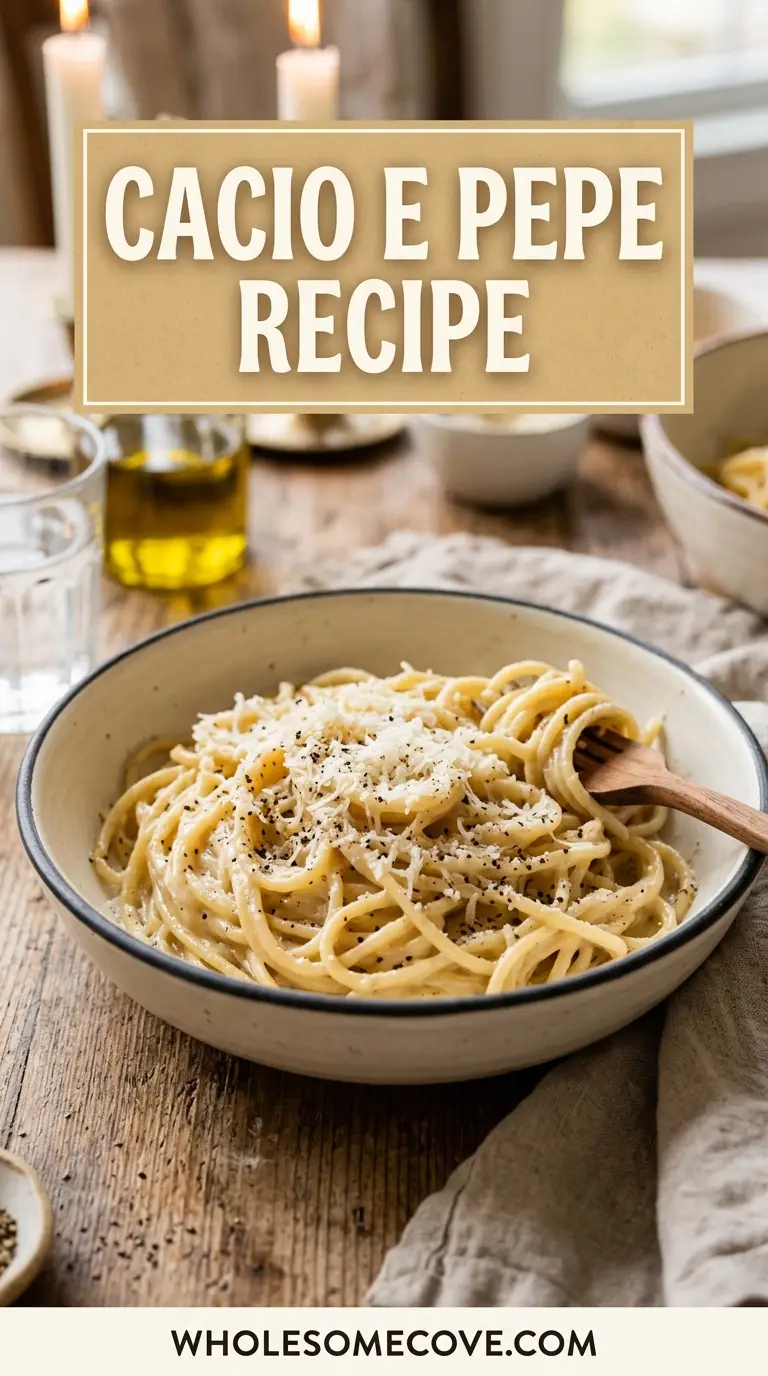
I first stumbled onto a proper Cacio e Pepe recipe in a tiny Roman trattoria years ago, seated at a wobbly wooden table near the Pantheon. The bowl that arrived looked almost laughably simple.
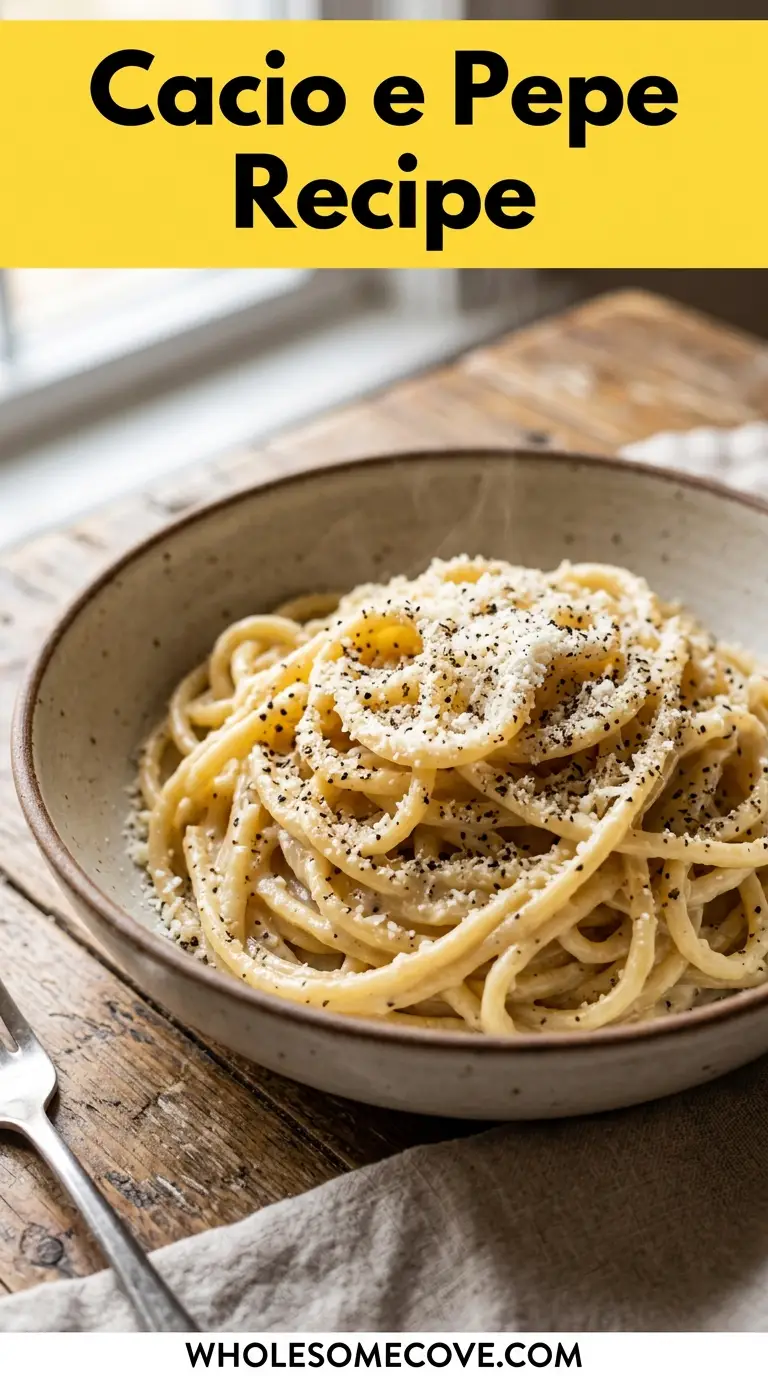
No cream, no butter, no bright herbs scattered on top. Just pale strands of spaghetti coated in a glossy, peppery cheese sauce that tasted like Rome itself.
I went home and immediately tried to recreate it. My first attempt was a disaster. The cheese seized into a rubbery lump the moment it hit the hot pasta. My second attempt wasn’t much better.
But somewhere around the fifth or sixth try, something clicked. The sauce turned silky and clung beautifully to every strand, and I stood at the stove eating directly from the pan, unable to stop.
This is that recipe. I’m sharing every trick I’ve learned so you can skip the rubbery-cheese phase entirely and go straight to the good part.
| Quick Recipe Summary | |
|---|---|
| Prep Time | 10 minutes |
| Cook Time | 20 minutes |
| Total Time | 30 minutes |
| Servings | 2 servings |
| Difficulty Level | Medium |
If you love simple Roman pasta dishes, you should also try my Carbonara Recipe next. It uses a similar hands-on technique and is just as rewarding to master.
Why You’ll Love This Cacio e Pepe Recipe
This dish proves that great cooking does not require a long grocery list. You need exactly three real ingredients.
No special equipment is required either. A large pot and a wide pan are all you need, and you likely already own both.
The whole thing comes together in about 30 minutes from start to finish. On a Tuesday night, that matters a lot.
Once you nail the technique, you’ll have a restaurant-quality pasta in your regular rotation. It’s the kind of dish that genuinely impresses guests while feeling almost effortless once you have the rhythm down.
The sauce is naturally gluten-free-adaptable, vegetarian, and completely free of processed ingredients. Just real cheese, freshly ground pepper, and good pasta.
You might also enjoy: Bolognese Recipe
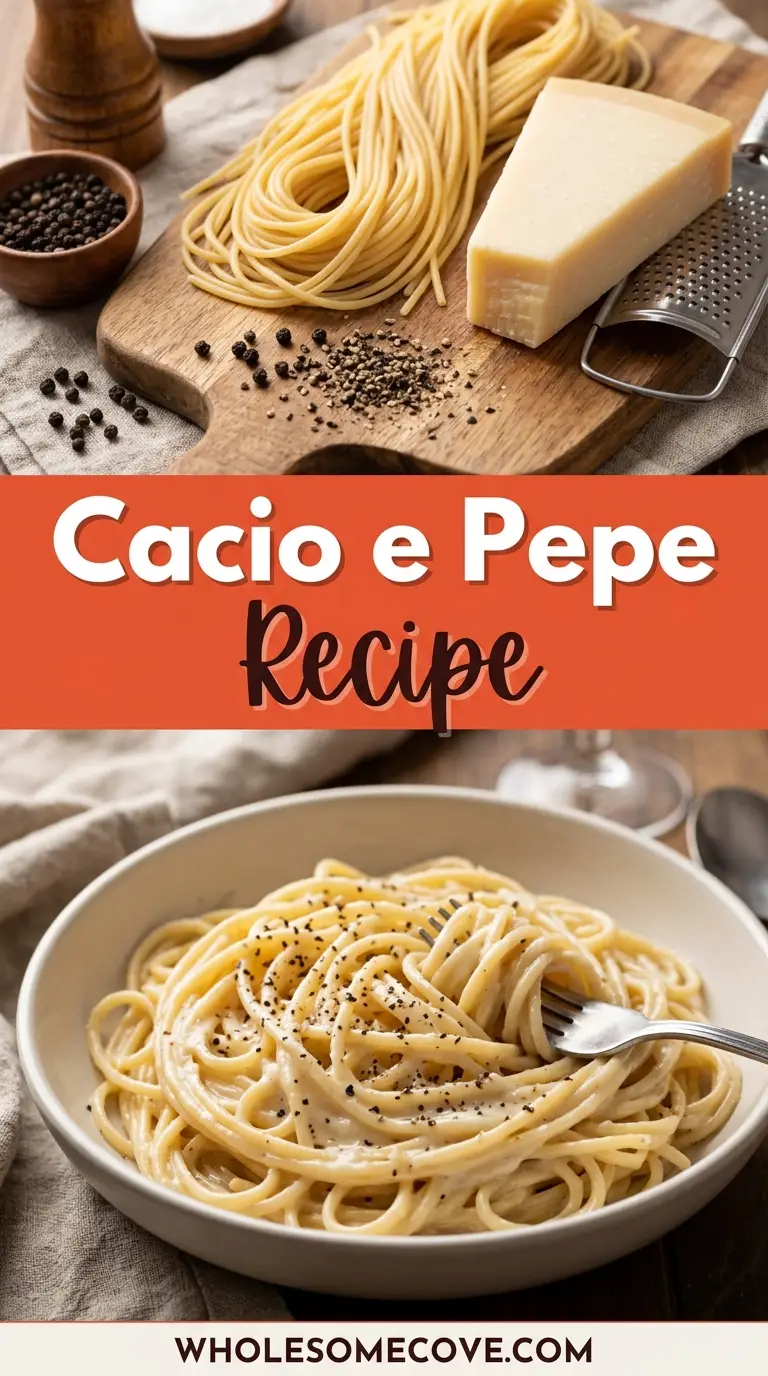
Ingredients
Traditional Cacio e Pepe uses only three main ingredients, which means every single one needs to be as good as you can find. Buy the best pecorino you can afford and use whole peppercorns rather than pre-ground. Cheaper pre-grated cheese often contains cellulose or anti-caking agents that will make your sauce grainy and clumpy.
- 7 oz (200g) spaghetti (or tonnarelli, bucatini, or rigatoni)
- 3 oz (85g) Pecorino Romano cheese, freshly grated very finely (about 1 cup tightly packed) — use authentic DOP Pecorino Romano from Italy for best results
- 1 oz (30g) Parmigiano Reggiano, freshly grated (optional but helps prevent clumping — about 1/3 cup)
- 1.5 teaspoons (4g) whole black peppercorns, freshly cracked (Tellicherry peppercorns are ideal)
- 1/2 tablespoon coarse sea salt, for pasta water (use less than you normally would, because pecorino is very salty)
- Water, enough to fill a medium pot (use slightly less than you normally would — the more concentrated the starch, the better)
Read Also: Best Sauce Recipes
Kitchen Equipment Needed
You don’t need anything fancy for this recipe. That said, a few specific tools make the process significantly easier and more reliable.
- Large pot for boiling pasta
- Wide stainless steel or carbon steel skillet (10-12 inch / 25-30cm) — do not use non-stick; you need the friction and heat retention
- Mortar and pestle or a pepper grinder that cracks coarsely (not powder-fine)
- Fine box grater or Microplane grater — cheese must be grated as finely as possible
- Tongs for tossing the pasta
- Ladle for transferring pasta water
- Small bowl for mixing the cheese paste
- Heat-safe mixing bowl (optional, but useful for tempering the cheese off the heat)
You might also enjoy: Pesto Recipe
Recommended Products for This Recipe
These are tools and ingredients I personally reach for every single time I make this dish. They make a noticeable difference.
1. Pecorino Romano DOP (Imported from Italy)
Domestic “Romano” is typically made from cow’s milk, not sheep’s milk, and behaves differently in the sauce — it’s far more likely to clump and lacks the sharp, salty depth of the real thing. Imported Pecorino Romano DOP is the ingredient that separates a good cacio e pepe from a great one. It grates finely, melts beautifully, and delivers that unmistakable tang you remember from Rome.
2. Tellicherry Whole Black Peppercorns
Pepper isn’t a background player in this recipe. It’s half the sauce. Tellicherry peppercorns are left on the vine longer, which develops a more complex, fruity heat that makes a real difference when toasted in a dry pan. Pre-ground pepper simply can’t compete.
3. Microplane Premium Classic Zester/Grater
The finer the cheese is grated, the smoother your sauce will be. A Microplane produces an almost powdery texture that dissolves into the pasta water effortlessly. It is the single biggest tool upgrade that changed my cacio e pepe results.
4. 12-Inch Stainless Steel Skillet
Non-stick pans don’t allow the necessary friction for tossing pasta and building the emulsified sauce. A wide, heavy stainless steel pan retains heat evenly and gives you enough surface area to work quickly when finishing the dish. This pan is one I use weekly.
Read Also: Vodka Sauce Recipe
Step-by-Step Instructions: How to Make Cacio e Pepe
Step 1: Grate the Cheese and Prep Your Workspace
- Grate both the Pecorino Romano and the Parmigiano Reggiano (if using) on the finest setting of your Microplane or box grater. The texture should be almost like a fluffy powder rather than visible shreds.
- Place the grated cheese in a small bowl and set it aside at room temperature. Cold cheese is harder to emulsify, so give it at least 10 minutes at room temp before you need it.
- Do not grate the cheese in advance by more than a day. Freshly grated cheese melts far more smoothly than pre-packaged grated cheese, which contains anti-caking agents that interfere with the sauce.
Step 2: Toast and Crack the Black Pepper
- Add the whole black peppercorns to a dry skillet over medium heat. There is no oil or butter in the pan at this stage.
- Toast the peppercorns, shaking the pan occasionally, for about 1 to 2 minutes, until they become fragrant and you can smell their aroma. This step wakes up the natural oils in the pepper and deepens its flavor significantly.
- Transfer the toasted peppercorns to a mortar and pestle and crush them to a coarse, cracked consistency. You want chunky bits, not a fine powder. The texture should be varied, with some pieces larger than others — this creates both heat and aroma at different rates as you eat.
- Alternatively, place the peppercorns in a zip-lock bag and crush with the bottom of a heavy skillet. Or use a pepper grinder set to its coarsest setting.
- Set aside 1.5 teaspoons (4g) of the cracked pepper for the sauce. Keep a little extra on the side for finishing the dish.
Step 3: Boil the Pasta in Lightly Salted, Reduced Water
- Fill your large pot with slightly less water than you normally would for pasta — about 4 cups (1 liter / just under 1 quart) per 100g (3.5 oz) of pasta rather than the usual more generous amount. Using less water concentrates the starch, which is the key emulsifying agent in this dish.
- Bring the water to a rolling boil over high heat, then add the 1/2 tablespoon of coarse sea salt. The water should be only mildly salty because the pecorino will bring significant saltiness to the final dish.
- Add the spaghetti and cook it for about 2 to 3 minutes less than the package’s “al dente” time. The pasta will finish cooking in the pan, so it needs to still have some stiffness when it goes into the sauce.
- Before draining, reserve a generous amount of the pasta cooking water — about 1.5 to 2 cups (350-480ml). This starchy liquid is the most important liquid in the recipe. Set it aside in a heatproof bowl or cup where you can reach it easily.
Step 4: Make the Pepper Base in the Skillet
- Return to your wide stainless steel skillet. Add the 1.5 teaspoons of cracked black pepper to the dry pan over medium heat.
- Toast the cracked pepper in the dry pan for about 30 seconds, stirring constantly, until it is fragrant. This second toasting deepens the flavor further.
- Add about 1/3 cup (80ml) of the reserved hot pasta water directly to the pepper in the pan. The water will sizzle. Stir to combine and let it simmer for about 1 minute over medium heat to create a flavorful pepper “stock.”
- Reduce the heat to low. This is important: if the pan is too hot when the cheese is added, the proteins will seize and clump.
Step 5: Temper the Cheese into a Smooth Paste
- While the pepper base is still warm but not blazing hot, add 2 to 3 tablespoons (30-45ml) of the hot (not boiling) pasta water to your bowl of grated cheese. Use water that has had a moment to cool from boiling — around 140°F-160°F (60°C-70°C) is ideal.
- Stir the cheese and pasta water together vigorously with a fork or small whisk until you form a smooth, creamy paste that resembles a thick béchamel. It should be pourable but not watery.
- If the paste is too thick, add another tablespoon of warm pasta water and stir again. If it’s too thin, add more cheese. You want a consistency like heavy cream.
- Do not add the cheese paste directly to the hot skillet yet. This pre-tempering step is what prevents clumping.
Step 6: Add the Pasta to the Skillet and Toss
- Using tongs, transfer the undercooked pasta directly from the pot into the skillet with the pepper base. Do not rinse the pasta. You want all the surface starch intact.
- Toss the pasta vigorously in the pepper base over medium-low heat for about 1 to 2 minutes, adding small splashes of the reserved pasta water (about 2 tablespoons at a time) as needed to keep things fluid. The pasta should look wet and glossy, not dry.
- The pasta will continue to cook during this stage. Keep tossing and turning the pasta continuously. This is not a step where you can walk away. Stay at the stove.
Step 7: Add the Cheese Paste and Finish the Sauce
- Remove the skillet from the heat entirely. This is critical. Adding the cheese paste off the heat prevents it from scrambling.
- Pour the cheese paste over the pasta and immediately begin tossing with tongs, working quickly to incorporate it evenly throughout the pasta.
- If the sauce looks too thick or starts to tighten, add a small splash (1 to 2 tablespoons) of the reserved pasta water and continue tossing. The sauce should coat every strand and look fluid and creamy, not gluey.
- Return the pan to the lowest heat setting for about 30 seconds to 1 minute only if needed to warm through, but keep tossing constantly.
- Taste and adjust salt if necessary. In most cases, the pecorino provides all the salt you need.
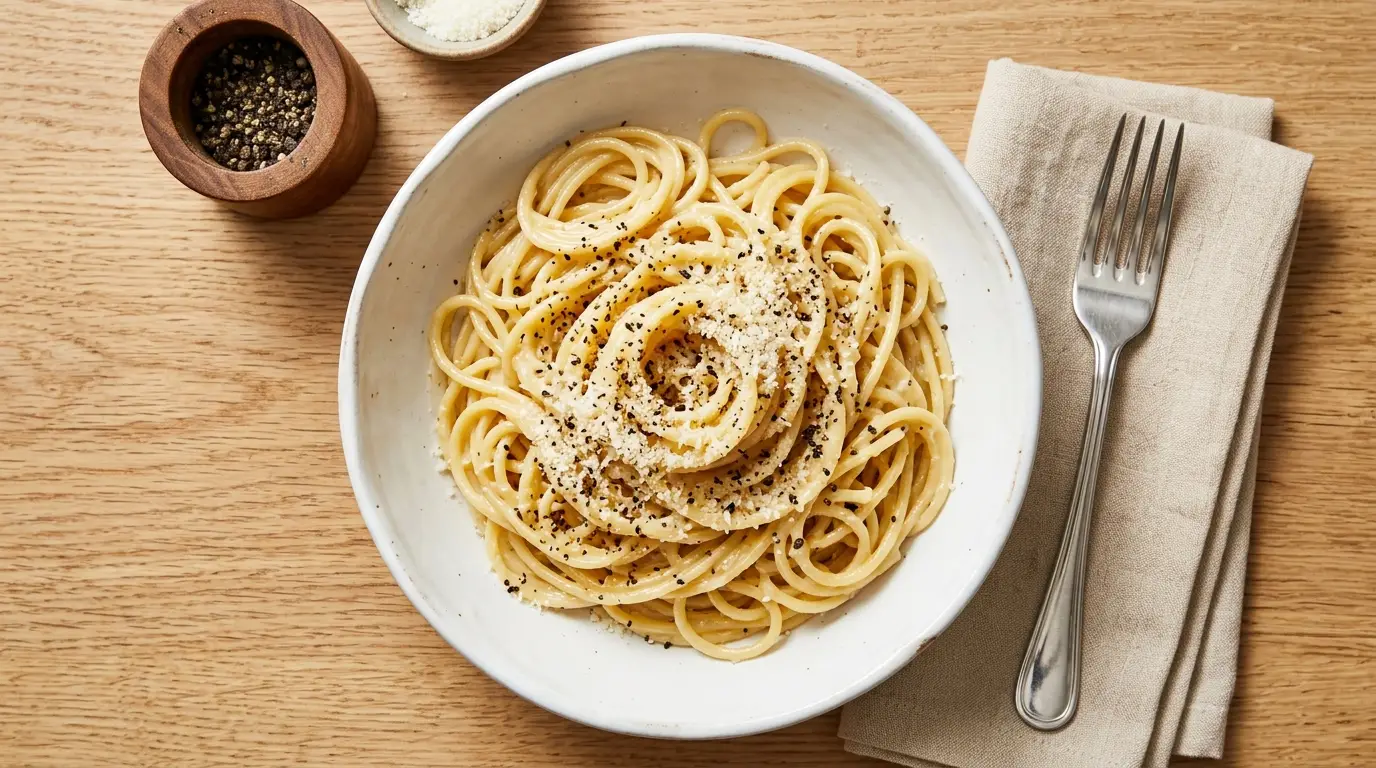
Step 8: Plate and Serve Immediately
- Twist the pasta into nests using tongs and place into warm bowls. Cacio e pepe should always be served in warmed bowls so the sauce doesn’t tighten up too quickly.
- Spoon any remaining sauce from the pan over the top of each serving.
- Finish with an extra pinch of the cracked black pepper and a small cloud of finely grated Pecorino Romano over each bowl.
- Serve immediately. Cacio e Pepe does not wait well. Eat it the moment it hits the bowl.
I learned this technique from recreating the dish from memory after too many disappointing clumpy attempts at home. Pasta Fagioli is another Roman classic that uses a similar technique of finishing pasta in its cooking liquid — worth exploring if you love this style of cooking.
Tips for The Best Cacio e Pepe
These are the lessons I learned the hard way. Follow them and you’ll get a silky, creamy sauce on your very first try.
- Use authentic DOP Pecorino Romano, not domestic Romano. Domestic Romano is usually made with cow’s milk and behaves differently. It’s more prone to clumping and has a different flavor profile. I cannot overstate how much the quality of the cheese matters in a dish with three ingredients.
- Grate the cheese as finely as possible. Use the finest side of a box grater or, better yet, a Microplane. The finer the cheese, the more easily it dissolves into the sauce. Coarse shreds almost always lead to a grainy or lumpy texture.
- Let the cheese come to room temperature before using. Cold cheese is harder to emulsify. Take it out of the fridge at least 15 to 20 minutes before you start cooking.
- Use less pasta water than you think you need for boiling. A more concentrated, starchy pasta water acts as a more powerful emulsifier for the cheese. This is one of the secrets Romans rely on.
- Toast the pepper twice. First in a dry pan as whole peppercorns, then again after cracking. This builds layers of aroma and depth that elevate the dish far beyond what you’d get from shaking pepper from a jar.
- Never add cheese to a screaming hot pan. Remove the pan from the heat before adding the cheese paste. If the pan is too hot when the cheese hits it, the proteins seize and you get scrambled cheese, not sauce.
- Temper the cheese with pasta water before adding it to the pan. Making a paste in a separate bowl first gives you much more control. This one change is what finally fixed my cacio e pepe.
- Work quickly once you start combining. Cacio e Pepe is a dish where speed matters. Have everything ready at your side before the pasta finishes cooking. There is no time to search for a ladle mid-recipe.
- Use a wide pan with room to toss. The tossing motion is how the sauce emulsifies. A cramped pan leads to uneven coating and splattered sauce.
- Eat it immediately. The sauce tightens as it cools. Cacio e Pepe is one of the few pasta dishes that genuinely cannot be reheated to its former glory. Eat it fresh from the pan.
Read Also: Garlic Parmesan Sauce Recipe
What to Serve with Cacio e Pepe
Cacio e Pepe is rich, peppery, and deeply satisfying on its own. The best accompaniments are simple and light so they don’t compete with the bold, cheesy flavors.
A fresh green salad with a lemon-forward vinaigrette is the ideal counterpart. The acid cuts through the richness beautifully.
- Broccoli Salad — the crunch and slight bitterness of broccoli makes it a fantastic pairing
- Creamed Spinach — a classic Italian-American side that echoes the richness of the pasta without overwhelming it
- Roasted Potatoes — crispy and golden, these add a hearty component to what is otherwise a light-feeling meal
- Healthy Bruschetta — fresh tomato and basil on toasted bread serves as a bright, acidic contrast
- Grilled Portobello Mushrooms — earthy and meaty, these complement the savory depth of the pecorino
- Simple arugula salad with lemon juice, olive oil, and shaved Parmesan — a classic Roman pairing
- Authentic Italian Tiramisu for dessert — keep the Italian theme going all the way through the meal
- A chilled glass of Frascati or Vermentino — both are dry white wines from central Italy that pair naturally with Pecorino Romano
Another favorite: Chicken Parmesan Recipe
Variations of Cacio e Pepe
The classic recipe is a masterpiece and deserves to be made as written at least once before you start experimenting. That said, once you’ve nailed the technique, these variations are genuinely delicious.
- Bucatini Cacio e Pepe: Swap spaghetti for bucatini, which is a thicker, hollow pasta. The hollow center traps pockets of the creamy sauce, making each bite even more intensely cheesy. Many Romans consider this the superior pasta choice.
- Rigatoni Cacio e Pepe: Short pasta works beautifully with this sauce. Rigatoni’s ridged exterior and hollow center grip the sauce particularly well. This is a great option if you prefer eating pasta with a spoon rather than twirling it.
- Cacio e Pepe with Added Parmigiano: Many home cooks (and some Roman chefs) use a blend of 75% Pecorino Romano and 25% Parmigiano Reggiano. The Parmigiano softens the intensity of the Pecorino slightly and helps create an even creamier, more stable sauce. This is the version I recommend for beginners.
- Cacio e Pepe Risotto: Use the exact same flavor principles — pecorino, black pepper, starchy liquid — but with risotto rice instead of pasta. Finish with a knob of butter if you prefer richness. The technique of adding warm liquid gradually echoes the pasta method.
- Cacio e Pepe Pizza: Spread a thin layer of Pecorino cream (made with pasta water) on pizza dough, bake until crispy, and finish with cracked pepper and extra cheese out of the oven. It’s a stunning Roman-style pizza.
- Cacio e Pepe Gnocchi: Substitute gnocchi for spaghetti. The technique is identical. The pillowy texture of gnocchi against the sharp, peppery sauce is spectacular.
- Green Cacio e Pepe: Add a few tablespoons of blanched, blended pea puree or baby spinach puree to the cheese paste before incorporating it into the pasta. The result is a vivid green, slightly sweet variation that still honors the original spirit.
The same rich, cheesy technique also works wonders in Baked Ziti.
Storage and Reheating
Cacio e Pepe is best eaten immediately. The cheese sauce tightens significantly as it cools and doesn’t reheat to its original creamy state. That said, leftovers are still tasty in their own right.
- Refrigeration: Store leftover cacio e pepe in an airtight container in the refrigerator for up to 2 days. The sauce will thicken considerably overnight and the pasta will absorb most of the remaining liquid.
- Reheating on the stovetop (recommended): Place the cold pasta in a non-stick or stainless pan over low heat with 2 to 3 tablespoons of water or low-sodium chicken broth. Toss gently as the pasta warms. The added liquid will help loosen the tightened sauce somewhat. Do not use high heat or the cheese will break.
- Reheating in the microwave: Place the pasta in a microwave-safe bowl, add 1 to 2 tablespoons of water, and loosely cover. Heat in 30-second intervals on medium power, stirring between each interval. It won’t be as creamy as fresh, but it’ll be warm and enjoyable.
- Do not freeze: The cheese sauce does not freeze well. It will turn grainy and watery upon thawing. Cacio e Pepe is not a recipe where you should make extra batches for freezing.
- Best practice: Make only what you plan to eat in one sitting. The ingredient quantities in this recipe are designed for exactly 2 servings.
Read Also: Easy Alfredo Sauce Recipe
Nutritional Facts
These values are approximate and calculated for 2 servings made with both Pecorino Romano and Parmigiano Reggiano.
| Nutrient | Per Serving |
|---|---|
| Calories | ~520 kcal |
| Carbohydrates | ~68g |
| Protein | ~22g |
| Total Fat | ~16g |
| Saturated Fat | ~9g |
| Cholesterol | ~45mg |
| Sodium | ~680mg |
| Fiber | ~3g |
| Sugar | ~2g |
| Calcium | ~420mg |
Nutritional values are estimates and will vary based on specific pasta brand and cheese quantities used.
You might also enjoy: Healthy Alfredo Sauce Recipe
Health Benefits of Key Ingredients
Cacio e Pepe is not a diet food, but its three core ingredients are whole, unprocessed, and carry some genuine nutritional value.
The simplicity of the ingredient list means there are no preservatives, additives, or artificial ingredients to speak of.
- Pecorino Romano (sheep’s milk cheese): Sheep’s milk is naturally higher in short and medium-chain fatty acids than cow’s milk, which some research suggests are more readily used by the body for energy. Pecorino is also a good source of calcium, phosphorus, and vitamin B12, all of which are important for bone density and nerve function.
- Black pepper: Piperine, the active compound in black pepper, has been shown in studies to have anti-inflammatory properties. It also enhances the bioavailability of nutrients, meaning it may help your body absorb more from the other foods you eat alongside this dish. This is why pepper is more than a flavoring in traditional Roman cooking.
- Pasta (semolina/durum wheat): Dried pasta made from durum wheat is a source of complex carbohydrates and provides sustained energy. When cooked al dente, it has a lower glycemic index than fully cooked pasta, meaning it causes a more gradual rise in blood sugar. It also contains selenium and B vitamins.
- Parmigiano Reggiano (optional addition): One of the most nutrient-dense cheeses available, Parmigiano is rich in calcium, high-quality protein, and essential amino acids. Its natural aging process breaks down proteins into free amino acids, making it easier to digest than younger cheeses.
- Starchy pasta water: This often-overlooked liquid is surprisingly functional. The dissolved starch acts as a natural emulsifier and binder in the sauce without requiring cream, butter, or any added fat. It’s a zero-waste, zero-calorie ingredient that does all the heavy lifting in the sauce.
Read Also: Pasta Fagioli Recipe
FAQs About Cacio e Pepe
1. Why does my Cacio e Pepe turn out clumpy?
Clumping is by far the most common problem with this dish. It almost always comes down to temperature. If the pan is too hot when you add the cheese paste, the proteins in the Pecorino seize and harden instead of melting smoothly.
Always remove the pan from the heat completely before adding the cheese paste. Tempering the cheese separately in a bowl with warm (not boiling) pasta water before adding it to the pasta is the single most reliable fix for this problem.
2. Can I use Parmesan instead of Pecorino Romano?
You can, and many home cooks do. The result will be milder, creamier, and less sharp.
That said, Parmesan alone is not traditional for Cacio e Pepe — the dish is named after Pecorino (cacio). A blend of 75% Pecorino and 25% Parmesan is a good middle ground that gives you the authentic flavor with a more forgiving texture.
3. Do I need to add butter or cream?
No. Authentic Roman Cacio e Pepe contains no butter, no cream, and no olive oil. The creaminess of the sauce comes entirely from the emulsification of finely grated Pecorino with starchy pasta water.
Adding butter or cream will produce a delicious dish, but it will not be Cacio e Pepe. It will be a cream-cheese pasta, which is its own worthy thing.
4. What pasta is best for Cacio e Pepe?
Tonnarelli (also called spaghetti alla chitarra) is the most traditional pasta used in Rome. It’s a square-cut, fresh egg pasta that grips the sauce particularly well.
Spaghetti is the most widely available and completely acceptable substitute. Bucatini (hollow, slightly thicker than spaghetti) is also excellent. For short pasta, rigatoni and mezze maniche work beautifully.
5. Why does Cacio e Pepe use less pasta water than normal?
Using less water to cook the pasta creates a more concentrated, starchy liquid. That starch is what allows the Pecorino to emulsify into a smooth, creamy sauce instead of clumping.
Think of the pasta water as an ingredient in its own right — not just a cooking medium. The more starch it contains, the better it works as a natural sauce stabilizer.
Read Also: Zuppa Toscana Recipe
Cacio e Pepe
Ingredients
- 7 oz spaghetti - 200g; or tonnarelli, bucatini, or rigatoni
- 3 oz Pecorino Romano cheese - 85g, freshly grated very finely (about 1 cup tightly packed); use authentic DOP Pecorino Romano for best results
- 1 oz Parmigiano Reggiano - 30g, freshly grated (about 1/3 cup); optional but helps prevent clumping
- 1.5 tsp whole black peppercorns - 4g; Tellicherry peppercorns preferred; will be toasted and cracked
- 0.5 tbsp coarse sea salt - For pasta water; use less than usual as pecorino is very salty
- water - Slightly less than usual — about 4 cups (1 liter) per 100g pasta — to concentrate the starch
Equipment
- Large pot - For boiling pasta
- Wide stainless steel or carbon steel skillet - 10–12 inch (25–30 cm); do not use non-stick
- Mortar and pestle - For cracking peppercorns coarsely; a heavy skillet can substitute
- Microplane grater or fine box grater - For grating cheese as finely as possible
- Tongs - For tossing pasta in the pan
- Ladle - For transferring pasta water
- Small bowl - For mixing the cheese paste
- Heat-safe mixing bowl - (optional) Useful for tempering cheese off the heat
Method
- Grate both Pecorino Romano and Parmigiano Reggiano (if using) on the finest setting of your Microplane or box grater until the texture resembles fluffy powder. Place in a small bowl and leave at room temperature for at least 10 minutes before using.
- Add the whole black peppercorns to a dry skillet over medium heat and toast for 1–2 minutes, shaking occasionally, until fragrant. Transfer to a mortar and pestle and crush to a coarse, varied texture — not a fine powder.
- Fill a large pot with slightly less water than usual, bring to a boil, and add the coarse sea salt. Cook the spaghetti 2–3 minutes less than the package’s al dente time, then reserve 1.5–2 cups (350–480ml) of the starchy pasta water before draining.
- Add the cracked pepper to the dry wide skillet over medium heat and toast for 30 seconds, stirring constantly. Pour in 1/3 cup (80ml) of the reserved hot pasta water, stir, and simmer for 1 minute, then reduce heat to low.
- Add 2–3 tablespoons of warm (not boiling) pasta water to the bowl of grated cheese and stir vigorously until a smooth, creamy paste forms with a consistency like heavy cream. Adjust with more pasta water or cheese as needed.
- Transfer the undercooked pasta directly into the skillet using tongs and toss vigorously over medium-low heat for 1–2 minutes, adding small splashes of reserved pasta water as needed to keep the pasta glossy and fluid.
- Remove the skillet from the heat completely, pour the cheese paste over the pasta, and toss quickly with tongs until the sauce is smooth and coats every strand. Add small splashes of pasta water if the sauce tightens, and return to the lowest heat for 30 seconds only if needed.
- Twist the pasta into nests using tongs and place into warm bowls. Finish with an extra pinch of cracked black pepper and a small cloud of finely grated Pecorino Romano, then serve immediately.
Nutrition
Notes
- Use authentic DOP Pecorino Romano imported from Italy — domestic Romano is usually cow’s milk and is far more prone to clumping.
- Grate the cheese as finely as possible using a Microplane. The finer the grind, the smoother and creamier the sauce will be.
- Always remove the pan from the heat completely before adding the cheese paste — this is the single most important step to prevent a grainy or clumpy sauce.
- Tempering the cheese in a separate bowl with warm pasta water before adding it to the pasta gives you full control over consistency and prevents seizing.
- Use slightly less water than usual when boiling pasta to create a more starch-concentrated liquid, which acts as a natural emulsifier in the sauce.
- Toast the peppercorns twice — first whole in a dry pan, then again after cracking — to build deeper, more complex pepper flavor.
- A blend of 75% Pecorino Romano and 25% Parmigiano Reggiano is ideal for beginners; the Parmigiano softens the sauce and makes it more stable.
- Cacio e Pepe does not reheat well — make only what you plan to eat in one sitting for the best texture and flavor.
- If reheating is necessary, warm leftovers in a pan over low heat with 2–3 tablespoons of water or broth, tossing gently. Do not microwave on high.
- Do not freeze — the cheese sauce turns grainy and watery upon thawing.
Private Notes
Tried this recipe?
Let us know how it was!Final Thoughts
Cacio e Pepe is proof that cooking with restraint can produce something extraordinary. Three ingredients, a single pan, and twenty minutes.
The technique takes practice. Your first attempt may not be perfect.
But even an imperfect Cacio e Pepe is deeply delicious, and each time you make it you’ll get a little closer to that silky, peppery Roman ideal.
Try it this week and let me know how yours turns out. Did you go full traditional with just Pecorino, or did you add a little Parmigiano for extra creaminess? Drop your experience in the comments below.
Recommended:
- Carbonara Recipe
- Bolognese Recipe
- Chicken Spaghetti Recipe
- Stuffed Shells Recipe
- Lasagna Recipe
- Lasagna Soup Recipe
- Marinara Sauce Recipe
- Spaghetti Sauce Recipe
- Italian Wedding Soup Recipe
- Creamy Tomato Basil Soup Recipe