
I grew up in a house where Thanksgiving wasn’t complete without my grandmother’s stuffing. The aroma of fresh herbs, butter, and toasted bread would fill the kitchen for hours, and everyone knew that bowl would be empty before dessert even hit the table.
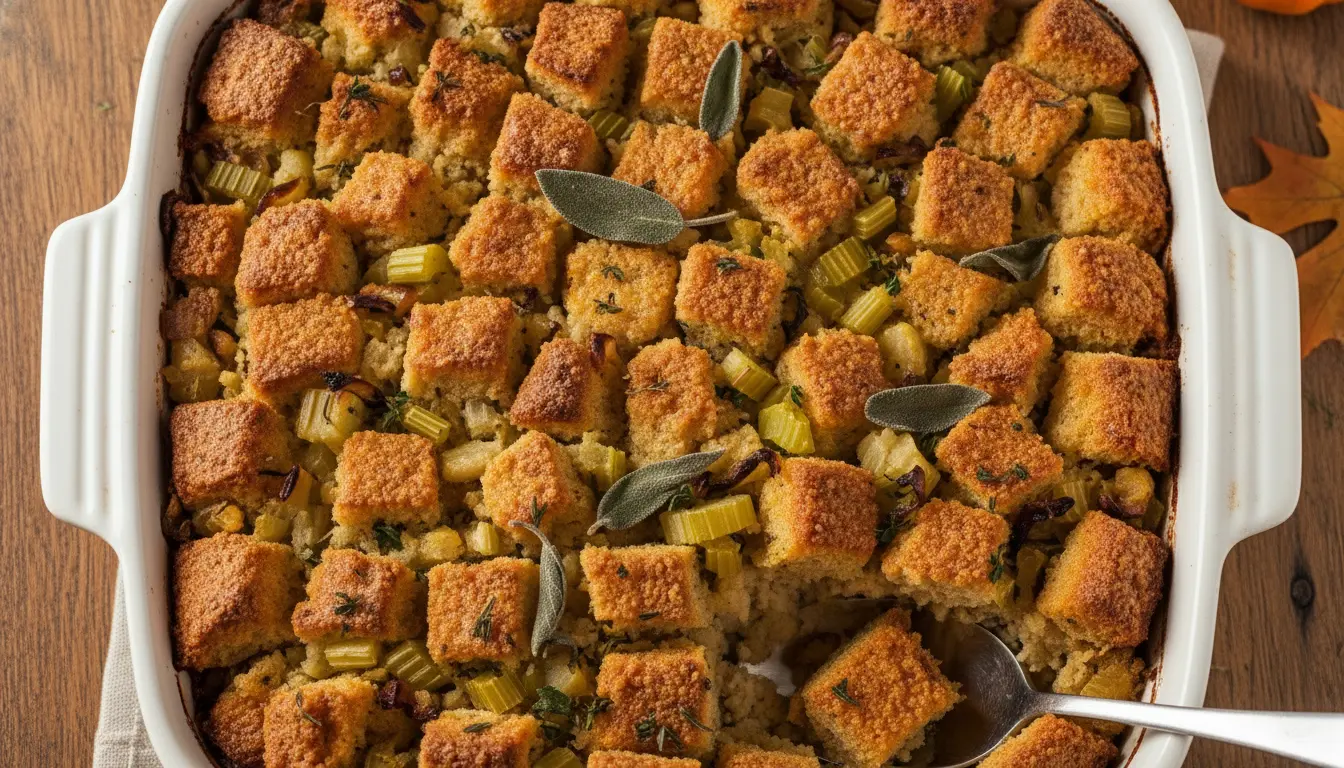
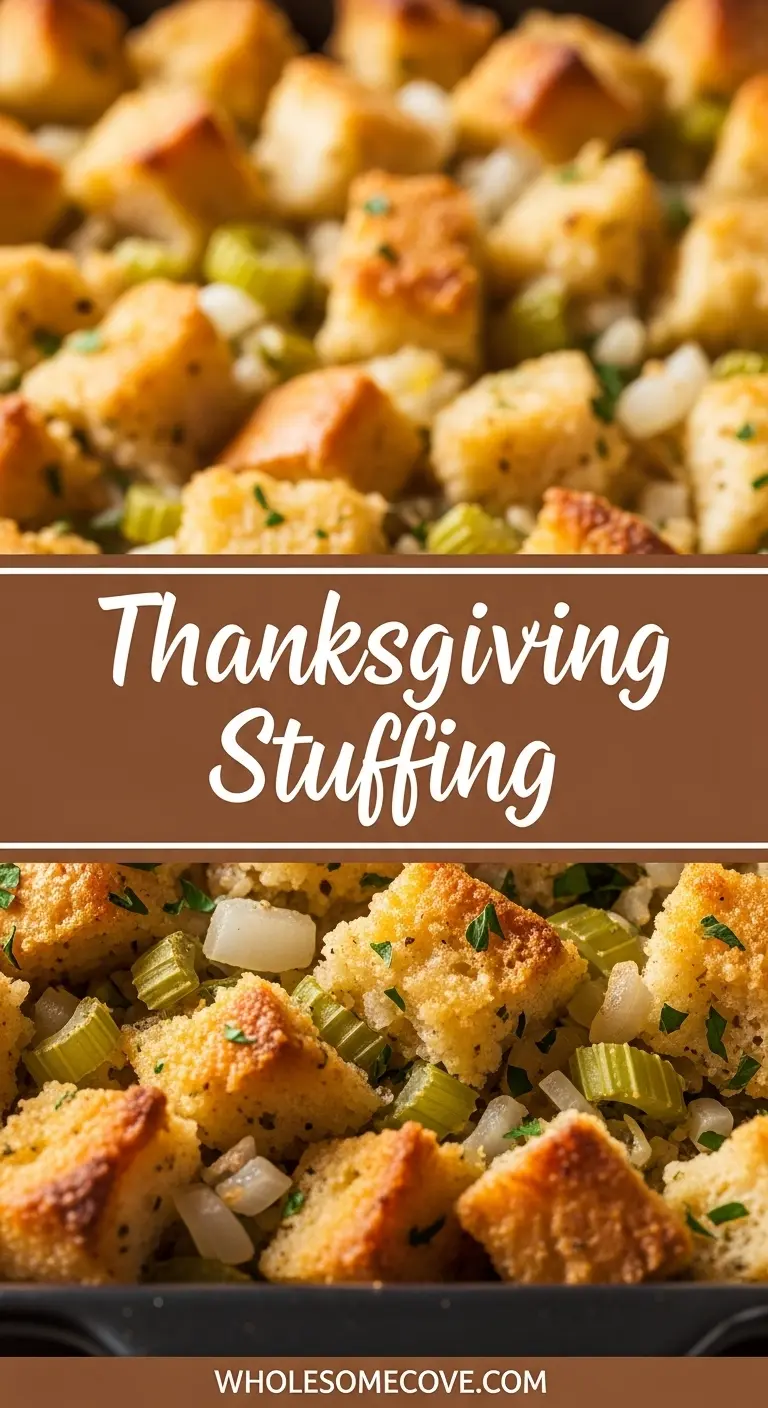
After years of watching her make it, then fumbling through my own versions, I’ve finally perfected a thanksgiving stuffing recipe that hits all the right notes. It’s savory, perfectly moist without being soggy, and has those crispy golden edges everyone fights over.
This isn’t one of those complicated recipes that requires specialty ingredients or professional techniques. You probably have most of what you need in your kitchen right now. And the best part? You can prep almost everything ahead of time, which is a lifesaver when you’re juggling a dozen other dishes on Turkey Day.
| Quick Recipe Summary | |
|---|---|
| Prep Time | 20 minutes |
| Cook Time | 45 minutes |
| Total Time | 65 minutes |
| Servings | 12 servings |
| Difficulty Level | Easy |

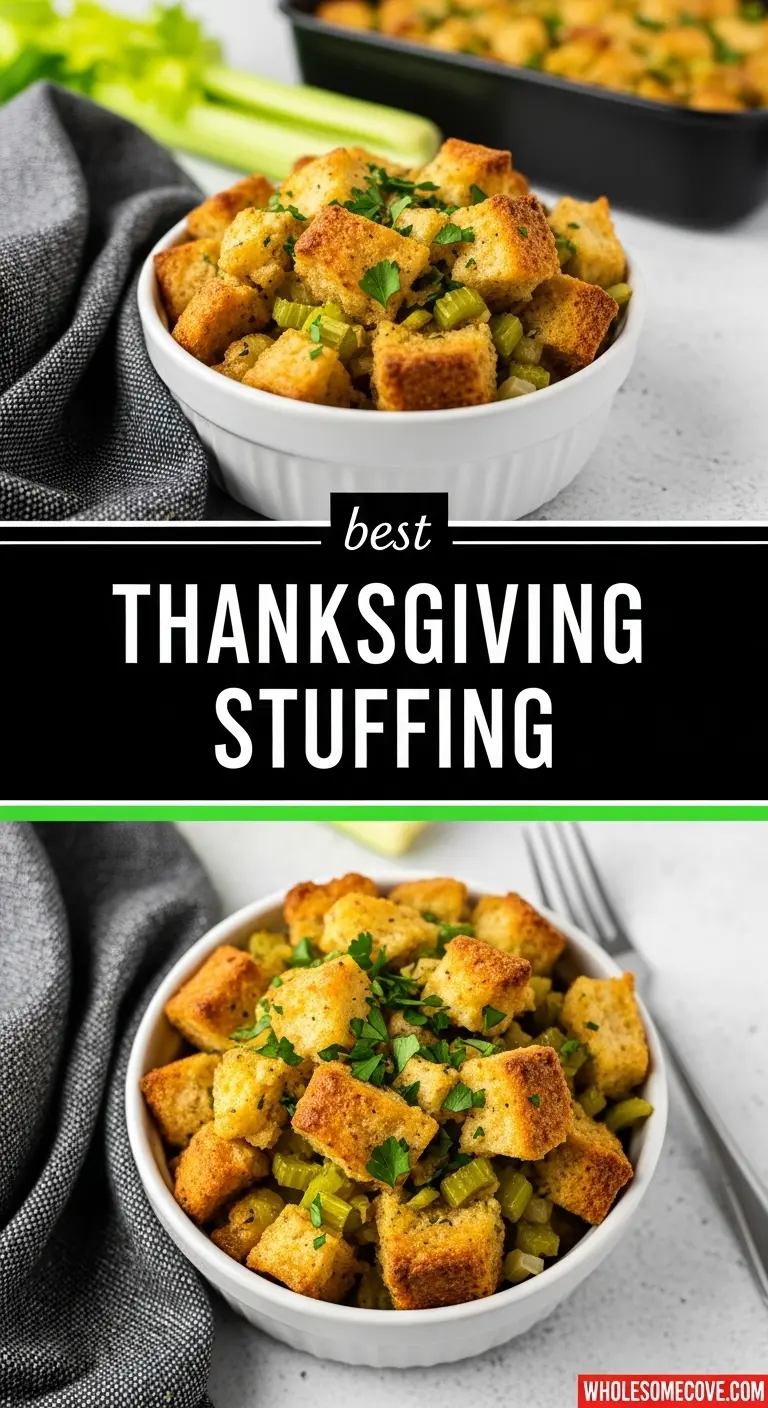
Why You’ll Love This Thanksgiving Stuffing Recipe
This stuffing has become my non-negotiable contribution to every Thanksgiving dinner I attend. It’s the recipe friends text me about in October, asking if I’m bringing “that stuffing” again.
The texture is what really sets it apart. You get crispy, buttery edges with a tender, flavorful center that’s loaded with aromatics.
Here’s what makes this recipe special:
- Foolproof results every time: The measurements and technique are forgiving, so even first-time cooks can nail it
- Make-ahead friendly: Assemble it the day before and just pop it in the oven on Thanksgiving
- Crowd-pleasing flavors: Classic herb combination that appeals to traditionalists and adventurous eaters alike
- Customizable base: Easy to adapt with sausage, dried fruit, or whatever your family loves
- Perfect moisture balance: Never dry, never soggy, always just right
- Budget-friendly: Uses simple, affordable ingredients that won’t break the bank
Another favorite side that pairs beautifully with this is my creamed spinach, which adds a creamy contrast to the stuffing’s texture.
Ingredients
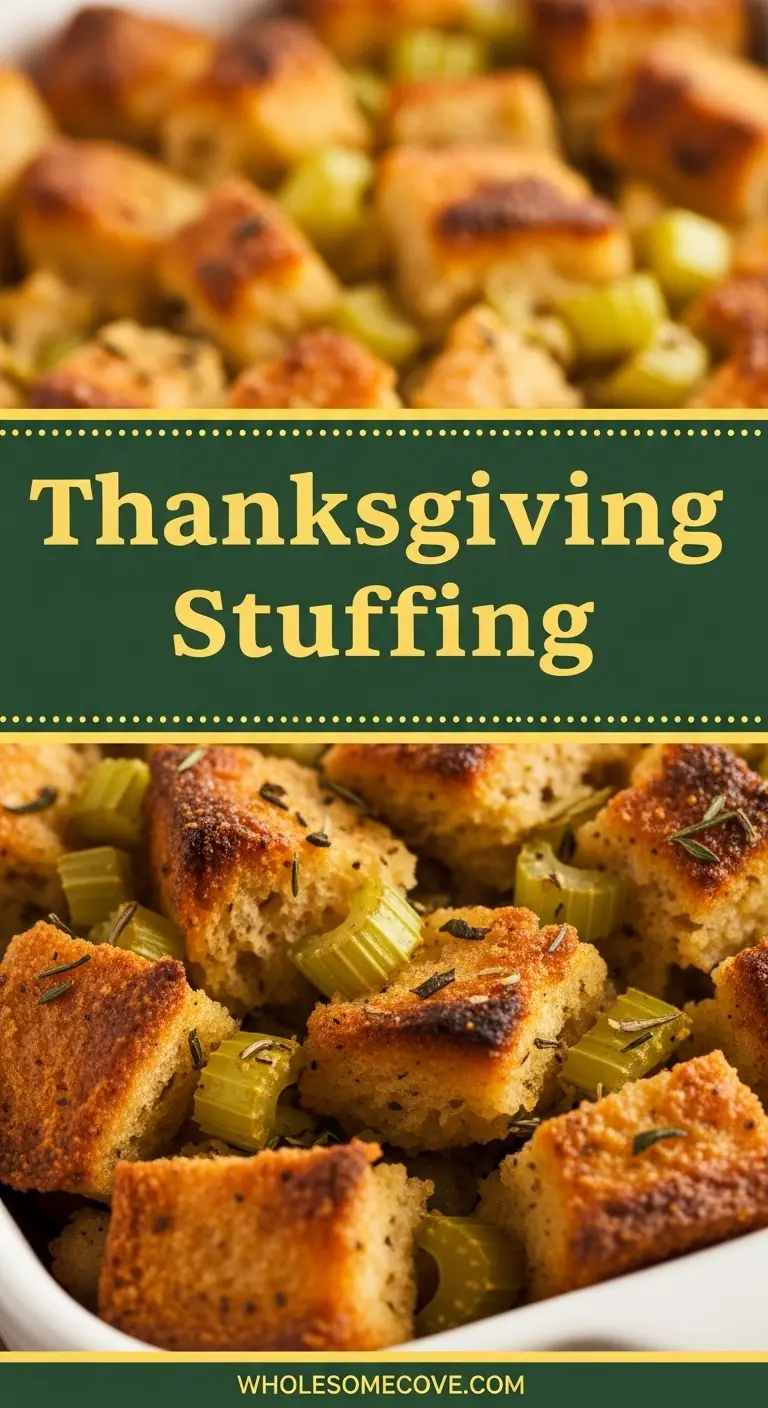
This recipe relies on quality bread as the foundation, so don’t skimp there. I’ve found that slightly stale bread actually works better because it absorbs the broth without turning to mush.
Here’s everything you’ll need:
For the Stuffing:
- 1 pound (450g) day-old bread (French, sourdough, or white bread), cut into 3/4-inch cubes
- 1/2 cup (115g) unsalted butter
- 1 large yellow onion, diced (about 1 1/2 cups)
- 3 celery stalks, diced (about 1 1/2 cups)
- 3 cloves garlic, minced
- 2 tablespoons fresh sage, chopped (or 1 tablespoon dried)
- 1 tablespoon fresh thyme, chopped (or 1 teaspoon dried)
- 1 tablespoon fresh rosemary, chopped (or 1 teaspoon dried)
- 2 1/2 cups (600ml) chicken broth or vegetable broth
- 2 large eggs, beaten
- 1/2 cup (30g) fresh parsley, chopped
- 1 teaspoon salt
- 1/2 teaspoon black pepper
- 1/4 teaspoon nutmeg (optional, but adds depth)
Kitchen Equipment Needed
Having the right tools makes this recipe come together smoothly. You don’t need anything fancy, but these items will make your life easier.
Essential equipment:
- Large baking dish: A 9×13-inch dish is perfect for this recipe
- Large skillet: For sautéing the vegetables and aromatics
- Large mixing bowl: Big enough to hold all the bread cubes comfortably
- Sharp knife and cutting board: For prep work
- Measuring cups and spoons: Accuracy matters here
- Wooden spoon or spatula: For stirring and mixing
- Aluminum foil: To prevent over-browning
- Baking sheet: If you need to dry out your bread cubes in the oven
Recommended Products for This Recipe
After making this stuffing more times than I can count, I’ve found a few products that genuinely make a difference in the final result.
1. Le Creuset Enameled Cast Iron Baking Dish
I switched to this baking dish three years ago and haven’t looked back. It distributes heat so evenly that you get consistent browning across the entire top of the stuffing, and the depth is perfect for achieving that ideal ratio of crispy top to tender middle. The enameled surface also makes cleanup incredibly easy, even with all those baked-on buttery bits.
2. Pacific Foods Organic Chicken Stock
The quality of your broth directly impacts the flavor of your stuffing. This organic stock has a rich, clean taste without being overly salty, which gives you better control over the seasoning. I always keep a few cartons in my pantry because it elevates not just stuffing, but soups and sauces too.
3. Wusthof Classic Chef’s Knife
Prep work goes so much faster with a quality knife. I use this for everything from dicing onions and celery to chopping fresh herbs, and the blade stays sharp through years of heavy use. It’s balanced perfectly in your hand, which reduces fatigue when you’re doing a lot of cutting.
4. Simply Organic Dried Herbs Set
When fresh herbs aren’t available or you’re on a budget, this set is a lifesaver. The sage, thyme, and rosemary all have robust flavor that stands up to baking, and the quality is noticeably better than generic grocery store brands. Each bottle lasts through multiple holiday seasons.
Step-by-Step Instructions: How to Make Thanksgiving Stuffing
Making stuffing from scratch is easier than most people think. Just follow these steps carefully, and you’ll have perfect results.
1. Prepare the Bread
The foundation of great stuffing starts with properly prepared bread cubes.
- Cut your bread into 3/4-inch cubes, trying to keep them relatively uniform in size so they dry and toast evenly
- Spread the bread cubes in a single layer on baking sheets
- Leave them out overnight at room temperature to dry out, or bake at 250°F (120°C) for 45-60 minutes, stirring every 15 minutes until they feel dry and slightly crispy
- You want the bread dried but not toasted brown at this stage, as it will brown further during the final baking
- Transfer the dried bread cubes to a large mixing bowl and set aside
2. Sauté the Aromatics
This step builds the flavor foundation that makes your stuffing irresistible.
- Preheat your oven to 350°F (175°C)
- Melt the butter in a large skillet over medium heat until it’s completely liquid and starting to foam slightly
- Add the diced onion and celery, stirring to coat everything in butter
- Cook for 8-10 minutes, stirring occasionally, until the vegetables are softened and the onion is translucent but not browned
- Add the minced garlic, sage, thyme, and rosemary to the pan
- Cook for another 2 minutes, stirring constantly, until the herbs are fragrant and the garlic is softened
- Remove from heat and let cool slightly while you prepare the liquid mixture
3. Mix the Wet Ingredients
Getting the liquid ratio right is crucial for moist but not soggy stuffing.
- In a medium bowl or large measuring cup, whisk together the chicken broth and beaten eggs until well combined
- The eggs help bind everything together and add richness to the final dish
- Season the broth mixture with salt, pepper, and nutmeg if using
- Taste the broth (yes, even with raw egg, just a tiny taste) to check if the seasoning is right, it should taste slightly over-seasoned since it will be diluted by the bread
You might also enjoy my hashbrown casserole as another comforting side dish option.
4. Combine Everything
This is where it all comes together, and you need to work gently to avoid mushing the bread.
- Pour the sautéed vegetable mixture over the dried bread cubes in your large mixing bowl
- Add the chopped fresh parsley and toss everything together with your hands or a large spoon until the vegetables are evenly distributed
- Gradually pour the broth mixture over the bread, stirring gently after each addition
- Use your hands to gently fold and squeeze the mixture, making sure all the bread cubes get moistened but not completely saturated
- The mixture should hold together when squeezed but still feel slightly loose, not packed down or mushy
- Let it sit for 5 minutes so the bread can absorb the liquid fully
5. Transfer to Baking Dish
Proper arrangement in the pan affects how your stuffing bakes.
- Grease your 9×13-inch baking dish generously with butter or cooking spray
- Transfer the stuffing mixture to the prepared dish, spreading it out evenly
- Press down gently but don’t pack it too tightly, you want some air pockets for texture
- Dot the top with a few extra tablespoons of butter cut into small pieces for extra richness and browning
- Cover the dish tightly with aluminum foil
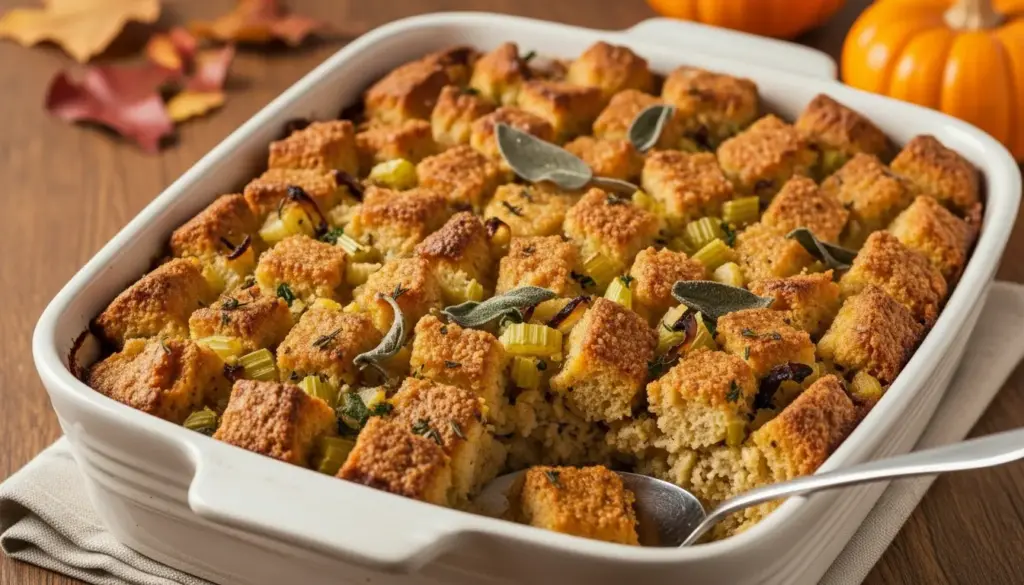
6. Bake to Perfection
The two-stage baking process ensures the stuffing cooks through while developing a golden crust.
- Place the covered baking dish in your preheated 350°F (175°C) oven
- Bake covered for 30 minutes to allow the stuffing to steam and cook through
- Remove the foil and continue baking for an additional 15-20 minutes uncovered
- The top should be golden brown and crispy, with some darker brown edges (those are the best parts)
- If the top isn’t browning enough, you can run it under the broiler for 2-3 minutes, but watch it carefully to prevent burning
- Let it rest for 5-10 minutes before serving to allow the texture to set
Tips for The Best Thanksgiving Stuffing
I’ve learned these tips through trial and error, and they make a real difference in the final result.
Key success factors:
- Use day-old or dried bread: Fresh bread will turn to mush when you add the liquid. If your bread is fresh, dry it out in the oven first.
- Don’t over-saturate: The bread should be moistened but not swimming in liquid. You can always add more broth, but you can’t take it away.
- Cut vegetables uniformly: Consistent dice size ensures everything cooks evenly and you get aromatics in every bite.
- Taste as you go: Season the vegetable mixture before adding it to the bread, and adjust the broth seasoning too.
- Let it rest after baking: This allows the moisture to redistribute and the texture to set properly.
- Make it ahead: Assemble the stuffing completely, cover, and refrigerate up to 24 hours before baking. Add 10-15 minutes to the covered baking time if going straight from the fridge.
- Choose the right bread: Sturdy breads like French, sourdough, or Italian hold up best. Avoid soft sandwich bread which gets mushy.
- Create texture contrast: Press down some areas and leave others fluffy for varied texture throughout the dish.
- Use homemade broth when possible: It has deeper flavor than store-bought, but quality store-bought works great too.
- Don’t skip the eggs: They act as a binder and add richness that water or broth alone can’t provide.
Read Also: Thanksgiving Turkey
Serving Suggestions
This stuffing is incredibly versatile and pairs beautifully with so many dishes. It’s obviously perfect for Thanksgiving, but I’ve served it at regular Sunday dinners too.
Classic Thanksgiving pairings include your roasted turkey, maple glazed carrots, and roasted brussels sprouts with bacon.
For a complete holiday spread, consider adding:
- Roasted vegetables like carrots, parsnips, and sweet potatoes
- Cranberry sauce (homemade or jellied, I don’t judge)
- Rich gravy drizzled over both the turkey and stuffing
- Green bean casserole for a creamy contrast
- Honey butter with fresh rolls
- A bright, acidic salad to cut through all the richness
The leftovers are almost better than the original meal. I pile stuffing on a plate with sliced turkey, add gravy, and eat it for breakfast, lunch, and dinner until it’s gone.
Variations of Thanksgiving Stuffing
One of the best things about this recipe is how easily you can customize it to match your family’s preferences or dietary needs.
Popular variations to try:
- Sausage Stuffing: Brown 1 pound of Italian sausage (mild or spicy) and add it to the vegetable mixture. Reduce butter to 1/4 cup since the sausage adds fat.
- Cranberry Pecan: Stir in 1 cup of dried cranberries and 1 cup of toasted pecans with the bread cubes for a sweet-savory combination.
- Apple Sausage: Add 2 diced apples (Granny Smith or Honeycrisp) with the onions and celery, plus cooked crumbled breakfast sausage.
- Cornbread Stuffing: Replace half the bread with crumbled cornbread for a Southern twist.
- Mushroom Herb: Sauté 8 ounces of sliced mushrooms with the vegetables and increase the fresh thyme to 2 tablespoons.
- Oyster Stuffing: Fold in 1 pint of drained oysters (roughly chopped) before baking for a traditional East Coast version.
- Vegetarian Version: Use vegetable broth instead of chicken broth and add more vegetables like mushrooms and bell peppers.
- Gluten-Free: Substitute gluten-free bread cubes and ensure your broth is certified gluten-free.
- Wild Rice Stuffing: Replace 2 cups of bread with cooked wild rice for added texture and nuttiness.
- Herb-Forward: Double all the fresh herbs and add fresh oregano or marjoram for an intensely aromatic version.
Storage and Reheating
Proper storage keeps your stuffing delicious for days, which is important when you’re dealing with Thanksgiving leftovers.
Storage guidelines:
- Refrigerator: Store leftover stuffing in an airtight container in the fridge for up to 4 days. Make sure it cools to room temperature first.
- Freezer: Stuffing freezes beautifully for up to 3 months. Portion it into freezer-safe containers or bags, removing as much air as possible.
- Unbaked Stuffing: You can assemble the stuffing completely, cover tightly, and refrigerate for up to 24 hours before baking. You can also freeze unbaked stuffing for up to 1 month.
Reheating methods:
- Oven (Best Method): Place stuffing in an oven-safe dish, add a few tablespoons of broth to prevent drying, cover with foil, and reheat at 350°F (175°C) for 20-25 minutes until heated through. Remove foil for the last 5 minutes to crisp the top.
- Microwave (Quick Method): Place a portion in a microwave-safe dish, add a splash of broth, cover, and heat in 1-minute intervals, stirring between, until hot throughout.
- Stovetop: Break up the stuffing and reheat in a skillet with butter over medium heat, stirring occasionally until crispy and heated through. This method creates delicious crispy bits.
- Air Fryer: Portion stuffing into small ramekins, air fry at 350°F (175°C) for 8-10 minutes for individual servings with extra crispy tops.
For more comfort food inspiration, check out my slow cooker pot roast.
Nutritional Facts
Per serving (based on 12 servings):
- Calories: 245
- Total Fat: 11g
- Saturated Fat: 6g
- Cholesterol: 55mg
- Sodium: 520mg
- Total Carbohydrates: 29g
- Dietary Fiber: 2g
- Sugars: 3g
- Protein: 7g
- Vitamin A: 8% DV
- Vitamin C: 6% DV
- Calcium: 6% DV
- Iron: 12% DV
Note: Nutritional information is approximate and will vary based on specific ingredients used and portion sizes.
Health Benefits of Key Ingredients
While stuffing is definitely a comfort food rather than a health food, several ingredients do offer nutritional benefits.
Celery provides antioxidants and helps reduce inflammation. It’s high in vitamins A, K, and C, plus contains compounds that may help lower blood pressure.
Onions are rich in quercetin, an antioxidant that supports immune function and heart health. They also contain prebiotic fibers that feed beneficial gut bacteria.
Key nutritional highlights:
- Fresh Herbs: Sage, thyme, and rosemary are packed with antioxidants and have anti-inflammatory properties. Sage specifically has been shown to improve memory and cognitive function.
- Garlic: Contains allicin, which has antimicrobial properties and may help lower cholesterol and blood pressure.
- Eggs: Provide high-quality protein and essential nutrients like choline, which supports brain health.
- Whole Grain Bread: If you use whole grain varieties, you’ll get more fiber, B vitamins, and minerals compared to white bread.
- Parsley: Often dismissed as a garnish, it’s actually rich in vitamin K, vitamin C, and contains beneficial flavonoids.
FAQs About Thanksgiving Stuffing
1. Can I make stuffing inside the turkey instead of in a baking dish?
You can, but I don’t recommend it for safety reasons. Stuffing cooked inside the turkey needs to reach 165°F (74°C) to be safe, which often means overcooking the turkey to get the stuffing hot enough. Baking it separately (which technically makes it “dressing”) gives you better texture control and ensures food safety.
2. Why is my stuffing always dry?
Dry stuffing usually means not enough liquid or overbaking. Make sure your bread cubes are moistened throughout before baking, not just on the surface. Cover the dish with foil for most of the baking time to trap steam, and don’t be afraid to add a bit more broth if it looks dry before baking.
3. Can I prepare stuffing the night before Thanksgiving?
Absolutely! Assemble the entire recipe, cover tightly with plastic wrap or foil, and refrigerate for up to 24 hours. When ready to bake, let it sit at room temperature for 30 minutes, then add 10-15 minutes to the covered baking time since it’s starting cold.
4. What’s the difference between stuffing and dressing?
The terms are often used interchangeably, but traditionally, stuffing is cooked inside the turkey cavity while dressing is baked separately in a dish. Nowadays, most people bake it separately but still call it stuffing. Regional preferences play a role too, with “dressing” being more common in the South.
5. How do I get the top crispy while keeping the inside moist?
The key is the two-stage baking process. Bake covered first to steam the stuffing and cook it through, then uncover for the final 15-20 minutes to brown and crisp the top. Dotting the surface with extra butter before the uncovered phase also helps create that golden, crispy crust everyone loves.
Another crowd-pleasing side to try is my best bacon mac and cheese.
Final Thoughts
This thanksgiving stuffing recipe has earned its place as a staple in my kitchen, and I hope it becomes one in yours too. It’s comforting, reliable, and delicious enough that people will actually ask you for the recipe.
The best part is how forgiving it is. Even if you mess up a measurement or two, you’ll still end up with something tasty that everyone will enjoy.
Give this recipe a try this Thanksgiving, and don’t be surprised when it becomes the dish you’re asked to bring every single year. I’d love to hear how it turns out for you and any creative variations you try!
Recommended:
- Swedish Meatball
- Potato Leek Soup
- Taco Soup
- Zuppa Toscana
- Pasta Fagioli
- Italian Wedding Soup
- Baked Oatmeal
- Homemade Biscuit
- Mississippi Pot Roast
- Crockpot Beef Stew


