
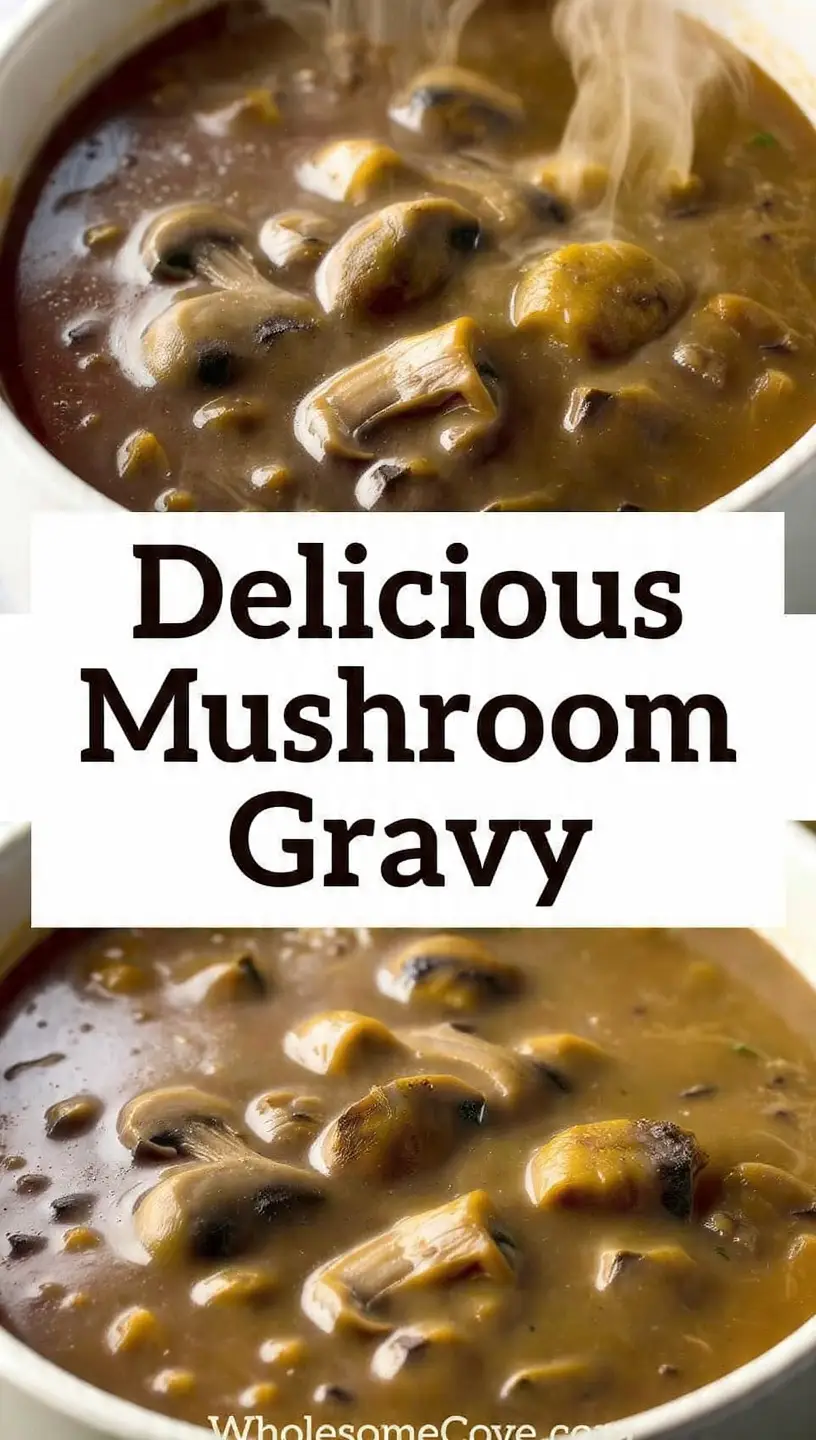
There’s nothing quite like homemade mushroom gravy to transform an ordinary dinner into something extraordinary. I still remember the first time I made mushroom gravy recipe from scratch during a particularly chaotic Thanksgiving a few years ago.
I’d always relied on those packet mixes or turkey drippings for gravy, but that year I had vegetarian guests coming and needed something everyone could enjoy. What started as a nervous experiment turned into one of my most-requested recipes. The smell of those mushrooms caramelizing in butter, the way the house filled with that earthy, savory aroma, it was magical.
Now this mushroom gravy has become a staple in my kitchen year-round, not just for holidays. It’s incredibly versatile and works beautifully over everything from mashed potatoes to roasted chicken to grilled steaks.
| Quick Recipe Summary | |
|---|---|
| Prep Time | 10 minutes |
| Cook Time | 20 minutes |
| Total Time | 30 minutes |
| Servings | 6 servings (about 3 cups) |
| Difficulty Level | Easy |
Another favorite: Sausage Gravy Recipe
Why You’ll Love This Mushroom Gravy Recipe
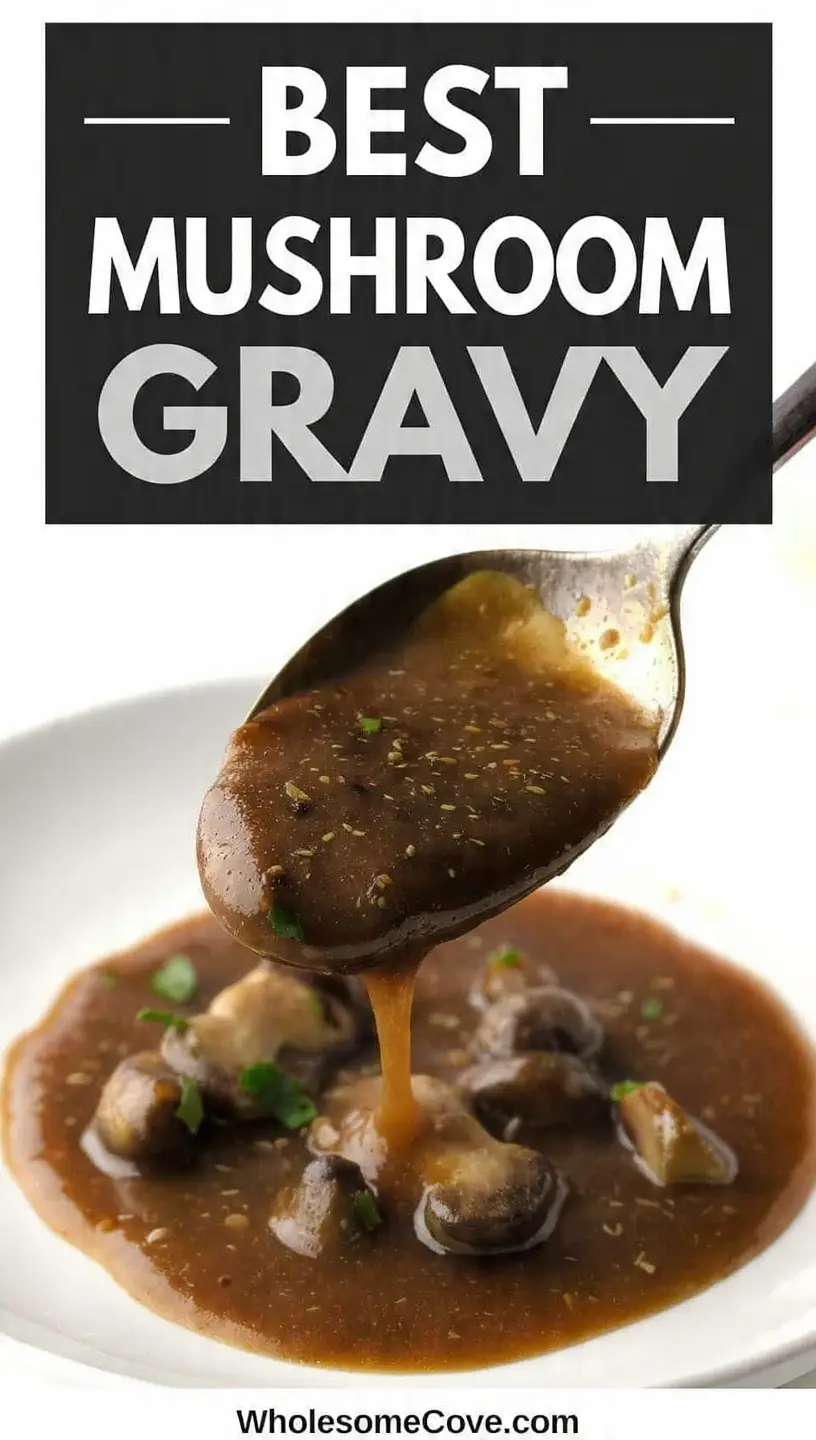
This mushroom gravy recipe is everything you want in a sauce and more. It’s rich, velvety, and packed with that deep umami flavor that makes mushrooms so irresistible.
What I love most is how it brings everyone to the table, vegetarians and meat eaters alike. My brother-in-law, who claims he doesn’t like mushrooms, actually asked for the recipe after his third helping at dinner last month.
The texture is spot-on too, thick enough to coat the back of a spoon but still pourable, not gloppy or gelatinous like some gravies can be. I’ve made this at least fifty times now, and it comes out perfect every single time.
- Rich, earthy flavor: The caramelized mushrooms create an incredible depth that rivals any meat-based gravy
- Quick and easy: Ready in just 30 minutes with simple techniques anyone can master
- Versatile: Works with beef, chicken, vegetable, or turkey broth depending on what you’re serving
- Make-ahead friendly: Actually tastes better the next day after the flavors meld in the refrigerator
- Budget-friendly: Uses affordable ingredients you probably already have in your kitchen
- Customizable: Easy to make vegan, gluten-free, or dairy-free with simple substitutions
You might also enjoy: Turkey Gravy Recipe
Ingredients
This mushroom gravy comes together with a handful of simple ingredients that work in harmony to create something truly special. The key is using good quality mushrooms and taking the time to properly caramelize them.
I learned the hard way that skipping the browning step leaves you with pale, flavorless gravy. Now I always make sure those mushrooms get a nice golden color before moving forward.
- 3 tablespoons unsalted butter (42 g), divided
- 1 pound cremini mushrooms (450 g), sliced thin (can also use baby bella or white button mushrooms)
- 2 tablespoons olive oil (30 ml)
- 1 small yellow onion (about 1 cup or 150 g), finely diced
- 3 cloves garlic, minced
- 3 tablespoons all-purpose flour (24 g)
- 2 1/2 cups beef broth (600 ml), low-sodium (can substitute with chicken broth, vegetable broth, or turkey stock)
- 1 tablespoon soy sauce (15 ml), for extra umami
- 1 teaspoon fresh thyme leaves (or 1/2 teaspoon dried thyme)
- 1/2 teaspoon black pepper, freshly ground
- 1/2 teaspoon salt, or to taste
- 2 tablespoons dry white wine (30 ml), optional but recommended
- 1 tablespoon fresh parsley, chopped, for garnish
Read Also: Brown Gravy Recipe
Kitchen Equipment Needed
Having the right tools makes this mushroom gravy recipe even easier to prepare. I’ve made this in all kinds of kitchenspans over the years, but these are the items that truly make a difference.
A wide skillet gives the mushrooms room to brown properly instead of steaming, which is crucial for developing that deep flavor. I also can’t stress enough how helpful a good whisk is for getting a smooth, lump-free gravy.
- Large skillet or sauté pan (at least 12 inches or 30 cm wide) for browning the mushrooms
- Wooden spoon or silicone spatula for stirring and scraping up the browned bits
- Sharp knife for slicing mushrooms and chopping onions
- Cutting board
- Measuring cups and spoons
- Whisk for incorporating the broth smoothly
- Fine-mesh strainer (optional, if you prefer a completely smooth gravy)
If serving immediately: gravy boat or serving bowl
Read Also: Chicken Gravy Recipe
Recommended Products for This Recipe
After making this mushroom gravy countless times, I’ve discovered a few products that genuinely make the process easier and the results even better. These aren’t just random suggestions, they’re tools and ingredients I actually use in my own kitchen every time I make this recipe.
1. Organic Cremini Mushrooms
Fresh, high-quality mushrooms make all the difference in this recipe. I always look for cremini mushrooms that are firm, dry to the touch, and free of dark spots. The earthy flavor they bring is essential to creating that rich, savory gravy everyone loves.
2. Le Creuset Enameled Cast Iron Skillet
This skillet has been my go-to for years when making mushroom gravy. It retains heat beautifully, which means the mushrooms caramelize evenly without hot spots. The enameled surface also makes it easy to see those precious browned bits on the bottom of the pan, and cleanup is a breeze.
3. OXO Good Grips Balloon Whisk
A good whisk is absolutely essential for lump-free gravy. This one from OXO has comfortable, non-slip handles and flexible wires that get into the corners of your pan. I’ve tried cheaper whisks, and they just don’t compare when you’re trying to incorporate flour smoothly into hot liquid.
4. Better Than Bouillon Beef Base
When I don’t have homemade stock on hand, this is what I reach for. It has a much richer, more authentic beef flavor than standard boxed broth, and it makes a noticeable difference in the final gravy. A little jar goes a long way, and it keeps for months in the refrigerator.
Read Also: Biscuits And Gravy Recipe

Step-by-Step Instructions: How to Make Mushroom Gravy
Making mushroom gravy from scratch is easier than you might think. The key is taking your time with the browning process and building layers of flavor as you go.
I’ve broken down each step in detail so you can see exactly what to do at every stage.
1. Prepare the Mushrooms
- Clean the mushrooms by wiping them with a damp paper towel or mushroom brush (never soak them in water as they absorb moisture and won’t brown properly).
- Slice the mushrooms about 1/4 inch (6 mm) thick so they cook evenly.
- Keep the slices uniform in size so they all caramelize at the same rate.
- Set them aside on a plate or cutting board while you prep the other ingredients.
2. Brown the Mushrooms
- Heat a large skillet over medium-high heat and add 1 tablespoon (14 g) of butter and the olive oil.
- Wait until the butter is fully melted and the pan is hot, you should see a shimmer on the surface.
- Add the sliced mushrooms in a single layer (work in batches if your pan isn’t large enough).
- Let them cook undisturbed for 3-4 minutes to develop a golden brown crust on the bottom.
- Stir and continue cooking for another 5-6 minutes until the mushrooms are deeply browned and have released most of their moisture.
- The mushrooms should shrink considerably and turn a rich brown color, this is where the flavor develops.
- Transfer the browned mushrooms to a bowl and set aside.
3. Sauté the Aromatics
- In the same skillet (don’t wipe it out, those browned bits are flavor gold), add the remaining 2 tablespoons (28 g) of butter over medium heat.
- Once the butter melts, add the diced onion.
- Cook the onion for 3-4 minutes, stirring occasionally, until it becomes soft and translucent.
- Add the minced garlic and cook for 30 seconds, stirring constantly so it doesn’t burn.
- The mixture should smell fragrant and sweet at this point.
4. Make the Roux
- Sprinkle the flour evenly over the onions and garlic.
- Stir continuously with a wooden spoon for 1-2 minutes to cook off the raw flour taste.
- The mixture will form a thick paste, this is your roux, and it should turn a light golden color.
- Make sure to scrape the bottom of the pan to prevent the roux from sticking or burning.
- If using white wine, add it now and stir vigorously to deglaze the pan, scraping up all those delicious browned bits stuck to the bottom.
- Let the wine cook for about 1 minute until it’s mostly evaporated.
5. Add the Liquid and Seasonings
- Gradually pour in the beef broth, about 1/2 cup (120 ml) at a time, whisking constantly to prevent lumps from forming.
- After each addition, whisk thoroughly until the mixture is smooth before adding more broth.
- Once all the broth is incorporated, stir in the soy sauce, thyme, salt, and pepper.
- Use your whisk or wooden spoon to scrape up any remaining browned bits from the bottom of the pan.
- These bits add incredible depth and color to your gravy.
6. Simmer and Thicken
- Return the browned mushrooms to the skillet along with any accumulated juices from the bowl.
- Stir everything together to combine.
- Bring the mixture to a gentle boil over medium-high heat.
- Once boiling, reduce the heat to medium-low to maintain a gentle simmer.
- Let the gravy simmer uncovered for 5-8 minutes, stirring occasionally.
- The gravy will thicken as it simmers and the flavors will meld beautifully.
- If the gravy becomes too thick, add a splash more broth; if it’s too thin, let it simmer a bit longer.
7. Finish and Serve
- Taste the gravy and adjust the seasoning with more salt and pepper if needed.
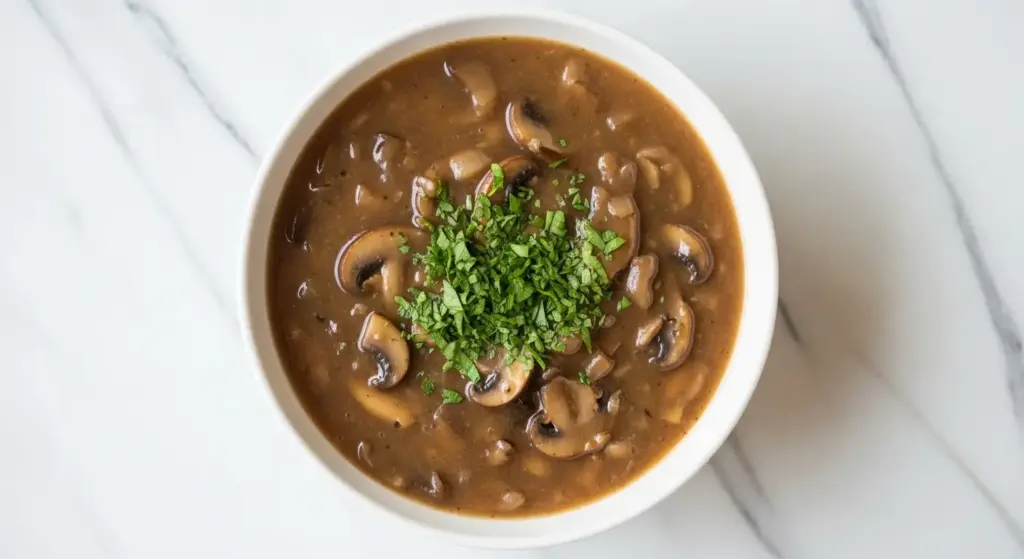
- Remove from heat and stir in the fresh parsley.
- For an extra-smooth gravy, you can strain it through a fine-mesh sieve, but I prefer leaving the mushroom pieces in for texture and visual appeal.
- Serve the gravy immediately while it’s hot, or transfer it to a gravy boat or serving bowl.
- The gravy will thicken slightly as it cools, so if you’re making it ahead, you may need to thin it with a bit of broth when reheating.
You might also enjoy: Garlic Parmesan Sauce Recipe
Tips for The Best Mushroom Gravy
Over the years of making this recipe, I’ve picked up some tricks that really make a difference in the final result. These tips will help you avoid common pitfalls and create restaurant-quality gravy every single time.
The biggest game-changer for me was learning not to crowd the mushrooms in the pan.
- Don’t skip the browning: Properly caramelized mushrooms are essential for deep flavor and rich color. If you rush this step, your gravy will taste flat and look pale.
- Use room temperature mushrooms: Cold mushrooms release moisture when they hit the hot pan, which prevents browning. Let them sit out for 15-20 minutes before cooking.
- Whisk constantly when adding broth: This prevents lumps from forming in your roux. Add the liquid gradually and whisk thoroughly after each addition.
- Adjust consistency as needed: If your gravy is too thick, thin it with additional broth. If it’s too thin, simmer it longer or make a slurry with 1 tablespoon cornstarch mixed with 2 tablespoons cold water.
- Choose the right broth: Match your broth to your main dish (beef broth for steak, chicken broth for poultry, vegetable broth for vegetarian meals).
- Use fresh thyme if possible: The flavor is much brighter than dried, though dried works in a pinch (just use half the amount).
- Season at the end: Broths vary in saltiness, so always taste and adjust seasoning after the gravy is finished cooking.
- Make it ahead: This gravy actually improves in flavor when made a day ahead. The flavors meld overnight in the refrigerator.
- Reheat gently: Use low heat and whisk frequently to prevent the gravy from breaking or becoming grainy.
Another favorite: Sweet And Sour Sauce Recipe
What to Serve with Mushroom Gravy
The beauty of mushroom gravy is its incredible versatility. I’ve served it with everything from Thanksgiving turkey to weeknight pork chops, and it’s always a hit.
It adds moisture and flavor to so many dishes that would otherwise be dry or bland.
Here are my favorite pairings:
- Twice Baked Potatoes or Roasted Potatoes for a comforting side dish
- Classic mashed potatoes (the most traditional pairing and still my personal favorite)
- Baked Ziti for a unique twist on pasta night
- Roasted or grilled chicken, especially bone-in thighs or breasts
- Shepherds Pie as an extra sauce layer
- Grilled or pan-seared steak for an elegant dinner
- Pork chops or pork tenderloin to keep the meat moist and flavorful
- Meatloaf or meatballs for classic comfort food
- Scalloped Potatoes or Au Gratin Potatoes
- Roasted vegetables like Brussels sprouts, green beans, or carrots
- Biscuits for a breakfast-style dish similar to sausage gravy
- Rice or quinoa bowls for a vegetarian main course
- Buttered egg noodles for a simple, satisfying meal
You might also enjoy: Honey Mustard Sauce Recipe
Variations of Mushroom Gravy
One of the best things about this mushroom gravy recipe is how easily you can adapt it to suit different dietary needs or flavor preferences. I’ve tried all of these variations myself, and each one brings something unique to the table.
My favorite is the creamy version when I’m feeling indulgent.
- Vegan mushroom gravy: Use olive oil instead of butter, vegetable broth instead of beef broth, and substitute tamari or coconut aminos for the soy sauce. The flavor is just as rich and satisfying.
- Gluten-free mushroom gravy: Replace the all-purpose flour with a gluten-free flour blend, or skip the flour entirely and thicken with a cornstarch slurry (1 tablespoon cornstarch mixed with 2 tablespoons cold water).
- Creamy mushroom gravy: Stir in 1/4 cup (60 ml) heavy cream, half-and-half, or full-fat coconut milk at the end for a luxurious, silky texture.
- Herbed mushroom gravy: Add 1 teaspoon fresh rosemary, 1 tablespoon fresh sage, or a combination of fresh herbs along with the thyme.
- Wine-enhanced gravy: Use 1/4 cup (60 ml) dry red wine instead of white for a deeper, more complex flavor that pairs beautifully with beef.
- Mushroom medley gravy: Use a combination of mushroom varieties like shiitake, oyster, and portobello for more complex flavor and texture.
- Porcini mushroom gravy: Add 1/2 ounce (14 g) dried porcini mushrooms (rehydrated in hot water for 20 minutes) for an intense, earthy flavor boost. Use the soaking liquid in place of some of the broth.
- Garlic lover’s gravy: Double or triple the garlic for a more pronounced garlic flavor.
- Spicy mushroom gravy: Add 1/4 teaspoon red pepper flakes or a dash of cayenne pepper for a subtle kick.
Read Also: Worcestershire Sauce Recipe
Storage and Reheating
Proper storage is key to maintaining the quality of your mushroom gravy. I almost always make this a day or two ahead of big dinners because it actually tastes better after the flavors have had time to develop.
Just make sure you’re storing and reheating it correctly to preserve that silky texture.
Refrigerator Storage:
- Let the gravy cool to room temperature before storing (don’t leave it out for more than 2 hours).
- Transfer to an airtight container or jar.
- Store in the refrigerator for up to 4 days.
- The gravy will thicken as it cools, which is completely normal.
Freezer Storage:
- Cool the gravy completely before freezing.
- Pour into freezer-safe containers or heavy-duty freezer bags, leaving about 1 inch of headspace for expansion.
- Label with the date and contents.
- Freeze for up to 3 months for best quality.
- Thaw overnight in the refrigerator before reheating.
Reheating Instructions:
- Stovetop (best method): Transfer gravy to a saucepan and heat over medium-low heat, whisking frequently.
- Add a splash of broth or water to thin if needed, as the gravy will have thickened during storage.
- Heat until warmed through and smooth, about 5-7 minutes.
- Microwave: Place gravy in a microwave-safe bowl and heat in 30-second intervals, stirring between each, until hot.
- Slow cooker: Perfect for keeping gravy warm during a large meal. Set to low and stir occasionally.
Another favorite: Vodka Sauce Recipe
Nutritional Facts
Per serving (approximately 1/2 cup or 120 ml):
- Calories: 95
- Total Fat: 7g
- Saturated Fat: 3g
- Cholesterol: 13mg
- Sodium: 420mg
- Total Carbohydrates: 6g
- Dietary Fiber: 1g
- Sugars: 2g
- Protein: 3g
- Vitamin D: 2% DV
- Calcium: 2% DV
- Iron: 4% DV
- Potassium: 6% DV
Nutritional information is approximate and will vary based on the specific brands of ingredients used and any modifications made to the recipe.
You might also enjoy: Tomato Sauce Recipe
Health Benefits of Key Ingredients
While mushroom gravy is certainly an indulgent addition to any meal, it also contains some genuinely nutritious ingredients. I love that I can feel a little less guilty about pouring this over everything.
The mushrooms themselves are nutritional powerhouses.
Mushrooms:
- Rich in B vitamins (riboflavin, niacin, and pantothenic acid) that support energy metabolism
- Contain selenium, a powerful antioxidant that supports immune function
- Good source of copper, which aids in red blood cell production
- Provide vitamin D when exposed to UV light (one of the few non-animal sources)
- Low in calories but high in umami flavor, making them satisfying without excess calories
- Contain beta-glucans, which may support immune health
Garlic:
- Contains allicin, a compound with potential antibacterial and antiviral properties
- May help support cardiovascular health
- Rich in manganese and vitamin B6
Onions:
- High in vitamin C and fiber
- Contain quercetin, an antioxidant with anti-inflammatory properties
- May support heart health and bone density
Thyme:
- Contains thymol, which has antimicrobial properties
- Rich in vitamin C and vitamin A
- May support respiratory health
Olive Oil:
- Heart-healthy monounsaturated fats
- Contains anti-inflammatory compounds
- Rich in antioxidants like vitamin E
Another favorite: Tartar Sauce Recipe
FAQs About Mushroom Gravy
1. Can I make mushroom gravy without flour?
Absolutely! If you need a gluten-free option or just want to skip the flour, you have a couple of choices.
You can use a cornstarch slurry (1 tablespoon cornstarch mixed with 2 tablespoons cold water) added at the end of cooking. Alternatively, arrowroot powder works the same way. Another option is to simply let the gravy simmer longer to reduce and thicken naturally, though this will take more time and concentrate the flavors more intensely.
2. Why is my mushroom gravy lumpy?
Lumpy gravy usually happens when the flour isn’t properly incorporated or when liquid is added too quickly. The key is to whisk constantly when adding the broth, and add it gradually rather than all at once.
If you do end up with lumps, don’t panic. You can strain the gravy through a fine-mesh sieve to remove them, or use an immersion blender to smooth everything out. For future batches, make sure your roux is well-mixed before adding any liquid.
3. Can I use dried mushrooms instead of fresh?
Yes, dried mushrooms actually add incredible depth of flavor! Rehydrate about 1 ounce (28 g) of dried mushrooms in 1 cup of hot water for 20 minutes.
Drain them (save the soaking liquid!), chop them, and use them in place of some or all of the fresh mushrooms. The soaking liquid is pure gold, use it to replace some of the broth in the recipe for an intense mushroom flavor. Dried porcini mushrooms are my favorite for this purpose.
4. How do I fix gravy that’s too thin?
If your gravy is too thin, the easiest fix is to let it simmer longer uncovered. The liquid will evaporate and the gravy will naturally thicken.
If you’re in a hurry, make a slurry with 1 tablespoon of cornstarch or flour mixed with 2 tablespoons of cold water. Whisk this into the simmering gravy and cook for another minute or two until it thickens. Add it gradually, you can always add more but you can’t take it out.
5. Can I make this gravy dairy-free?
Yes! Simply replace the butter with olive oil, vegan butter, or coconut oil.
The rest of the recipe remains exactly the same. I’ve made this for vegan friends using olive oil and vegetable broth, and they couldn’t tell the difference. The mushrooms provide so much rich, savory flavor that you really don’t miss the butter at all.
You might also enjoy: Teriyaki Sauce Recipe
Mushroom Gravy
Ingredients
- 3 tablespoons unsalted butter - 42g, divided
- 1 pound cremini mushrooms - 450g, sliced thin (can also use baby bella or white button mushrooms)
- 2 tablespoons olive oil - 30ml
- 1 small yellow onion - about 1 cup or 150g, finely diced
- 3 cloves garlic - minced
- 3 tablespoons all-purpose flour - 24g
- 2 1/2 cups beef broth - 600ml, low-sodium (can substitute with chicken broth, vegetable broth, or turkey stock)
- 1 tablespoon soy sauce - 15ml, for extra umami
- 1 teaspoon fresh thyme leaves - or 1/2 teaspoon dried thyme
- 1/2 teaspoon black pepper - freshly ground
- 1/2 teaspoon salt - or to taste
- 2 tablespoons dry white wine - 30ml, optional but recommended
- 1 tablespoon fresh parsley - chopped, for garnish
Equipment
- Large skillet or sauté pan - at least 12 inches or 30 cm wide
- Wooden spoon or silicone spatula
- Sharp knife
- Cutting board
- Measuring cups and spoons
- Whisk
- Fine-mesh strainer - (optional)
- Gravy boat or serving bowl - (optional)
Method
- Clean the mushrooms by wiping them with a damp paper towel and slice them about 1/4 inch (6mm) thick. Keep the slices uniform in size so they cook evenly.
- Heat a large skillet over medium-high heat with 1 tablespoon butter and olive oil. Add mushrooms in a single layer and cook undisturbed for 3-4 minutes until golden brown, then stir and continue cooking 5-6 minutes until deeply browned. Transfer to a bowl.
- In the same skillet, add remaining 2 tablespoons butter over medium heat. Add diced onion and cook 3-4 minutes until soft and translucent, then add garlic and cook 30 seconds until fragrant.
- Sprinkle flour over the onions and stir continuously for 1-2 minutes to cook off the raw flour taste. Add white wine if using and stir vigorously to deglaze the pan, letting it cook for 1 minute until mostly evaporated.
- Gradually add beef broth about 1/2 cup at a time, whisking constantly to prevent lumps. Once all broth is incorporated, stir in soy sauce, thyme, salt, and pepper.
- Return browned mushrooms to the skillet and bring to a boil. Reduce heat to medium-low and simmer uncovered for 5-8 minutes, stirring occasionally, until gravy thickens to desired consistency.
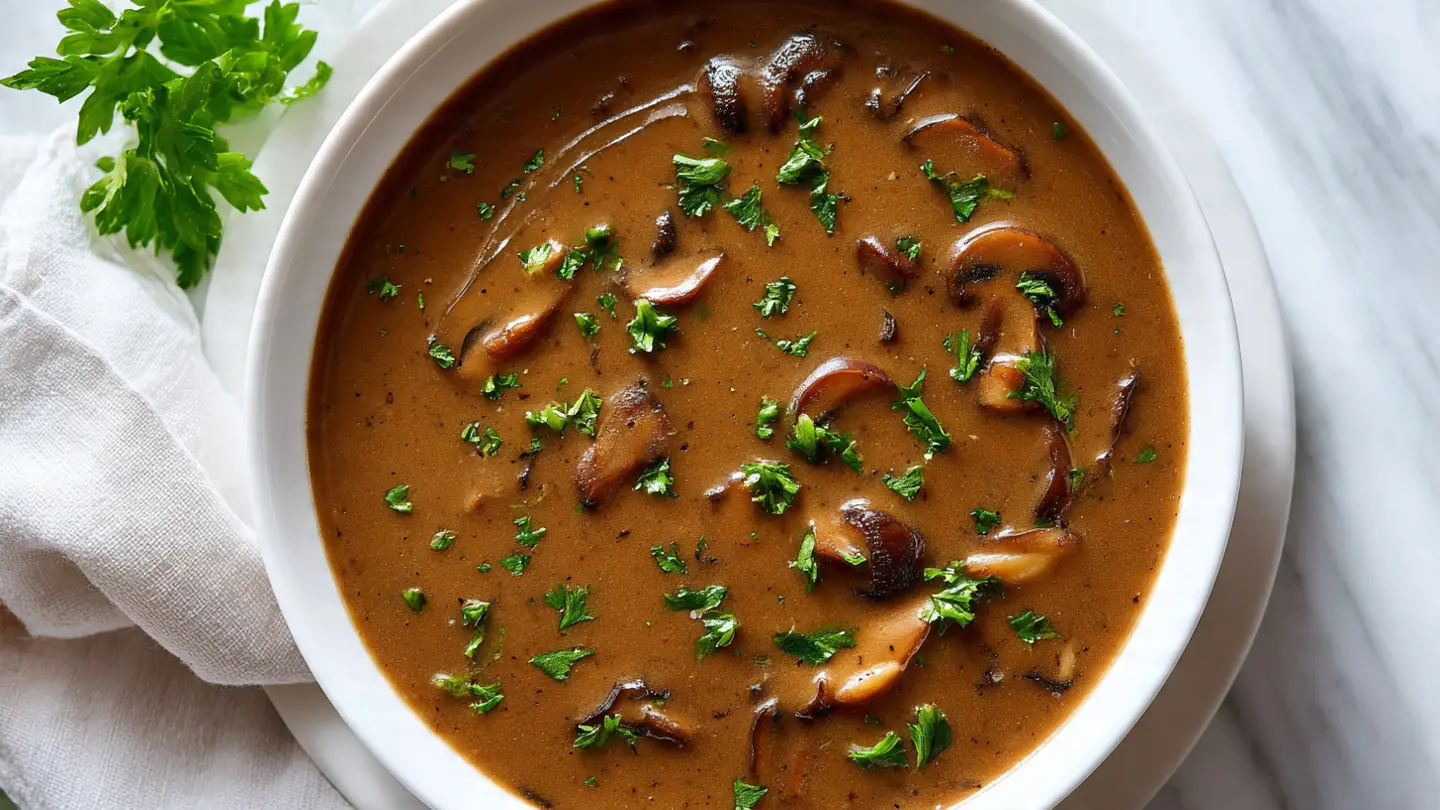
- Taste and adjust seasoning with more salt and pepper if needed. Remove from heat, stir in fresh parsley, and serve immediately in a gravy boat or serving bowl.
Nutrition
Notes
- Don’t skip the browning step – properly caramelized mushrooms are essential for deep flavor and rich color.
- Use room temperature mushrooms rather than cold from the refrigerator to prevent excess moisture release.
- Whisk constantly when adding broth to prevent lumps from forming in your roux.
- Match your broth to your main dish: beef broth for steak, chicken broth for poultry, vegetable broth for vegetarian meals.
- For gluten-free gravy, replace all-purpose flour with a gluten-free flour blend or use a cornstarch slurry (1 tablespoon cornstarch mixed with 2 tablespoons cold water).
- For vegan gravy, use olive oil instead of butter and vegetable broth instead of beef broth.
- This gravy actually improves in flavor when made a day ahead – the flavors meld beautifully overnight in the refrigerator.
- Store in an airtight container in the refrigerator for up to 4 days or freeze for up to 3 months.
- Reheat gently over medium-low heat, whisking frequently and adding a splash of broth to thin if needed.
- For extra depth, add 1/2 ounce rehydrated dried porcini mushrooms and use the soaking liquid in place of some broth.
Private Notes
Tried this recipe?
Let us know how it was!Final Thoughts
Making mushroom gravy from scratch is one of those skills that elevates your cooking from good to restaurant-quality. The rich, earthy flavors and velvety texture make it worth every minute spent at the stove.
I hope this recipe becomes as beloved in your kitchen as it has in mine. Don’t be afraid to make it your own by trying different mushroom varieties or adjusting the herbs to your taste.
Whether you’re drizzling it over Thanksgiving turkey, smothering a weeknight pork chop, or just dunking biscuits into it on a lazy Sunday morning, this mushroom gravy delivers every single time. Give it a try and let me know how it turns out! I’d love to hear about your favorite ways to use it or any tweaks you made to the recipe.
Recommended:
- Beef Stew Recipe
- BBQ Sauce Recipe
- Enchilada Sauce Recipe
- Pizza Sauce Recipe
- Tzatziki Sauce Recipe
- Yum Yum Sauce Recipe
- Cocktail Sauce Recipe
- Peanut Sauce Recipe
- Buffalo Sauce Recipe
- Cheese Sauce Recipe