
If you’ve ever pulled off the lid to a pot of brown basmati rice only to find a gummy, half-cooked mess staring back at you, you’re in very good company. This brown basmati rice recipe changed my kitchen life completely. I remember the first time I bought a big bag of it at an Indian grocery store near me, excited to swap out my usual white rice for something healthier.
I got home, guessed at the water ratio, and produced something closer to rice porridge than fluffy, separate grains. It was discouraging, but I kept at it.
After a lot of trial and error (and a few more failed batches), I finally cracked the code. The secret comes down to three things: soaking, the right water ratio, and resisting the urge to lift that lid. Once I started doing all three consistently, every single batch came out perfectly fluffy with that signature nutty aroma that makes brown basmati so special.
This is the recipe I now make at least twice a week, and I’m so glad to finally share it here.
| Quick Recipe Summary | |
|---|---|
| Prep Time | 20 minutes (including soaking) |
| Cook Time | 35 minutes |
| Total Time | 55 minutes |
| Servings | 4 servings |
| Difficulty Level | Easy |
If you love aromatic rice dishes, you might also enjoy my classic Basmati Rice Recipe for a lighter, white rice version that cooks in about half the time.
Why You’ll Love This Brown Basmati Rice Recipe
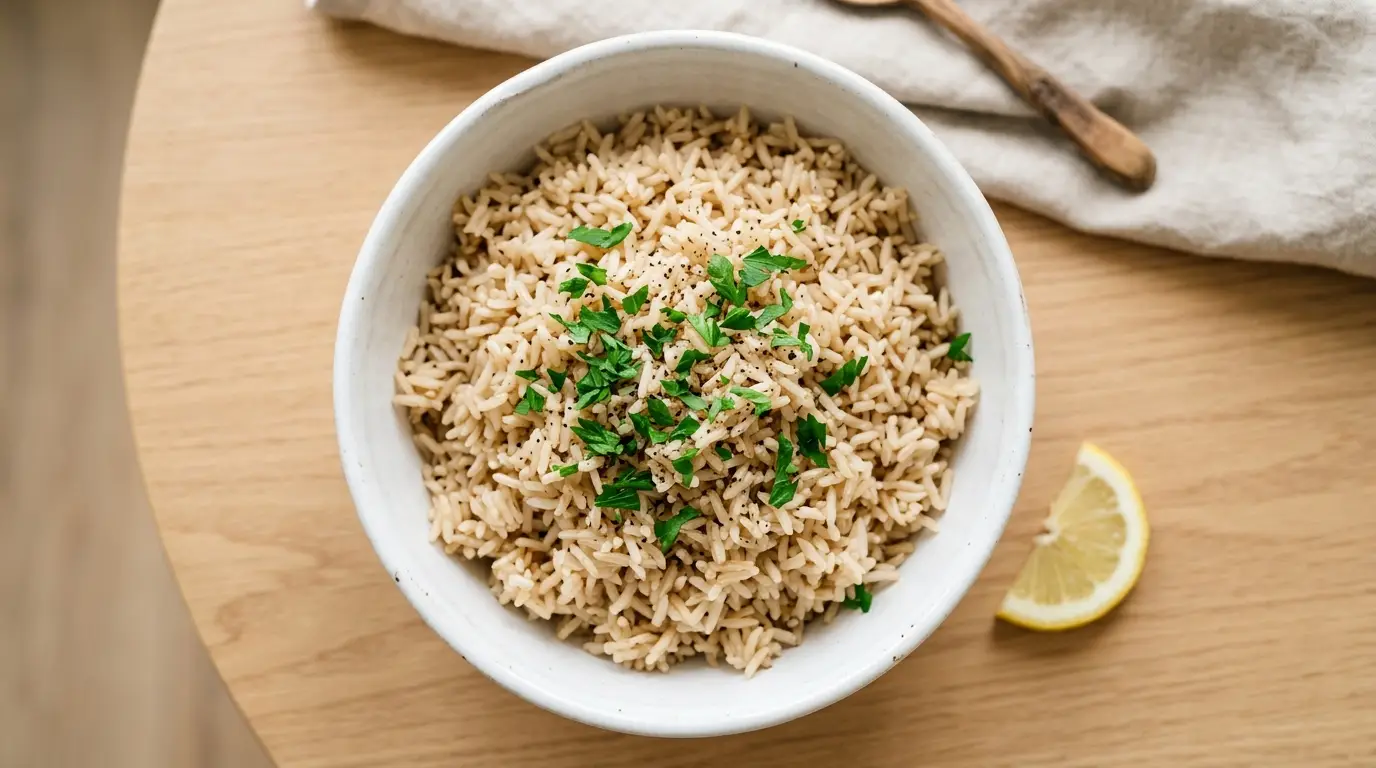
This recipe gives you perfectly separate, fluffy grains every single time. No guessing, no sticking to the pot, no undercooked centers.
It uses only pantry staples you already have at home. You truly only need rice, water, salt, and about five minutes of active effort.
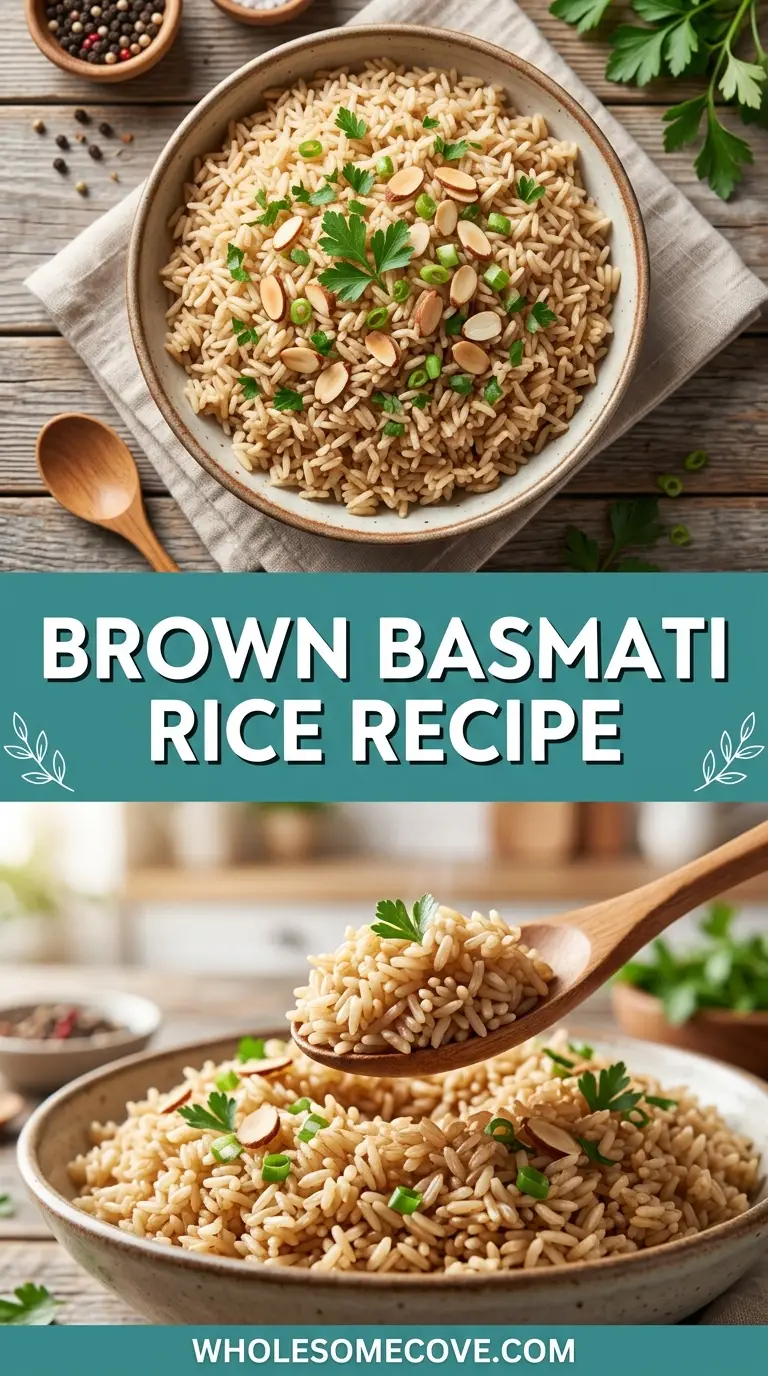
Brown basmati has a beautifully nutty, almost popcorn-like fragrance when it cooks. Your kitchen will smell incredible.
It’s incredibly versatile. Use it as a base for curries, stir-fries, grain bowls, or eat it plain with a pat of butter.
This is a whole grain, which means you’re getting fiber and nutrients you simply don’t get from white rice. It keeps you full for longer, which I personally notice every time I swap it in.
- Foolproof technique: The soaking step is a small investment of time that makes a huge difference in texture. I skipped it for years and always wondered why my rice felt dense. Don’t make my mistake.
- Better flavor than regular brown rice: Regular long-grain brown rice is fine, but brown basmati has a distinctly more aromatic, fragrant quality. Once you try it, it’s hard to go back.
- Meal prep friendly: Brown basmati reheats beautifully and stores well in the fridge for up to five days, making it perfect for weekly meal prep.
- Family approved: Even my husband, who used to insist he hated brown rice, now asks for this specifically. The fluffy texture and mild nuttiness won him over completely.
- Works with almost any cuisine: Indian curries, Asian stir-fries, Mediterranean grain bowls, simple roasted chicken. This rice adapts to everything.
For another hearty, wholesome rice dish idea, the Tofu and Veggie Stir Fry with Brown Rice pairs beautifully with this same base recipe.
Ingredients
This recipe keeps things simple. The quality of your brown basmati rice matters more than anything else here, so choose a reputable brand from an Indian grocery store or a well-reviewed option online if possible.
- Brown basmati rice – 1 cup (190g / 6.7 oz): This is the star. Look for rice that has a light tan color and long, slender grains. Avoid anything that looks broken or dusty.
- Water – 2 cups (480ml): Cold, filtered water works best. This ratio is the sweet spot for stovetop cooking after soaking.
- Salt – ½ teaspoon (2.5g): Just enough to season the rice without making it taste salty. Don’t skip this; it makes a noticeable difference.
- Olive oil or ghee – 1 teaspoon (5ml), optional: Adding a small amount of fat before cooking helps separate the grains and adds a lovely richness. I prefer ghee for an authentic touch, but olive oil works perfectly too.
For soaking:
- Cold water – enough to cover rice by 2 inches: Used to rinse and soak the rice before cooking. This step is optional but highly recommended for the best texture.
Speaking of wholesome grain-based meals, my Healthy Fried Rice Recipe is a fantastic way to use leftover cooked brown basmati rice.
Kitchen Equipment Needed
You don’t need anything fancy to make great brown basmati rice. The tools you already have in your kitchen will do the job, though investing in a heavy-bottomed pot makes a real difference in heat distribution.
- Heavy-bottomed saucepan with a tight-fitting lid (2-quart / 1.9L): A heavy base prevents hot spots that can scorch the rice at the bottom. The tight lid is non-negotiable since steam is what finishes the cooking.
- Fine mesh strainer or sieve: Essential for rinsing the rice thoroughly without losing any grains down the drain. A regular colander with large holes will let the grains slip through.
- Mixing bowl: Used for soaking the rice. Any bowl large enough to hold the rice with at least 2 inches of water above it works.
- Measuring cups and spoons: Accurate measurements matter here more than in most recipes. Don’t eyeball the water.
- Fork: For fluffing the rice at the end. A fork gently separates the grains without breaking them, which a spoon can do.
- Kitchen timer: You’ll need to track both the soaking time and the cooking time precisely. Don’t rely on guessing here.
- Clean kitchen towel: Placed over the pot after cooking to absorb excess steam. This step gives you perfectly dry, fluffy grains instead of soggy ones.
You might also want a rice cooker if you make rice multiple times a week. Many models have a brown rice setting that takes the guesswork out of timing entirely.
For another grain dish that uses similar equipment and technique, check out my Butternut Squash Risotto Recipe — a cozy and deeply satisfying option for cooler evenings.
Recommended Products for This Recipe
After years of making brown basmati rice, I’ve narrowed down a few products that genuinely elevate the results. These are items I use personally and recommend without hesitation.
1. Premium Brown Basmati Rice (Aged Variety)
Not all brown basmati rice is the same. Aged brown basmati that has been stored for at least one year has lower moisture content, which means it cooks up fluffier and more separate. The flavor is also noticeably more aromatic. It’s worth the small price difference over generic grocery-store brands.
2. All-Clad Stainless Steel Saucepan with Lid
A quality heavy-bottomed pot is the single biggest upgrade you can make for cooking rice. The even heat distribution of a good stainless steel saucepan eliminates scorching on the bottom while ensuring every grain cooks at the same rate. I’ve used mine for years and it performs perfectly every single time.
3. OXO Good Grips Fine Mesh Strainer
A good fine mesh strainer makes rinsing rice so much easier and faster. The OXO version has a sturdy handle and a deep bowl that holds a full cup of rice without any spillage risk. It doubles as a sieve for other kitchen tasks, making it a genuinely useful purchase beyond just rice.
4. Pure Indian Foods Grass-Fed Ghee
Adding just a teaspoon of quality ghee to the rice before cooking gives it a subtle richness and helps keep the grains beautifully separated. Grass-fed ghee has a cleaner, more buttery flavor than regular ghee and also has a higher smoke point, making it ideal for cooking. A little goes a very long way.
You might also enjoy: Tandoori Chicken Recipe — an aromatic, spiced Indian classic that pairs beautifully with fluffy brown basmati rice.
Step-by-Step Instructions: How to Make Brown Basmati Rice
Follow these steps carefully, especially the first two. Most failed batches of brown basmati rice come down to skipping the rinse and soak, or using too much water.
1. Rinse the Rice
- Place 1 cup (190g) of brown basmati rice into your fine mesh strainer set over the sink.
- Run cold water over the rice, using your hand to gently move the grains around.
- Continue rinsing until the water running through runs mostly clear. This typically takes about 30 to 60 seconds.
- You’re washing away excess surface starch that would make the rice sticky and clumped rather than fluffy and separate.
- Transfer the rinsed rice to a medium mixing bowl.
2. Soak the Rice
- Cover the rinsed rice with cold water by at least 2 inches (5cm).
- Let the rice soak for 15 to 20 minutes at room temperature. This is the step most people skip, and it makes a dramatic difference.
- Soaking softens the outer bran layer of the brown rice, allowing it to cook more evenly and preventing the grains from breaking or remaining hard in the center.
- After soaking, drain the rice through your fine mesh strainer and let it sit for a minute to drain off excess water.
- Do not rinse again after soaking, just drain.
3. Measure the Water
- Add 2 cups (480ml) of fresh cold water to your heavy-bottomed saucepan.
- Add ½ teaspoon (2.5g) of salt to the water and stir briefly.
- If using, add 1 teaspoon (5ml) of ghee or olive oil to the water now. This is optional but adds flavor and helps separate the grains.
- Add the drained, soaked rice to the pot with the water.
- Do not stir at this point. Just let the rice settle into the water naturally.
4. Bring to a Boil
- Place the saucepan on the stove over medium-high heat without the lid.
- Watch the pot closely as it heats. You’re looking for a full, rolling boil where bubbles are breaking across the entire surface, not just at the edges.
- This typically takes about 5 to 7 minutes depending on your stove.
- Don’t walk away during this step. A rapid boil that goes unnoticed can cause the water to foam up and spill over the sides.
5. Reduce and Simmer
- As soon as the water comes to a full boil, reduce the heat to the lowest possible setting on your stove. On most stoves, this means turning the burner to its minimum position.
- Immediately place the tight-fitting lid on the pot.
- Set a timer for 30 minutes. Do not lift the lid during this time. The steam trapped inside is what cooks the rice through, and every time you lift the lid, you let that steam escape and disrupt the cooking process.
- After 30 minutes, tilt the pot slightly to one side to see if any liquid is pooling at the bottom. If there is, replace the lid and cook for another 3 to 5 minutes.
- The rice is done when all the water has been absorbed and the grains look dry on the surface.
6. Rest the Rice
- Remove the pot from the heat.
- Remove the lid and immediately place a clean, dry kitchen towel over the top of the pot. The towel absorbs the residual steam that would otherwise condense back into the rice and make the surface wet.
- Replace the lid on top of the towel, pressing it down gently.
- Let the rice rest for 10 minutes undisturbed. Do not skip this step. This rest period is when the rice finishes steaming itself to a perfectly dry, fluffy texture.
7. Fluff and Serve
- After 10 minutes, remove the lid and towel from the pot.
- Using a fork, gently fluff the rice by lifting and turning it from the bottom up. Use a light hand here; you want to separate the grains, not mash them.
- Taste a small spoonful. The rice should be tender all the way through with a slight chewiness and a gentle nuttiness.
- Season with additional salt if needed, or drizzle with a little extra ghee or olive oil for richness.
- Serve immediately, or let it cool before storing if you’re using it for meal prep.
Another recipe that highlights the same grain bowl style of serving is the Cauliflower Fried Rice with Tofu Recipe — a great low-carb companion idea for those who like variety in their grain rotation.
Tips for The Best Brown Basmati Rice
These tips come from years of making brown basmati rice in every possible way, including plenty of ways that didn’t work. The tips below are the specific adjustments that made the biggest improvements to my results.
- Don’t skip the soaking step: Even 15 minutes of soaking makes a meaningful difference in how evenly the rice cooks. The bran layer of brown rice is naturally harder than white rice, and soaking softens it slightly before cooking begins. I’ve tested this recipe side by side with and without soaking, and the soaked version wins every time.
- Use a pot with a genuinely tight-fitting lid: If your lid lets steam escape easily, your rice will cook unevenly. If your regular pot lid is loose, try weighing it down with a small, heavy object or placing a folded kitchen towel under it to create a better seal.
- Keep the heat truly low during simmering: Medium-low is often too high. You want the faintest possible simmer, almost no bubbling at all. If you can hear active bubbling throughout the cook time, your heat is probably too high and you risk scorching the bottom.
- Never lift the lid during cooking: I know it’s tempting. Resist it. Every time the lid comes off, you’re losing steam and extending the cooking time unpredictably. Set a timer and walk away.
- Use the kitchen towel rest method: Placing a towel under the lid during the resting period is a trick I picked up from an Indian cooking class. It absorbs steam that would otherwise fall back onto the rice, keeping the surface dry and the grains distinct.
- Measure accurately: The difference between 2 cups and 2¼ cups of water seems small, but it’s enough to take rice from perfectly fluffy to slightly gummy. Use a liquid measuring cup and measure at eye level.
- Toast the dry rice before adding water (optional): For an extra layer of nuttiness, add the drained soaked rice to the dry pot over medium heat for 1 to 2 minutes, stirring constantly, before adding the water. It deepens the flavor noticeably and only adds a couple of minutes to the process.
- Season the water generously: Rice needs salt added before cooking, not after. Salt added to finished cooked rice sits on the surface and doesn’t penetrate the grain. Add it to the cooking water where it will be absorbed throughout.
- Let it rest fully before fluffing: Ten minutes feels like a long time when you’re hungry, but the texture difference between rice that rests and rice that doesn’t is very noticeable. The resting time allows moisture to redistribute evenly throughout every grain.
For another rice-adjacent side dish that pairs beautifully with all the same main courses, try the Stir Fry Sauce Recipe to drizzle over your cooked brown basmati and vegetables.
What to Serve with Brown Basmati Rice
Brown basmati rice is one of the most versatile grains you can make, and it genuinely belongs alongside dozens of different dishes. Its mild nuttiness is assertive enough to add flavor but neutral enough to complement almost anything.
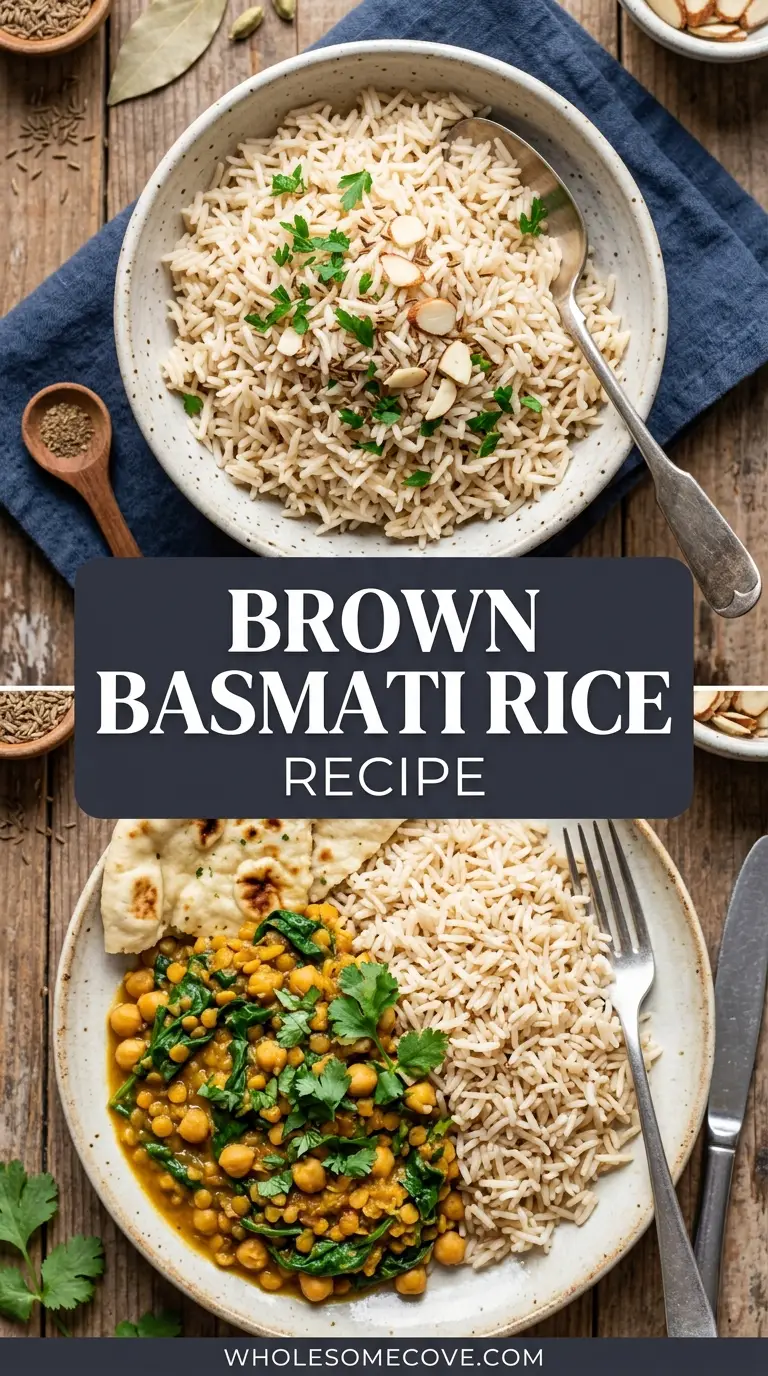
- Chickpea and Spinach Curry: This is probably the most classic pairing. A rich, spiced curry ladled over fluffy brown basmati is a complete, satisfying meal that works for weeknights and dinner parties alike.
- Tandoori Chicken: The smoky, deeply spiced flavor of tandoori chicken is a natural match for the earthy nuttiness of brown basmati. Serve them together with a simple raita and cucumber slices on the side.
- Beef and Broccoli Stir Fry: Brown basmati’s firm, separate grains hold up perfectly under a saucy stir fry without becoming mushy. It’s a combination we make on rotation in my house.
- Roast Chicken: Simple, golden roasted chicken served alongside this rice with pan drippings drizzled over the top is one of the most comforting meals I know.
- Lentil Soup: Brown basmati served alongside or stirred into a bowl of lentil soup is a protein-rich, fiber-packed combination that keeps you full for hours.
- Grilled Lemon Herb Chicken: The bright, citrusy flavor of lemon herb chicken contrasts beautifully with the nutty warmth of brown basmati. This pairing is a summer staple at my house.
- Lamb Shank: Slow-braised lamb shank falling off the bone over a bed of fluffy brown basmati is an elegant, special-occasion meal that feels incredibly impressive despite being straightforward to make.
- Summer Vegetable Stir Fry: Keep things light and seasonal by serving this rice under a colorful stir fry of whatever vegetables are freshest at the market.
Read Also: Teriyaki Grilled Chicken Recipe
Variations of Brown Basmati Rice
Once you’ve mastered the basic recipe, there are so many ways to build on it. Here are a few variations I come back to regularly, each using the same core method with simple additions.
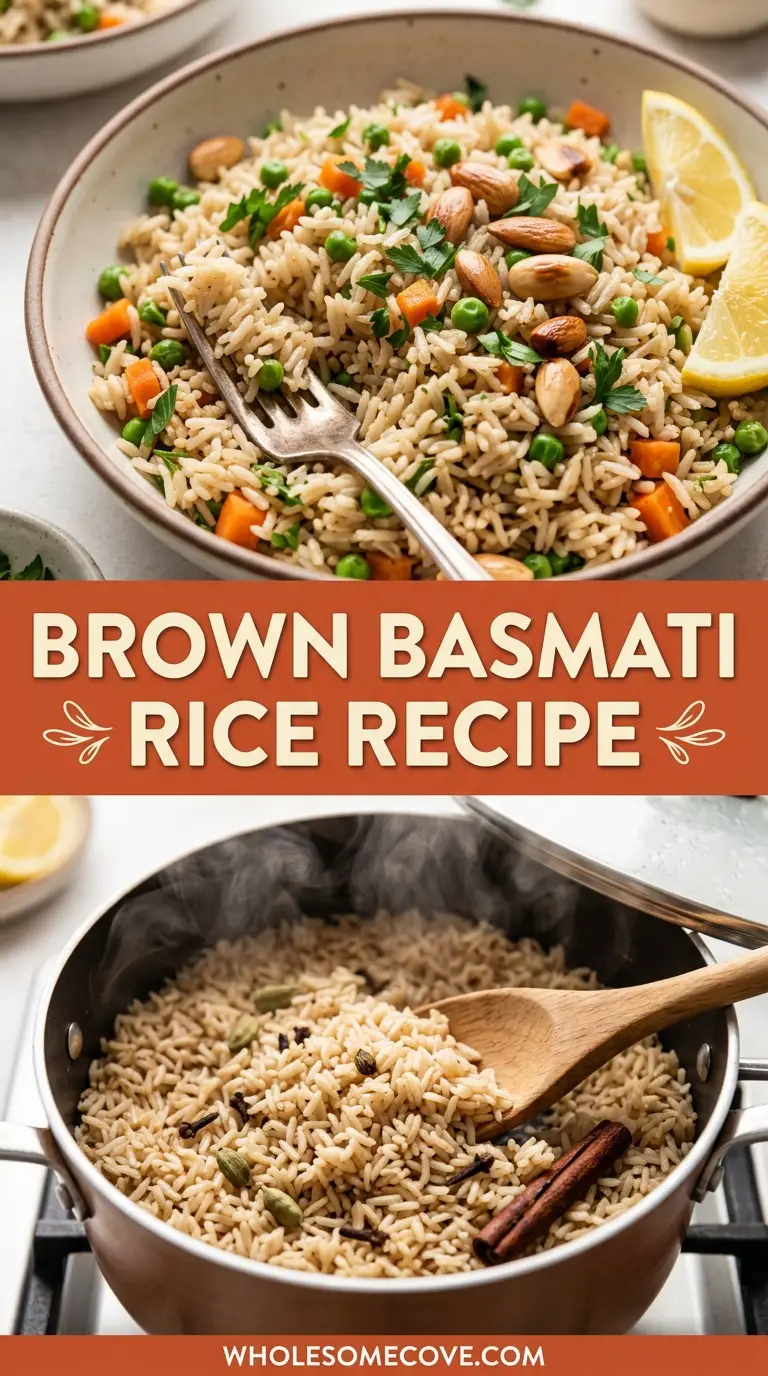
- Spiced Indian-Style Brown Basmati: Add 1 bay leaf, 3 green cardamom pods (lightly crushed), and a 1-inch (2.5cm) cinnamon stick to the water before bringing it to a boil. Remove the whole spices before serving. This version perfumes the entire kitchen beautifully and pairs especially well with curries and dals.
- Garlic Herb Brown Basmati: After the rice has finished cooking and resting, fold in 2 cloves of minced garlic (sautéed briefly in butter or ghee until fragrant), a handful of fresh chopped parsley or cilantro, and a squeeze of lemon juice. This transforms plain brown basmati into something fresh and vibrant.
- Coconut Brown Basmati: Replace half the water (1 cup / 240ml) with full-fat coconut milk. The rice comes out creamy, fragrant, and subtly sweet. This version is excellent paired with tropical or Southeast Asian-inspired dishes.
- Vegetable Brown Basmati Pilaf: Before adding the water, sauté diced onion, carrot, and frozen peas in 1 tablespoon of oil in the same pot until softened. Add the drained soaked rice, toast for 1 minute, then add the water and cook as directed. The result is a light, vegetable-packed one-pot side dish.
- Brown Basmati Fried Rice: Use leftover cold brown basmati (day-old works best) to make fried rice. Heat oil in a wok or large skillet over high heat, add your cold rice, vegetables, eggs, and soy sauce, and stir fry for 3 to 4 minutes. The already-cooked grains separate beautifully in the hot pan.
- Lemon Turmeric Brown Basmati: Add ½ teaspoon of ground turmeric and the zest of one lemon to the water before cooking. The rice turns a beautiful golden color with a subtle earthiness. It pairs especially well with roasted vegetables and grilled fish.
For another wholesome grain bowl idea that uses a similar spiced preparation, check out the Sweet Potato and Black Bean Bowls Recipe as a hearty meatless option.
Storage and Reheating
Brown basmati rice stores extremely well, making it one of the best grains for weekly meal prep. Knowing how to reheat it correctly is just as important as knowing how to cook it.
- Refrigerator storage: Allow the rice to cool completely at room temperature (no more than 1 hour) before transferring to an airtight container. Store in the refrigerator for up to 5 days. Do not store warm rice in a sealed container, as trapped moisture creates a sticky, dense texture.
- Freezer storage: For longer storage, portion the cooled rice into zip-lock freezer bags or airtight freezer containers. Lay the bags flat to freeze so they stack neatly. Frozen brown basmati keeps well for up to 3 months.
- Reheating from refrigerator (microwave): Place the desired amount of rice in a microwave-safe bowl. Sprinkle 1 to 2 tablespoons of water over the top and cover loosely with a damp paper towel or a microwave-safe lid. Microwave on high for 1 to 2 minutes, depending on quantity, until heated through and steaming. The added moisture prevents the rice from drying out.
- Reheating from refrigerator (stovetop): Place the rice in a small saucepan with 2 tablespoons of water or broth per cup of rice. Cover with a lid and warm over low heat for 4 to 5 minutes, stirring once or twice, until heated through. This method gives slightly better texture than the microwave.
- Reheating from frozen: There is no need to thaw frozen rice before reheating. Microwave directly from frozen with a splash of water, covered, for 2 to 3 minutes, or place the frozen block in a saucepan with a few tablespoons of water over low heat and stir occasionally until heated through.
- Food safety reminder: Rice can harbor bacteria if cooled and stored improperly. Always refrigerate within 1 hour of cooking and never leave cooked rice at room temperature for extended periods. Reheat only what you plan to eat in one sitting and do not reheat the same rice more than once.
Another recipe: Chicken Stew Recipe — perfect for serving over your stored, reheated brown basmati for a quick and comforting weeknight dinner.
Nutritional Facts
The following nutrition information is based on one serving (approximately ¾ cup / 140g cooked rice, using the basic recipe with salt and 1 teaspoon of ghee). Values are approximate and may vary slightly based on specific brand of rice used.
| Nutrition Facts (Per Serving) | |
|---|---|
| Calories | 185 kcal |
| Total Fat | 2g |
| Saturated Fat | 1g |
| Trans Fat | 0g |
| Cholesterol | 3mg |
| Sodium | 300mg |
| Total Carbohydrates | 38g |
| Dietary Fiber | 2g |
| Total Sugars | 0g |
| Protein | 4g |
| Vitamin B1 (Thiamine) | 10% DV |
| Vitamin B3 (Niacin) | 15% DV |
| Magnesium | 12% DV |
| Phosphorus | 15% DV |
| Zinc | 8% DV |
| Iron | 5% DV |
| Potassium | 6% DV |
*Percent Daily Values are based on a 2,000 calorie diet. Nutritional values are estimates only.
You might also enjoy: Mediterranean Quinoa Salad with Grilled Chicken Recipe — another nutritious whole grain option for health-conscious cooking.
Health Benefits of Key Ingredients
Brown basmati rice is genuinely one of the more nutritious grains you can incorporate into your regular diet. Unlike white basmati, it retains its bran and germ layers, which is where the vast majority of its nutrients live.
- Brown Basmati Rice – Rich in Dietary Fiber: The intact bran layer of brown basmati provides significantly more dietary fiber than white rice. Fiber supports healthy digestion, helps regulate blood sugar levels, and contributes to a sustained feeling of fullness that can support healthy weight management.
- Brown Basmati Rice – Lower Glycemic Index: Brown basmati has one of the lowest glycemic indexes among all rice varieties. This means it causes a slower, more gradual rise in blood sugar compared to white rice or other refined grains, making it a better choice for people managing blood sugar levels.
- Brown Basmati Rice – Source of B Vitamins: This rice is a good source of thiamine (B1), niacin (B3), and B6, all of which play important roles in energy metabolism, nervous system function, and the conversion of food into usable fuel for the body.
- Brown Basmati Rice – Contains Important Minerals: Magnesium, phosphorus, zinc, and potassium are all found in meaningful amounts in brown basmati. Magnesium in particular is involved in over 300 enzymatic reactions in the body, including muscle and nerve function.
- Ghee – Contains Fat-Soluble Vitamins: When made from grass-fed butter, ghee provides vitamins A, D, E, and K2, as well as conjugated linoleic acid (CLA), which has been studied for its potential metabolic benefits.
- Salt – Electrolyte Balance: While excessive sodium is a concern, the modest amount of salt used in this recipe contributes to proper electrolyte balance, which is important for hydration, nerve signaling, and muscle function.
For a beautifully nutritious, fiber-rich meal that pairs with this rice, the Red Lentil Soup Recipe is one of my favorite combinations for a protein-packed plant-based dinner.
FAQs About Brown Basmati Rice
1. What is the correct water to rice ratio for brown basmati rice on the stovetop?
After soaking, use a 2:1 ratio of water to rice (2 cups water for 1 cup of rice). This is slightly less than what many packages suggest, but it works consistently well when rice has been pre-soaked, which reduces the amount of water the grain needs to absorb during cooking.
2. Do I need to soak brown basmati rice before cooking?
Technically, no. But practically, yes. Soaking for even 15 minutes noticeably improves the final texture by softening the bran layer slightly. It also helps the grains cook more evenly and reduces the risk of hard, undercooked centers. I always soak and have never regretted it.
3. Why is my brown basmati rice still hard after cooking?
The most common cause is not enough water or too short a cooking time. Brown basmati genuinely needs more time than white rice to soften the bran layer. If your rice is still firm after 30 minutes, add 2 to 3 tablespoons of water, replace the lid, and cook for another 5 to 8 minutes over very low heat. Another possible cause is lifting the lid during cooking and losing too much steam.
4. Can I cook brown basmati rice in a rice cooker?
Yes, and it works very well. Use the brown rice setting if your rice cooker has one, which accounts for the longer cooking time. Use the same 2:1 water to rice ratio and skip the soaking step if you prefer, though soaking still improves texture even in a rice cooker.
5. How is brown basmati different from regular brown rice?
Brown basmati is a long-grain variety with a distinctly aromatic, nutty fragrance that regular long-grain brown rice doesn’t have. It’s also less starchy, so the grains stay more separate when cooked. Regular brown rice tends to be chewier and denser. Brown basmati cooks in less time than most other brown rice varieties, which is another practical advantage.
For even more rice bowl inspiration, the Grilled Chicken and Veggie Skewers Recipe makes an excellent partner for a brown basmati bowl dinner.
Brown Basmati Rice
Ingredients
- 1 cup brown basmati rice - 190g / 6.7 oz; choose a reputable brand with long, unbroken grains
- 2 cups water - 480ml; cold, filtered water preferred
- 1/2 tsp salt - 2.5g; added to the cooking water before boiling
- 1 tsp ghee or olive oil - 5ml; optional, but helps separate the grains and adds richness
- cold water - Enough to submerge rice by at least 2 inches / 5cm in the bowl
Equipment
- Fine mesh strainer or sieve - For rinsing the rice without losing grains
- Mixing bowl - Medium or large, for soaking the rice
- Heavy-bottomed saucepan with tight-fitting lid - 2-quart / 1.9L capacity recommended
- Measuring cups and spoons - For accurate water and salt measurements
- Kitchen timer - For tracking soaking and cooking times
- Fork - For fluffing the rice after resting
- Clean kitchen towel - Placed over pot during the resting step to absorb excess steam
- Rice cooker - Optional; use the brown rice setting if available
Method
- Place 1 cup of brown basmati rice in a fine mesh strainer and rinse under cold running water, gently moving the grains with your hand, until the water runs mostly clear (about 30–60 seconds). Transfer the rinsed rice to a medium mixing bowl.
- Cover the rinsed rice with cold water by at least 2 inches (5cm) and let it soak for 15–20 minutes at room temperature, then drain through the fine mesh strainer — do not rinse again after soaking.
- Add 2 cups (480ml) of fresh cold water, ½ tsp salt, and the optional ghee or olive oil to a heavy-bottomed saucepan, then add the drained soaked rice without stirring.
- Place the saucepan over medium-high heat without the lid and bring to a full rolling boil, watching closely to prevent overflow — this takes about 5–7 minutes.
- As soon as the water reaches a full boil, reduce the heat to the lowest possible setting, immediately cover with the tight-fitting lid, and simmer for 30 minutes without lifting the lid.
- After 30 minutes, tilt the pot slightly to check if any liquid pools at the bottom; if so, replace the lid and cook for another 3–5 minutes until all water is fully absorbed.
- Remove the pot from heat, place a clean dry kitchen towel over the opening, and replace the lid on top of the towel; let the rice rest undisturbed for 10 minutes to absorb residual steam.
- Remove the lid and towel, then use a fork to gently fluff the rice by lifting and turning from the bottom; taste, adjust salt if needed, and serve immediately.
Nutrition
Notes
- Don’t skip the soak: Even 15 minutes of soaking softens the bran layer and dramatically improves texture. Rice that hasn’t been soaked often has dense, uneven grains.
- Keep the heat truly low: During simmering, you want the faintest possible simmer with almost no audible bubbling. Active bubbling throughout means the heat is too high and can scorch the bottom.
- Never lift the lid during cooking: Steam is what finishes the rice. Every time the lid comes off, you extend cooking time unpredictably and risk uneven results.
- Use the kitchen towel trick: Placing a dry towel under the lid during the rest period absorbs steam that would otherwise condense and fall back onto the rice, keeping the grains dry and distinct.
- Measure water accurately: The difference between 2 cups and 2¼ cups of water is enough to turn fluffy rice gummy. Use a liquid measuring cup and measure at eye level.
- Toast for extra nuttiness (optional): After draining the soaked rice, add it to the dry saucepan over medium heat and stir for 1–2 minutes before adding water to deepen the flavor.
- Add whole spices for Indian-style rice: Drop 1 bay leaf, 3 crushed cardamom pods, and a 1-inch cinnamon stick into the cooking water before boiling; remove before serving.
- Storage: Cool completely within 1 hour, then refrigerate in an airtight container for up to 5 days, or freeze in portioned bags for up to 3 months.
- Reheating: Sprinkle 1–2 tablespoons of water over refrigerated rice, cover loosely with a damp paper towel, and microwave on high for 1–2 minutes; or warm on the stovetop with 2 tablespoons of water per cup of rice over low heat.
- Leftover idea: Day-old cold brown basmati makes excellent fried rice — the pre-cooked, chilled grains separate beautifully in a hot wok or skillet.
Private Notes
Tried this recipe?
Let us know how it was!Final Thoughts
Brown basmati rice genuinely deserves a permanent spot in your kitchen rotation. Once you get the method down, it becomes one of the most reliable and satisfying things you can cook.
I hope this recipe saves you from the gummy, dense batches I made in my early days. The small details, soaking, the right heat, the towel trick, really do make a difference.
Give this recipe a try this week, even if you’ve had bad luck with brown rice before. I have a feeling it’s going to surprise you.
Drop a comment below and let me know how it turned out for you. And if you have your own tips or variations, I’d love to hear them!
Recommended:
- Chickpea and Spinach Curry Recipe
- Lentil and Vegetable Soup Recipe
- Moroccan Lentil Soup Recipe
- Lamb Chops Recipe
- Grilled Portobello Mushrooms Recipe
- Baked Salmon with Asparagus and Lemon Recipe
- Chicken Adobo Recipe
- Mediterranean Lentil Soup Recipe
- Turkey and Quinoa Stuffed Peppers Recipe
- Healthy Cabbage Skillet with Quinoa and Chickpeas Recipe
