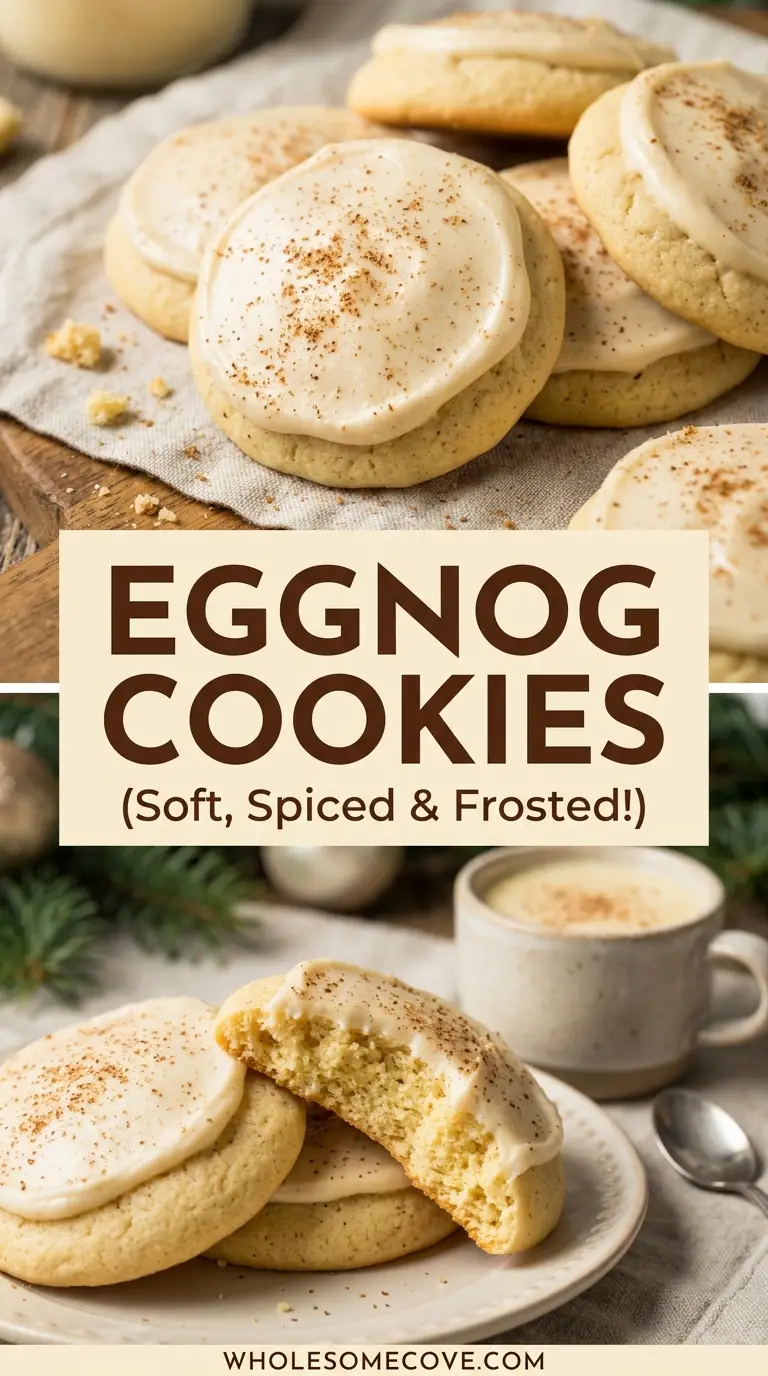
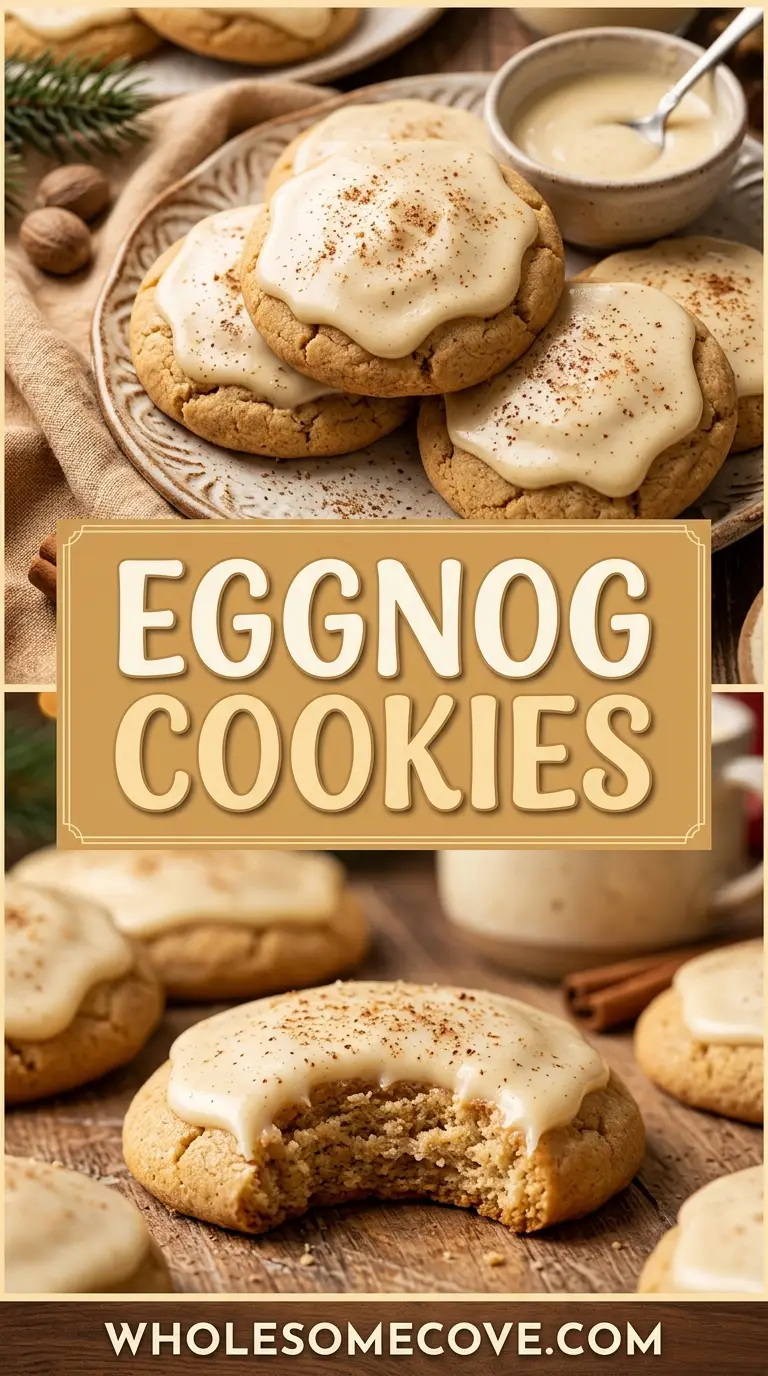
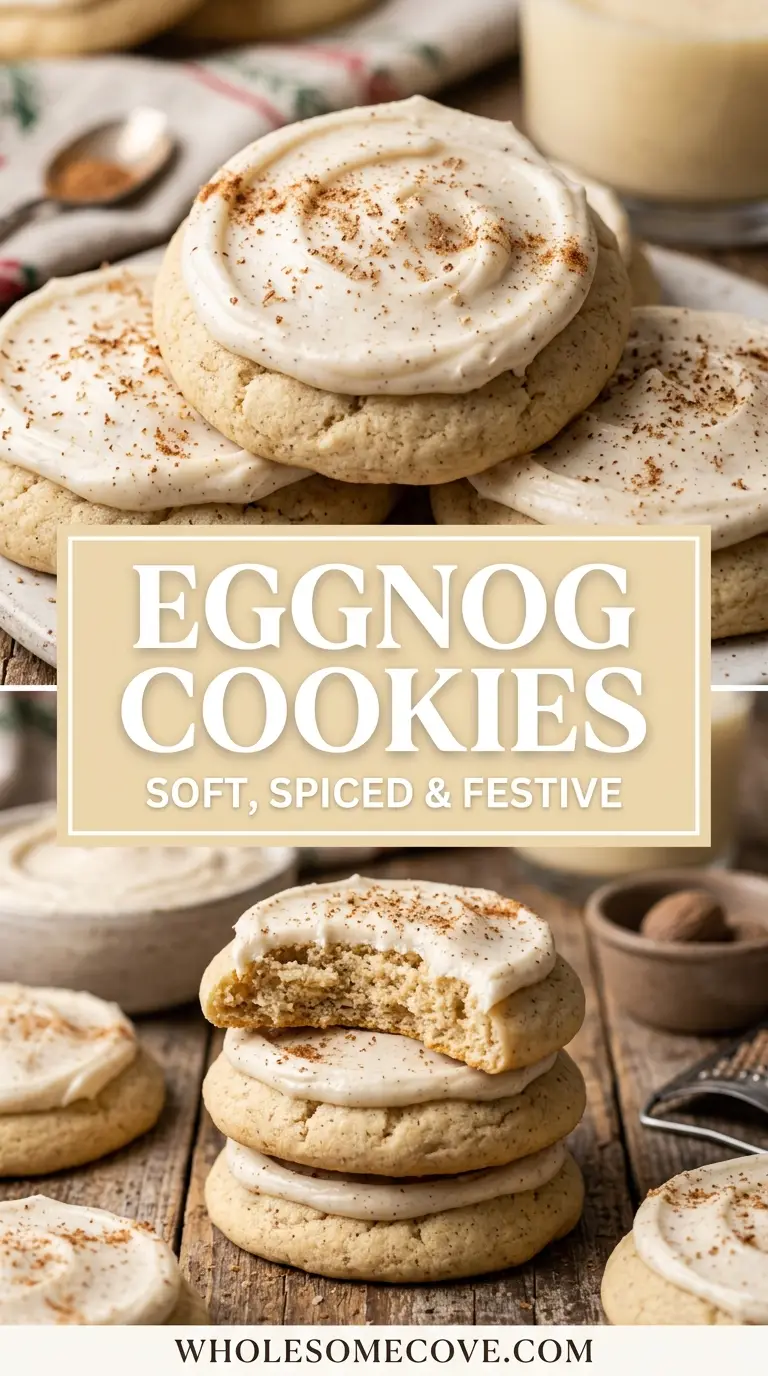
Soft, cakey, and finished with a glaze that sets into a thin sugary shell, these are the cookies that taste like the holidays in one bite. This eggnog cookies recipe leans on two egg yolks and a half cup of full-fat eggnog to keep the crumb tender instead of dry.
Here’s the thing most bakers get wrong: eggnog baked into dough tends to fade, so the flavor goes quiet in the oven. This version fixes that by layering nutmeg and a splash of rum extract into the dough, then putting the real eggnog punch where you can taste it, in the glaze on top.
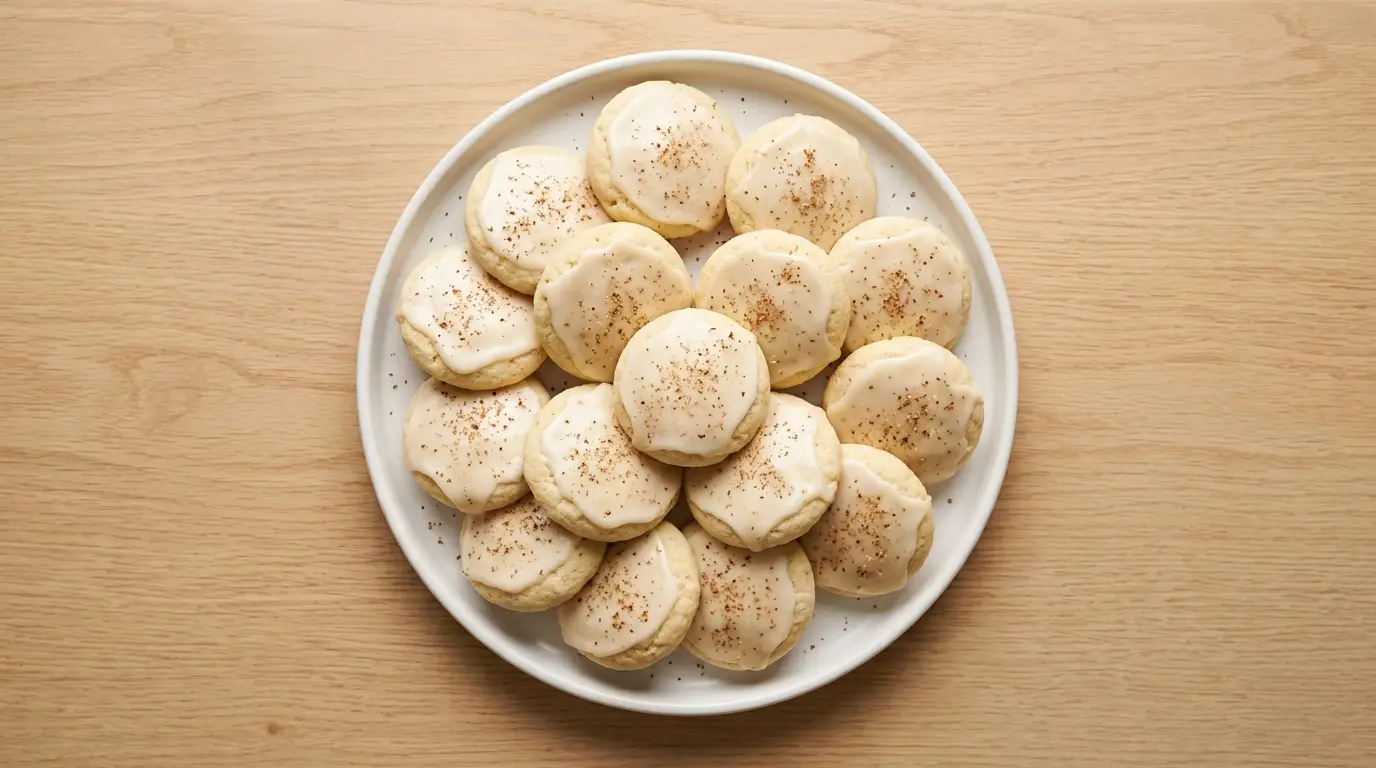
The spice comes through warm and clear, with freshly grated nutmeg giving a louder note than the pre-ground jar. You get about two dozen cookies from one bowl of dough and one small bowl of glaze.
| Quick Recipe Summary | |
|---|---|
| Prep Time | 20 minutes |
| Cook Time | 11 minutes |
| Total Time | 31 minutes |
| Servings | 24 cookies |
| Difficulty Level | Easy |
For a larger holiday centerpiece built on the same flavor, take a look at Eggnog Cake.
Why You’ll Love This Eggnog Cookies Recipe
These come together in one mixing session with no fancy equipment and no long wait. The flavor is festive without being heavy, and the texture stays soft for days.
Here’s what makes them worth baking:
- Soft, cakey texture that holds. The two egg yolks and the eggnog keep the crumb tender, so they don’t dry out on the cookie tray.
- Real eggnog flavor, not a hint. Nutmeg and rum extract build the flavor in the dough, and the eggnog glaze doubles down on top.
- One bowl, no chilling required. The dough is scoopable straight away, so you can go from mixing to oven in about twenty minutes.
- Great for gifting. The glaze sets into a dry finish, which means the cookies stack and travel without smearing.
- A smart use for leftover eggnog. Half a cup goes into the dough and a few tablespoons into the glaze, so that carton in the fridge finally gets used.
- Kid-friendly and adaptable. Skip the rum extract for a mellow vanilla version everyone at the table can eat.
You might also enjoy: Eggnog Pie
Ingredients
Everything here is a holiday-baking staple, with eggnog doing the heavy lifting in both the dough and the glaze. Use full-fat store-bought eggnog for the best texture and the clearest flavor.
For the cookies:
- 2¼ cups (281 g) all-purpose flour
- 1½ teaspoons baking powder
- ½ teaspoon salt
- 1 teaspoon ground nutmeg
- ½ teaspoon ground cinnamon
- ¾ cup (170 g) unsalted butter, softened to cool room temperature
- 1 cup (200 g) granulated sugar
- 2 large egg yolks
- ½ cup (120 ml) full-fat eggnog
- 1½ teaspoons pure vanilla extract
- ½ teaspoon rum extract (optional, for classic eggnog flavor)
For the eggnog glaze:
- 1½ cups (180 g) powdered sugar, sifted
- 3 to 4 tablespoons (45 to 60 ml) full-fat eggnog
- ¼ teaspoon ground nutmeg, plus a little more for sprinkling
Read Also: Gingerbread Cookies
Kitchen Equipment Needed
No specialty gear is required, but a few tools make the job faster and more even. A cookie scoop in particular keeps the sizes uniform so every batch bakes at the same rate.
Here’s what you’ll want on hand:
- A stand mixer or hand mixer for creaming the butter and sugar
- A set of mixing bowls for wet and dry ingredients
- A whisk for the dry ingredients and the glaze
- Two baking sheets so you can rotate batches
- A silicone baking mat or parchment paper to line them
- A cookie scoop for evenly sized mounds
- A wire cooling rack so the cookies cool before glazing
- Measuring cups and spoons, or a kitchen scale for the metric weights
Another holiday baking project worth bookmarking is Sugar Cookies.
Recommended Products for This Recipe
These are the tools I reach for every time I bake a batch, picked because each one solves a specific problem that comes up with soft, glazed cookies. They are optional, but they make the results more consistent.
1. Microplane Classic Zester Grater
Pre-ground nutmeg loses its punch fast, which is why eggnog cookies can taste flat even with the right amount in the bowl. Grating a whole nutmeg fresh with a microplane gives a sharper, warmer spice note, and it takes about ten seconds right before you mix the dough.
2. OXO Good Grips Medium Cookie Scoop
Hand-rolled dough balls come out uneven, so some cookies overbake while others stay raw in the middle. A spring-loaded scoop portions the same amount every time, which keeps the whole tray baking at one rate.
3. Nordic Ware Natural Aluminum Half Sheet Pans
Thin, dark pans run hot and leave soft cookies with scorched bottoms before the tops are set. Heavy natural-aluminum sheets spread the heat so these pale, cakey cookies bake through without browning too much on the underside.
4. McCormick Rum Extract
The eggnog flavor in the dough is subtle because baking mutes it, and a small amount of rum extract is what pushes it back toward that classic spiked-eggnog taste. It delivers the flavor without any alcohol, so the cookies stay family-friendly.
For a classic everyone knows, try: Chocolate Chip Cookies
Step-by-Step Instructions: How to Make Eggnog Cookies
Follow these steps and you’ll have a tray of soft, glazed eggnog cookies ready in about half an hour.
Step 1: Heat the Oven and Line Your Pans
- Position a rack in the center of the oven and preheat to 350°F (175°C).
- Line two baking sheets with parchment paper or silicone mats so the cookies release cleanly and the bottoms stay pale.
- Set the lined sheets aside while you make the dough.
Step 2: Whisk the Dry Ingredients
- In a medium bowl, whisk together the 2¼ cups (281 g) flour, 1½ teaspoons baking powder, and ½ teaspoon salt.
- Add the 1 teaspoon ground nutmeg and ½ teaspoon ground cinnamon, then whisk again until the spices are evenly spread through the flour.
- Set this bowl aside.
Step 3: Cream the Butter and Sugar
- In the bowl of a stand mixer, or a large bowl with a hand mixer, beat the ¾ cup (170 g) softened butter and 1 cup (200 g) granulated sugar on medium speed.
- Keep beating for 2 to 3 minutes until the mixture looks pale and fluffy.
- Scrape down the sides of the bowl once so everything mixes evenly.
Step 4: Add the Yolks, Extracts, and Eggnog
- Add the 2 egg yolks and beat until fully combined and the mixture looks smooth.
- Mix in the 1½ teaspoons vanilla extract and the ½ teaspoon rum extract if using.
- Pour in the ½ cup (120 ml) full-fat eggnog and mix on low until blended, then scrape the bowl again. The batter may look slightly curdled at this stage, which is normal and corrects once the flour goes in.
Step 5: Bring the Dough Together
- With the mixer on low, add the dry ingredients to the wet ingredients.
- Mix just until no dry streaks remain, stopping as soon as a soft dough forms. Overmixing develops the flour and turns the cookies tough, so stop early.
- The dough will be soft and scoopable. If your kitchen is warm and the dough feels sticky, chill it for 20 to 30 minutes before scooping.
Step 6: Scoop and Shape
- Use a medium cookie scoop or a heaping tablespoon to portion mounds of dough onto the lined sheets.
- Space them about 2 inches (5 cm) apart, since they spread a little as they bake.
- For a flatter cookie, press each mound down gently with the back of a spoon.
Step 7: Bake
- Bake one sheet at a time for 10 to 12 minutes, until the edges look set and the tops are no longer wet.
- The centers should still feel soft to the touch and should not brown. Pale is correct for these cookies.
- Rotate the pan halfway through if your oven has hot spots.
Step 8: Cool Before Glazing
- Let the cookies rest on the hot pan for 5 minutes so they firm up enough to move.
- Transfer them to a wire rack and cool completely. Glazing a warm cookie makes the glaze run off and soak in instead of setting on top.
Step 9: Make the Eggnog Glaze
- In a small bowl, whisk the 1½ cups (180 g) sifted powdered sugar with 3 tablespoons eggnog and ¼ teaspoon nutmeg.
- Whisk until smooth, then check the thickness. For a thicker glaze add more powdered sugar, and for a thinner drizzle add the last tablespoon of eggnog.
Step 10: Glaze and Set
- Spoon or drizzle the glaze over the fully cooled cookies, or dip the tops directly into the bowl of glaze.
- Sprinkle each one with a little extra nutmeg while the glaze is still wet.
- Let the cookies stand for about 15 minutes until the glaze sets into a dry finish, then serve or stack.
Read Also: Creme Brulee Cookies
Tips for The Best Eggnog Cookies
Small choices around temperature, measuring, and timing make the difference between a soft, flavorful cookie and a flat or bland one. These are the details worth paying attention to.
- Use full-fat eggnog, not light. I’ve found full-fat eggnog bakes noticeably softer than the light version, which left my cookies drier and paler with far less flavor.
- Keep the butter at cool room temperature. I ruined my first batch by creaming butter that was too warm, and the cookies spread into thin, greasy disks; letting the butter sit until just soft fixed it.
- Grate the nutmeg fresh when you can. I keep a whole nutmeg and a microplane next to the mixer for this recipe, since grating it right before mixing gives a much louder spice note than the pre-ground jar.
- Measure flour by spooning and leveling. Scooping the cup straight into the bag packs in too much flour and makes the cookies dense and dry.
- Don’t overbake. Pull the cookies while the centers still look soft, because they finish setting on the hot pan and stay tender that way.
- Let the glaze rest before adjusting. The glaze looks too thin right after whisking, but it tightens as it sits, so wait two minutes before deciding whether to add more sugar.
- Chill only if needed. This dough bakes fine without chilling, but a short rest in the fridge helps if your kitchen is warm and the mounds are spreading too much.
A reliable everyday batch to keep in rotation is Oatmeal Cookies.
What to Serve with Eggnog Cookies
These cookies belong on a holiday table, and they pair best with warm drinks and other festive treats that share their cozy spice profile. Set them out as part of a cookie platter or alongside something to sip.
Here are pairings that work well:
- A mug of Hot Chocolate, which balances the sweet glaze with deep cocoa
- A Pumpkin Spice Latte for a spiced coffee pairing
- Warm Mulled Apple Cider, whose tartness cuts through the richness
- A small glass of classic Eggnog to echo the flavor
- A bowl of Fall Punch for a party crowd
- Hot Chocolate Bombs as a fun addition to a dessert spread
- A mixed cookie tray with gingerbread and sugar cookies for color and variety
- Fresh fruit or a cheese board, to offset the sweetness at a gathering
For another spiced option, try: Pumpkin Cookies
Variations of Eggnog Cookies
Once you know the base recipe, it’s easy to adjust the flavor, texture, and finish to suit the occasion. Here are the variations worth trying.
- Spiked version. Swap the rum extract for 1 tablespoon of real rum or bourbon in the glaze for a grown-up batch.
- Frosted instead of glazed. Top the cookies with a thick eggnog buttercream rather than the thin glaze for a bakery-style finish.
- Eggnog snickerdoodles. Roll the dough balls in a cinnamon-nutmeg sugar before baking for a crackly, spiced coating.
- Extra-spiced. Add a pinch of ground cloves or allspice to the dry ingredients for a deeper, warmer flavor.
- Vanilla-only. Leave out the rum extract entirely and bump the vanilla to 2 teaspoons for a mellow, kid-friendly cookie.
- Chocolate-dipped. Dip half of each cooled, unglazed cookie in melted white or dark chocolate for a different look.
- Gluten-free. Use a measure-for-measure gluten-free flour blend in place of the all-purpose flour.
- Maple glaze. Replace the eggnog in the glaze with maple syrup and a splash of milk for a cozy twist.
Read Also: Pumpkin Snickerdoodle Cookies
Storage and Reheating
Eggnog cookies keep well, which makes them a good make-ahead option for busy holiday weeks. The glaze sets firm enough that they stack without sticking.
Here’s how to store them:
- Room temperature. Keep glazed cookies in an airtight container at room temperature for up to 4 days. Let the glaze set fully before stacking so it doesn’t smear.
- Refrigerator. Because the cookies and glaze contain eggnog, you can refrigerate them for up to 1 week in a sealed container for a longer shelf life.
- Freezing baked cookies. Freeze the unglazed baked cookies between layers of parchment in a freezer bag for up to 3 months, then thaw and glaze before serving.
- Freezing the dough. Scoop the dough into balls, freeze them solid on a tray, then transfer to a bag and freeze for up to 2 months. Bake from frozen and add 1 to 2 minutes to the time.
- Refreshing. These are served at room temperature, so no reheating is needed. If you want them slightly warm, a few seconds in the microwave softens them, though the glaze may loosen.
- Make-ahead tip. Bake and freeze the cookies ahead, then glaze the day you plan to serve them for the freshest finish.
For a nutty, chewy contrast on the cookie tray, see Peanut Butter Cookies.
Nutritional Facts
The values below are estimates for one glazed cookie, based on a yield of 24 cookies. Actual numbers vary with the brand of eggnog and the exact size of each cookie.
| Nutrient | Amount per Cookie |
|---|---|
| Calories | 132 |
| Total Fat | 6 g |
| Saturated Fat | 3.5 g |
| Cholesterol | 30 mg |
| Sodium | 70 mg |
| Total Carbohydrates | 18 g |
| Sugars | 12 g |
| Protein | 1 g |
You might also like: No Bake Cookies
Health Benefits of Key Ingredients
These are a holiday treat, so they’re meant to be enjoyed in moderation. That said, a few of the key ingredients bring real nutritional value worth knowing about.
- Egg yolks. The yolks add protein and healthy fats, along with choline, which supports brain and liver function.
- Nutmeg. This warm spice contains antioxidant compounds and has long been used to aid digestion and promote restful sleep.
- Cinnamon. Cinnamon is rich in antioxidants and has been studied for its role in helping regulate blood sugar.
- Eggnog. Made with milk and eggs, eggnog contributes calcium, protein, and vitamin D to the dough and glaze.
- Vanilla extract. Pure vanilla carries small amounts of antioxidants and adds deep flavor without extra sugar.
- Butter. In moderation, butter provides fat-soluble vitamins like A and E that the body absorbs along with the fat.
One thing I’ve noticed across batches is that the nutmeg does more than flavor these cookies. Grating it fresh makes the spice strong enough that you can use a little less sugar in the glaze and still taste plenty of warmth.
Read Also: Oatmeal Raisin Cookies
FAQs About Eggnog Cookies
1. Why are my eggnog cookies cakey instead of chewy?
Eggnog adds extra moisture to the dough, which naturally produces a soft, cake-like crumb rather than a dense chew. This is the expected texture for eggnog cookies, and using egg yolks instead of whole eggs keeps them soft without going dry.
If you want them a little less puffy, press the mounds down slightly before baking. You can also reduce the eggnog by a tablespoon for a denser result.
2. Why can’t I taste much eggnog in the cookies?
Eggnog flavor fades a lot during baking, so the dough alone tastes mild. That’s why the recipe builds flavor with nutmeg and rum extract and then adds a strong eggnog hit in the glaze.
For the clearest flavor, use full-fat eggnog and don’t skip the glaze. Freshly grated nutmeg also makes the spice stand out more.
3. Can I use real rum instead of rum extract?
Yes, you can use a tablespoon of real rum or bourbon, and it works especially well in the glaze. Keep in mind the flavor is more subtle than extract, since extract is far more concentrated.
If you add real rum to the dough, the alcohol mostly bakes off. Use the extract version if you want the cookies to stay family-friendly.
4. Do I need to chill the eggnog cookie dough?
This dough is firm enough to scoop right away, so chilling isn’t required. If your kitchen is warm and the dough feels sticky, a short 20 to 30 minute chill helps the cookies hold their shape.
Chilling also reduces spreading, which gives you a thicker cookie. For dough made ahead, you can refrigerate it for up to a day before baking.
5. Can I freeze eggnog cookies?
Yes, they freeze well in both baked and dough form. Freeze baked, unglazed cookies between layers of parchment for up to 3 months, then thaw and glaze before serving.
You can also freeze scooped dough balls for up to 2 months and bake them straight from frozen. Add a minute or two to the baking time if baking from frozen.
6. What kind of eggnog works best for this recipe?
Full-fat store-bought eggnog gives the most reliable texture and flavor. Low-fat versions make the cookies drier and paler, with much less of that signature taste.
Homemade eggnog can work, but the sugar and fat content vary, which can change how the cookies turn out. For consistent results, a standard full-fat carton is the safest choice.
For a cozy breakfast spin on the flavor, try: Gingerbread Overnight Oats
Eggnog Cookies
Ingredients
- 2¼ cups all-purpose flour - 281 g
- 1½ teaspoons baking powder
- ½ teaspoon salt
- 1 teaspoon ground nutmeg - freshly grated preferred
- ½ teaspoon ground cinnamon
- ¾ cup unsalted butter - 170 g, softened to cool room temperature
- 1 cup granulated sugar - 200 g
- 2 large egg yolks
- ½ cup full-fat eggnog - 120 ml
- 1½ teaspoons pure vanilla extract
- ½ teaspoon rum extract - optional, for classic eggnog flavor
- 1½ cups powdered sugar - 180 g, sifted
- 3 to 4 tablespoons full-fat eggnog - 45 to 60 ml
- ¼ teaspoon ground nutmeg - plus a little more for sprinkling
Equipment
- Stand mixer or hand mixer - for creaming the butter and sugar
- Mixing bowls - for wet and dry ingredients
- Whisk - for the dry ingredients and the glaze
- Baking sheets - two half sheet pans so you can rotate batches
- Silicone baking mat or parchment paper - to line the baking sheets
- Cookie scoop - for evenly sized mounds
- Wire cooling rack - so the cookies cool before glazing
- Measuring cups and spoons or kitchen scale - for the metric weights
- Microplane zester grater - (optional) for grating fresh nutmeg
Method
- Position a rack in the center of the oven and preheat to 350°F (175°C). Line two baking sheets with parchment paper or silicone mats and set aside.
- In a medium bowl, whisk together the flour, baking powder, salt, nutmeg, and cinnamon until the spices are evenly spread through the flour. Set aside.
- In a stand mixer or large bowl with a hand mixer, beat the softened butter and granulated sugar on medium speed for 2 to 3 minutes until pale and fluffy. Scrape down the sides once.
- Add the egg yolks and beat until fully combined. Mix in the vanilla extract and rum extract if using, then pour in the eggnog and mix on low until blended. Scrape the bowl again.
- With the mixer on low, add the dry ingredients and mix just until no dry streaks remain and a soft dough forms. Do not overmix.
- Use a medium cookie scoop or heaping tablespoon to portion mounds of dough onto the lined sheets, spacing them about 2 inches apart. Press each mound down gently with the back of a spoon for a flatter cookie.
- Bake one sheet at a time for 10 to 12 minutes, until the edges look set and the tops are no longer wet. The centers should still feel soft and should not brown. Rotate the pan halfway through if needed.
- Let the cookies rest on the hot pan for 5 minutes, then transfer to a wire rack and cool completely before glazing.
- In a small bowl, whisk the sifted powdered sugar with 3 tablespoons eggnog and ¼ teaspoon nutmeg until smooth. Add more powdered sugar for a thicker glaze or the last tablespoon of eggnog for a thinner drizzle.
- Spoon or drizzle the glaze over the fully cooled cookies, or dip the tops directly into the bowl. Sprinkle with a little extra nutmeg while the glaze is still wet. Let stand for about 15 minutes until the glaze sets into a dry finish.
Nutrition
Notes
- Use full-fat eggnog, not light, for the softest texture and clearest flavor.
- Keep the butter at cool room temperature to prevent the cookies from spreading into thin, greasy disks.
- Grate the nutmeg fresh when possible for a louder, warmer spice note than pre-ground.
- Measure flour by spooning and leveling to avoid dense, dry cookies.
- Don’t overbake; pull the cookies while the centers still look soft, as they finish setting on the hot pan.
- Let the glaze rest for two minutes before adjusting consistency, as it tightens as it sits.
- Chill the dough for 20 to 30 minutes only if your kitchen is warm and the mounds are spreading too much.
- Store glazed cookies in an airtight container at room temperature for up to 4 days, or refrigerate for up to 1 week.
- Freeze baked, unglazed cookies between layers of parchment for up to 3 months, then thaw and glaze before serving.
- Freeze scooped dough balls for up to 2 months and bake from frozen, adding 1 to 2 minutes to the baking time.
Private Notes
Tried this recipe?
Let us know how it was!Final Thoughts
Eggnog cookies are one of those holiday bakes that feel special but ask very little of you. One bowl, no chilling, and about half an hour stand between you and a tray of soft, spiced cookies with a glaze that tastes like the season.
Make a batch for a cookie exchange, a gift tin, or just a quiet evening with a warm drink. They stay soft for days, so they’re easy to make ahead when the calendar gets busy.
If you bake these, I’d love to hear how they turned out for you. Leave a comment with your favorite variation, and share the recipe with someone who loves eggnog as much as you do.
Recommended:
- Pumpkin Roll
- Fruitcake
- Hot Chocolate Mix
- Pumpkin Pie
- Pecan Pie
- Christmas Crack
- Fudge
- Coconut Cream Pie
- White Fruitcake