
I never thought I’d be the type of person who makes fudge from scratch. Growing up, fudge always seemed like one of those intimidating candy-making projects that required a thermometer, perfect timing, and a bit of kitchen wizardry.
Then one December evening, my neighbor brought over a plate of homemade fudge that changed everything. It was silky smooth, perfectly sweet, and practically melted on my tongue. When I asked for her secret, she laughed and said it was the easiest thing she’d ever made.
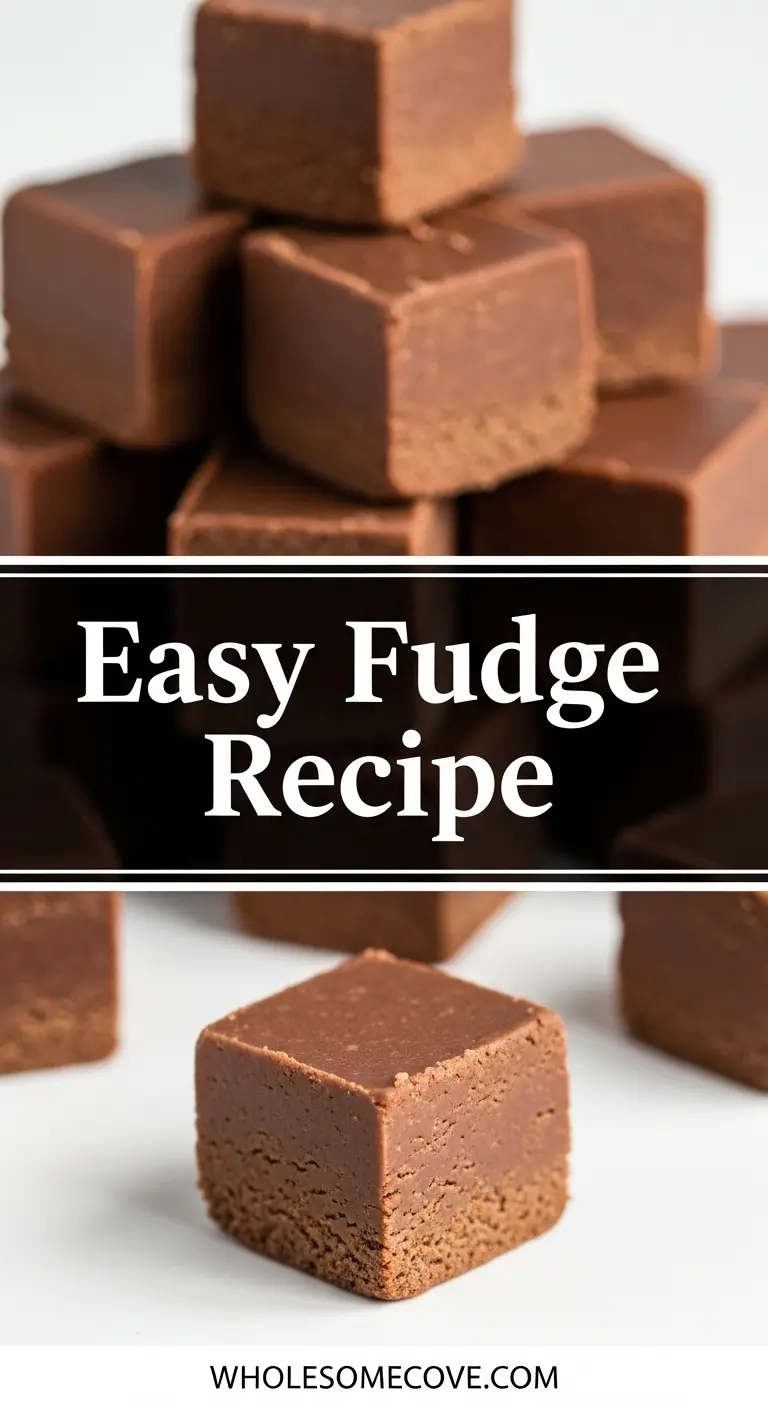
That conversation inspired me to try this Fudge Recipe myself, and I’m so glad I did. What I discovered was that making fudge at home doesn’t require any special skills or fancy equipment. With just a handful of ingredients and about 30 minutes of your time, you can create rich, creamy fudge that rivals anything you’d find in a fancy candy shop.
| Quick Recipe Summary | |
|---|---|
| Prep Time | 10 minutes |
| Cook Time | 8 minutes |
| Total Time | 2 hours 18 minutes (includes cooling) |
| Servings | 36 pieces |
| Difficulty Level | Easy |
You may also like my Peanut Butter Fudge Recipe.
Why You’ll Love This Fudge Recipe
This fudge recipe has become my go-to for holidays, gift-giving, and those moments when I need something sweet to satisfy my chocolate cravings. It’s reliable, customizable, and always turns out perfectly.
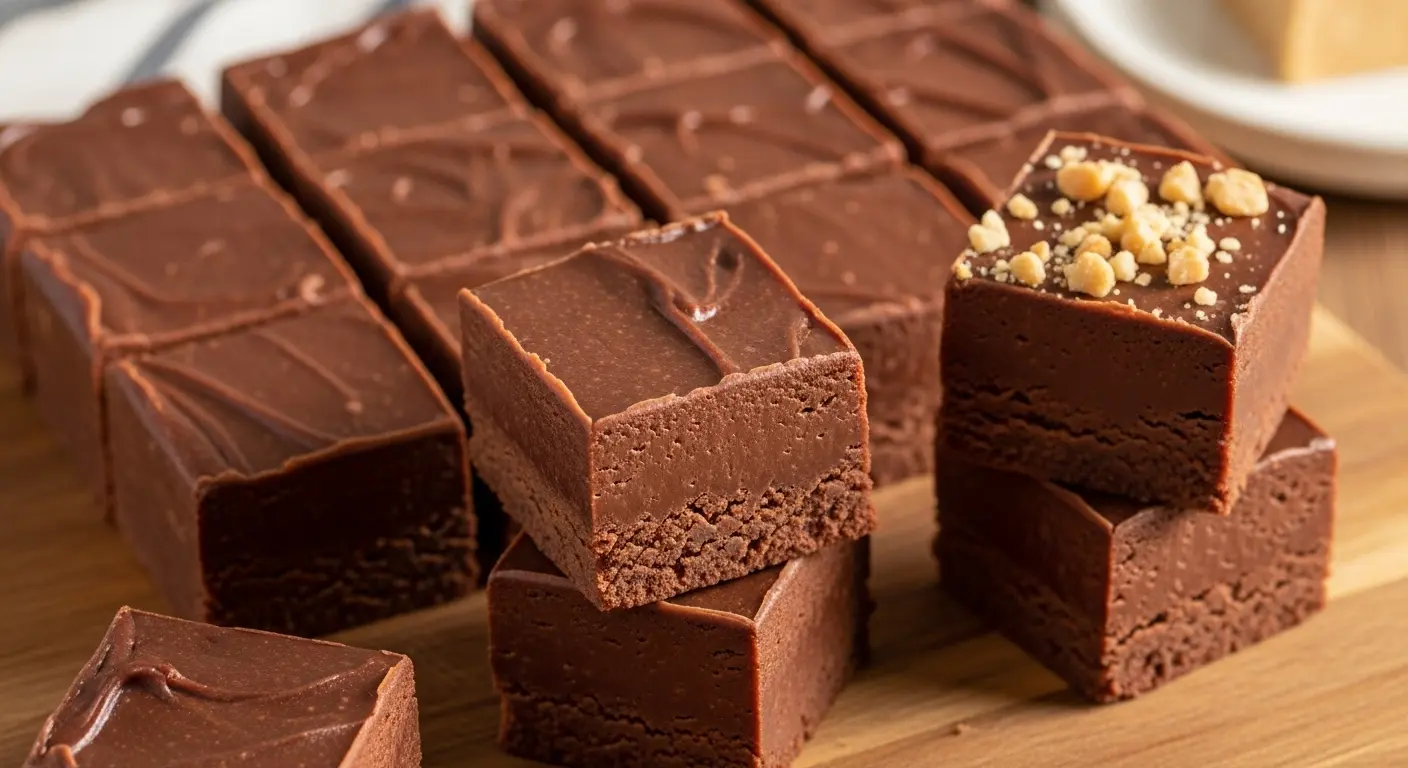
The texture is what really sets this recipe apart. It’s incredibly smooth and creamy, with that classic fudge consistency that’s firm enough to cut into neat squares but soft enough to bite into easily. Unlike some fudge recipes that can turn grainy or separate, this one comes together beautifully every single time.
Here’s why this recipe will become your favorite too:
- No candy thermometer required: You don’t need to worry about precise temperature readings or the soft-ball stage. This recipe uses simple visual cues that anyone can master.
- Foolproof method: I’ve made this fudge dozens of times, and it’s never failed me. The technique is straightforward and forgiving.
- Customizable flavors: Once you master the basic recipe, you can add nuts, extracts, swirls, or mix-ins to create endless variations.
- Perfect for gifting: This fudge looks impressive and tastes expensive, making it ideal for holiday gift boxes or party favors.
- Makes a generous batch: One recipe yields 36 pieces, which is perfect for sharing or keeping a stash in your freezer.
- Budget-friendly: Compared to store-bought gourmet fudge, making it at home costs a fraction of the price.
Another favorite of mine when it comes to sweet treats is pumpkin chocolate chip cookies, which offer that same satisfying homemade quality.
Ingredients
Making perfect fudge starts with quality ingredients. I’ve learned that using real butter and good chocolate makes all the difference in achieving that smooth, creamy texture we all love.
Here’s what you’ll need for this recipe:
- 3 cups (600g) granulated sugar: The foundation of your fudge. I prefer pure cane sugar for the best flavor.
- 3/4 cup (170g) unsalted butter: Make sure it’s at room temperature for easier mixing. The butter adds richness and helps create that melt-in-your-mouth texture.
- 2/3 cup (160ml) evaporated milk: This is not the same as condensed milk. Evaporated milk gives the fudge its creamy consistency without being overly sweet.
- 12 oz (340g) semi-sweet chocolate chips: I use high-quality chocolate chips like Ghirardelli for the best flavor. You can also use chopped chocolate bars.
- 7 oz (200g) marshmallow creme: This is the secret ingredient that makes the fudge incredibly smooth. Look for brands like Fluff or Jet-Puffed.
- 1 teaspoon pure vanilla extract: Pure vanilla makes a noticeable difference in flavor compared to imitation vanilla.
- Pinch of salt: Just a small pinch enhances all the flavors without making the fudge taste salty.
Optional mix-ins (choose one or more):
- 1 cup (120g) chopped walnuts or pecans: Toast them lightly for extra flavor.
- 1/2 teaspoon peppermint extract: For a holiday twist.
- 1/2 cup (85g) white chocolate chips: Create beautiful swirls.
- 1/4 cup (25g) crushed candy canes: Perfect for Christmas fudge.
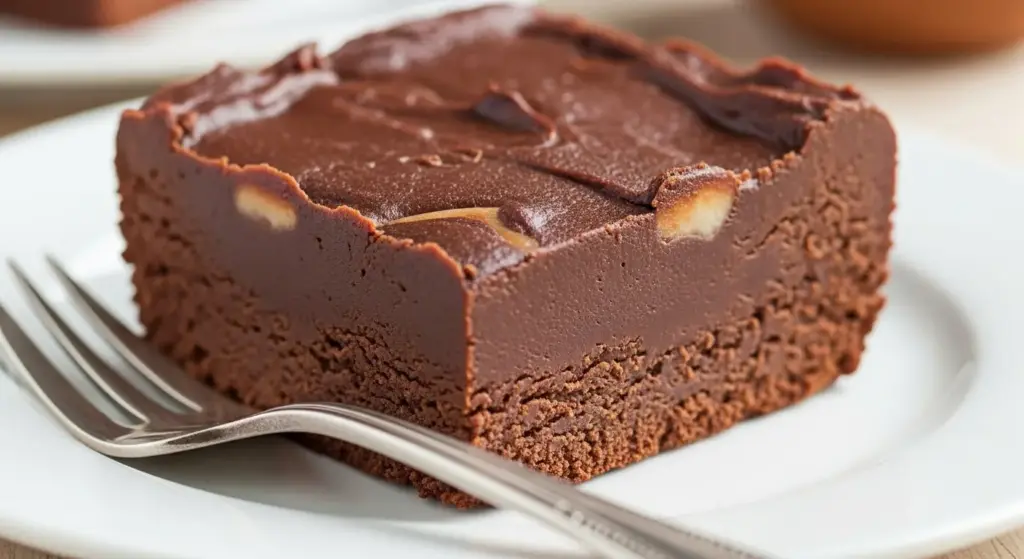
Try my Fudge Brownie Recipe.
Kitchen Equipment Needed
Having the right tools makes the fudge-making process so much smoother. Here’s what I always have ready before I start:
- Heavy-bottomed saucepan (3-4 quart capacity): This is crucial for even heat distribution and preventing scorching. I use my stainless steel saucepan for this recipe.
- Wooden spoon or heat-resistant silicone spatula: For stirring the mixture constantly without scratching your pan.
- 9×9-inch (23x23cm) baking pan: I line mine with parchment paper for easy removal and clean cuts.
- Parchment paper or aluminum foil: For lining the pan. Leave an overhang on two sides to lift the fudge out easily.
- Medium mixing bowl: For measuring out your chocolate chips and marshmallow creme ahead of time.
- Sharp knife: For cutting the fudge into neat squares once it’s set.
- Measuring cups and spoons: Accurate measurements are important in candy making.
- Pastry brush: Optional, but helpful for brushing down sugar crystals from the sides of the pan.
Read Also: Sugar Cookies Recipe
Recommended Products for This Recipe
After making fudge countless times, I’ve discovered a few products that truly make a difference in the final result. These are my personal recommendations that have never let me down.
1. Ghirardelli Semi-Sweet Chocolate Chips
I’ve tried many different chocolate brands over the years, and Ghirardelli consistently gives me the smoothest, richest-tasting fudge. The chocolate melts evenly and has a deep flavor that doesn’t taste artificial. These chocolate chips are worth the slightly higher price for the quality you get.
2. All-Clad Stainless Steel Saucepan
This saucepan distributes heat so evenly that I’ve never had a batch of fudge burn or scorch on the bottom. The heavy bottom prevents hot spots, and the stainless steel interior makes it easy to see when your mixture reaches the right consistency. It’s an investment, but it’s perfect for candy making and countless other cooking tasks.
3. Nordic Ware Natural Aluminum Square Cake Pan
The even heating of this aluminum pan ensures your fudge sets uniformly from edge to edge. I appreciate how the straight sides create perfectly shaped fudge pieces, and the natural aluminum finish won’t react with acidic ingredients. It’s also incredibly easy to clean.
4. Reynolds Kitchens Parchment Paper Roll
This parchment paper makes removing fudge from the pan absolutely effortless. It doesn’t stick, tears cleanly, and allows me to lift the entire fudge block out in one piece for neat cutting. I keep this on hand for all my baking projects.
Step-by-Step Instructions: How to Make Fudge
Follow these detailed steps, and you’ll have perfect fudge every time. I’ve broken down each part of the process to make it as clear as possible.
1. Prepare Your Pan
- Line your 9×9-inch baking pan with parchment paper, leaving about 2 inches of overhang on two opposite sides. This will serve as handles to lift the fudge out later.
- Lightly butter or spray the parchment paper with cooking spray to ensure nothing sticks.
- Set the prepared pan aside within easy reach of your stove. You’ll need to pour the hot mixture quickly once it’s ready.
2. Measure and Prep Your Ingredients
- Measure out the chocolate chips and place them in a medium bowl.
- Add the marshmallow creme and vanilla extract to the same bowl with the chocolate chips.
- Cut your butter into tablespoon-sized pieces so it melts faster and more evenly.
- Having everything measured and ready is crucial because once you start cooking, things move quickly.
3. Combine the Sugar Mixture
- In your heavy-bottomed saucepan, combine the granulated sugar, butter, and evaporated milk.
- Place the pan over medium heat and stir constantly with a wooden spoon or heat-resistant spatula.
- Continue stirring until the butter melts completely and the sugar begins to dissolve. This should take about 2-3 minutes.
- Don’t rush this step. Make sure all the butter is melted before proceeding.
4. Bring to a Rolling Boil
- Increase the heat to medium-high and continue stirring constantly.
- The mixture will start to bubble around the edges first, then across the entire surface.
- When the mixture reaches a full rolling boil (large bubbles that don’t stop when you stir), maintain that boil and stir constantly for exactly 5 minutes.
- Set a timer! This is the most important step for achieving the right consistency. During this time, the mixture will become slightly thicker and turn a light caramel color.
- Keep scraping the bottom and sides of the pan to prevent scorching.
5. Remove from Heat and Add Chocolate Mixture
- After exactly 5 minutes of boiling, remove the pan from the heat immediately.
- Quickly pour the chocolate chips, marshmallow creme, and vanilla extract into the hot mixture.
- Don’t stir yet. Let it sit for about 30 seconds to allow the chocolate to begin melting from the residual heat.
6. Stir Until Smooth
- Now stir vigorously with your wooden spoon or spatula until all the chocolate chips are completely melted and the mixture is smooth and glossy.
- This should take about 2-3 minutes of continuous stirring.
- The fudge will transform from a separated, chunky mixture into a smooth, uniform consistency.
- If you’re adding nuts or other mix-ins, fold them in now with a few gentle stirs.
- Make sure there are no streaks of marshmallow creme or unmelted chocolate.
7. Pour and Spread
- Immediately pour the fudge mixture into your prepared pan.
- Use your spatula to spread it evenly to all corners and smooth the top.
- Work quickly because the fudge begins to set as it cools.
- If you’re creating swirls with white chocolate or other toppings, add them now and use a knife to swirl them through the top layer.
You might also enjoy: Pecan Pie Recipe
8. Cool and Set
- Let the fudge cool at room temperature for about 10-15 minutes.
- Then transfer the pan to the refrigerator and chill for at least 2 hours, or until completely firm.
- Don’t try to cut the fudge before it’s fully set, or it will be messy and lose its shape.
- For faster setting, you can place it in the freezer for 1 hour instead.
9. Cut and Serve
- Once the fudge is completely firm, use the parchment paper overhang to lift the entire block out of the pan and place it on a cutting board.
- Use a sharp knife to cut the fudge into 36 squares (6 rows by 6 rows).
- For the cleanest cuts, wipe your knife clean between each cut, or run it under hot water and dry it.
- If the fudge is very hard from the refrigerator, let it sit at room temperature for 5-10 minutes before cutting for easier slicing.
Read Also: No Bake Cookies Recipe.
Tips for The Best Fudge
Over the years of making fudge, I’ve learned some tricks that guarantee perfect results every time. These tips come from my own trial and error, and they’ve saved me from many potential fudge disasters.
Here are my most important tips for success:
- Use a timer for the boiling step: This is non-negotiable. Boiling for less than 5 minutes will result in fudge that’s too soft, while boiling too long can make it grainy or hard. Set a timer and stick to it.
- Stir constantly during boiling: This prevents the mixture from scorching on the bottom of the pan. Keep that spoon moving in a figure-eight pattern to cover the entire bottom surface.
- Don’t scrape the saucepan: When pouring the fudge into the pan, don’t scrape every last bit from the saucepan. Any crystallized sugar on the sides can cause your fudge to become grainy.
- Work quickly after removing from heat: Fudge begins to set as it cools, so move efficiently once you remove the pan from the heat.
- Line your pan properly: The parchment paper overhang is essential for clean removal and cutting. Don’t skip this step.
- Store at the right temperature: Room temperature is fine for up to a week, but refrigeration extends the shelf life and keeps the fudge firmer.
- Use fresh marshmallow creme: Old marshmallow creme can be hard and difficult to incorporate smoothly.
- Choose quality chocolate: The chocolate flavor is prominent in fudge, so using high-quality chocolate chips makes a noticeable difference.
- Avoid humid days: If possible, make fudge on a dry day. High humidity can affect the texture and make it harder for the fudge to set properly.
- Be patient with cooling: Rushing the cooling process by cutting the fudge too soon will result in misshapen pieces that don’t hold together well.
Another favorite: Creme Brulee Recipe
Serving Suggestions
This classic fudge is delicious on its own, but there are so many creative ways to serve and enjoy it. I love getting creative with presentation, especially during the holidays.
Fudge is incredibly versatile when it comes to serving. Cut it into small squares and arrange them on a decorative plate for parties, or wrap individual pieces in wax paper for homemade gifts. I like to pair fudge with other desserts to create a beautiful dessert spread.
Here are my favorite ways to serve fudge:
- With coffee or hot chocolate: The rich chocolate flavor pairs perfectly with a warm beverage. I especially love serving fudge squares alongside pumpkin spice latte during fall gatherings.
- As part of a dessert platter: Combine fudge with pumpkin cookies, gingerbread cookies, and other treats for a stunning dessert table.
- Crumbled over ice cream: Break fudge into small chunks and sprinkle over vanilla or chocolate ice cream for an indulgent sundae.
- In gift boxes: Layer fudge squares in small gift boxes with parchment paper between layers. Add a ribbon and a handwritten tag for a thoughtful homemade gift.
- Alongside fresh fruit: The sweetness of fudge is beautifully balanced by fresh strawberries, raspberries, or orange slices.
- With sea salt: Sprinkle a tiny pinch of flaky sea salt on each square just before serving for a sophisticated sweet-and-salty contrast.
- On a cookie tray: Include fudge in holiday cookie exchanges or cookie platters. It adds variety and is always a hit.
- Melted as a sauce: Gently warm a few pieces of fudge in the microwave and drizzle over cakes, brownies, or waffles.
Another favorite: Air Fryer French Toast
Variations of Fudge
Once you master the basic recipe, the flavor possibilities are truly endless. I love experimenting with different variations depending on the season or occasion.
Here are my favorite fudge variations that I make throughout the year:
- Peppermint Fudge: Replace the vanilla extract with 1/2 teaspoon peppermint extract and fold in 1/2 cup crushed candy canes just before pouring into the pan. This is my go-to for Christmas gifts.
- Peanut Butter Swirl Fudge: After pouring the fudge into the pan, drop spoonfuls of creamy peanut butter on top and swirl with a knife. The combination of chocolate and peanut butter is irresistible.
- Rocky Road Fudge: Stir in 1 cup of mini marshmallows and 1/2 cup chopped almonds after the chocolate is melted. This adds great texture and visual appeal.
- Salted Caramel Fudge: Drizzle homemade or store-bought caramel sauce over the top and sprinkle with flaky sea salt before the fudge sets.
- Cookies and Cream Fudge: Use white chocolate chips instead of semi-sweet chocolate chips, and fold in 1 cup of crushed Oreo cookies.
- Espresso Fudge: Add 2 tablespoons of instant espresso powder to the sugar mixture before boiling. This creates a sophisticated coffee-flavored fudge.
- Double Chocolate Fudge: Stir in 1/2 cup of dark chocolate chips along with the semi-sweet chips for an extra chocolatey version.
- Maple Walnut Fudge: Replace the vanilla extract with 1 teaspoon of maple extract and fold in 1 cup of toasted chopped walnuts.
- Orange Chocolate Fudge: Add 1 teaspoon of orange zest and 1/2 teaspoon orange extract for a bright, citrusy twist.
- S’mores Fudge: Layer crushed graham crackers on the bottom of the pan before pouring in the fudge, then top with mini marshmallows.
Read Also: Creme Brulee Cheesecake Recipe.
Storage and Reheating
Proper storage is key to keeping your fudge fresh and maintaining its perfect texture. I’ve learned the best methods through trial and error.
Fudge stores beautifully, which makes it ideal for making ahead of time. Here’s how to keep it at its best:
- Room temperature storage: Place fudge pieces in an airtight container with layers separated by parchment or wax paper. Store at cool room temperature (under 70°F/21°C) for up to 1 week.
- Refrigerator storage: For longer storage, keep fudge in an airtight container in the refrigerator for up to 3 weeks. Let it come to room temperature for 15-20 minutes before serving for the best texture.
- Freezer storage: Fudge freezes exceptionally well. Wrap individual pieces or portions in plastic wrap, then place in a freezer-safe container or bag. Freeze for up to 3 months. Thaw in the refrigerator overnight or at room temperature for 1-2 hours.
- Preventing sticking: Always place parchment paper or wax paper between layers of fudge to prevent pieces from sticking together.
- Avoid moisture: Keep fudge away from humid environments, which can cause it to become sticky or grainy.
- Gift packaging: If giving fudge as a gift, package it no more than 2-3 days before gifting to ensure maximum freshness.
Note on reheating: Fudge is typically enjoyed at room temperature and doesn’t require reheating. If it becomes too hard from refrigeration, simply let it sit at room temperature for 15-20 minutes before serving. Avoid microwaving fudge, as it can cause the texture to become grainy or separate.
For another make-ahead dessert option, check out authentic Italian tiramisu.
Nutritional Facts
Per serving (1 piece, based on 36 pieces):
- Calories: 135
- Total Fat: 5g
- Saturated Fat: 3g
- Cholesterol: 8mg
- Sodium: 25mg
- Total Carbohydrates: 22g
- Dietary Fiber: 0.5g
- Sugars: 21g
- Protein: 1g
Note: Nutritional values are approximate and will vary based on specific ingredients used and exact portion sizes. These calculations are for the basic fudge recipe without any optional mix-ins.
Health Benefits of Key Ingredients
While fudge is certainly an indulgent treat, some of its ingredients do offer surprising health benefits when consumed in moderation.
Understanding the nutritional aspects of fudge ingredients helps you appreciate this dessert as an occasional treat rather than a daily indulgence. Here’s what each key ingredient brings to the table:
- Dark chocolate (if using): Contains flavonoids that act as antioxidants, potentially supporting heart health and improving blood flow. Dark chocolate also contains minerals like iron, magnesium, and zinc.
- Butter: Provides fat-soluble vitamins A, D, E, and K. While high in saturated fat, butter from grass-fed cows contains beneficial fatty acids like CLA (conjugated linoleic acid).
- Milk: Even in evaporated form, milk provides calcium, vitamin D, and protein, which support bone health and muscle function.
- Vanilla extract: Contains small amounts of antioxidants and has been used traditionally to reduce stress and anxiety, though the amounts in fudge are minimal.
- Nuts (if added): Walnuts and pecans are rich in omega-3 fatty acids, protein, fiber, and various vitamins and minerals that support brain health and reduce inflammation.
Remember: Fudge is a dessert meant to be enjoyed in moderation as part of a balanced diet. The key is portion control and not eating it every day. One small piece as an occasional treat can be part of a healthy lifestyle.
FAQs About Fudge
1. Why did my fudge turn out grainy?
Grainy fudge usually happens when sugar crystals form during cooking. This can occur if you stir the mixture too much after it starts boiling, if the temperature gets too high, or if sugar crystals on the sides of the pan fall back into the mixture. To prevent this, stir constantly before the mixture boils, but once it reaches a rolling boil, minimize stirring and use a wet pastry brush to wipe down any sugar crystals on the pan sides.
2. Can I make fudge without marshmallow creme?
Yes, but marshmallow creme is what gives this particular recipe its smooth, creamy texture and helps prevent graininess. If you don’t have marshmallow creme, you can substitute with 16 large marshmallows. Add them with the chocolate chips and stir until completely melted. The texture may be slightly different but still delicious.
3. How do I know when my fudge mixture has boiled long enough?
The mixture needs to boil at medium-high heat for exactly 5 minutes once it reaches a full rolling boil. A rolling boil means large bubbles appear across the entire surface and don’t stop when you stir. Use a timer to ensure accuracy. Undercooking will result in fudge that’s too soft and won’t set properly, while overcooking can make it hard and crumbly.
4. Can I double this fudge recipe?
Yes, you can double the recipe, but you’ll need a larger saucepan (at least 6 quarts) to prevent boil-over. The boiling time will need to be increased slightly, usually to about 6-7 minutes instead of 5. Use a 9×13-inch pan instead of a 9×9-inch pan. Be extra vigilant about stirring to prevent scorching with the larger volume.
5. What’s the best way to cut fudge into neat squares?
The key to clean cuts is using a sharp knife and wiping it clean between each cut. For the neatest squares, refrigerate the fudge until very firm, then bring it to cool room temperature for about 10 minutes before cutting. You can also run your knife under hot water, dry it, and then make your cuts. Mark your cutting lines first with a ruler for perfectly even pieces.
Read Also: Coconut Cream Pie Recipe
Final Thoughts
Making homemade fudge is one of those simple pleasures that never gets old. Every time I pull a batch out of the refrigerator and cut it into perfect squares, I’m reminded of why I fell in love with this recipe in the first place.
The beauty of fudge is that it’s both impressive and approachable. You don’t need years of candy-making experience or expensive equipment to create something truly special. With just a few basic ingredients and about 30 minutes of active time, you can make a dessert that looks and tastes like it came from a gourmet candy shop.
I hope this recipe brings as much joy to your kitchen as it has to mine. Try making a batch this weekend and see for yourself how easy and satisfying homemade fudge can be. Don’t forget to experiment with different variations once you’ve mastered the basic recipe.
Have you made this fudge recipe? I’d love to hear about your experience and any creative variations you’ve tried. Share your thoughts in the comments below, and don’t forget to snap a photo of your beautiful fudge to share with friends and family!
Recommended:
- Pumpkin Pie Recipe
- Apple Pie Recipe
- Pecan Pie Dump Cake Recipe
- Pumpkin Bar Recipe
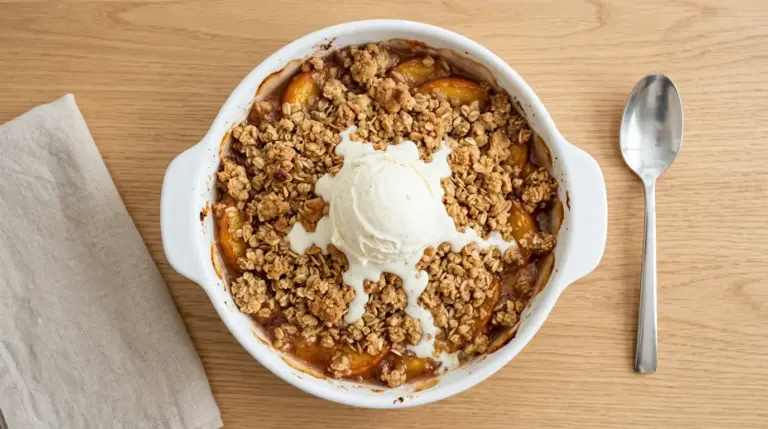
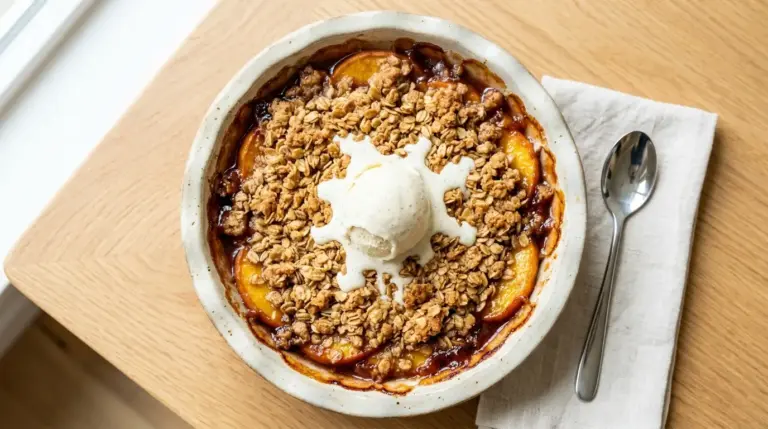
- Apple Crisp Recipe
- Pumpkin Snickerdoodle Cookies Recipe
- Amish Apple Cake Recipe
- Healthy Chocolate Chip Cookies Recipe
- Healthy Pumpkin Pie Recipe
- Healthy Apple Pie Recipe
