Peanut Butter Cookies
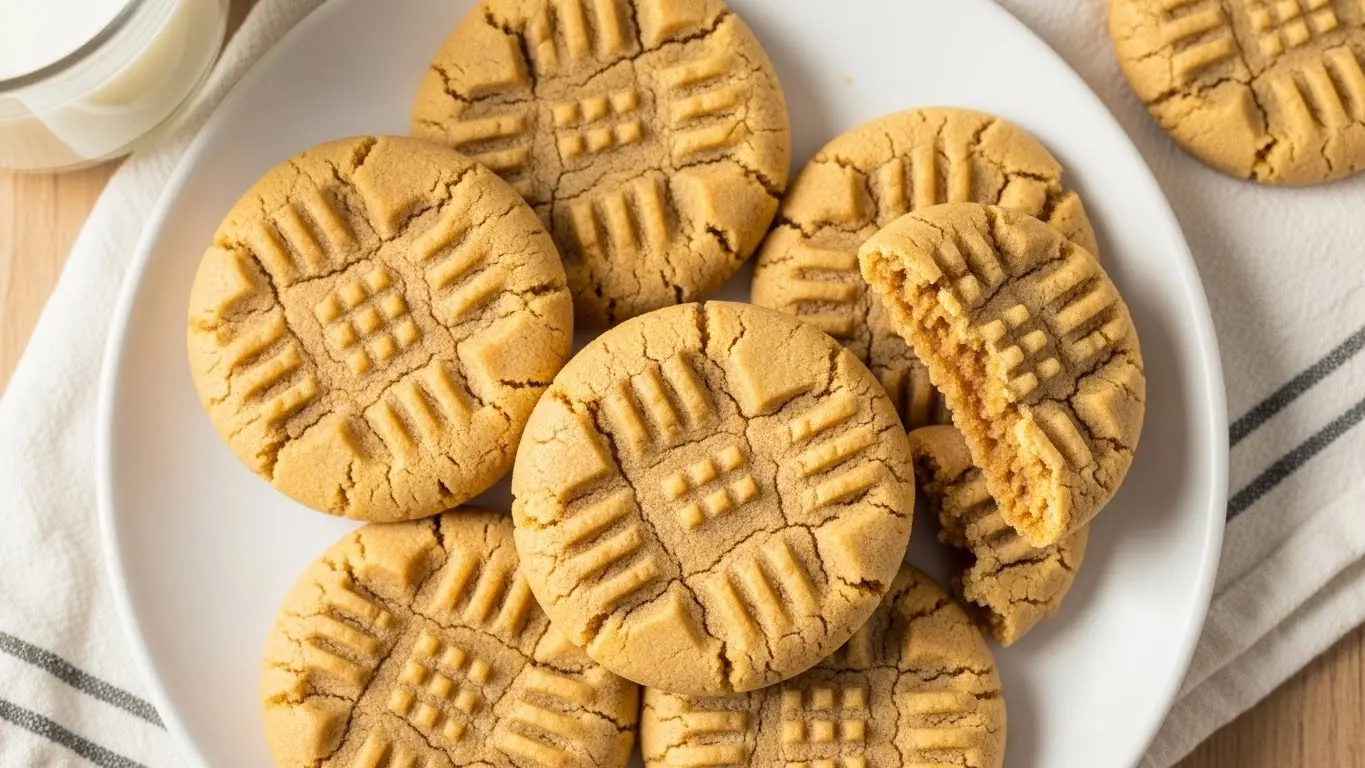
These classic peanut butter cookies have been a family treasure for over a decade, passed down through Saturday morning baking sessions and perfected over countless batches. With soft, tender centers and slightly crispy edges, they deliver rich, nutty peanut butter flavor in every bite. The iconic crosshatch fork pattern isn't just for looks — it helps the cookies bake more evenly, giving you consistent, bakery-worthy results every single time.
Equipment
- Stand mixer - Or use a large mixing bowl with electric hand mixer
- Electric hand mixer - (optional) If not using stand mixer
- Large mixing bowl
- Medium mixing bowl - For dry ingredients
- Measuring cups and spoons
- Whisk
- Rubber spatula
- Cookie scoop - 1½ tablespoon size recommended
- Baking sheets - 2–3 sheets recommended; light-colored aluminum preferred
- Parchment paper - Or silicone baking mats
- Fork - For pressing crosshatch pattern
- Wire cooling rack
Ingredients
- 1 cup creamy peanut butter - 240g; not natural or separated — use conventional brands like Jif or Skippy
- 1 cup granulated sugar - 200g
- 1 cup packed light brown sugar - 220g; packed firmly into measuring cup
- 1 cup unsalted butter - 226g (2 sticks); softened to room temperature
- 2 large eggs - Room temperature; let sit out 10 minutes if refrigerated
- 2½ cups all-purpose flour - 315g; spooned and leveled, do not pack
- 1 tsp baking powder
- 1½ tsp baking soda
- ½ tsp salt
- 1 tsp pure vanilla extract
For Pressing
- granulated sugar - Small amount for dipping the fork to prevent sticking
Instructions
- Preheat oven to 350°F (175°C) and line baking sheets with parchment paper or silicone mats. Make sure butter is softened and eggs are at room temperature.
- In a medium bowl, whisk together the flour, baking powder, baking soda, and salt for 30 seconds until evenly combined with no clumps. Set aside.
- Beat softened butter, granulated sugar, and brown sugar together on medium speed for 3–4 minutes until light, fluffy, and pale in color. Scrape down the bowl at least once during mixing.
- Beat in the peanut butter for 1 minute, then add eggs one at a time, beating 30 seconds after each. Mix in vanilla extract and scrape down the bowl.
- With the mixer on low, add the dry ingredients in three additions, mixing just until no dry flour remains after each. Fold the dough with a spatula to ensure even incorporation — do not overmix.
- Scoop 1½-tablespoon portions of dough and roll into smooth balls. Place 2 inches apart on prepared baking sheets (about 8 per sheet).
- Dip a fork lightly in sugar and press firmly down on each dough ball to about ½ inch thick, then rotate 90° and press again to create the classic crosshatch pattern. Re-dip fork in sugar as needed.
- Bake one sheet at a time in the center of the oven for 10–12 minutes, rotating the pan halfway through, until edges are set and lightly golden but centers still look slightly underdone.
- Let cookies rest on the hot baking sheet for 5 minutes to set, then transfer to a wire rack and cool at least 10 more minutes before eating. Repeat with remaining dough.
Notes
- Use room temperature ingredients: Cold butter won't cream properly and cold eggs won't incorporate smoothly — both lead to dense, flat cookies.
- Don't rush the creaming step: Beating butter and sugars for the full 3–4 minutes incorporates air that makes cookies tender and light.
- Measure flour correctly: Spoon flour into the measuring cup and level with a knife. Scooping directly from the bag packs in too much flour and causes dry cookies.
- Slightly underbake: Remove cookies when centers still look a little soft — they continue cooking on the hot pan and will firm up perfectly as they cool.
- Avoid natural peanut butter: Natural or separated peanut butter has different oil content and causes flat, greasy cookies. Stick with conventional creamy peanut butter.
- Chill for thicker cookies: Refrigerate shaped dough balls for 30 minutes before baking to prevent excess spreading and get thicker cookies.
- Storage: Store completely cooled cookies in an airtight container at room temperature for up to 5 days. Add a slice of bread to the container to keep them soft.
- Freeze for later: Freeze baked cookies or unbaked dough balls for up to 3 months. Bake frozen dough straight from the freezer, adding 2–3 minutes to baking time.
- Fun variations: Fold in 1 cup chocolate chips, press a mini peanut butter cup into each warm cookie, or sprinkle flaky sea salt on top before baking for a sweet-salty twist.
- Reheat tip: Microwave a cookie for 8–10 seconds or warm in a 300°F oven for 3–4 minutes for that fresh-baked taste.
Nutrition
Serving: 1CookieCalories: 185kcalCarbohydrates: 23gProtein: 4gFat: 9gSaturated Fat: 4gPolyunsaturated Fat: 1gMonounsaturated Fat: 3gCholesterol: 30mgSodium: 150mgPotassium: 85mgFiber: 1gSugar: 15gVitamin A: 3IUCalcium: 2mgIron: 4mg
Tried this recipe?Let us know how it was!