
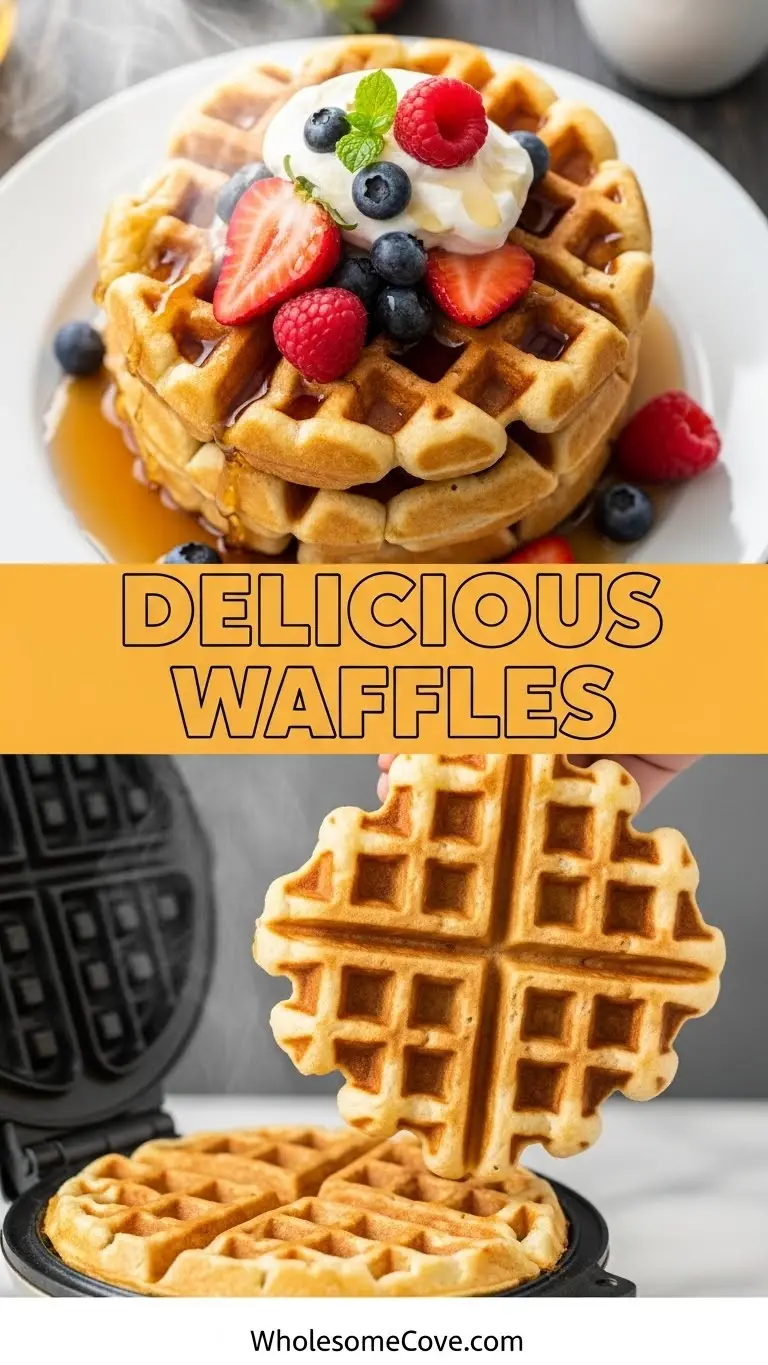
I grew up making boxed waffle mix on Saturday mornings, but everything changed the day I decided to try a waffle recipe from scratch.
My kids begged for pancakes instead, but I was determined to figure out what made restaurant waffles so crispy on the outside and fluffy on the inside. After burning a few batches and tweaking the recipe countless times, I finally cracked the code.
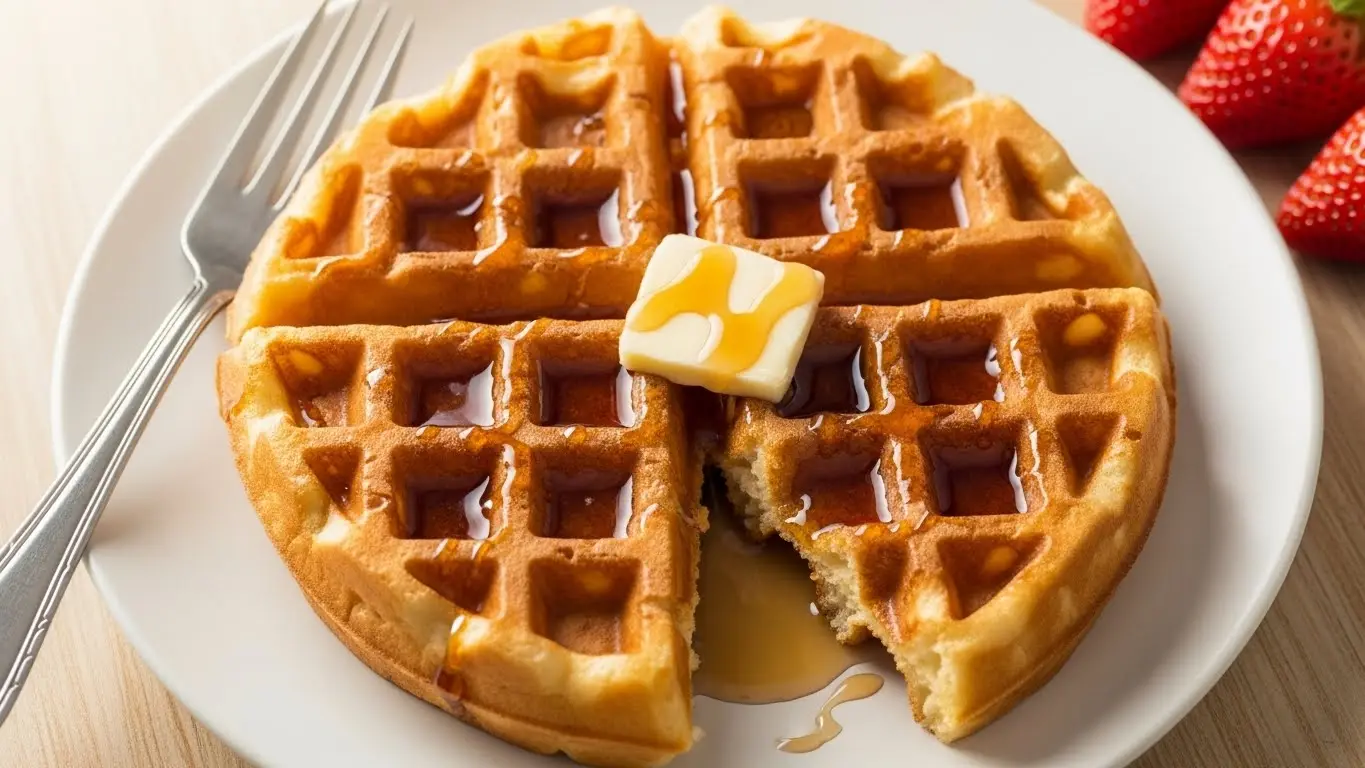
Now, this waffle recipe is our weekend tradition, and I’ve never looked back to the boxed stuff. The secret is in the separation of wet and dry ingredients and whipping the egg whites to create that perfect texture.
My kids now fight over who gets the first waffle off the iron. The edges get perfectly golden and crispy while the inside stays light and airy, almost like a cloud.
These homemade waffles have converted everyone who tries them into believers. No more soggy, bland waffles that fall apart under your syrup.
| Quick Recipe Summary | |
|---|---|
| Prep Time | 10 minutes |
| Cook Time | 15 minutes |
| Total Time | 25 minutes |
| Servings | 8 waffles |
| Difficulty Level | Easy |
This pairs beautifully with my strawberry sauce for a complete breakfast experience.

Why You’ll Love This Waffle Recipe
Making waffles from scratch sounds intimidating, but this recipe is actually simpler than you think. You probably have all the ingredients in your pantry right now.
The real magic happens when you separate those egg whites and whip them into soft peaks. This extra step creates waffles that are impossibly light and crispy, with none of that dense, heavy texture you get from boxed mixes.
- Restaurant-quality results at home: These waffles rival any brunch spot, with crispy exteriors and fluffy interiors that stay intact under all your favorite toppings.
- Budget-friendly: At a fraction of the cost of dining out, you can feed your entire family a restaurant-worthy breakfast right in your own kitchen.
- Customizable base: This recipe works perfectly as is, but it’s also incredibly versatile for adding chocolate chips, blueberries, or whatever your heart desires.
- Make-ahead friendly: You can mix the dry ingredients the night before and store them in an airtight container, cutting your morning prep time in half.
- Freezer-friendly for busy mornings: Pop them in the toaster on weekday mornings when you’re rushing, and they taste just as good as fresh.
You may also like: Buttermilk Waffle Recipe.
Ingredients
This waffle recipe calls for simple pantry staples that you likely already have on hand. I prefer using all-purpose flour because it creates the perfect texture without being too dense or too light.
The pure vanilla extract makes a noticeable difference in flavor, so don’t skip it. My first attempt used imitation vanilla, and the taste was noticeably flat compared to the real thing.
- 2 cups (240g) all-purpose flour: Forms the structure of your waffles and creates that perfect crispy exterior.
- 2 tablespoons (25g) granulated sugar: Just enough sweetness to complement your toppings without being overpowering.
- 1 tablespoon (12g) baking powder: The leavening agent that gives your waffles their lift and airiness.
- 1/2 teaspoon (3g) salt: Enhances all the other flavors and prevents your waffles from tasting bland.
- 2 large eggs, separated: The separated whites create those signature crispy edges when whipped.
- 1 3/4 cups (420ml) whole milk: Provides richness and moisture, making the batter smooth and pourable.
- 1/2 cup (120ml) vegetable oil: Helps create that crispy texture and prevents sticking, while keeping the waffles tender.
- 1 teaspoon (5ml) pure vanilla extract: Adds warmth and depth to the flavor profile.
You might also enjoy: Protein Waffle Recipe.
Kitchen Equipment Needed
Having the right equipment makes all the difference when making waffles. I learned this the hard way after my first waffle stuck so badly to a cheap waffle iron that I had to throw the whole thing away.
A quality waffle maker with temperature control is worth every penny. The adjustable heat lets you customize how crispy or soft you want your waffles, and the nonstick coating actually works.
- Belgian waffle maker: Preferably one with temperature control and a nonstick surface for easy release and cleanup.
- Large mixing bowl: For combining your dry ingredients and keeping everything organized.
- Medium mixing bowl: Perfect for whisking together the wet ingredients before combining.
- Electric hand mixer: Essential for whipping those egg whites to soft peaks without exhausting your arm.
- Whisk: For mixing the dry ingredients and wet ingredients separately before combining.
- Rubber spatula: Helps fold the egg whites gently into the batter without deflating them.
- Measuring cups and spoons: Accurate measurements ensure consistent results every single time.
- Small bowl: For separating and holding the egg whites before whipping.
- Wire cooling rack: Keeps your finished waffles crispy by allowing air to circulate around them instead of getting soggy.
Try my Belgian Waffle Recipe.
Recommended Products for This Recipe
I’ve tested countless products while perfecting this waffle recipe, and these are the ones that truly make a difference. Each recommendation comes from my own experience and the lessons I’ve learned from making hundreds of waffles.
1. Cuisinart Belgian Waffle Maker with Temperature Control
After burning through two cheaper waffle makers, I invested in this one three years ago and haven’t looked back. The adjustable temperature dial lets you get the exact level of crispiness you want, and the nonstick plates release waffles perfectly every single time without any spray.
2. Nielsen-Massey Pure Vanilla Extract
This might seem like a small detail, but the quality of your vanilla extract genuinely impacts the final flavor. Nielsen-Massey has a rich, complex taste that cheap imitation vanilla just can’t match, and it makes your waffles smell absolutely incredible while they cook.
3. KitchenAid 5-Speed Hand Mixer
Whipping egg whites by hand is exhausting and inconsistent. This hand mixer has enough power to create perfect soft peaks in under two minutes, and the ergonomic design means your arm won’t be tired afterward.
4. King Arthur Baking Company All-Purpose Flour
Not all flours are created equal, and I’ve noticed that King Arthur flour produces consistently better results. The protein content is perfectly balanced for waffles, giving you structure without making them tough or chewy.
Read Also: Mochi Waffle Recipe.
Step-by-Step Instructions: How to Make Waffles
Making perfect waffles is all about technique and timing. I’ve broken down each step into detailed instructions so you can recreate these restaurant-quality waffles in your own kitchen, even if you’ve never made them before.
1. Preheat Your Waffle Maker
- Turn on your waffle maker and set it to medium-high heat, allowing it to preheat for at least 5 minutes before you add any batter.
- The indicator light will let you know when it’s ready, but I always give mine an extra minute to ensure the plates are evenly heated.
- A properly preheated waffle maker is crucial for getting that golden, crispy exterior without any pale, undercooked spots.
2. Mix the Dry Ingredients
- In a large mixing bowl, whisk together 2 cups flour, 2 tablespoons sugar, 1 tablespoon baking powder, and 1/2 teaspoon salt until everything is evenly distributed.
- Make sure to break up any clumps in the baking powder with the whisk, as lumps will create uneven rising and pockets of bitter taste.
- Create a well in the center of the dry ingredients by pushing them toward the sides of the bowl, which will make combining with the wet ingredients easier and prevent overmixing.
3. Separate the Eggs
- Crack your eggs one at a time, carefully separating the whites from the yolks by passing the yolk back and forth between the shell halves.
- Place the egg whites in a clean, grease-free small bowl and the yolks in your medium mixing bowl with the other wet ingredients.
- Even a tiny bit of yolk in your whites will prevent them from whipping properly, so take your time with this step and be gentle.
4. Combine the Wet Ingredients
- Add 1 3/4 cups milk, 1/2 cup vegetable oil, and 1 teaspoon vanilla extract to the bowl with your egg yolks.
- Whisk these together vigorously until the mixture is smooth and the yolks are fully incorporated, about 30 seconds.
- The mixture should be a uniform pale yellow color with no streaks of egg yolk visible.
5. Whip the Egg Whites
- Using your electric hand mixer on medium-high speed, beat the egg whites until they form soft peaks, which usually takes about 2 to 3 minutes.
- Soft peaks should curl over slightly when you lift the beaters, rather than standing straight up like stiff peaks.
- Don’t overbeat the whites or they’ll become dry and grainy, making them difficult to fold into the batter smoothly.
Another favorite: Air Fryer Pancake
6. Mix Wet and Dry Ingredients
- Pour the wet ingredient mixture into the well you created in the dry ingredients.
- Gently fold everything together with your whisk using broad, sweeping motions until just combined, stopping as soon as you don’t see any more dry flour.
- The batter should still be slightly lumpy at this point, which is exactly what you want for tender waffles rather than tough ones.
7. Fold in the Egg Whites
- Add about one-third of the whipped egg whites to the batter and gently fold them in with your rubber spatula using an under-and-over motion.
- This first addition lightens the batter and makes it easier to incorporate the remaining whites without deflating them.
- Add the remaining egg whites and continue folding gently until no white streaks remain, but be careful not to overmix or you’ll lose all that wonderful airiness.
8. Cook the Waffles
- Lightly spray your preheated waffle maker with cooking spray or brush it with melted butter, even if it has a nonstick coating.
- Pour about 1/2 to 3/4 cup of batter onto the center of the waffle maker, depending on its size, and spread it slightly toward the edges with a spoon.
- Close the lid and cook for 3 to 5 minutes, or until the waffle is golden brown and the steaming has mostly stopped.
- Resist the urge to open the waffle maker too early, as this can cause the waffle to tear or stick to the plates.
9. Keep Waffles Warm
- Transfer each cooked waffle to your wire cooling rack set over a baking sheet in a 200°F (93°C) oven.
- The rack prevents the bottoms from getting soggy while the low oven temperature keeps them warm without drying them out.
- You can hold finished waffles in the oven for up to 20 minutes while you cook the remaining batches.
10. Serve Immediately
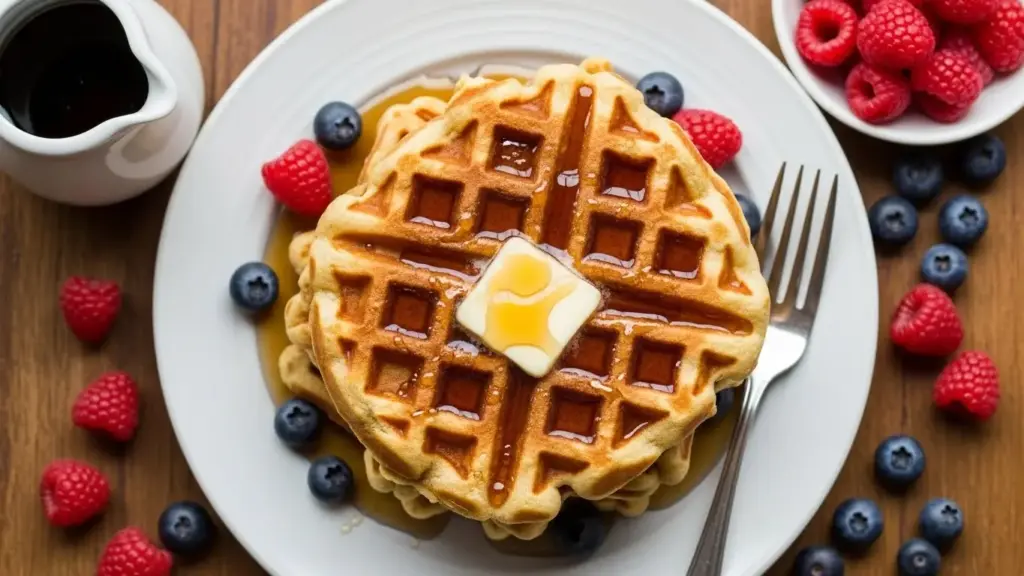
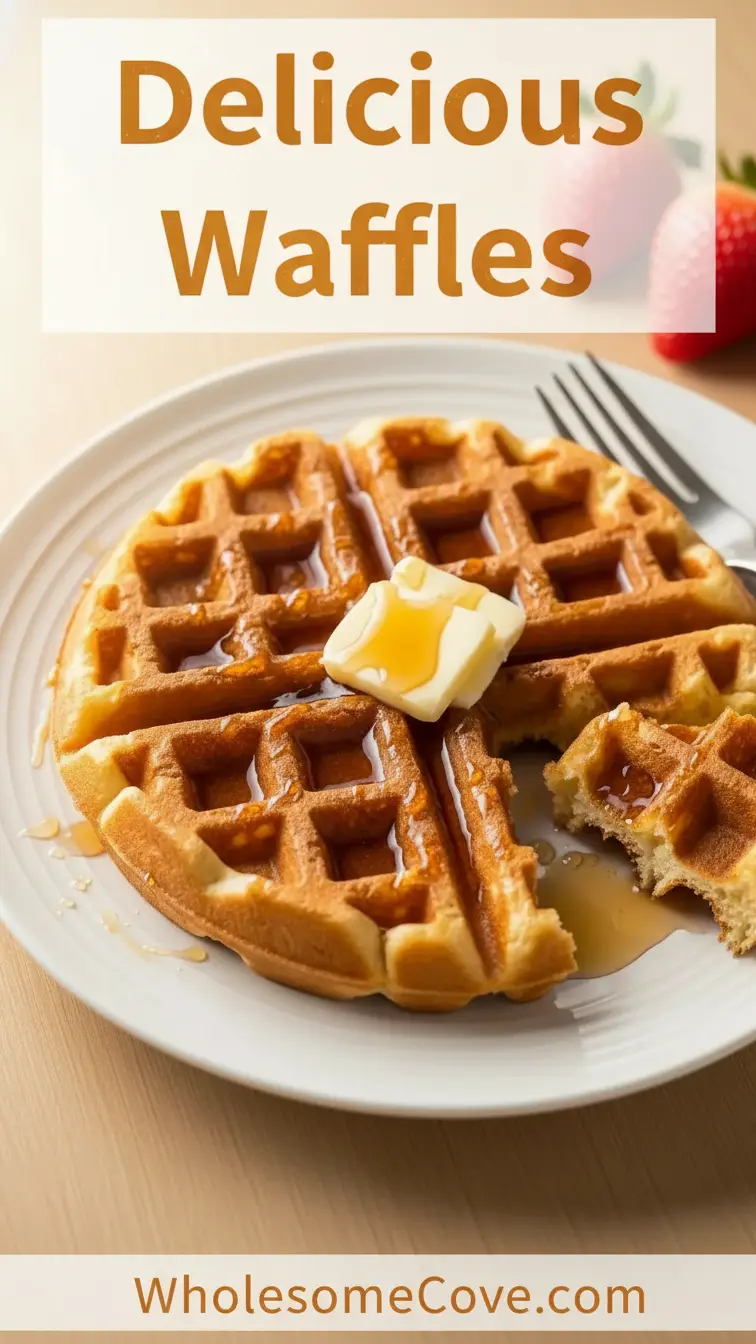
- Remove the waffles from the oven and serve them hot with your favorite toppings like maple syrup, butter, fresh berries, or whipped cream.
- The waffles are at their absolute best within the first 10 minutes after cooking, when the exterior is at peak crispiness.
- If serving a crowd, consider setting up a waffle bar with various toppings so everyone can customize their own breakfast creation.

Tips for The Best Waffles
After making this recipe countless times, I’ve picked up some tricks that take these waffles from good to absolutely incredible. These tips come from mistakes I’ve made and lessons I’ve learned along the way.
- Don’t overmix the batter: Lumps are your friend when it comes to tender waffles, so stop mixing as soon as the flour disappears into the wet ingredients.
- Let the batter rest for 5 minutes: This allows the baking powder to activate fully and the flour to hydrate, resulting in lighter, fluffier waffles.
- Use room temperature ingredients: Cold eggs and milk don’t incorporate as smoothly and can create a denser batter, so let them sit on the counter for 20 minutes before starting.
- Keep the waffle maker closed: Opening it too early causes the waffle to stick and tear, so wait until the steaming stops or the indicator light signals it’s ready.
- Spray between each waffle: Even nonstick waffle makers benefit from a light spray before each batch to ensure easy release and prevent buildup.
- Adjust the temperature: Start at medium-high, but if your waffles are browning too quickly or too slowly, don’t be afraid to adjust the heat setting.
- Don’t press down on the lid: The waffle maker is designed to close properly on its own, and pressing down will squeeze out the air pockets that make waffles fluffy.
- Use a light hand when folding: The gentler you are with the egg whites, the more air you’ll retain in the batter for maximum lightness.
For a lighter option, try: Protein Overnight Oats
What to Serve with Waffles
Waffles are incredibly versatile and pair wonderfully with both sweet and savory accompaniments. I’ve served these at everything from lazy Sunday breakfasts to fancy brunch parties, and they never disappoint.
- Fresh berries: Strawberries, blueberries, raspberries, and blackberries add natural sweetness and a pop of color that looks beautiful on the plate.
- Pure maple syrup: The classic topping that never goes out of style, especially when warmed slightly before serving.
- Whipped cream: Homemade whipped cream takes just minutes and tastes infinitely better than the canned stuff.
- Crispy bacon or sausage links: The salty, savory contrast against sweet waffles is absolutely divine.
- Fried chicken: For the ultimate chicken and waffles experience that combines sweet and savory in every bite.
- Caramel Sauce: Drizzle this over your waffles for an indulgent dessert twist.
- Homemade Biscuits: Serve alongside for a complete Southern-style breakfast spread.
- Breakfast Burrito: Round out your morning meal with this protein-packed option.
- Scrambled or fried eggs: Add protein to your breakfast and create a more complete, satisfying meal.
- Peanut butter: Spread it on warm waffles so it gets melty, then top with sliced bananas for a flavor combination that’s pure comfort.
- Nutella: For chocolate lovers who want breakfast to feel like dessert.
- Powdered sugar: A simple dusting adds elegance and just a touch of extra sweetness.
Try my Sourdough Waffle Recipe.
Variations of Waffles
This base recipe is incredibly forgiving and welcomes all sorts of additions and modifications. I encourage you to experiment and make it your own once you’ve mastered the basic technique.
- Chocolate chip waffles: Fold 1 cup of chocolate chips into the batter just before adding the egg whites for pockets of melty chocolate in every bite.
- Blueberry waffles: Gently fold in 1 cup of fresh or frozen blueberries after incorporating the egg whites, being careful not to overmix and turn the batter purple.
- Cinnamon waffles: Add 1 teaspoon of ground cinnamon to the dry ingredients for warm, spiced flavor that’s perfect for fall mornings.
- Buttermilk waffles: Replace the regular milk with buttermilk for extra tanginess and tenderness, and reduce the baking powder to 2 teaspoons since buttermilk is acidic.
- Whole wheat waffles: Substitute half of the all-purpose flour with whole wheat flour for added nutrition and a slightly nutty flavor.
- Banana waffles: Mash 1 ripe banana and add it to the wet ingredients for natural sweetness and moisture.
- Pumpkin spice waffles: Add 1/2 cup pumpkin puree to the wet ingredients and 1 teaspoon pumpkin pie spice to the dry ingredients for a seasonal twist.
- Savory herb waffles: Omit the sugar and vanilla, then add 2 tablespoons of fresh chopped herbs like chives, rosemary, or thyme for a savory base that pairs perfectly with fried chicken.
- Lemon poppy seed waffles: Add 2 tablespoons of poppy seeds and the zest of one lemon to the dry ingredients for a bright, citrusy variation.
Read Also: Pumpkin Waffle Recipe
Storage and Reheating
One of the best things about this waffle recipe is how well the waffles store and reheat. I often make a double batch on Sundays so we have quick breakfasts throughout the week.
- Refrigerator storage: Let the waffles cool completely on a wire rack, then stack them with parchment paper between each one to prevent sticking, and store in an airtight container for up to 3 days.
- Freezer storage: Place cooled waffles on a baking sheet in a single layer and freeze until solid, about 2 hours, then transfer to a freezer-safe bag or container where they’ll keep for up to 3 months.
- Toaster reheating: Pop frozen or refrigerated waffles directly into your toaster on a medium setting until heated through and crispy, usually 2 to 3 minutes for refrigerated and 3 to 4 minutes for frozen.
- Oven reheating: Place waffles on a baking sheet in a single layer and heat in a 350°F (175°C) oven for 5 to 7 minutes until warmed through and crispy.
- Microwave reheating: While this is the quickest method at just 30 to 60 seconds on high, it results in softer waffles that won’t have that desirable crispy texture.
- Best reheating method: The toaster gives you the closest results to fresh waffles, restoring that crispy exterior while keeping the inside fluffy.
Nutritional Facts
This nutritional information is calculated per waffle without toppings. Keep in mind that actual values may vary depending on the specific brands of ingredients you use and how you measure them.
Per Serving (1 waffle):
- Calories: 245
- Total Fat: 15g
- Saturated Fat: 2.5g
- Cholesterol: 50mg
- Sodium: 280mg
- Total Carbohydrates: 23g
- Dietary Fiber: 0.8g
- Sugars: 4g
- Protein: 5g
- Calcium: 120mg
- Iron: 1.5mg
- Potassium: 95mg
You might also enjoy: Vegan Waffle Recipe.
Health Benefits of Key Ingredients
While waffles are definitely a treat food, several ingredients in this recipe do provide nutritional value. Understanding what each component contributes helps you make informed choices about your breakfast.
- Eggs: A complete protein source containing all nine essential amino acids, plus they’re rich in choline which supports brain health and development.
- Milk: Provides calcium for strong bones and teeth, along with vitamin D that helps your body absorb that calcium effectively.
- All-purpose flour: Enriched varieties contain added B vitamins and iron that support energy production and prevent anemia.
- Vanilla extract: Contains small amounts of antioxidants and has been shown to have calming properties that may reduce stress and anxiety.
- Baking powder: While not nutritious itself, it creates the light, airy texture that makes waffles easier to digest than dense, heavy alternatives.
Read Also: Healthy Waffle Recipe.
FAQs About Waffles
1. Can I make the batter ahead of time?
You can mix the dry ingredients the night before and store them in an airtight container, but I don’t recommend making the complete batter in advance. The baking powder will lose its effectiveness, and the whipped egg whites will deflate, resulting in dense, flat waffles instead of light, fluffy ones.
2. Why are my waffles sticking to the waffle maker?
Sticking usually happens because the waffle maker isn’t hot enough or needs more oil or cooking spray. Make sure your waffle maker is fully preheated before adding batter, and spray or brush it lightly with oil before each waffle, even if it has a nonstick coating.
3. Can I use melted butter instead of vegetable oil?
Absolutely, and it adds a wonderful buttery flavor that vegetable oil doesn’t provide. Use the same amount of melted butter (1/2 cup or 120ml), but let it cool slightly before adding it to the wet ingredients so it doesn’t cook the eggs.
4. How do I know when the waffles are done?
Most waffle makers have an indicator light that signals when the waffle is ready, but you can also watch for the steam to stop escaping from the sides. The waffle should be golden brown and release easily from the plates without sticking or tearing.
5. Can I double this recipe?
Yes, this recipe doubles beautifully for feeding a crowd or making extra waffles for freezing. Just make sure your mixing bowls are large enough to accommodate the larger volume, and consider using a stand mixer for whipping the egg whites if you have one.
Final Thoughts
Making homemade waffles has become one of my favorite weekend traditions, and I hope this waffle recipe brings the same joy to your kitchen. The smell of these waffles cooking always draws everyone to the kitchen, creating those special moments that make weekend mornings memorable.
Don’t be intimidated by the egg white whipping or the multiple steps. Once you’ve made these waffles a few times, the process becomes second nature and you’ll wonder why you ever bought the boxed mix.
I’d love to hear how your waffles turn out! Drop a comment below with your favorite toppings or any creative variations you tried.
Recommended:
- Creme Brulee French Toast Casserole
- Creme Brulee French Toast
- French Toast
- Pumpkin French Toast
- Baked Oatmeal
- Avocado Toast
- Hashbrown Casserole
- Peanut Butter Overnight Oats
- Steel Cut Overnight Oats
- Cranberry Orange Overnight Oats

