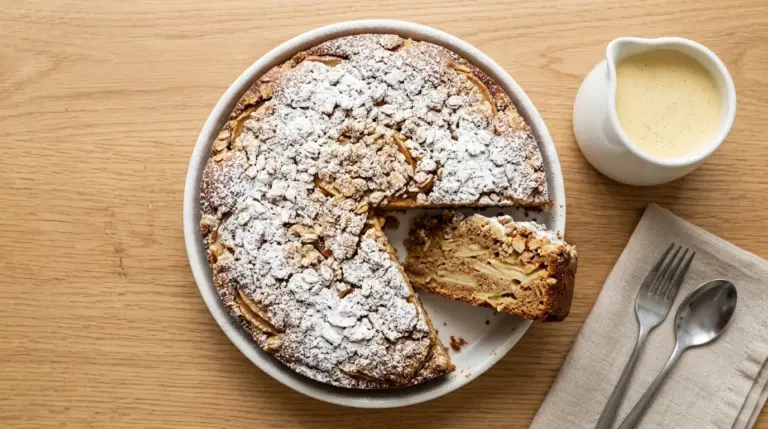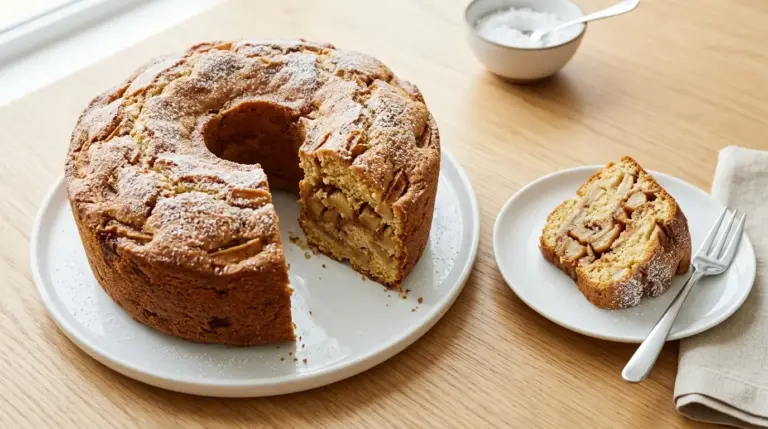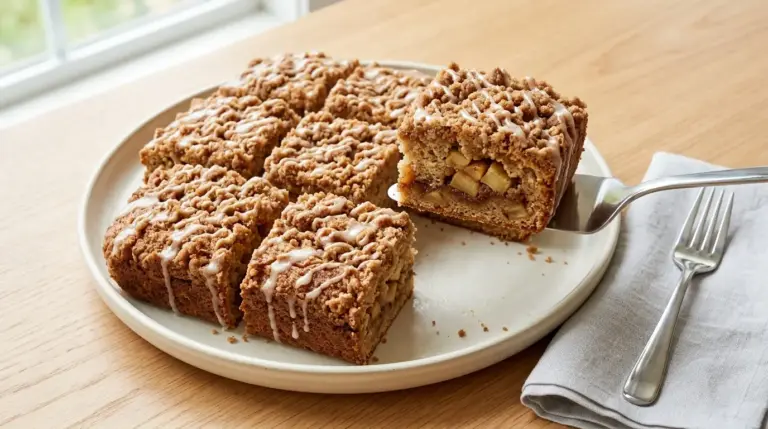
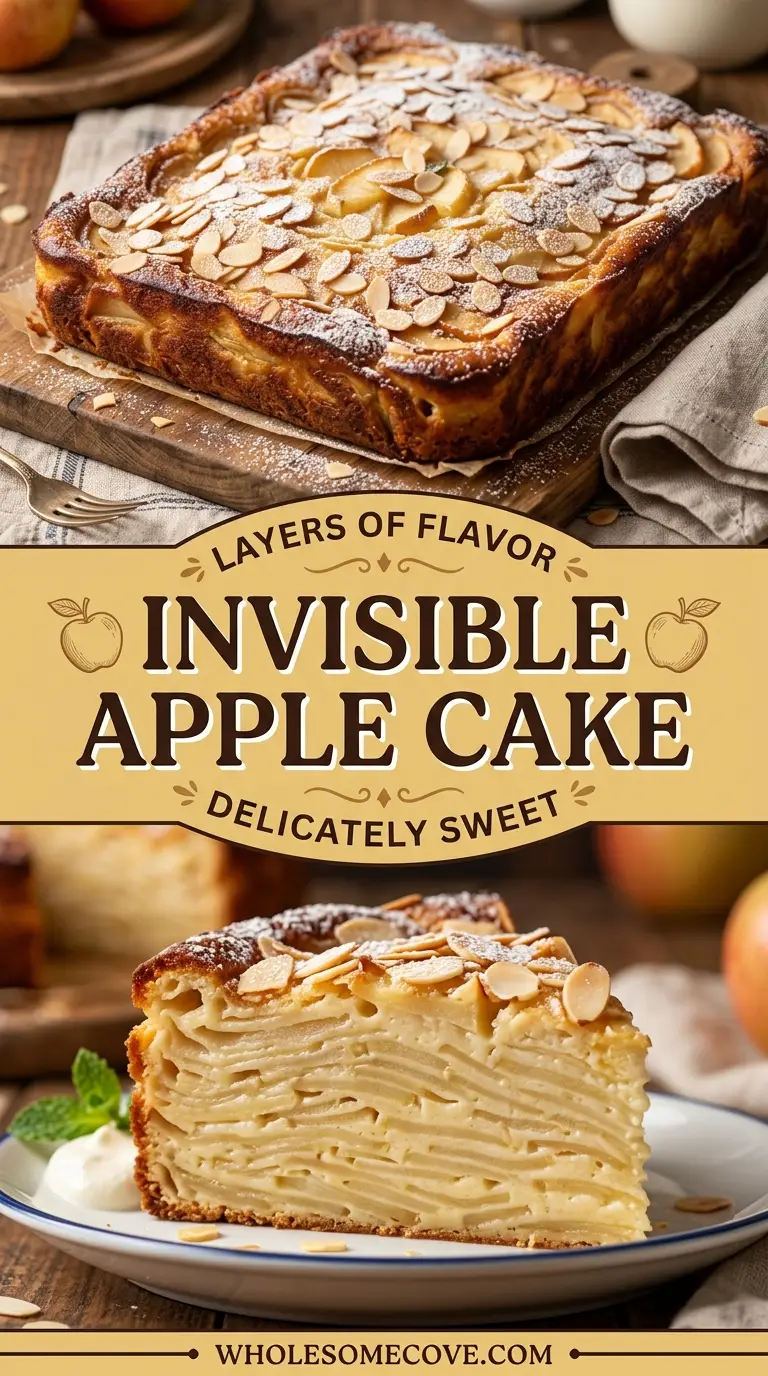
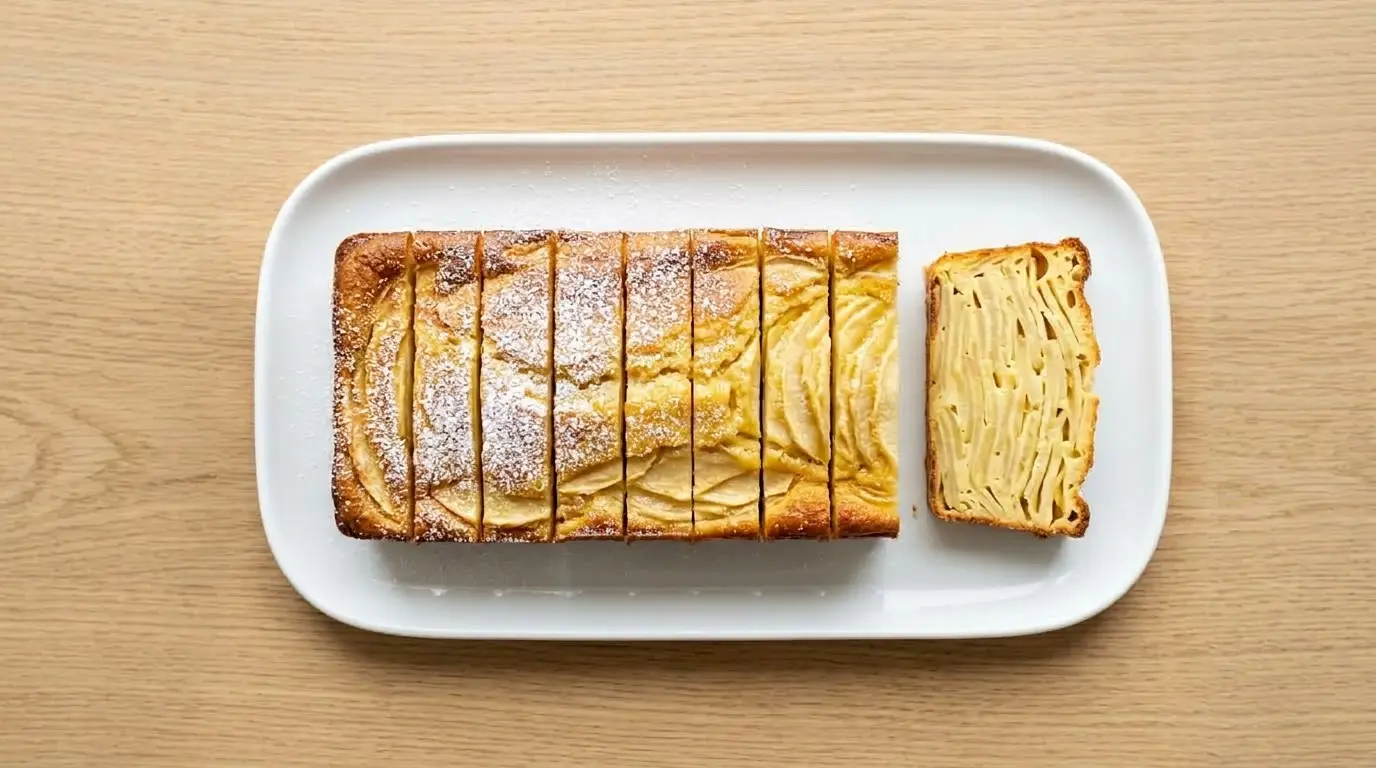
This invisible apple cake recipe stacks six large apples, sliced almost see-through, into a thin vanilla custard batter that binds them into a single tender loaf. The name comes from what happens in the oven: the paper-thin slices soften and turn translucent until they nearly vanish into the batter.
Most home bakers hit the same wall with this cake. They slice the apples too thick, and the fruit stays chunky and bendy instead of melting into those signature ribbon layers.
The fix is a mandoline set to about 2 to 3mm, thin enough that a slice lies flat without folding. There is roughly three times more apple than batter here, so the fruit is the whole point, not a garnish.
Prep runs about 25 minutes, then the loaf bakes low and slow for just over an hour until the top is deep golden and the center is set. It slices cleanest after a full cool, which is why the custardy interior reads almost like crème brûlée.
| Quick Recipe Summary | |
|---|---|
| Prep Time | 25 minutes |
| Cook Time | 1 hour 10 minutes |
| Total Time | 1 hour 35 minutes |
| Servings | 8 slices |
| Difficulty Level | Easy |
For another way to use up a big haul of apples, see Apple Cake.
Why You’ll Love This Invisible Apple Cake Recipe
This is the rare dessert that looks like it came from a Paris pastry window but asks almost nothing of you. One bowl, a whisk, and a mandoline do all the work.
Here is what makes it worth baking:
- It is mostly fruit. Six apples go into one loaf, so every slice is packed with soft apple ribbons rather than dense cake.
- The texture is unusual in the best way. The interior sets into something custardy and spoonable, closer to a baked custard than a sponge.
- It gets better overnight. After a night in the fridge the flavors settle and the layers turn even silkier, which makes it a genuine make-ahead win.
- It uses pantry staples. Beyond the apples, you need eggs, flour, sugar, milk, cream, butter, and vanilla. Nothing exotic.
- It looks stunning sliced. Those thin layers create a striped, almost marble-like cross-section that needs zero decorating.
- It suits any time of day. A slice works for dessert, but it is just as good with morning coffee.
Read Also: Irish Apple Cake
Ingredients
Every ingredient here earns its place, and the apples do the heavy lifting. Use a firm, crisp variety that holds its shape so the slices stay distinct instead of collapsing into applesauce.
- 6 large apples (about 2 to 2.5 lb / 900g to 1.1kg total), such as Honeycrisp, Pink Lady, Jonagold, Braeburn, or Fuji, peeled, cored, and sliced 2 to 3mm thin
- Juice of ½ lemon, to keep the sliced apples from browning
- 3 large eggs, at room temperature
- ½ cup (100g) granulated sugar, plus 1 tablespoon for the top
- ¾ cup (95g) all-purpose flour
- 1 teaspoon baking powder
- ½ teaspoon salt
- ¼ cup (60ml) whole milk
- ¼ cup (60ml) heavy cream
- 3 tablespoons (45g) unsalted butter, melted and cooled
- 2 teaspoons pure vanilla extract
- Optional for serving: powdered sugar, whipped cream, or a spoon of crème fraîche
For a warmly spiced apple option instead, try Apple Coffee Cake.
Kitchen Equipment Needed
You do not need much, but two tools make or break the result: something to slice the apples evenly and a loaf pan the right size. Thin, uniform slices are the whole game here.
- Mandoline slicer, the single most important tool for even, paper-thin slices
- Cut-resistant gloves, because a mandoline is sharp and apples are slippery
- 9×5-inch (23x13cm) loaf pan
- Parchment paper, cut to line the pan with overhang
- Large mixing bowl
- Balloon whisk
- Flexible silicone spatula
- Apple peeler and corer
- Liquid measuring cup
A related build-ahead apple project is Apple Pie Filling.
Recommended Products for This Recipe
These are the tools and ingredients I reach for every time I make this cake. Each one solved a specific problem I ran into while testing, and they genuinely change how the loaf turns out.
1. Adjustable Mandoline Slicer
The first time I made this cake I sliced the apples by hand, and the uneven thickness meant half the slices stayed rubbery while the thin ones melted. An adjustable mandoline locks every slice to the same 2 to 3mm, which is exactly what gives the cake its uniform, disappearing layers.
2. Cut-Resistant Kitchen Gloves
Apples get slick once you start slicing, and a mandoline blade does not forgive a slip. I keep a pair of cut-resistant gloves clipped to the drawer just for mandoline jobs like this one, and they let me push each apple down to the very last slice without nerves.
3. Light-Colored Metal Loaf Pan
A dark pan browned the crust before the custard center had set on one of my early batches. Switching to a light-colored metal loaf pan let the inside finish cooking while the top reached that golden color instead of scorching.
4. Pre-Cut Parchment Sheets
Getting this delicate loaf out in one piece depends entirely on the parchment sling. Pre-cut sheets sized for loaf pans save me from wrestling a roll, and the overhang lifts the whole cake out clean once it has cooled.
For a no-slice apple dessert to keep in your back pocket, see Apple Dump Cake.

Step-by-Step Instructions: How to Make Invisible Apple Cake
Follow these simple steps and you will have a golden, custardy invisible apple cake ready to impress.
1. Prep the Pan and Oven
- Preheat the oven to 350°F (175°C).
- Line a 9×5-inch (23x13cm) loaf pan with parchment paper, leaving a few inches of overhang on the long sides to act as a sling.
- Lightly butter any exposed pan surface so nothing sticks.
2. Make the Batter Base
- In a large bowl, whisk the 3 eggs and ½ cup (100g) sugar together for about 1 to 2 minutes, until pale and slightly foamy.
- Whisk in the melted, cooled butter, the milk, the heavy cream, and the vanilla extract until smooth.
3. Add the Dry Ingredients
- Sprinkle the flour, baking powder, and salt over the wet mixture.
- Whisk gently just until no streaks of flour remain. The batter will look thin, which is exactly right.
4. Slice the Apples
- Working one apple at a time so the slices do not brown, peel and core each apple.
- Run each apple across the mandoline set to 2 to 3mm, catching the slices in a bowl.
- Toss the slices with the juice of ½ lemon to keep them bright.
- Slice apples only once the batter is ready, so they spend as little time as possible exposed to air.
5. Fold and Coat
- Add all the apple slices to the bowl of batter.
- Using a flexible spatula, gently fold and separate the slices so each one is coated in a thin film of batter. It will look like far too many apples for the batter, which is normal.
6. Layer Into the Pan
- Transfer the coated apples to the lined loaf pan a few handfuls at a time.
- Press each addition down gently with the spatula or your fingers to compress the layers and remove air pockets.
- Pour any batter left in the bowl over the top and smooth the surface flat.
7. Top and Bake
- Sprinkle the reserved 1 tablespoon of sugar evenly over the top for a lightly crisp finish.
- Bake for 1 hour to 1 hour 15 minutes, until the top is deep golden brown and the center is set with no wet jiggle.
- If the top darkens too fast before the center sets, tent loosely with foil for the final 15 to 20 minutes.
8. Cool Completely
- Let the cake cool in the pan for about 20 minutes.
- Use the parchment overhang to lift it out onto a rack and cool completely, at least 2 hours, before slicing. This is the step that gives you clean, intact layers.
For a fruit dessert that comes together with even less fuss, see Apple Crumble.

Tips for The Best Invisible Apple Cake
Small choices matter a lot with a cake this fruit-heavy. These are the details that separate a neat, sliceable loaf from a floppy, watery one.
- Slice thin, but not tissue-thin. Aim for 2 to 3mm. A slice should stay flat when you hold it up, not flop over. Too thick and it stays chunky, too thin and it disintegrates.
- Peel the apples. Skins stay chewy and interrupt the smooth, invisible texture the cake is known for.
- Work in order. Have the batter fully mixed before you slice, so the apples go straight into the batter and never sit out browning.
- Press out the air. Compressing each layer eliminates gaps, which is what lets the slices fuse into solid ribbons instead of separating when cut.
- Do not rush the cool. I learned the hard way that cutting this warm gives you a landslide. A full cool, or even an overnight chill, sets the custard so slices hold.
- Watch the color, not just the clock. Ovens vary, so pull it when the top is genuinely deep golden and the center no longer wobbles.
- Choose firm apples. Soft varieties like Red Delicious break down into mush and lose the layered look.
You might also enjoy: Amish Apple Cake
What to Serve with Invisible Apple Cake
This cake is light and not too sweet, so it plays well with a range of partners. A little something creamy or warm alongside turns a slice into a proper dessert course.
Here are pairings worth trying:
- A dollop of whipped cream or crème fraîche to echo the custardy interior
- A dusting of powdered sugar for the simplest finish
- A scoop of vanilla ice cream while the cake is barely warm
- A drizzle of warm Caramel Sauce for a richer treat
- A spoon of Homemade Cinnamon Applesauce on the side
- Alongside a Pumpkin Spice Latte for a cozy fall pairing
- A mug of Mulled Apple Cider for a full apple-season spread
- Black coffee or espresso, which cuts the sweetness nicely for a breakfast slice
For a different apple bake to round out a dessert table, see Apple Cobbler.
Variations of Invisible Apple Cake
The base recipe is a blank canvas, and small swaps take it in new directions without changing the technique. Once you have made it once, try one of these.
- Spiced version: Add ½ teaspoon cinnamon and a pinch of nutmeg to the dry ingredients for a warmer, autumnal flavor.
- Pear and apple: Swap two of the apples for firm pears, sliced the same way, for a softer, floral note.
- Citrus-scented: Whisk in the zest of one orange or lemon for brightness that lifts the whole loaf.
- Salted caramel top: Drizzle caramel over the cooled cake and finish with flaky salt.
- Calvados or rum: Add a tablespoon of apple brandy or dark rum to the batter for a grown-up depth.
- Gluten-free: Use a good 1:1 gluten-free flour blend in place of the all-purpose flour.
- Extra-custardy: Chill the baked cake overnight before serving to push the texture further toward baked custard.
For a boozy-optional apple classic, take a look at Jewish Apple Cake.
Storage and Reheating
Because this cake is so moist, storage is about protecting its texture rather than just keeping it fresh. Handle it right and it holds beautifully for days.
- Refrigerator: Store tightly covered or in an airtight container in the fridge for up to 4 days. The flavor and texture actually improve after a day.
- Room temperature: It can sit out for a few hours before serving, but the fridge is best for longer storage given its high moisture content.
- Serving temperature: Most people prefer it at room temperature or lightly chilled, when the custardy layers are most defined.
- Reheating: If you like it warm, heat a slice gently for 10 to 15 seconds in the microwave or a few minutes in a low oven.
- Freezing: Freezing is not recommended. The thin apple layers tend to turn watery or mealy once thawed, which loses the signature texture.
For a make-ahead apple spread that stores far longer, try Apple Butter.
Nutritional Facts
| Nutrition Per Slice (based on 8 slices) | |
|---|---|
| Calories | 210 kcal |
| Total Fat | 8g |
| Saturated Fat | 4.5g |
| Carbohydrates | 32g |
| Sugars | 22g |
| Fiber | 3g |
| Protein | 4g |
| Sodium | 180mg |
Values are estimates and will vary with apple size and variety.
For a lighter apple dessert idea, see Apple Crisp.
Health Benefits of Key Ingredients
For a dessert, this cake leans surprisingly wholesome, mostly because apples make up the bulk of it. Here is what the main ingredients bring to the table nutritionally.
- Apples: High in dietary fiber, especially pectin, and a source of vitamin C and antioxidants that support digestion and heart health.
- Eggs: Provide complete protein along with choline, which supports brain function, and they give the cake its custardy structure.
- Whole milk and cream: Contribute calcium and vitamin D for bone health, plus the fat that carries flavor and creates the tender crumb.
- Butter: Adds fat-soluble vitamin A and richness, used in a modest amount here.
- Vanilla: Contains trace antioxidant compounds and adds aroma without any added sugar.
- Lemon juice: A small hit of vitamin C that also keeps the apple slices from oxidizing.
For a genuinely lighter-leaning apple treat, see Healthy Apple Pie.
FAQs About Invisible Apple Cake
1. Why is it called an invisible apple cake?
The apples are sliced so thinly that they soften and turn translucent as the cake bakes. They seem to melt into the light batter, so the layers nearly disappear, which is where the name comes from.
2. What are the best apples for invisible apple cake?
Firm, crisp varieties that hold their shape are ideal, such as Honeycrisp, Pink Lady, Jonagold, Braeburn, or Fuji. Avoid soft apples like Red Delicious, which break down into mush and blur the layers.
3. Do I need a mandoline to make this cake?
A mandoline is strongly recommended because it delivers the even, paper-thin slices that give the cake its texture. You can slice by hand with a sharp knife, but go slowly and aim for consistent 2 to 3mm pieces.
4. Why did my invisible apple cake turn out soggy?
The most common causes are slices cut too thick, skipping the full cool, or underbaking. Make sure the center is fully set before removing it, and let the cake cool completely so the custard has time to firm up.
5. Can I make invisible apple cake ahead of time?
Yes, and many bakers think it is even better the next day. Store it covered in the fridge overnight, which lets the flavors settle and the texture turn more custardy.
6. Can I freeze invisible apple cake?
Freezing is not recommended. The thin, moisture-heavy apple layers tend to become watery or mealy once thawed, which spoils the signature texture.
7. Should invisible apple cake be served warm or cold?
It is easiest to slice and tastes most custardy at room temperature or lightly chilled. If you prefer it warm, let it cool for at least 30 minutes first so it holds together.
For another crowd-friendly apple bake, see Apple Pie.
Invisible Apple Cake
Ingredients
- 6 large apples - about 2 to 2.5 lb / 900g to 1.1kg total; such as Honeycrisp, Pink Lady, Jonagold, Braeburn, or Fuji; peeled, cored, and sliced 2 to 3mm thin
- 0.5 lemon - juice of ½ lemon, to keep the sliced apples from browning
- 3 large eggs - at room temperature
- 0.5 cup granulated sugar - 100g, plus 1 tablespoon for the top
- 0.75 cup all-purpose flour - 95g
- 1 teaspoon baking powder
- 0.5 teaspoon salt
- 0.25 cup whole milk - 60ml
- 0.25 cup heavy cream - 60ml
- 3 tablespoons unsalted butter - 45g, melted and cooled
- 2 teaspoons pure vanilla extract
- powdered sugar - for dusting
- whipped cream
- crème fraîche - a spoonful
Equipment
- Mandoline slicer - Adjustable, set to 2 to 3mm
- Cut-resistant gloves - For safely slicing apples on the mandoline
- 9×5 inch loaf pan - 23x13cm
- Parchment paper - Cut to line the pan with overhang
- Balloon whisk
- Silicone spatula - Flexible
- Apple peeler and corer
Method
- Preheat the oven to 350°F (175°C). Line a 9×5-inch loaf pan with parchment paper, leaving overhang on the long sides, and lightly butter any exposed pan surface.
- In a large bowl, whisk the eggs and ½ cup sugar for 1 to 2 minutes until pale and slightly foamy. Whisk in the melted butter, milk, heavy cream, and vanilla until smooth.
- Sprinkle the flour, baking powder, and salt over the wet mixture and whisk gently just until no streaks of flour remain. The batter will look thin, which is exactly right.
- Working one apple at a time, peel and core each apple, then run it across the mandoline set to 2 to 3mm. Toss the slices with the lemon juice to keep them bright.
- Add all the apple slices to the bowl of batter and gently fold with a flexible spatula so each slice is coated in a thin film of batter. It will look like far too many apples, which is normal.
- Transfer the coated apples to the lined loaf pan a few handfuls at a time, pressing each addition down gently to compress the layers and remove air pockets. Pour any remaining batter over the top and smooth flat.
- Sprinkle the reserved 1 tablespoon of sugar evenly over the top. Bake for 1 hour to 1 hour 15 minutes, until the top is deep golden brown and the center is set with no wet jiggle. Tent with foil if the top darkens too fast.
- Let the cake cool in the pan for about 20 minutes, then use the parchment overhang to lift it onto a rack and cool completely, at least 2 hours, before slicing.
Nutrition
Notes
- Slice thin, but not tissue-thin. Aim for 2 to 3mm. A slice should stay flat when you hold it up, not flop over. Too thick and it stays chunky, too thin and it disintegrates.
- Peel the apples. Skins stay chewy and interrupt the smooth, invisible texture the cake is known for.
- Work in order. Have the batter fully mixed before you slice, so the apples go straight into the batter and never sit out browning.
- Press out the air. Compressing each layer eliminates gaps, which is what lets the slices fuse into solid ribbons instead of separating when cut.
- Do not rush the cool. Cutting this warm gives you a landslide. A full cool, or even an overnight chill, sets the custard so slices hold.
- Watch the color, not just the clock. Ovens vary, so pull it when the top is genuinely deep golden and the center no longer wobbles.
- Choose firm apples. Soft varieties like Red Delicious break down into mush and lose the layered look.
- Storage: Store tightly covered or in an airtight container in the fridge for up to 4 days. The flavor and texture actually improve after a day.
- Freezing is not recommended. The thin apple layers tend to turn watery or mealy once thawed, which loses the signature texture.
- Make-ahead: Many bakers think it is even better the next day. Store it covered in the fridge overnight, which lets the flavors settle and the texture turn more custardy.
- Variations: Add ½ teaspoon cinnamon and a pinch of nutmeg for a spiced version, swap two apples for firm pears, add citrus zest, drizzle with salted caramel, or add a tablespoon of Calvados or dark rum to the batter.
Private Notes
Tried this recipe?
Let us know how it was!Final Thoughts
There is a quiet magic to pulling this loaf from the oven and watching all those apple slices settle into one golden, custardy cake. It looks like far more effort than it actually takes.
If you have a bag of apples and a spare afternoon, this is the recipe to reach for. The technique is forgiving, and the payoff is a dessert that feels genuinely special.
Give it a try this apple season and see how fast it disappears from the plate. If you make it, leave a comment below and share how yours turned out.
Recommended:
- Apple Coffee Cake
- Apple Cobbler
- Apple Crisp
- Poached Pear
- Pecan Pie
- Pumpkin Roll
- Creme Brulee
- Homemade Cinnamon Applesauce
- Apple Cider Glazed Pork Chops