
I used to ruin rice constantly. Not just occasionally — consistently, embarrassingly, every single time. My basmati rice recipe attempts would end in a pot of sticky, clumped, or crunchy grains that nobody wanted to eat. Then one day, after a particularly frustrating batch, I stopped treating rice like an afterthought and actually paid attention to what I was doing. That was the turning point.
The secret turned out to be shockingly simple: rinsing the rice properly, nailing the water ratio, and letting the steam do its quiet magic at the end. Now my basmati comes out light, long, and perfectly separated every single time.
I make this at least twice a week. It pairs beautifully with everything from a bold curry to a simple grilled chicken breast, and it takes less than 30 minutes start to finish.
This is the recipe I wish someone had handed me years ago.
| Quick Recipe Summary | |
|---|---|
| Prep Time | 5 minutes (plus 30 minutes soaking) |
| Cook Time | 15 minutes |
| Total Time | 50 minutes |
| Servings | 4 servings |
| Difficulty Level | Easy |
If you love simple, wholesome side dishes, you’ll also enjoy this Healthy Fried Rice Recipe that’s just as easy to pull together on a weeknight.
Why You’ll Love This Basmati Rice Recipe
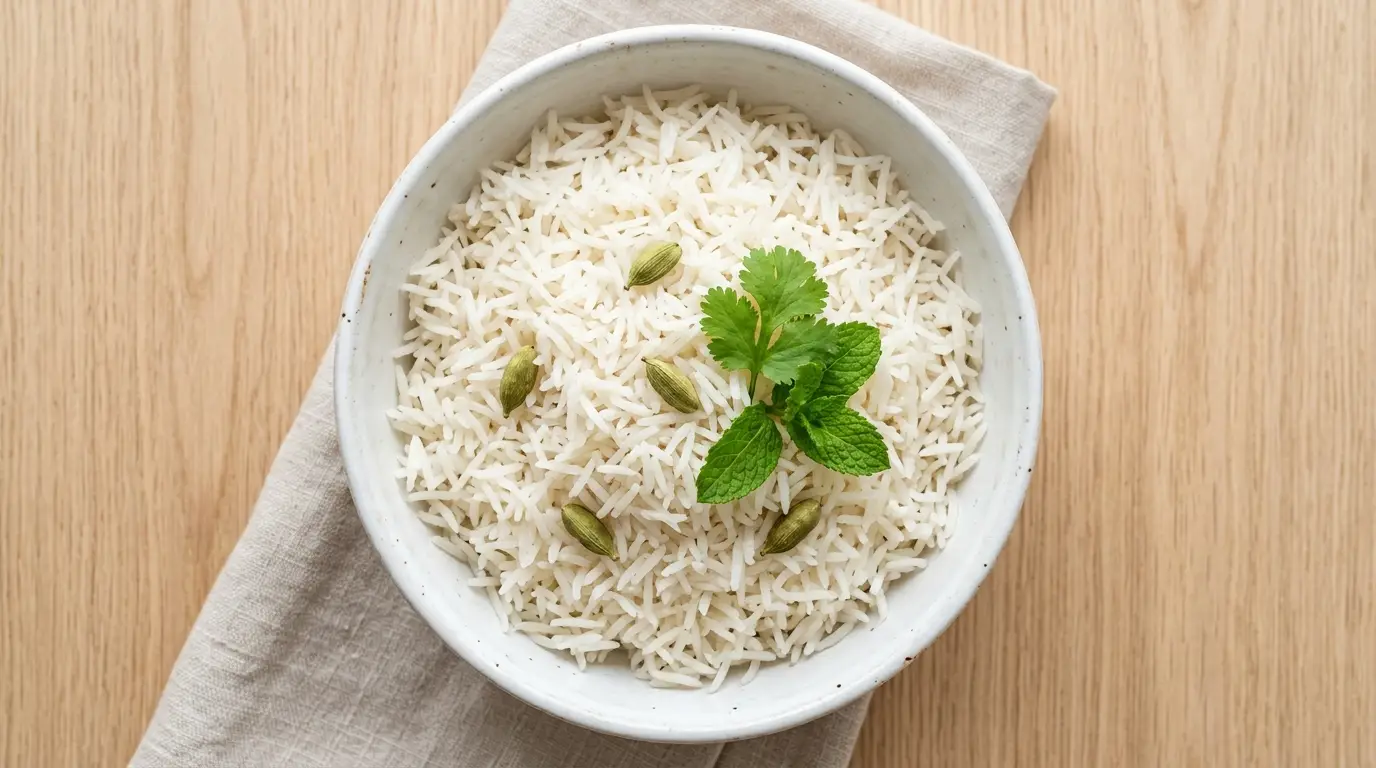
The grains come out long, fluffy, and completely separated — not mushy, not sticky, not gummy.
It’s made with just a handful of pantry staples you already have on hand.
This recipe takes under an hour from start to finish, and most of that time is hands-off.
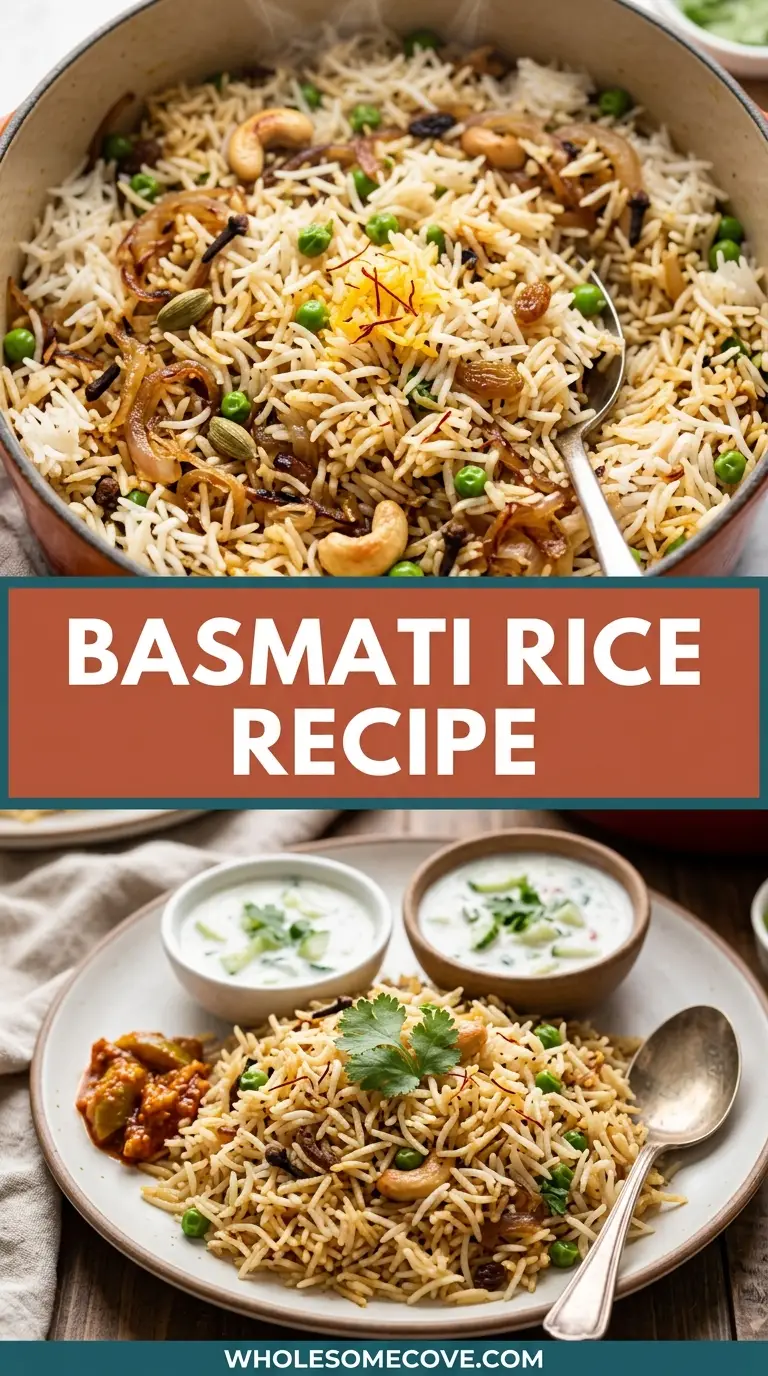
Basmati has that gorgeous, nutty, slightly floral aroma that fills your entire kitchen while it cooks.
It’s incredibly versatile — serve it plain, season it up, or turn it into a full pilaf with just a few additions.
Even total beginners can follow this method and get great results every single time.
Read Also: Tofu and Veggie Stir Fry with Brown Rice Recipe
Ingredients
Long-grain basmati is the star here, and the quality of your rice matters more than you’d think. I always look for aged basmati — the kind that’s been stored for at least a year — because it cooks up drier and more aromatic than fresh rice. The other ingredients are minimal on purpose, because great basmati doesn’t need much help.
- 2 cups (400g) long-grain basmati rice
- 3 cups (720ml) water
- 1 teaspoon fine salt
- 1 tablespoon neutral oil or ghee (such as avocado oil or clarified butter)
- 2 whole green cardamom pods (optional, for aroma)
- 1 small cinnamon stick (optional, for aroma)
- 1 bay leaf (optional)
For a saffron variation:
- A small pinch of saffron threads, bloomed in 2 tablespoons warm water
Another favorite to make alongside this: Chickpea and Spinach Curry
Kitchen Equipment Needed
The right equipment makes a real difference with rice. A heavy-bottomed pot prevents hot spots that cause uneven cooking, and a tight-fitting lid is absolutely non-negotiable for trapping steam. A fine-mesh strainer is your best friend for rinsing — don’t try to rinse in the pot itself.
- Heavy-bottomed saucepan or Dutch oven (2 to 3 quart / 2 to 3 litre capacity)
- Fine-mesh strainer
- Measuring cups and spoons
- Large mixing bowl (for soaking)
- Fork (for fluffing)
- Tight-fitting lid (this is critical)
Read Also: Cauliflower Fried Rice with Tofu Recipe
Recommended Products for This Recipe
These are products I personally use and genuinely recommend based on years of making rice dishes in my own kitchen.
1. Aged Basmati Rice (Extra Long Grain)
Aged basmati cooks up noticeably more fragrant and fluffy than younger varieties, and once you’ve tried it, you won’t go back. The extra-long grain variety gives you those beautiful individual strands that make the dish look as good as it tastes.
2. Ghee (Clarified Butter)
Using a good-quality ghee instead of plain oil adds a rich, nutty depth to the rice that’s hard to describe until you’ve tasted it. It’s the one ingredient upgrade that genuinely transforms a plain pot of rice into something special.
3. Heavy-Bottom Stainless Steel Saucepan
A pan with an even, thick base is the single biggest factor in getting consistent results with stovetop rice. Thin pans create hot spots that burn the bottom before the top is cooked through — a heavy-bottomed saucepan solves that problem completely.
4. Fine-Mesh Strainer Set
A fine-mesh strainer rinses basmati rice far more effectively than a colander — the holes are small enough that not a single grain escapes while you’re washing away the surface starch. This is a kitchen tool that earns its drawer space.
For more weeknight dinner inspiration, check out these Easy Healthy Dinner Recipes for Family.
Step-by-Step Instructions: How to Make Basmati Rice
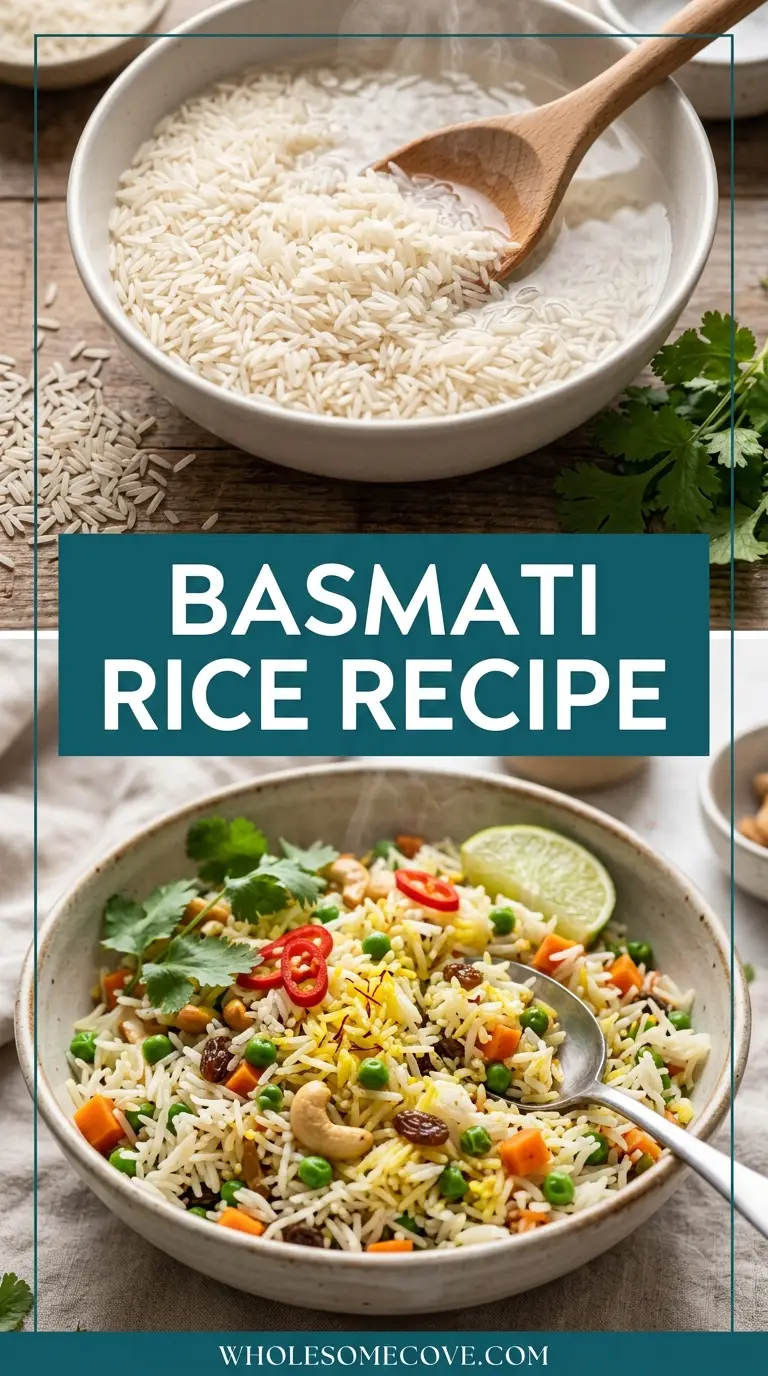
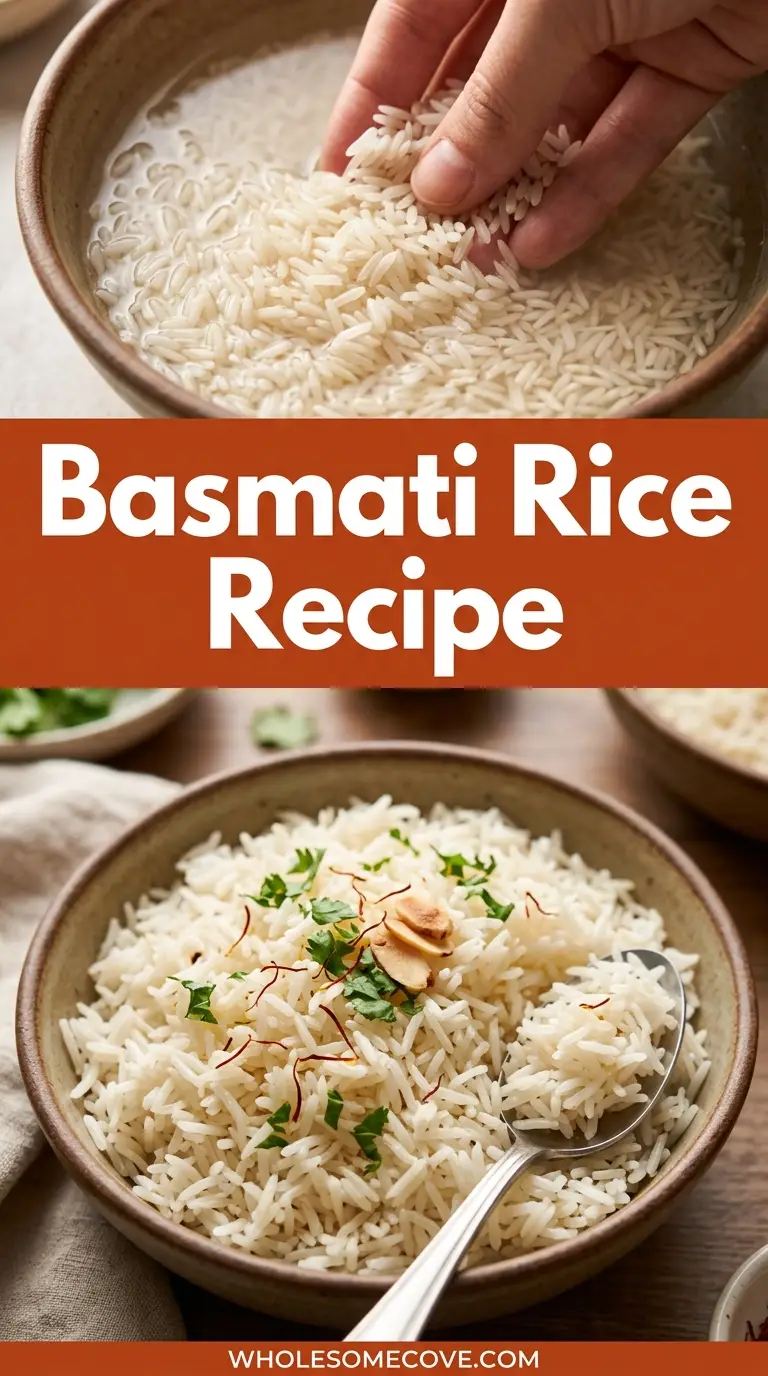
Step 1: Rinse the Rice
- Place 2 cups (400g) of basmati rice into your fine-mesh strainer or into a large bowl.
- Run cold water over the rice, using your hand to gently swirl and agitate the grains.
- Continue rinsing until the water runs almost completely clear — this usually takes 4 to 5 rinses.
- This step removes excess surface starch, which is the primary cause of sticky, gummy rice. Don’t skip it.
Step 2: Soak the Rice
- Transfer the rinsed rice to a large bowl.
- Cover with cold water by at least 1 inch (2.5 cm).
- Let the rice soak for 30 minutes at room temperature.
- Soaking allows the grains to absorb water before cooking, which helps them cook more evenly and elongate beautifully. Drain thoroughly through your fine-mesh strainer before cooking.
Step 3: Toast the Aromatics (Optional but Recommended)
- Set your heavy-bottomed saucepan over medium heat.
- Add 1 tablespoon of ghee or neutral oil and let it warm up for about 30 seconds.
- If using aromatics, add the 2 cardamom pods, cinnamon stick, and bay leaf.
- Toast them gently, stirring, for about 60 seconds until fragrant — you’ll smell them bloom. This step infuses the oil with flavor before the rice ever touches the pot.
Step 4: Add the Rice and Toast Briefly
- Add the drained, soaked basmati rice directly into the pot with the warm oil and aromatics.
- Stir gently with a wooden spoon or spatula to coat every grain with oil.
- Toast the rice for 1 to 2 minutes, stirring occasionally, until you notice a faint nutty aroma and the rice turns very slightly opaque. This adds another layer of flavor and helps keep the grains firm and separate.
Step 5: Add Water and Salt
- Pour in 3 cups (720ml) of cold water.
- Add 1 teaspoon of fine salt.
- Stir once gently to distribute the salt. From this point forward, try not to stir the rice again — stirring activates the starch and leads to stickiness.
- Raise the heat to medium-high and bring the water to a full boil. Watch the pot closely; this usually takes 3 to 4 minutes.
Step 6: Reduce Heat and Cover
- Once the water is boiling, reduce the heat immediately to the lowest setting your stove offers.
- Place the tight-fitting lid onto the pot. If your lid has a vent hole, cover it with a small piece of foil.
- Set a timer for 12 minutes. Do not lift the lid. The steam trapped inside is what cooks the rice — letting it escape results in undercooked, crunchy grains.
Step 7: Rest the Rice
- When 12 minutes are up, turn off the heat completely and leave the lid on.
- Let the rice rest, undisturbed, for 10 minutes. This is a step most people skip, and it makes all the difference.
- During the rest period, the steam continues to cook any remaining firm spots, and the grains firm up slightly so they don’t break when you fluff them.
Step 8: Fluff and Serve
- Remove the lid and discard the whole spices (cardamom pods, cinnamon stick, bay leaf) if you added them.
- Use a fork — not a spoon — to gently fluff the rice by lifting from the bottom and letting the steam escape.
- Taste for salt and adjust if needed.
- Transfer to a serving dish immediately. Leaving rice sitting in the pot after fluffing can cause the bottom to become damp.
You might also enjoy: Summer Vegetable Stir Fry Recipe
Tips for The Best Basmati Rice
The difference between good rice and truly great rice often comes down to a few small details that make a big cumulative difference. These are the tips that changed my rice game entirely.
- Always rinse until the water runs clear. Cloudy water after rinsing means there’s still surface starch on the grains, which will make the finished rice gummy. Be patient — it takes a few rounds.
- Don’t skip the soak. Soaking for 30 minutes allows the grains to hydrate before heat is applied, which means more even cooking and longer, more beautiful grains. If you’re really pressed for time, even a 15-minute soak helps.
- Use the right water ratio. The 1:1.5 ratio (rice to water) works perfectly for soaked basmati. If you skip soaking, increase the water to 1:1.75 or 1:2. Using too much water makes mushy rice; too little makes crunchy rice.
- Don’t lift the lid. Every time you peek at the rice, steam escapes, and your results suffer. Trust the process and keep that lid on.
- Always rest the rice. This step is not optional if you want fluffy, properly cooked grains. Ten minutes of resting with the lid on does more than you’d expect.
- Use a fork, not a spoon, to fluff. A spoon presses and breaks the grains. A fork lifts them gently, which keeps everything light and separate.
- Season the cooking water. Adding salt directly to the water means the seasoning gets absorbed into the rice as it cooks, rather than sitting on the surface.
- Ghee over plain oil when possible. It adds a richness and nuttiness that elevates even plain rice into something worth eating on its own.
- Use aged basmati rice. Aged varieties are drier, more aromatic, and elongate more during cooking than younger rice.
- Measure accurately. Rice is unforgiving. Use standard measuring cups rather than estimating, especially until you’ve made this recipe a few times.
Read Also: Beef and Broccoli Stir Fry Recipe
What to Serve with Basmati Rice
Basmati rice is one of the most versatile sides you can have in your weeknight repertoire. It absorbs sauces beautifully, holds up to bold spices, and pairs just as well with simple weeknight proteins as it does with elaborate weekend meals.
- Tandoori Chicken: The smoky, spiced flavors of my Tandoori Chicken pair perfectly with a mound of fluffy basmati — this is one of my all-time favorite pairings.
- Curry dishes: Any lentil, chickpea, or vegetable curry soaks into basmati beautifully. The grains soak up every drop of sauce without getting soggy.
- Grilled salmon: My Grilled Salmon with Dill Sauce is a simple, elegant weeknight pairing that always impresses.
- Chicken Adobo: The tangy, savory braising liquid from Chicken Adobo was practically designed to be poured over fluffy basmati rice.
- Roast Chicken: A simple Roast Chicken with good pan drippings spooned over basmati is one of the most comforting meals I know.
- Shakshuka: Spooning Shakshuka over basmati instead of dipping bread into it turns a brunch dish into a satisfying dinner.
- Stir fry dishes: Any Asian-inspired stir fry with a soy or teriyaki-based sauce pairs naturally with the light, neutral flavor of basmati.
- Simple braised lamb or beef: A slow-braised protein with a rich sauce is one of the best things you can serve over a bed of perfectly cooked basmati.
Variations of Basmati Rice
The classic plain basmati is just the beginning. Once you’ve mastered the base recipe, there are so many delicious directions you can take it. These variations use the same core method with simple additions.
- Saffron Basmati Rice: Bloom a generous pinch of saffron threads in 2 tablespoons of warm water for 10 minutes. Stir the saffron water into the rice along with the cooking water. The result is a gorgeous golden rice with a floral, exotic aroma — perfect for Persian-style dishes.
- Garlic Butter Basmati: Add 2 minced garlic cloves to the ghee and sauté for 30 seconds before adding the rice. Stir in 1 tablespoon of cold butter after fluffing. Simple and incredibly good.
- Lemon Herb Basmati: After fluffing, stir in the zest of 1 lemon, 2 tablespoons of fresh chopped parsley, and 1 tablespoon of chopped fresh dill. Fresh and bright — great with fish.
- Coconut Basmati Rice: Replace half the water (1.5 cups / 360ml) with full-fat coconut milk. The rice takes on a subtly sweet, rich flavor that pairs beautifully with curries and grilled meats.
- Biryani-style Basmati: Toast the rice in ghee with 1 sliced onion, a handful of whole spices (cloves, cardamom, star anise), and a teaspoon of cumin. Layer in the aromatics and let everything steam together for a fragrant, complex result.
- Turmeric Basmati: Add half a teaspoon of ground turmeric to the cooking water. The rice turns a beautiful golden yellow and develops a warm, earthy flavor.
- Brown Basmati Rice: Use brown basmati for a heartier, nuttier version. Increase the water to 2.5 cups (600ml) per 1 cup (200g) of rice and extend the cooking time to 40 minutes.
- Pilaf-style Basmati: Sauté finely diced onion, carrot, and a handful of frozen peas in ghee before toasting the rice. A simple, satisfying one-pot side dish.
For another wholesome rice bowl idea, try: Sweet Potato and Black Bean Bowls
Storage and Reheating
Properly stored basmati rice keeps well and reheats beautifully, which makes it a great candidate for batch cooking on the weekend. The key is to cool it quickly and keep it well sealed.
- Refrigerating: Allow the rice to cool to room temperature within 1 hour of cooking. Transfer to an airtight container and refrigerate for up to 4 days. Do not leave cooked rice sitting at room temperature for more than 2 hours.
- Freezing: Spread the cooled rice in a single layer on a baking sheet and freeze for 1 hour, then transfer to a zip-lock freezer bag. Frozen basmati keeps for up to 3 months with no noticeable quality loss.
- Reheating on the stovetop: Place the rice in a saucepan with 2 tablespoons of water per cup of rice. Cover and heat over low heat for 4 to 5 minutes, stirring once halfway through.
- Reheating in the microwave: Transfer rice to a microwave-safe bowl, sprinkle with 1 to 2 tablespoons of water, and cover loosely with a damp paper towel. Microwave in 1-minute intervals, stirring between each, until heated through.
- From frozen: You can microwave frozen rice directly in the bag (with the bag slightly open) in 2-minute increments, or thaw overnight in the refrigerator and reheat as above.
- Food safety note: Never reheat rice more than once. If reheated rice has been sitting out for more than 2 hours, discard it rather than refrigerating again.
Read Also: Lemon Garlic Shrimp Over Couscous Recipe
Nutritional Facts
The following values are approximate and based on a serving of 1/4 of the recipe (approximately 1 cup cooked rice), made with 1 tablespoon of ghee.
| Nutritional Facts (Per Serving) | |
|---|---|
| Calories | 240 kcal |
| Total Fat | 4g |
| Saturated Fat | 2.5g |
| Cholesterol | 10mg |
| Sodium | 290mg |
| Total Carbohydrates | 46g |
| Dietary Fiber | 0.7g |
| Total Sugars | 0g |
| Protein | 4g |
| Iron | 1.8mg (10% DV) |
| Calcium | 15mg (1% DV) |
| Potassium | 55mg |
| Magnesium | 13mg |
| Glycemic Index | ~50-58 (lower than white rice) |
Nutritional values are estimates only. Actual values may vary based on specific ingredients and brands used.
For a lighter side dish option, try this Healthy Coleslaw Recipe.
Health Benefits of Key Ingredients
Basmati rice isn’t just delicious — the key ingredients in this recipe bring some genuine nutritional benefits to the table. Here’s what’s working in your favor.
- Basmati rice has a lower glycemic index than regular white rice. With a GI of around 50 to 58, basmati causes a slower, more gradual rise in blood sugar compared to standard long-grain white rice. This makes it a smarter choice for people watching their blood sugar.
- Ghee is rich in fat-soluble vitamins. Clarified butter contains vitamins A, D, E, and K, along with butyrate — a short-chain fatty acid that supports gut health and has anti-inflammatory properties.
- Basmati rice is easy to digest. Its lower starch content and longer grain structure make basmati gentler on the digestive system than many other white rice varieties, particularly for people with sensitive stomachs.
- Cardamom is packed with antioxidants. This aromatic spice contains compounds that fight free radicals in the body and have been traditionally used to support digestion and freshness of breath.
- Cinnamon has blood sugar-regulating properties. Even in small amounts used as an aromatic in cooking, cinnamon contains cinnamaldehyde, which has been studied for its potential to improve insulin sensitivity.
- Bay leaves contain anti-inflammatory compounds. They contribute more than just flavor — bay leaves contain parthenolide and eugenol, compounds with known anti-inflammatory and antifungal properties.
- Basmati is naturally gluten-free. This makes it a safe grain for people with celiac disease or gluten sensitivity, and a great base for gluten-free meal planning.
- Rice provides quick-release energy. The carbohydrates in basmati are a clean, efficient fuel source for active people, athletes, or anyone who needs sustained energy throughout the day.
You might also enjoy this simple and nutritious Healthy Hummus Recipe.
FAQs About Basmati Rice
1. Do I really need to soak basmati rice before cooking?
Soaking basmati for 30 minutes before cooking genuinely makes a difference. It allows the grains to absorb water before heat is applied, which results in more even cooking, longer grains, and a lighter, fluffier texture.
If you’re in a rush, even a 15-minute soak is better than no soak at all. For best results, though, the full 30 minutes is worth the wait.
2. What is the correct water ratio for basmati rice?
For soaked basmati, the ideal ratio is 1 cup of rice to 1.5 cups of water (or 200g rice to 300ml water). If you skip soaking, increase the ratio to 1:1.75 or 1:2.
The type of pot you use can also affect results — a wider pot allows more steam to escape, which may require slightly more water.
3. Why is my basmati rice always sticky?
Sticky rice is almost always caused by one of three things: not rinsing the rice to remove surface starch, using too much water, or stirring the rice during cooking. Make sure you rinse until the water runs clear, measure your water carefully, and resist the urge to stir once the lid goes on.
4. Can I cook basmati rice in a rice cooker?
Absolutely — basmati cooks beautifully in a rice cooker. Use the same water ratio (1:1.5 for soaked rice), add your salt and optional aromatics, and follow your rice cooker’s standard white rice setting.
Let the rice rest with the lid on for 10 minutes after the cooking cycle finishes, just as you would on the stovetop. Then fluff with a fork and serve.
5. Is basmati rice healthier than regular white rice?
Basmati rice has a lower glycemic index than most regular white rice varieties, meaning it causes a slower rise in blood sugar. It also tends to be slightly higher in fiber and certain B vitamins.
That said, both are nutritious carbohydrate sources when eaten as part of a balanced diet. The main advantage of basmati is its GI, its aroma, and its texture — all of which make it a more enjoyable eating experience.
Read Also: Stir Fry Sauce Recipe
Basmati Rice Recipe
Ingredients
- 2 cups long-grain basmati rice - 400g; aged basmati preferred for best aroma and texture
- 3 cups water - 720ml
- 1 tsp fine salt
- 1 tbsp neutral oil or ghee - Such as avocado oil or clarified butter
- 2 whole green cardamom pods - Optional; for aroma
- 1 small cinnamon stick - Optional; for aroma
- 1 bay leaf - Optional
- saffron threads - Small pinch; bloomed in 2 tablespoons warm water for 10 minutes
Equipment
- Heavy-bottomed saucepan or Dutch oven - 2 to 3 quart / 2 to 3 litre capacity
- Fine-mesh strainer - For rinsing rice thoroughly
- Measuring cups and spoons
- Large mixing bowl - For soaking the rice
- Fork - For fluffing the cooked rice
- Tight-fitting lid - Critical for trapping steam during cooking
Method
- Place 2 cups (400g) of basmati rice in a fine-mesh strainer and rinse under cold running water, swirling with your hand, until the water runs almost completely clear — about 4 to 5 rinses. This removes excess surface starch that causes sticky, gummy rice.
- Transfer the rinsed rice to a large bowl, cover with cold water by at least 1 inch (2.5cm), and soak for 30 minutes at room temperature. Drain thoroughly through the fine-mesh strainer before cooking.
- Warm 1 tablespoon of ghee or oil in a heavy-bottomed saucepan over medium heat. If using aromatics, add the cardamom pods, cinnamon stick, and bay leaf and toast for 60 seconds, stirring, until fragrant.
- Add the drained, soaked rice to the pot and stir gently to coat every grain in the oil. Toast for 1 to 2 minutes, stirring occasionally, until you notice a faint nutty aroma and the grains look slightly opaque.
- Pour in 3 cups (720ml) of cold water, add 1 teaspoon of fine salt, and stir once to distribute. Raise the heat to medium-high and bring to a full boil, about 3 to 4 minutes.
- Once boiling, immediately reduce the heat to the lowest setting, place the tight-fitting lid on the pot, and cook for 12 minutes without lifting the lid.
- Turn off the heat and leave the lid on for 10 minutes to allow the steam to finish cooking the grains and let them firm up slightly before fluffing.
- Remove the lid, discard any whole spices, and use a fork to gently fluff the rice by lifting from the bottom. Taste for salt, adjust if needed, and serve immediately.
Nutrition
Notes
- Always rinse the rice until the water runs completely clear — this is the most important step for fluffy, non-sticky results.
- Do not skip the 30-minute soak; it allows the grains to hydrate evenly and elongate beautifully during cooking. Even a 15-minute soak is better than none.
- For soaked rice, use a 1:1.5 rice-to-water ratio. If you skip soaking, increase the water to 1:1.75 or 1:2.
- Never lift the lid during the 12-minute cook time — every peek releases steam and risks undercooked, crunchy rice.
- The 10-minute resting period with the lid on is not optional; it is what gives the rice its final fluffy texture.
- Always use a fork, not a spoon, to fluff cooked rice — a spoon presses and breaks the grains.
- For saffron rice, bloom a pinch of saffron threads in 2 tablespoons of warm water for 10 minutes, then stir into the cooking water before bringing to a boil.
- Leftover basmati rice keeps in an airtight container in the refrigerator for up to 4 days. Reheat with a splash of water, covered, on the stovetop over low heat or in the microwave with a damp paper towel.
- To freeze, spread cooled rice in a single layer on a baking sheet, freeze for 1 hour, then transfer to a zip-lock freezer bag. Frozen rice keeps for up to 3 months.
- For garlic butter basmati, sauté 2 minced garlic cloves in the ghee before adding the rice and stir in 1 tablespoon of cold butter after fluffing.
Private Notes
Tried this recipe?
Let us know how it was!Final Thoughts
Making truly great basmati rice is one of those small kitchen victories that pays off every single week.
Once you’ve nailed the rinse, the soak, and the steam, you’ll wonder why it ever seemed complicated.
This recipe is my go-to for a reason — it’s reliable, it’s fast, and the results genuinely make every meal better.
I’d love to hear how it goes for you. Drop a comment below and let me know what you served it with, or share this recipe with someone who needs a better rice game.
Recommended:
- Tandoori Chicken Recipe
- Chickpea and Spinach Curry Recipe
- Teriyaki Sauce Recipe
- Peanut Sauce Recipe
- Grilled Chicken and Veggie Skewers Recipe
- Easy Healthy Crockpot Chili Recipe
- Asian Chicken Lettuce Cups Recipe
- Healthy Orange Chicken Recipe
- Mediterranean Quinoa Salad with Grilled Chicken Recipe
- Teriyaki Grilled Chicken Recipe
