
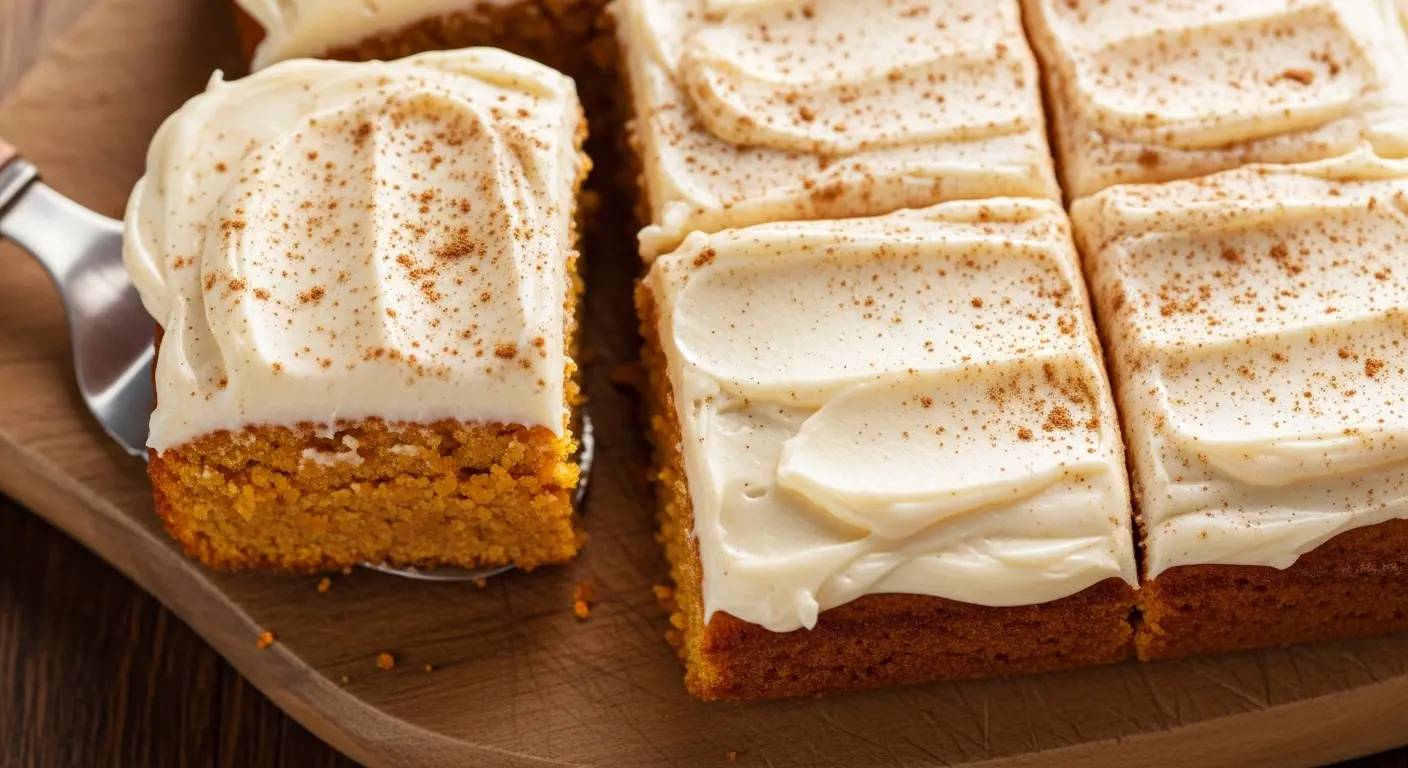
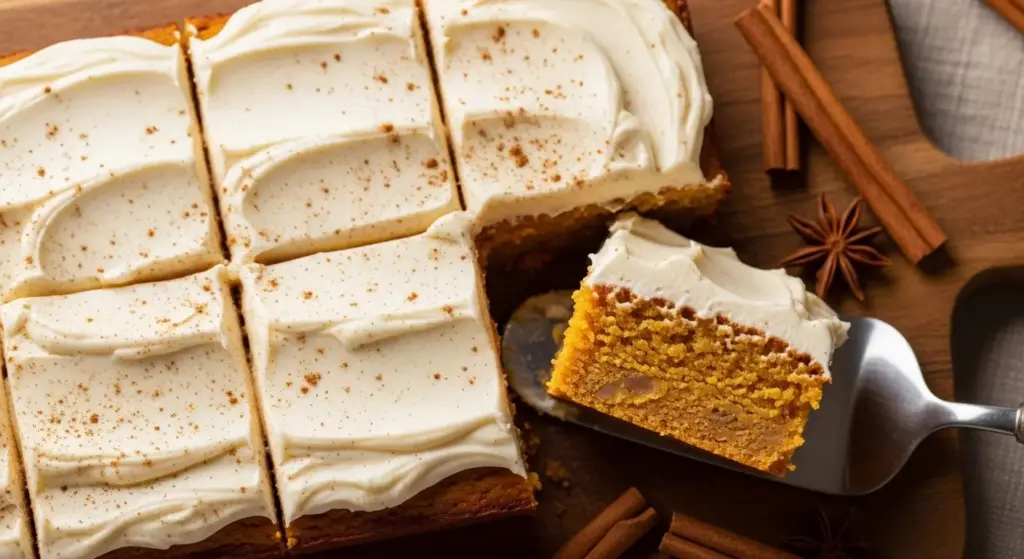
I never thought I’d become the person who eagerly awaits pumpkin season each year, but here I am. My obsession started three autumns ago when a neighbor brought over a pan of pumpkin bars to our block party. One bite, and I was completely hooked. The soft, cake-like texture paired with that warm spice blend and the tangy cream cheese frosting on top was pure perfection.
After that day, I couldn’t stop thinking about those bars. I asked for the recipe, but my neighbor had lost it somewhere in her decades-old recipe box. So I did what any determined baker would do: I spent the next few weekends experimenting in my kitchen until I recreated them. This pumpkin bar recipe is now my most-requested dessert, and I’ve made it so many times that I don’t even need to measure anymore (though I still do, for consistency).
What I love most about these bars is how forgiving they are. I’ve made them on rushed weekday mornings before bake sales, and I’ve made them leisurely on Sunday afternoons while sipping coffee. They turn out beautifully every single time.
| Quick Recipe Summary | |
|---|---|
| Prep Time | 15 minutes |
| Cook Time | 30 minutes |
| Total Time | 45 minutes |
| Servings | 24 bars |
| Difficulty Level | Easy |
Why You’ll Love This Pumpkin Bar Recipe
These pumpkin bars have become my signature autumn dessert, and for good reason. They’re incredibly moist without being heavy, and the cream cheese frosting adds just the right amount of richness without overwhelming the pumpkin flavor.
The beauty of this recipe is its versatility. I’ve served these at Thanksgiving dinners, packed them in lunchboxes, brought them to potlucks, and even shipped them to my college-aged nephew (they travel surprisingly well). Every single time, people ask for the recipe.
Another reason I adore these bars is that they actually taste better the next day. The flavors have time to meld together, and the texture becomes even more tender. I always make them a day ahead when I’m serving them for a special occasion.
You might also enjoy: Pumpkin Oatmeal Cookies Recipe
- Perfect moisture level: The pumpkin puree keeps these bars incredibly soft and tender, even days after baking
- Crowd-pleasing flavor: The warm spices complement the pumpkin without overpowering it, creating a balanced, comforting taste
- Easy to make: You don’t need a mixer or any fancy equipment, just two bowls and a whisk
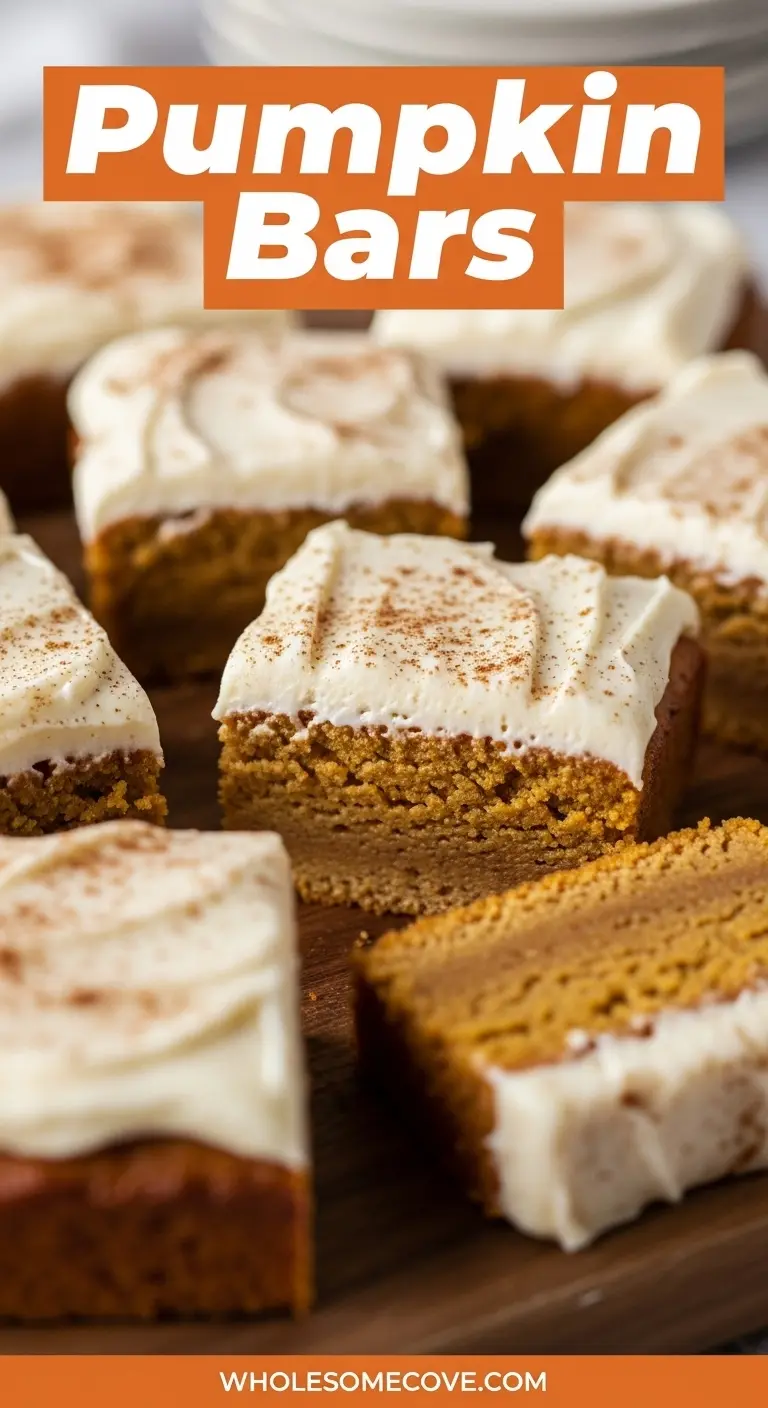
- Feeds a crowd: One 9×13 pan yields 24 generous bars, making it perfect for gatherings
- Make-ahead friendly: These bars stay fresh for up to five days and actually improve in flavor after the first day
- Customizable: You can easily adjust the spice levels or add mix-ins like chocolate chips or nuts
Ingredients
This recipe uses simple pantry staples combined with canned pumpkin puree to create something truly special. I’ve tried using fresh pumpkin puree before, but honestly, the canned version is more consistent and saves so much time. Just make sure you’re using pure pumpkin puree, not pumpkin pie filling.
For the Pumpkin Bars:
- 2 cups (250g) all-purpose flour
- 2 teaspoons baking powder
- 2 teaspoons ground cinnamon
- 1 teaspoon baking soda
- 1 teaspoon ground ginger
- ½ teaspoon ground nutmeg
- ½ teaspoon salt
- ¼ teaspoon ground cloves
- 4 large eggs
- 1¾ cups (350g) granulated sugar
- 1 cup (240ml) vegetable oil
- 1 can (15 oz/425g) pumpkin puree
- 1 teaspoon pure vanilla extract
For the Cream Cheese Frosting:
- 8 oz (225g) cream cheese, softened to room temperature
- ½ cup (115g) unsalted butter, softened to room temperature
- 3 cups (360g) powdered sugar, sifted
- 1 teaspoon pure vanilla extract
- 2 tablespoons whole milk or heavy cream
Kitchen Equipment Needed
Having the right tools makes this recipe even easier. I learned this the hard way when I tried making these bars without parchment paper and spent 20 minutes scraping them out of the pan. Don’t make my mistake.
Another favorite: Pumpkin Snickerdoodle Cookies Recipe
- 9×13-inch baking pan
- Parchment paper or aluminum foil (for easy removal)
- Two large mixing bowls
- Whisk
- Rubber spatula
- Measuring cups and spoons
- Electric hand mixer or stand mixer (for the frosting)
- Wire cooling rack
- Offset spatula (optional, but helpful for spreading frosting)
Recommended Products for This Recipe
Over the years of making these pumpkin bars, I’ve found a few products that genuinely make the process easier and the results better. These aren’t must-haves, but they’re items I reach for every single time I bake these bars.
1. USA Pan Bakeware Aluminized Steel Rectangular Cake Pan
This is hands-down the best baking pan I’ve ever owned. The heavy-gauge steel distributes heat evenly, so my pumpkin bars bake uniformly without any burnt edges or undercooked centers. The non-stick coating releases the bars perfectly every time, and it’s held up beautifully through countless batches over three years.
2. Libby’s 100% Pure Pumpkin
I’ve tried at least a dozen different brands of canned pumpkin, and Libby’s consistently delivers the smoothest texture and most concentrated pumpkin flavor. The puree is never watery, which means my bars have the perfect moisture level every time. I always keep three cans in my pantry during fall.
3. Nielsen-Massey Pure Vanilla Extract
Good vanilla extract makes a noticeable difference in both the bars and the frosting. This Madagascar bourbon vanilla has a rich, complex flavor that enhances the warm spices without overpowering them. A little goes a long way, and one bottle lasts me through an entire baking season.
4. OXO Good Grips Silicone Spatula Set
These spatulas are perfect for scraping every last bit of batter from the bowl and smoothing it into the pan. The silicone is heat-resistant and won’t stain even when mixing brightly colored ingredients. I particularly love using the large one for folding the wet and dry ingredients together.
Step-by-Step Instructions: How to Make Pumpkin Bars
I’ve broken down each step in detail so you can follow along easily, even if you’re a beginner baker. The key to perfect pumpkin bars is not overmixing the batter and making sure your cream cheese is properly softened before making the frosting.
1. Prepare Your Pan and Preheat the Oven
- Preheat your oven to 350°F (175°C) and position the rack in the center of the oven for even heat distribution.
- Line your 9×13-inch baking pan with parchment paper, leaving about 2 inches of overhang on two opposite sides (this creates handles for easy removal later).
- Lightly grease the parchment paper with cooking spray or a thin layer of butter to prevent any sticking.
For a lighter option, try: Healthy Pumpkin Pie Recipe
2. Mix the Dry Ingredients
- In a large mixing bowl, whisk together the flour, baking powder, cinnamon, baking soda, ginger, nutmeg, salt, and cloves until the spices are evenly distributed throughout the flour.
- Make sure there are no lumps in the flour by sifting it first if needed, especially if your flour has been sitting in the pantry for a while.
- Set this bowl aside while you prepare the wet ingredients.
3. Combine the Wet Ingredients
- In a separate large bowl, crack the eggs and whisk them vigorously for about 30 seconds until they’re light and slightly frothy.
- Add the granulated sugar to the eggs and whisk for another minute until the mixture is well combined and slightly thickened.
- Pour in the vegetable oil and whisk until the mixture is smooth and emulsified (it should look creamy and uniform).
- Add the pumpkin puree and vanilla extract, whisking until everything is completely incorporated and no streaks of pumpkin remain.
4. Combine Wet and Dry Ingredients
- Pour the wet ingredients into the bowl with the dry ingredients all at once.
- Using a rubber spatula or wooden spoon, gently fold the ingredients together using broad strokes from the bottom of the bowl upward.
- Mix just until no visible streaks of flour remain; the batter should be thick and slightly lumpy, which is perfect.
- Avoid overmixing, as this can lead to tough, dense bars instead of tender ones.
Read Also: Pumpkin Cookies Recipe
5. Bake the Bars
- Pour the batter into your prepared baking pan, using your spatula to scrape every bit out of the bowl.
- Spread the batter evenly across the pan, making sure to push it into all four corners and smooth the top with your spatula.
- Tap the pan gently on the counter a few times to release any air bubbles trapped in the batter.
- Place the pan in the preheated oven and bake for 28-32 minutes, or until a toothpick inserted in the center comes out with just a few moist crumbs (not wet batter).
- The top should spring back lightly when touched, and the edges should just be pulling away from the sides of the pan.
6. Cool the Bars Completely
- Remove the pan from the oven and place it on a wire cooling rack.
- Allow the bars to cool in the pan for at least 15 minutes before attempting to remove them.
- Using the parchment paper handles, carefully lift the entire slab of bars out of the pan and onto the cooling rack.
- Let the bars cool completely to room temperature (this usually takes about 1-1.5 hours) before frosting; if you frost them while warm, the frosting will melt and slide right off.
7. Make the Cream Cheese Frosting
- In a large bowl, beat the softened cream cheese and butter together using an electric mixer on medium speed for about 2 minutes until light and fluffy with no lumps.
- Reduce the mixer speed to low and gradually add the powdered sugar, one cup at a time, beating well after each addition to prevent sugar clouds in your kitchen.
- Add the vanilla extract and 1 tablespoon of milk, then increase the speed to medium-high and beat for another 2-3 minutes until the frosting is smooth and creamy.
- If the frosting seems too thick, add the remaining tablespoon of milk; if it’s too thin, add a bit more powdered sugar until you reach your desired consistency.
8. Frost and Serve
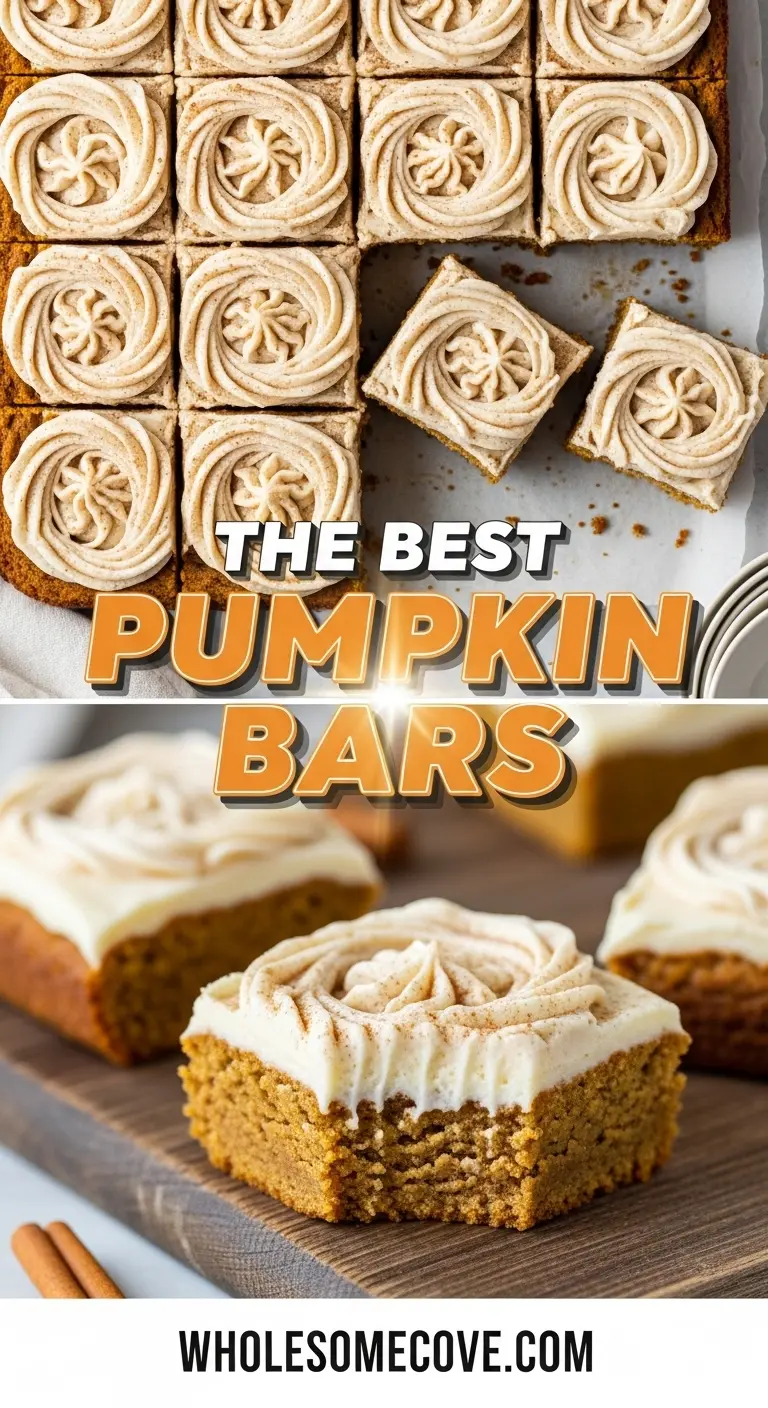
- Once the bars are completely cool, spread the frosting evenly over the top using an offset spatula or the back of a spoon.
- Start from the center and work your way to the edges, creating swirls or keeping it smooth based on your preference.
- Let the frosted bars sit at room temperature for about 30 minutes to allow the frosting to set slightly before cutting.
- Cut into 24 squares using a sharp knife, wiping the blade clean between cuts for neat edges.
Tips for The Best Pumpkin Bars
I’ve learned these tips through trial and error over dozens of batches. They might seem small, but they make a real difference in the final result.
This pairs beautifully with my Pumpkin Spice Latte Recipe for the ultimate fall treat.
- Use room temperature ingredients for the frosting: Cold cream cheese will create lumpy frosting no matter how long you beat it. I set mine out on the counter for at least an hour before I start baking so it’s perfectly soft by the time I need it.
- Don’t skip the parchment paper: This is the single best tip for easy removal and cutting. The bars lift right out, and you can cut them on a cutting board without scratching your pan.
- Measure your flour correctly: Spoon the flour into your measuring cup and level it off with a knife instead of scooping directly from the bag. Scooping packs in too much flour, which leads to dry, crumbly bars.
- Check for doneness early: Every oven is different, so start checking your bars at 28 minutes. You want them slightly underdone rather than overbaked, as they’ll continue cooking a bit as they cool.
- Let them cool completely before frosting: I know it’s tempting to frost them while warm, but trust me on this. I’ve had the frosting melt and slide off more times than I care to admit before I learned patience.
- Use a hot knife for clean cuts: Run your knife under hot water, dry it off, and then cut. The heat melts through the frosting for clean, bakery-style edges.
- Store them properly: These bars need to be refrigerated because of the cream cheese frosting. They’ll stay fresh for up to five days in an airtight container.
- Toast your spices for deeper flavor: If you want to take these bars to the next level, toast your ground spices in a dry pan for 30 seconds before adding them to the batter. The warmth intensifies their flavor significantly.
Serving Suggestions
These pumpkin bars are delicious on their own, but I love serving them with complementary dishes and beverages to create a full autumn experience. They’re substantial enough to stand alone as dessert but also work beautifully as part of a spread.
The cream cheese frosting pairs incredibly well with coffee or spiced tea. I often serve these at brunch alongside my Pumpkin French Toast for a full pumpkin-themed morning.
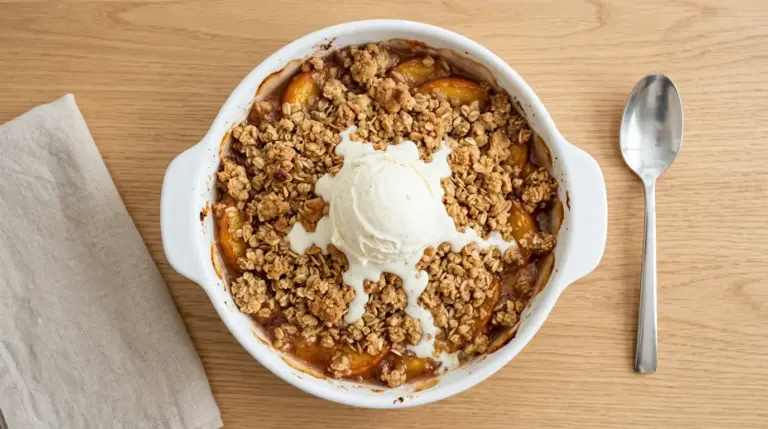
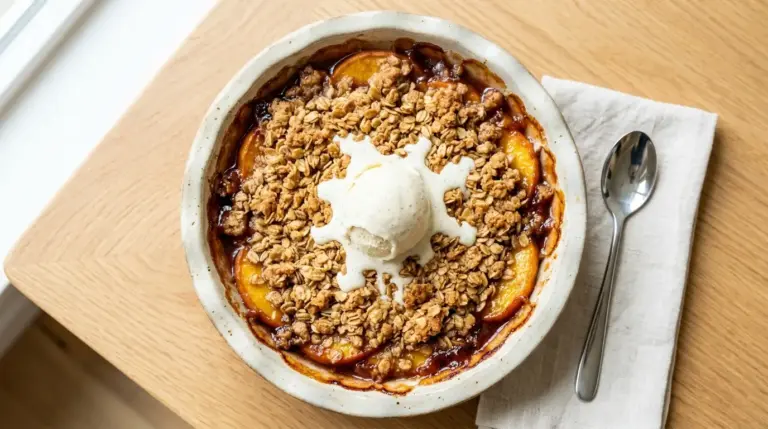
Read Also: Apple Crisp Recipe
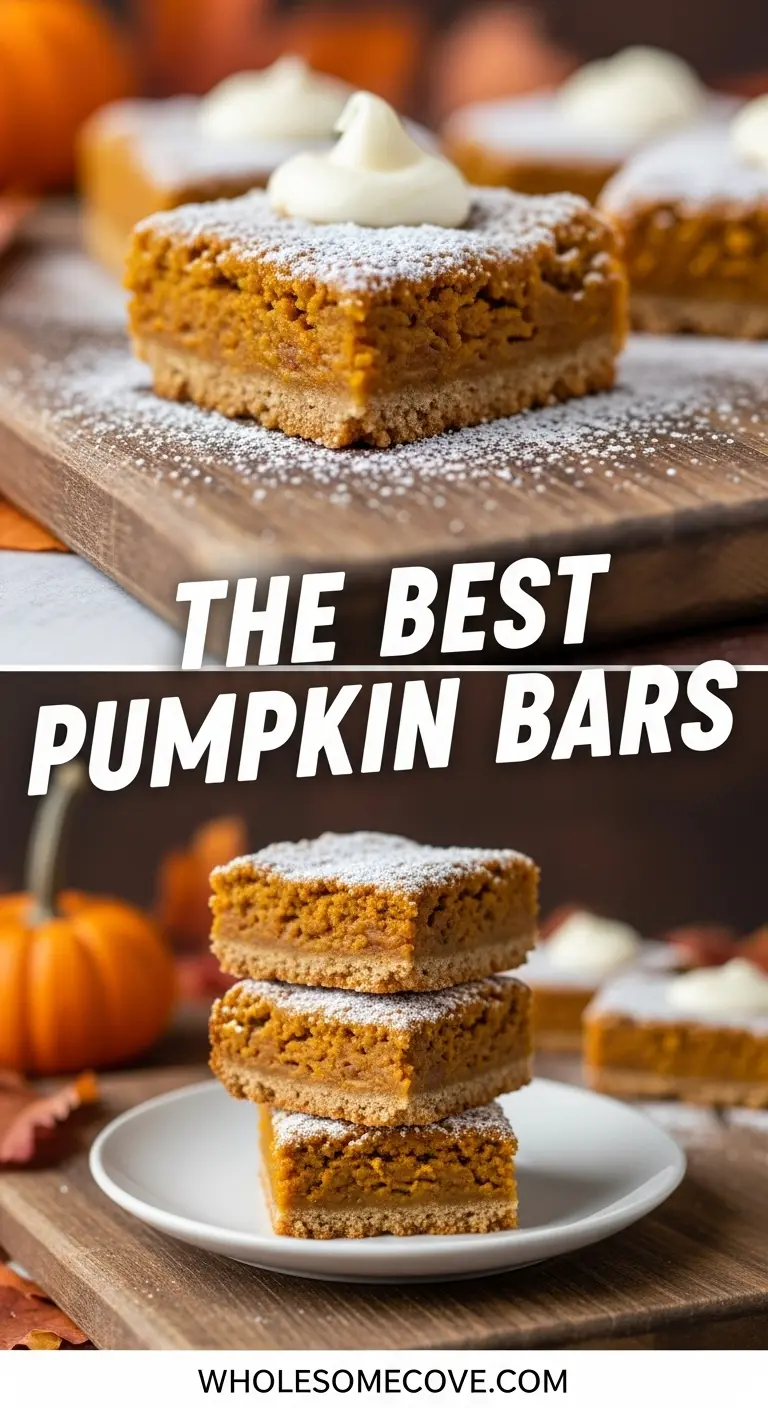
- Serve slightly chilled with a dollop of fresh whipped cream and a sprinkle of cinnamon on top
- Pair with a hot cup of Mulled Apple Cider for the ultimate fall dessert experience
- Warm them slightly in the microwave for 10-15 seconds and serve with a scoop of vanilla ice cream
- Cut into smaller pieces and arrange on a dessert platter with Gingerbread Cookies for a holiday cookie spread
- Pack them in individual containers for an easy grab-and-go breakfast or afternoon snack
- Serve alongside Homemade Cinnamon Applesauce for a cozy autumn dessert pairing
Variations of Pumpkin Bars
One of my favorite things about this recipe is how easily it adapts to different flavor preferences and dietary needs. I’ve experimented with countless variations over the years, and these are the ones my family requests again and again.
- Chocolate chip pumpkin bars: Fold 1 cup of semi-sweet chocolate chips into the batter just before pouring it into the pan. The melty pockets of chocolate add richness and make these extra indulgent.
- Maple cream cheese frosting: Replace the vanilla extract in the frosting with maple extract and add 2 tablespoons of pure maple syrup for a deeper autumn flavor that complements the pumpkin beautifully.
- Spiced cream cheese frosting: Add ½ teaspoon of cinnamon and ¼ teaspoon of nutmeg to your frosting for an extra layer of warm spice that echoes the flavors in the bars.
- Nutty pumpkin bars: Stir in ¾ cup of chopped pecans or walnuts into the batter for added texture and a nutty flavor that pairs perfectly with pumpkin.
- Gluten-free version: Substitute the all-purpose flour with a 1:1 gluten-free baking flour blend. I’ve tested this with Bob’s Red Mill gluten-free flour, and the results are nearly identical to the original.
- Reduced sugar option: Cut the sugar down to 1¼ cups if you prefer less sweet desserts. The pumpkin and spices still shine through beautifully.
- Pumpkin cheesecake bars: Pour half the batter into the pan, then add a layer of sweetened cream cheese mixture (8 oz cream cheese mixed with ¼ cup sugar and 1 egg), and top with the remaining batter before baking.
- Caramel pumpkin bars: Drizzle the frosted bars with salted caramel sauce and sprinkle with flaky sea salt for an elegant presentation and sweet-salty flavor combination.
Storage and Reheating
Proper storage is crucial for maintaining the moisture and flavor of these bars. The cream cheese frosting means they need special handling compared to unfrosted baked goods.
Another favorite: Pumpkin Chocolate Chip Cookies Recipe
- Room temperature storage: These bars should not be left at room temperature for more than 2 hours due to the cream cheese frosting. If you’re serving them at a party, keep them in a cool spot away from direct sunlight.
- Refrigerator storage: Store the bars in an airtight container or cover the pan tightly with plastic wrap or aluminum foil. They’ll stay fresh in the refrigerator for up to 5 days. Let them sit at room temperature for 15-20 minutes before serving for the best texture and flavor.
- Freezing instructions: These bars freeze beautifully for up to 3 months. Cut them into individual portions, wrap each bar tightly in plastic wrap, then place them in a freezer-safe container or zip-top bag. For best results, freeze the bars before frosting and add fresh frosting after thawing.
- Thawing frozen bars: Transfer frozen bars to the refrigerator and let them thaw overnight. If you froze them unfrosted, let them come to room temperature before adding the cream cheese frosting.
- Reheating: If you prefer warm pumpkin bars, remove the frosting (or heat unfrosted bars), and warm individual portions in the microwave for 10-15 seconds. Don’t overheat, as this can dry them out.
Nutritional Facts
Per serving (1 bar, based on 24 servings):
- Calories: 245
- Total Fat: 12g
- Saturated Fat: 4g
- Cholesterol: 48mg
- Sodium: 156mg
- Total Carbohydrates: 33g
- Dietary Fiber: 1g
- Sugars: 24g
- Protein: 3g
Note: Nutritional information is approximate and will vary based on specific ingredients and portion sizes. These calculations include the cream cheese frosting.
Health Benefits of Key Ingredients
While these bars are definitely a treat, they do contain some genuinely nutritious ingredients. I’m not suggesting these are health food, but it’s nice to know you’re getting some benefits along with the deliciousness.
Pumpkin puree is the star ingredient here, and it brings more to the table than just flavor. It’s loaded with beta-carotene, which your body converts to vitamin A for eye health and immune function.
Read Also: Baked Oatmeal Recipe
- Pumpkin puree: Rich in vitamin A, potassium, and fiber, pumpkin supports eye health, helps regulate blood pressure, and aids in digestion. One serving of these bars provides about 20% of your daily vitamin A needs.
- Cinnamon: This warming spice has anti-inflammatory properties and may help regulate blood sugar levels. It’s also packed with antioxidants that protect your cells from damage.
- Ginger: Known for its digestive benefits, ginger can help reduce nausea and has powerful anti-inflammatory effects. It also adds that subtle warmth that makes autumn spices so comforting.
- Eggs: Provide high-quality protein and essential vitamins like B12, which supports energy production and brain health. Each bar contains about 3g of protein.
- Nutmeg: Contains compounds that may boost brain health and has been used traditionally to aid sleep and reduce pain. Even in small amounts, it contributes antioxidants to your diet.
FAQs About Pumpkin Bars
1. Can I use pumpkin pie filling instead of pumpkin puree?
I don’t recommend it. Pumpkin pie filling already contains sugar, spices, and other additives that will throw off the balance of flavors in this recipe. It will make your bars overly sweet and the spice flavor will be muddled. Stick with plain pumpkin puree for the best results.
2. Why are my pumpkin bars dry and crumbly?
This usually happens from overbaking or using too much flour. Make sure you’re measuring your flour correctly by spooning it into the cup rather than scooping directly from the bag. Also, check your bars at 28 minutes instead of waiting the full 32 minutes, as every oven runs differently.
3. Can I make these bars without eggs?
Yes, you can substitute each egg with a “flax egg” (1 tablespoon ground flaxseed mixed with 3 tablespoons water, let sit for 5 minutes). I’ve made them this way for vegan friends, and while the texture is slightly denser, they still turn out delicious. You’ll also need to use dairy-free butter and cream cheese for the frosting.
4. How do I know when the bars are fully baked?
The top should spring back lightly when touched, and a toothpick inserted in the center should come out with a few moist crumbs but no wet batter. The edges will just start pulling away from the sides of the pan. Remember that they’ll continue cooking slightly as they cool, so slightly underdone is better than overbaked.
5. Can I double this recipe?
Absolutely! I often double the recipe for large gatherings. You’ll need two 9×13-inch pans, and the baking time remains the same. Just make sure to rotate the pans halfway through baking if your oven has hot spots, and check both pans at the 28-minute mark.
Final Thoughts
These pumpkin bars have earned their spot as my go-to fall dessert for good reason. They’re reliable, delicious, and bring back warm memories every time I make them.
The beauty of this recipe is that it works for any occasion, from casual family dinners to elegant holiday gatherings. I hope these bars become as beloved in your kitchen as they are in mine. Don’t forget to let me know how yours turn out in the comments below!
Recommended:
- Pumpkin Sage Pasta Recipe
- Old Fashioned Pumpkin Bread Recipe
- Apple Cider Glazed Pork Chops Recipe
- Butternut Squash Risotto Recipe
- Roasted Butternut Squash Soup Recipe
- Maple Glazed Carrots Recipe
- Cranberry Jello Salad Recipe
- Sweet Potato Bread Recipe
- Fall Muffin Recipes
- Roasted Brussels Sprouts with Bacon Recipe
