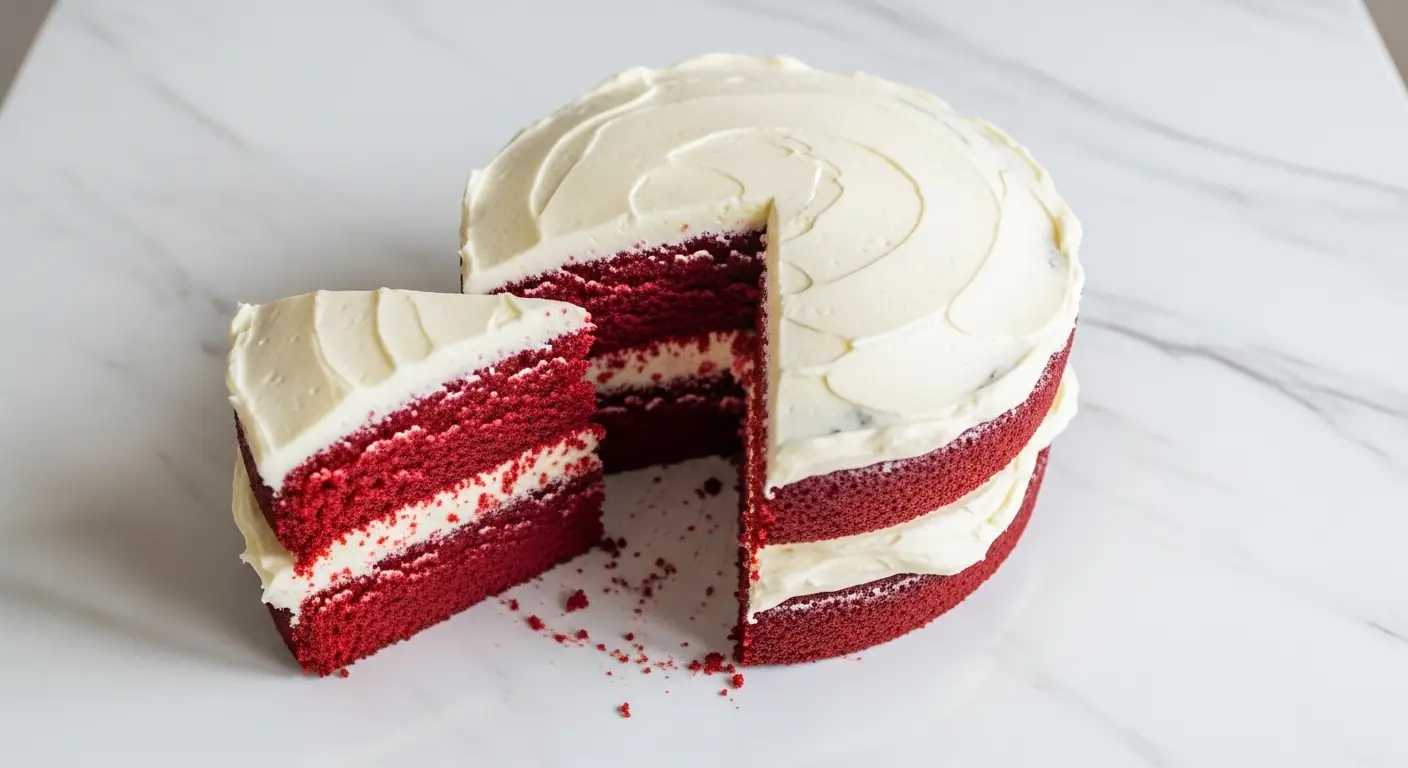
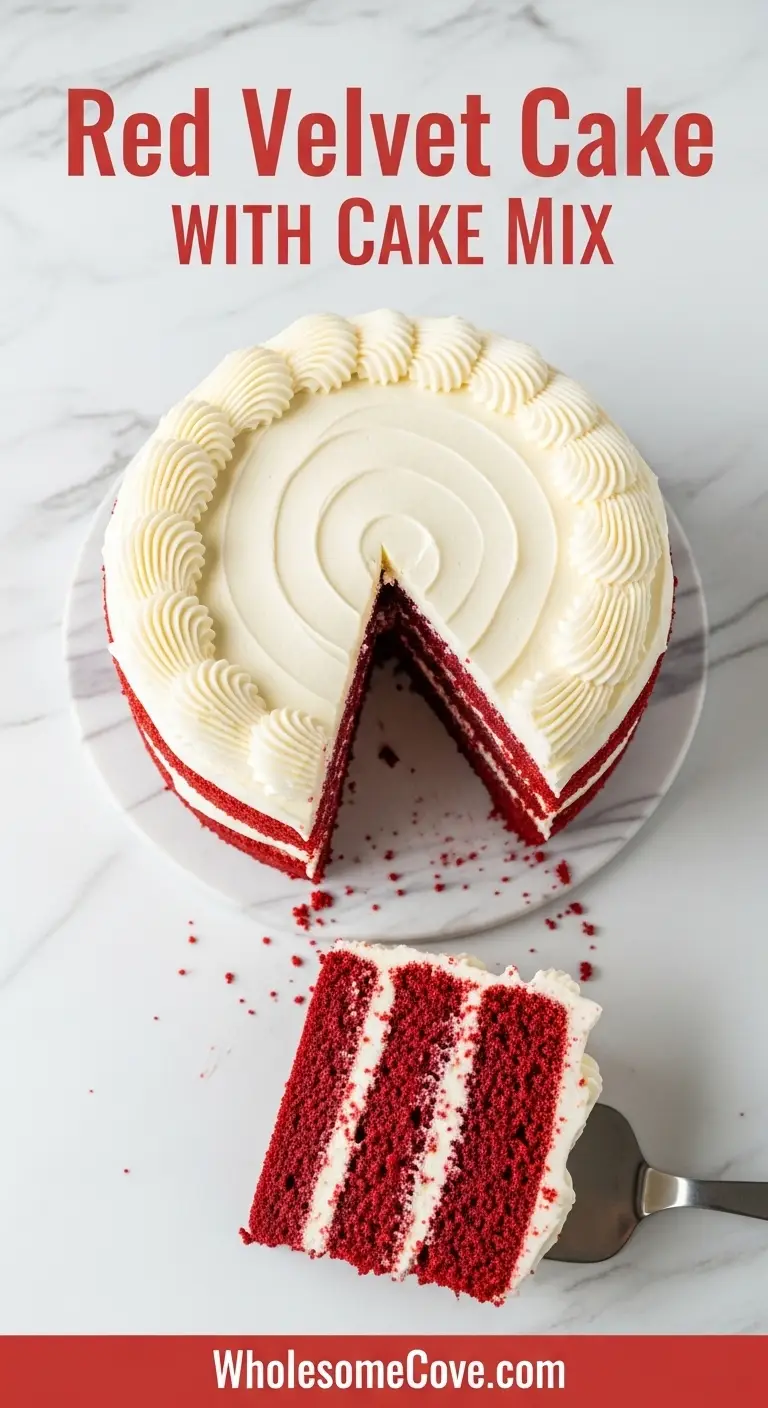
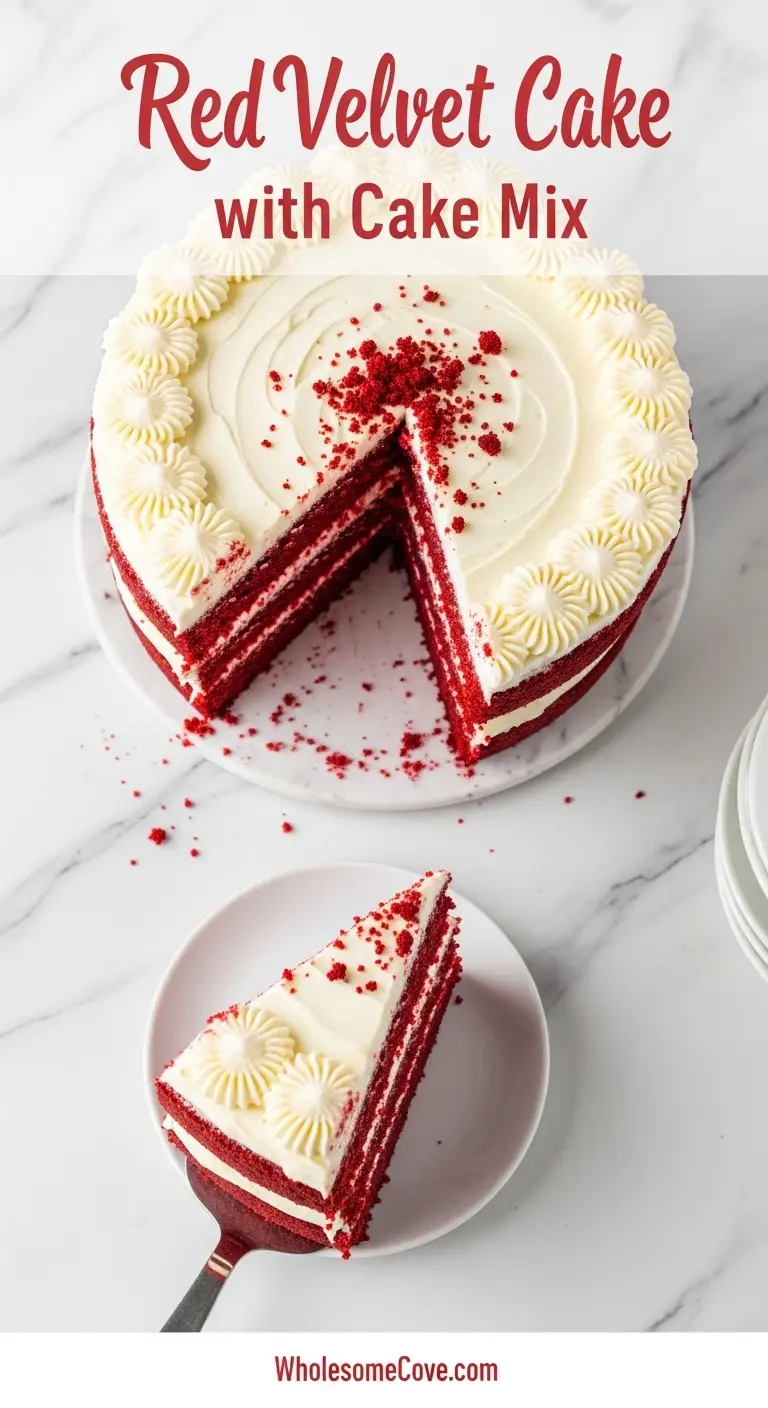
This red velvet cake recipe with cake mix takes a basic box and turns it into a moist, tangy dessert with deep red color and a soft, tender crumb.
Red velvet cake is a Southern classic, known for its faint chocolate flavor, tangy buttermilk batter, and rich cream cheese frosting. Starting with a cake mix keeps that same flavor while skipping the more involved scratch method.
A few simple additions like pudding mix, real cocoa powder, and buttermilk give the boxed mix a homemade texture and taste.
This version makes a two layer cake that serves twelve generous slices. It is simple enough for a beginner baker yet impressive enough for a birthday, holiday, or potluck table.
| Quick Recipe Summary | |
|---|---|
| Prep Time | 20 minutes |
| Cook Time | 30 minutes |
| Total Time | 50 minutes |
| Servings | 12 slices |
| Difficulty Level | Easy |
If you want to see how this semi-homemade version compares to a scratch recipe, my Red Velvet Cake Recipe walks through the traditional method from scratch.
Why You’ll Love This Red Velvet Cake Recipe with Cake Mix
I started making this cake when I needed a quick dessert for a last-minute birthday and didn’t want to deal with sifting a dozen scratch ingredients. It turned out so moist and rich that it became the only red velvet recipe I make now.
- Ready in under an hour from box to oven, with no fancy scratch techniques required
- Uses one box of cake mix as the base, so there’s far less measuring than a from-scratch recipe
- Instant pudding mix and buttermilk keep every slice incredibly moist for days
- Real cocoa powder deepens the flavor so it tastes closer to a bakery cake
- The cream cheese frosting balances out the sweetness with a tangy finish
- Beginner friendly, with simple mixing steps that don’t require a stand mixer, though one helps
- Freezes beautifully, so you can bake ahead for holidays or birthdays
- Naturally adapts into cupcakes, a sheet cake, or a layered cake using the same batter
- That signature deep red color makes it a showstopper for Valentine’s Day, Christmas, or any celebration
You might also enjoy: Velvet Cake Recipes
Ingredients
This recipe uses a doctored cake mix method, which means a few extra pantry staples turn a plain box into something that tastes homemade. Here is everything you need for the cake and the frosting.
For the Cake
- 1 box (15.25 oz / 432g) red velvet cake mix
- 1 box (3.4 oz / 96g) instant vanilla pudding mix
- 4 large eggs, room temperature
- 1 cup (240ml) buttermilk, room temperature
- 1/3 cup (80ml) vegetable oil
- 1 cup (240g) sour cream
- 1 tsp (5ml) pure vanilla extract
- 1 tbsp (7g) unsweetened cocoa powder
- 1 tbsp (15ml) red gel food coloring, optional, for a brighter red
For the Cream Cheese Frosting
- 8 oz (226g) cream cheese, softened
- 1/2 cup (113g) unsalted butter, softened
- 4 cups (480g) powdered sugar, sifted
- 1 tsp (5ml) vanilla extract
- Pinch of salt
Read Also: Easy Carrot Cake Recipe With Cake Mix
Kitchen Equipment Needed
You probably already own most of what you need for this recipe. A few specific tools make mixing and baking easier though.
- Large mixing bowl
- Hand mixer or stand mixer
- Rubber spatula
- Measuring cups and spoons
- Two 9 inch round cake pans
- Parchment paper or non-stick baking spray
- Wire cooling rack
- Offset spatula for frosting
- Toothpick or cake tester
I used this same buttermilk and pudding mix combination in my Coffee Cake Recipe Using Cake Mix, and it works just as well there.
Recommended Products for This Recipe
These are products I personally use and recommend based on actually making this cake more times than I can count. None of these are required, but they solve common problems and make the process smoother.
1. Rotating Cake Turntable
A turntable makes frosting a layered cake so much easier, since you can spin the cake while keeping your spatula steady. I didn’t think I needed one until I tried frosting a cake without it and ended up with crumbs everywhere. It turns a stressful step into a fast, clean one.
2. Cake Leveler
Box mix cakes sometimes dome a little in the center, especially with the extra pudding mix in this recipe. A cake leveler slices that dome off in seconds, so your layers stack evenly instead of sliding around. It is a small fix to a problem I used to fight with a serrated knife.
3. Piping Bag and Tip Set
A basic piping set turns plain frosted edges into something that looks bakery made. I use a simple open star tip for a quick border around the top and bottom of the cake. It takes an extra five minutes and makes the whole cake look intentional.
4. Digital Kitchen Scale
Cake mix doctoring works best when the extra ingredients are measured precisely, especially the cocoa powder and pudding mix. A kitchen scale removes the guesswork that comes with packed versus loose cup measurements. It is the one tool that made my cakes more consistent batch after batch.
5. Bench Scraper
A bench scraper is great for getting smooth, sharp sides on a frosted cake before you add any decoration. I use it in long, even strokes while turning the cake on the turntable. It is one of those tools that looks too simple to matter until you actually use it.
For a creamier twist on this same cake, try my Red Velvet Cheesecake Cake Recipe.
Step-by-Step Instructions: How to Make Red Velvet Cake with Cake Mix
Follow these simple steps and you’ll have a delicious red velvet cake with cake mix ready in no time.
1. Prep the Pans and Oven
- Preheat the oven to 350°F (175°C).
- Grease two 9 inch (23cm) round cake pans with non-stick spray.
- Line the bottom of each pan with a circle of parchment paper for easy removal later.
- Set the pans aside while you mix the batter.
2. Mix the Dry Ingredients
- In a large bowl, whisk together the red velvet cake mix, instant vanilla pudding mix, and unsweetened cocoa powder.
- Break up any clumps from the pudding mix so it blends evenly into the cake mix.
- Set this bowl aside while you prepare the wet ingredients.
3. Combine the Wet Ingredients
- In a separate bowl, whisk together the eggs, buttermilk, vegetable oil, sour cream, and vanilla extract.
- Add the red gel food coloring at this stage if you want a deeper, more vibrant red.
- Whisk until the mixture looks smooth and fully combined, with no streaks of egg remaining.
4. Bring the Batter Together
- Pour the wet ingredients into the bowl with the dry ingredients.
- Mix on low speed with a hand mixer or stand mixer for about 30 seconds.
- Increase to medium speed and beat for 2 minutes, until the batter is smooth and lump free.
- Scrape down the sides of the bowl halfway through, since dry mix tends to hide at the bottom.
5. Divide and Bake
- Divide the batter evenly between the two prepared cake pans.
- Tap each pan gently on the counter to release any trapped air bubbles.
- Bake for 28 to 32 minutes, or until a toothpick inserted in the center comes out clean or with a few moist crumbs.
- Avoid opening the oven door during the first 20 minutes, since this can cause the layers to sink in the middle.
6. Cool the Cake Layers
- Let the cakes cool in their pans for 10 minutes.
- Run a knife around the edge of each pan, then turn the layers out onto a wire cooling rack.
- Let the layers cool completely, at least 1 hour, before frosting, since a warm cake will melt the frosting right off.
7. Make the Cream Cheese Frosting
- Beat the softened cream cheese and butter together until smooth and creamy.
- Add the vanilla extract and a pinch of salt.
- Add the powdered sugar one cup at a time, beating well after each addition.
- Continue beating until the frosting is fluffy and holds its shape when you lift the beater.
8. Frost and Assemble the Cake
- Place one cooled cake layer on a cake stand or plate, flat side up if you leveled it.
- Spread about a third of the frosting evenly over the top of the layer using an offset spatula.
- Place the second cake layer on top, then cover the top and sides with the remaining frosting.
- Smooth the sides with a bench scraper, or leave it textured. Slice and serve once the frosting has set.
Read Also: Orange Velvet Cake Recipe
Tips for The Best Red Velvet Cake with Cake Mix
I’ve made enough versions of this cake to know exactly where it can go wrong. These tips come from real trial and error in my own kitchen.
- Bring the eggs, buttermilk, and sour cream to room temperature before mixing, since cold ingredients can clump and bake unevenly
- Don’t skip the cocoa powder, even though red velvet isn’t meant to taste strongly of chocolate; it rounds out the flavor
- Measure the pudding mix by weight if you can, since scooping straight from the box packs it down and throws off the texture
- Add gel food coloring instead of liquid, since it gives a deeper red without thinning the batter
- Use the toothpick test a few minutes before the timer goes off so you don’t overbake the layers
- Let the cake layers cool completely before frosting, or the frosting will slide and melt
- Chill the frosted cake for 20 minutes before slicing for cleaner cuts
- If your cake domes in the center, trim it flat with a cake leveler or serrated knife before stacking
- Sift the powdered sugar for the frosting if it’s clumpy, so the finished frosting is smooth instead of grainy
I learned how useful gel coloring is while testing my Lemon Velvet Cake Recipe, and it works the same magic here.
What to Serve with Red Velvet Cake with Cake Mix
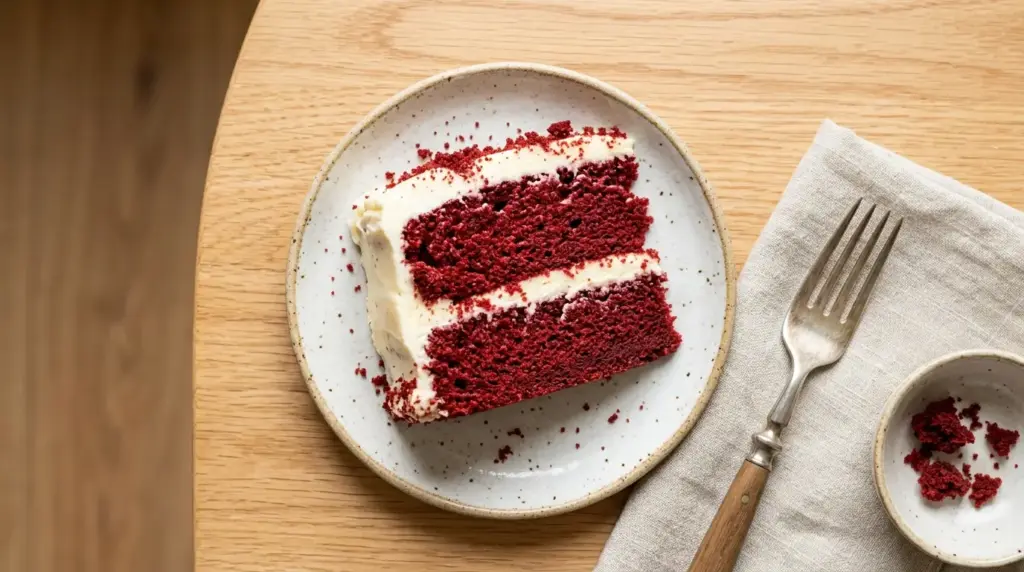
This cake is rich enough to stand on its own, but a few pairings round out the table nicely. Here are some ideas for what to serve alongside it.
- A scoop of vanilla ice cream for a warm slice straight from the oven
- Fresh strawberries or raspberries for a tart contrast to the sweetness
- A cup of coffee or espresso to balance the richness of the frosting
- A glass of cold milk, the classic pairing for any slice of cake
- Hot chocolate on a cold evening for a cozy dessert spread
- A light fruit salad to add freshness next to such a rich dessert
- Sparkling water with a twist of lime to cut through the sweetness at a dinner party
For a lighter option, try: Pink Velvet Cake
Variations of Red Velvet Cake with Cake Mix
Once you’ve made the classic version a few times, it’s fun to play with different takes on the same base. Here are some variations worth trying.
- Cupcakes: divide the batter into lined cupcake pans and bake for 18 to 20 minutes for a grab and go version
- Sheet cake: pour the batter into a greased 9×13 inch pan and bake for about 35 minutes, then frost right in the pan
- White chocolate chips: fold half a cup into the batter before baking for pockets of melted chocolate
- Bundt cake: bake in a greased bundt pan for 40 to 45 minutes, then drizzle with a simple powdered sugar glaze instead of frosting
- Mini loaf cakes: divide the batter among small loaf pans for individually wrapped gifts
- Buttercream swap: use a classic vanilla buttercream instead of cream cheese frosting for a sweeter finish
- Chocolate ganache drip: add a chocolate ganache drip over the cream cheese frosting for a bakery style finish
- Triple layer: split the batter between three smaller pans instead of two for a taller, more dramatic cake
If you want to compare colors, my White Velvet Cake Recipe uses the exact same doctoring method without any food coloring at all.
Storage and Reheating
This cake stores well, which makes it a great make ahead option for parties. Here’s how to keep it fresh.
- Store frosted cake in an airtight container in the refrigerator for up to 5 days
- Let refrigerated slices sit at room temperature for 15 to 20 minutes before serving for the best texture
- Wrap unfrosted cake layers tightly in plastic wrap and freeze for up to 3 months
- Thaw frozen layers overnight in the refrigerator before frosting
- Freeze fully frosted slices individually wrapped for up to 2 months, then thaw in the fridge overnight
- Avoid leaving frosted cake at room temperature for more than 2 hours, since the cream cheese frosting can spoil
- Reheating isn’t necessary for this cake; it’s meant to be enjoyed cool or at room temperature
Read Also: Black Velvet Cake Recipe
Nutritional Facts
| Nutritional Facts (Per Slice) | |
|---|---|
| Calories | 420 kcal |
| Total Fat | 19g |
| Saturated Fat | 9g |
| Cholesterol | 75mg |
| Sodium | 380mg |
| Total Carbohydrates | 58g |
| Sugars | 44g |
| Protein | 5g |
This same buttermilk tang shows up in my Blue Velvet Cake Recipe, if you want to see how the flavor changes with a different food coloring.
Health Benefits of Key Ingredients
This is a dessert first, so it’s not meant to be a health food. That said, a few of the ingredients do offer some nutritional value worth knowing about.
- Eggs provide protein and important nutrients like choline, which supports brain health
- Buttermilk contains calcium and probiotics that support bone and digestive health
- Cocoa powder is a source of antioxidants called flavonoids, which may support heart health
- Sour cream provides calcium along with a small amount of protein
- Cream cheese contains calcium and vitamin A, though it should still be enjoyed in moderation given the sugar in this dessert
You might also enjoy: Easy Carrot Cake Recipe
FAQs About Red Velvet Cake with Cake Mix
1. Can I use a different cake mix flavor instead of red velvet?
Yes, a white or yellow cake mix works well if you add red food coloring and the cocoa powder listed in this recipe. The flavor will be slightly different, but the texture stays the same.
2. Why did my cake turn out dense instead of fluffy?
This usually happens from overmixing the batter once the wet and dry ingredients are combined. Mix just until smooth, then stop as soon as the batter looks combined.
3. Can I make this recipe ahead of time?
Yes, you can bake the cake layers up to 2 days ahead and store them wrapped at room temperature. Frost the cake on the day you plan to serve it for the best texture.
4. Do I have to use gel food coloring?
No, liquid food coloring works too, though you may need more of it to reach the same deep red color. Gel coloring is more concentrated, so it colors the batter without adding extra liquid.
5. Can I make this recipe without pudding mix?
Yes, you can leave it out, but the texture will be slightly less moist and the crumb will be a bit lighter. If you skip it, add an extra 2 tablespoons of buttermilk to make up for the lost moisture.
I tested this same swap while working on my Cannoli Poke Cake Recipe, and it holds up just as well there.
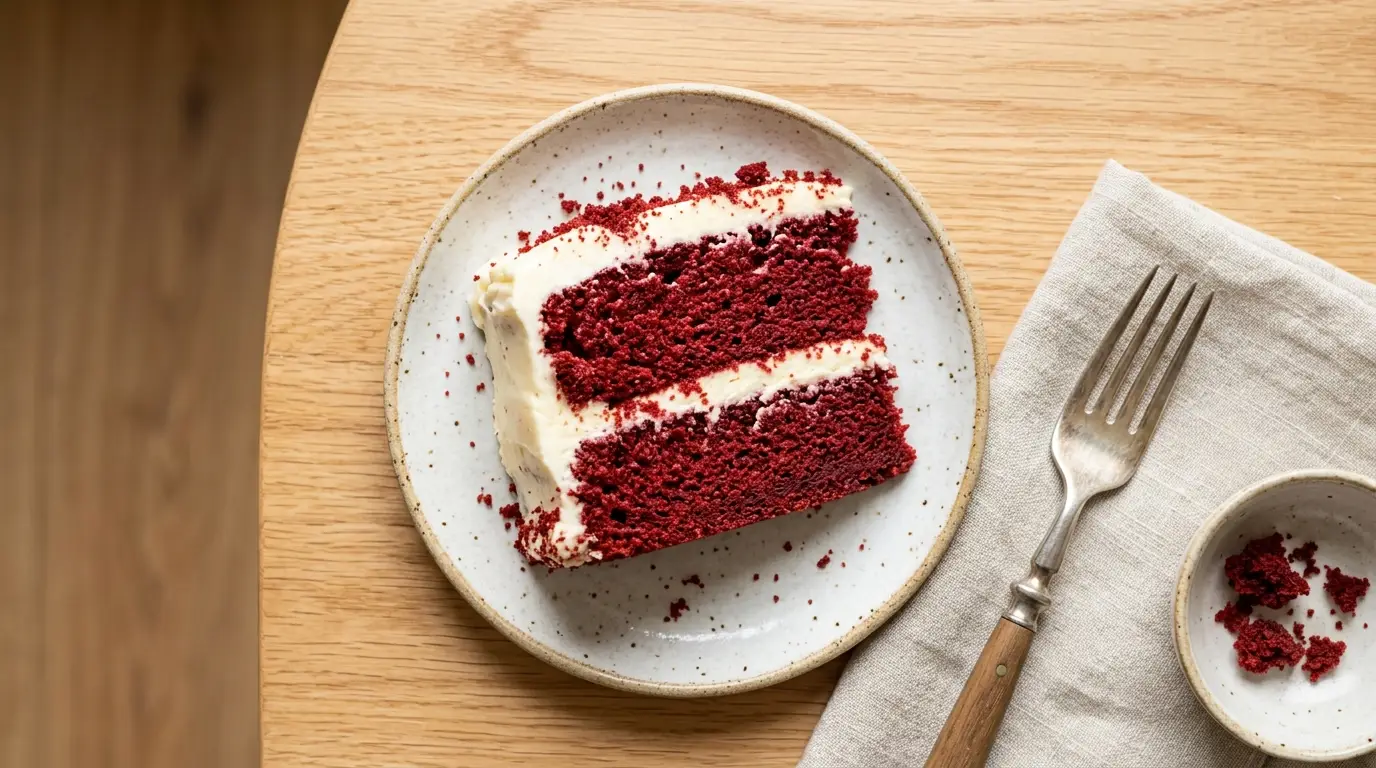
Red Velvet Cake with Cake Mix
Ingredients
- 1 box red velvet cake mix - 15.25 oz / 432g
- 1 box instant vanilla pudding mix - 3.4 oz / 96g
- 4 large eggs - room temperature
- 1 cup buttermilk - 240ml, room temperature
- 1/3 cup vegetable oil - 80ml
- 1 cup sour cream - 240g
- 1 tsp pure vanilla extract - 5ml
- 1 tbsp unsweetened cocoa powder - 7g
- 1 tbsp red gel food coloring - 15ml, optional for brighter red
- 8 oz cream cheese - 226g, softened
- 1/2 cup unsalted butter - 113g, softened
- 4 cups powdered sugar - 480g, sifted
- 1 tsp vanilla extract - 5ml
- salt - pinch
Equipment
- Hand mixer or stand mixer
- 9-inch round cake pans - 2 pans
- Parchment paper or non-stick baking spray - for greasing
- Rotating cake turntable - (optional, for easier frosting)
- Cake leveler - (optional, for leveling domed layers)
- Piping bag and tip set - (optional, for decorative frosting)
- Digital kitchen scale - (optional, for precise measurements)
- Bench scraper - (optional, for smooth sides)
Method
- Preheat oven to 350°F (175°C). Grease two 9 inch round cake pans and line bottoms with parchment paper.
- In a large bowl, whisk together red velvet cake mix, instant vanilla pudding mix, and unsweetened cocoa powder until evenly combined.
- In a separate bowl, whisk eggs, buttermilk, vegetable oil, sour cream, vanilla extract, and gel food coloring until smooth.
- Pour wet ingredients into dry and mix on low speed for 30 seconds, then beat on medium speed for 2 minutes until smooth. Scrape down sides as needed.
- Divide batter evenly between prepared pans and tap gently to release air bubbles. Bake for 28-32 minutes, until a toothpick comes out clean.
- Cool cakes in pans for 10 minutes, then turn out onto wire racks to cool completely (about 1 hour) before frosting.
- Beat softened cream cheese and butter until smooth. Add vanilla and salt. Gradually add powdered sugar one cup at a time, beating until fluffy.
- Place one cooled layer on a plate and spread about a third of the frosting on top. Add second layer and frost top and sides. Slice and serve once set.
Nutrition
Notes
- Bring eggs, buttermilk, and sour cream to room temperature before mixing to prevent clumping and uneven baking.
- Don’t skip the cocoa powder – it rounds out the flavor even though red velvet isn’t meant to taste strongly of chocolate.
- Measure pudding mix by weight if possible (96g) for the most accurate texture.
- Use gel food coloring instead of liquid for a deeper red without thinning the batter.
- Test the cake a few minutes before the timer goes off to avoid overbaking.
- Let cake layers cool completely before frosting or the frosting will melt and slide off.
- Chill the frosted cake for 20 minutes before slicing for cleaner cuts.
- If your cake domes in the center, trim it flat with a cake leveler or serrated knife before stacking.
- Sift powdered sugar if clumpy to ensure a smooth, non-grainy frosting.
- Store frosted cake in an airtight container in the refrigerator for up to 5 days.
Private Notes
Tried this recipe?
Let us know how it was!Final Thoughts
This red velvet cake recipe with cake mix proves that a shortcut doesn’t have to mean a compromise. It’s moist, rich, and dressed up with a tangy cream cheese frosting that tastes like it came from a bakery.
Give it a try the next time you need a dessert that looks impressive but doesn’t take all day to make. I’d love to hear how it turns out for you.
Leave a comment below with your results, or share a photo if you make it. Happy baking!
Recommended:
- Purple Velvet Cake Recipe
- Fruit Cocktail Cake Recipe
- Amish Apple Cake Recipe
- Are You Kidding Me Cake Recipe
- Mastros Butter Cake Recipe
- Healthy Carrot Cake Recipe
- Cheesecake Ice Cream Cake Recipe
- Pumpkin Roll Recipe
- Eggnog Cake Recipe
- Christmas Crack Recipe