
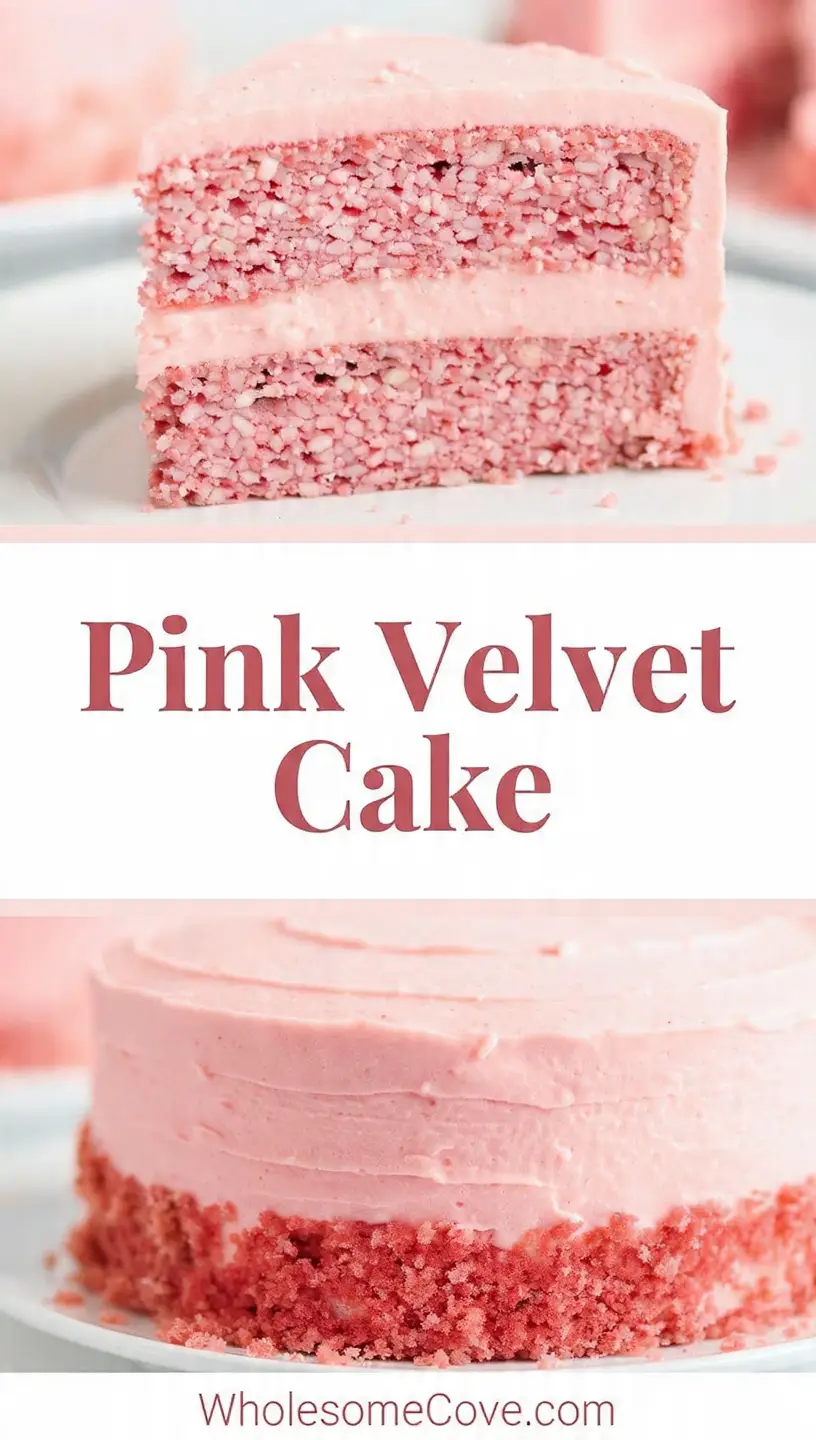
When I first laid eyes on a slice of Pink Velvet Cake at my niece’s baby shower, I couldn’t believe something so stunning could taste even better than it looked.
The gorgeous pink layers, the creamy frosting, and that incredibly moist, tender crumb had me asking for the recipe before I’d even finished my second slice.
This Pink Velvet Cake Recipe has become my absolute favorite for birthdays, Valentine’s Day, baby showers, and any celebration that needs a touch of elegance.
Unlike its cousin red velvet cake which has cocoa powder, this version is all about that pure vanilla flavor with just a hint of buttermilk tang.
The soft, velvety texture paired with luscious cream cheese frosting makes every bite feel like a special occasion.
| Quick Recipe Summary | |
|---|---|
| Prep Time | 25 minutes |
| Cook Time | 30 minutes |
| Total Time | 55 minutes |
| Servings | 12 slices |
| Difficulty Level | Intermediate |
If you love velvet cakes, you’ll also want to try my White Velvet Cake Recipe for another stunning variation.
Why You’ll Love This Pink Velvet Cake Recipe
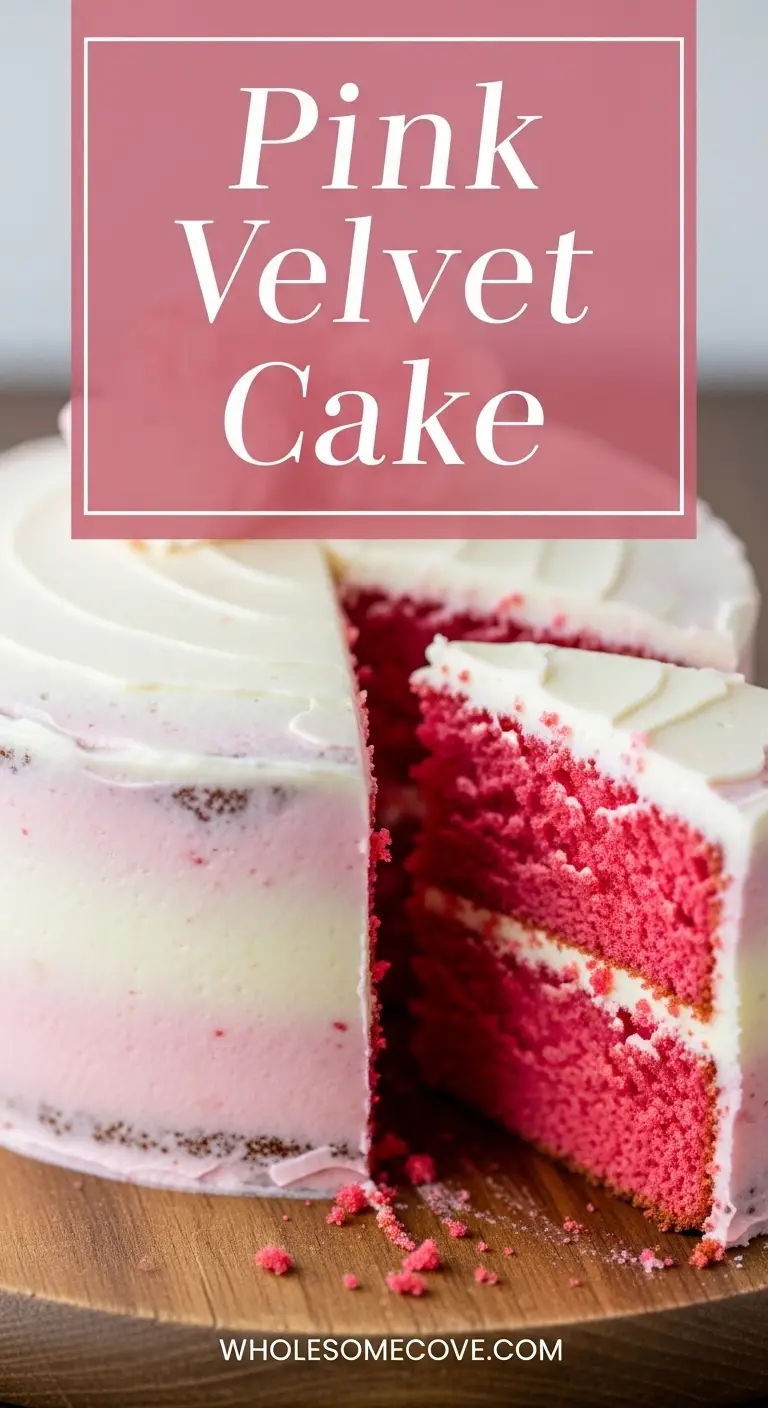
This cake is everything you want in a celebration dessert. It’s absolutely gorgeous with those pretty pink layers that make everyone stop and stare.
The texture is unbelievably soft and moist thanks to the combination of butter, oil, and buttermilk. I love that it stays fresh for days without drying out.
The flavor is delicate and sophisticated with vanilla taking center stage. The cream cheese frosting adds just the right amount of tang to balance the sweetness perfectly.
- Stunning visual appeal with vibrant pink layers that photograph beautifully
- Ultra-moist crumb that stays tender for days without any simple syrup
- Perfect vanilla flavor without the chocolate notes of traditional red velvet
- Versatile for any occasion from baby showers to Valentine’s Day celebrations
- Easier than it looks with straightforward steps that even intermediate bakers can master
- Crowd-pleasing taste that appeals to both kids and adults
Ingredients
This recipe uses simple, quality ingredients that work together to create that signature velvet texture everyone loves. I always recommend using gel food coloring instead of liquid because it gives you a more vibrant color without adding extra moisture to the batter.
For the Pink Velvet Cake Layers:
- 2 ½ cups (300g) cake flour, spooned and leveled
- 2 cups (400g) granulated sugar
- 1 teaspoon baking soda
- 1 teaspoon baking powder
- ½ teaspoon salt
- 1 cup (240ml) buttermilk, room temperature
- ½ cup (120ml) whole milk, room temperature
- ½ cup (112g) unsalted butter, room temperature
- ½ cup (120ml) vegetable oil
- 3 large eggs, room temperature
- 2 teaspoons pure vanilla extract
- 1 tablespoon white vinegar
- 1 to 2 teaspoons pink gel food coloring (adjust for desired shade)
For the Cream Cheese Frosting:
- 16 ounces (452g) cream cheese, full-fat, room temperature
- 1 cup (226g) unsalted butter, room temperature
- 6 cups (720g) powdered sugar, sifted
- 2 teaspoons pure vanilla extract
- ¼ teaspoon salt
- 2 to 3 tablespoons heavy cream (if needed for consistency)
My Red Velvet Cake Recipe uses similar techniques if you want to explore the chocolate version.
Kitchen Equipment Needed
Having the right tools makes all the difference when you’re baking a layer cake. I learned this the hard way after my first attempt resulted in lopsided layers because I didn’t have proper cake pans.
- Three 8-inch round cake pans (2-inch deep)
- Parchment paper rounds
- Stand mixer or handheld electric mixer
- Large mixing bowls (at least 2)
- Whisk
- Rubber spatula
- Measuring cups and spoons
- Kitchen scale (highly recommended for accuracy)
- Offset spatula for frosting
- Cake turntable (optional but very helpful)
- Wire cooling racks
- Toothpick or cake tester
- Piping bags and tips for decoration (optional)
Recommended Products for This Recipe
After making this cake dozens of times for various celebrations, I’ve discovered a few key products that make the entire process smoother and help you achieve bakery-quality results at home.
1. Wilton Gel Food Colors
I cannot emphasize enough how much better gel food coloring works compared to liquid dye. You’ll need far less to achieve that gorgeous pink shade, and it won’t throw off your batter’s consistency. The Wilton brand gives you consistent, vibrant results every single time.
2. Fat Daddio’s Anodized Aluminum Cake Pans
These pans are game-changers for achieving perfectly level, evenly baked cake layers. The anodized aluminum heats uniformly, preventing those dreaded dark edges and domed tops. I’ve been using mine for three years and they still look brand new.
3. Philadelphia Cream Cheese Brick
Not all cream cheese is created equal, and this matters tremendously for frosting. The brick-style Philadelphia cream cheese has the perfect texture and tang without being too soft or watery. Store brands often contain stabilizers that can make your frosting grainy.
4. Ateco Offset Spatula Set
If you want smooth, professional-looking frosting on your cake, an offset spatula is essential. This set includes multiple sizes so you can tackle both the top and sides with ease. The angled blade gives you control that a regular knife simply can’t match.
You might also enjoy: Blue Velvet Cake Recipe
Step-by-Step Instructions: How to Make Pink Velvet Cake
Making this stunning pink velvet cake is easier than you might think. Just follow these detailed steps and you’ll have a bakery-worthy dessert that looks as incredible as it tastes.
1. Prepare Your Workspace and Pans
Start by preheating your oven to 350°F (175°C). Position the oven rack in the center for even baking.
- Grease three 8-inch round cake pans thoroughly with butter or non-stick spray, making sure to get into all the corners.
- Cut parchment paper circles to fit the bottom of each pan and press them down firmly to eliminate air bubbles.
- Lightly grease the parchment as well for easy release later.
- Set the prepared pans aside while you make the batter.
2. Mix the Dry Ingredients
In a large mixing bowl, whisk together all your dry ingredients to ensure they’re evenly distributed.
- Add the cake flour, granulated sugar, baking soda, baking powder, and salt to the bowl.
- Whisk vigorously for about 30 seconds to combine everything and break up any lumps in the flour.
- This step is crucial for preventing pockets of leavening agent that could create uneven rising.
- Set this bowl aside while you prepare the wet ingredients.
3. Combine the Wet Ingredients
In a separate medium bowl or large measuring cup, combine all the liquid ingredients except the food coloring.
- Pour in the buttermilk, whole milk, vegetable oil, and white vinegar.
- Crack in the eggs one at a time, whisking gently after each addition.
- Add the vanilla extract and whisk until everything is smoothly combined.
- The mixture will look slightly curdled from the buttermilk and vinegar, which is perfectly normal and necessary for that tender crumb.
4. Cream the Butter and Add Dry Ingredients
Using your stand mixer fitted with the paddle attachment or a handheld mixer, beat the room temperature butter on medium speed for about 2 minutes until it’s creamy.
- Reduce the mixer speed to low and gradually add the dry ingredient mixture to the creamed butter.
- Mix just until the ingredients look like coarse, moist sand with no large butter chunks remaining.
- This reverse creaming method is key to achieving that fine, tender velvet texture.
- Stop the mixer and scrape down the bowl to ensure everything is incorporated.
5. Add Wet Ingredients and Food Coloring
With the mixer on low speed, slowly pour in the wet ingredient mixture in three additions.
- After the first addition, mix for about 10 seconds before adding the next portion.
- Continue until all the wet ingredients have been added and the batter is smooth.
- Add the pink gel food coloring and mix on low speed just until the color is evenly distributed throughout the batter.
- The batter should be smooth, pourable, and a gorgeous shade of pink.
6. Divide and Bake the Batter
Divide the batter evenly among your three prepared cake pans for layers of equal height.
- Use a kitchen scale for the most accurate results, aiming for about 600 grams of batter per pan.
- If you don’t have a scale, fill each pan about two-thirds full.
- Gently tap each pan on the counter a few times to release any air bubbles.
- Bake for 28 to 32 minutes, rotating the pans halfway through for even baking.
- The cakes are done when a toothpick inserted in the center comes out with just a few moist crumbs.
- Avoid overbaking as this will dry out your cake.
7. Cool the Cake Layers
Remove the pans from the oven and let them cool on wire racks for exactly 15 minutes.
- Run an offset spatula or butter knife around the edges of each pan to loosen the cakes.
- Carefully invert each pan onto a wire rack and peel off the parchment paper.
- Flip the cakes right-side up and allow them to cool completely, at least 1 to 2 hours.
- Do not attempt to frost warm cake layers or the frosting will melt and slide right off.
8. Make the Cream Cheese Frosting
While your cake layers are cooling, prepare the cream cheese frosting.
- In a large bowl, beat the room temperature cream cheese and butter together on medium-high speed for about 3 minutes until fluffy and smooth.
- Reduce the speed to low and gradually add the sifted powdered sugar, one cup at a time.
- Add the vanilla extract and salt, then increase speed to medium-high and beat for 2 to 3 minutes.
- If the frosting seems too thick, add heavy cream one tablespoon at a time until you reach a spreadable consistency.
- The frosting should hold its shape but spread smoothly without tearing the cake.
9. Level and Assemble the Cake Layers
Once your cake layers are completely cool, you can begin assembling your pink velvet masterpiece.
- Use a serrated knife or cake leveler to trim any domed tops from the layers so they’re perfectly flat.
- Place the first layer on your serving plate or cake board, cut-side down.
- Spread about 1 cup of cream cheese frosting over the top, leaving a small border around the edge.
- Place the second layer on top, pressing gently to adhere, and repeat with another cup of frosting.
- Top with the third layer, cut-side down, and press gently to create a stable stack.
10. Crumb Coat and Final Frost
Apply a thin crumb coat first to seal in any loose crumbs before the final frosting layer.
- Spread a very thin layer of frosting over the entire cake, top and sides, using an offset spatula.
- Don’t worry if crumbs show through at this stage as this is just the base layer.
- Refrigerate the cake for 20 to 30 minutes until the crumb coat is firm to the touch.
- Remove from the refrigerator and apply the remaining frosting in a thick, even layer over the top and sides.
- Use your offset spatula to smooth the frosting, holding it at a slight angle and turning the cake as you work.
- If you have a cake turntable, this step becomes much easier.
11. Decorate and Serve
Now comes the fun part: decorating your beautiful pink velvet cake.
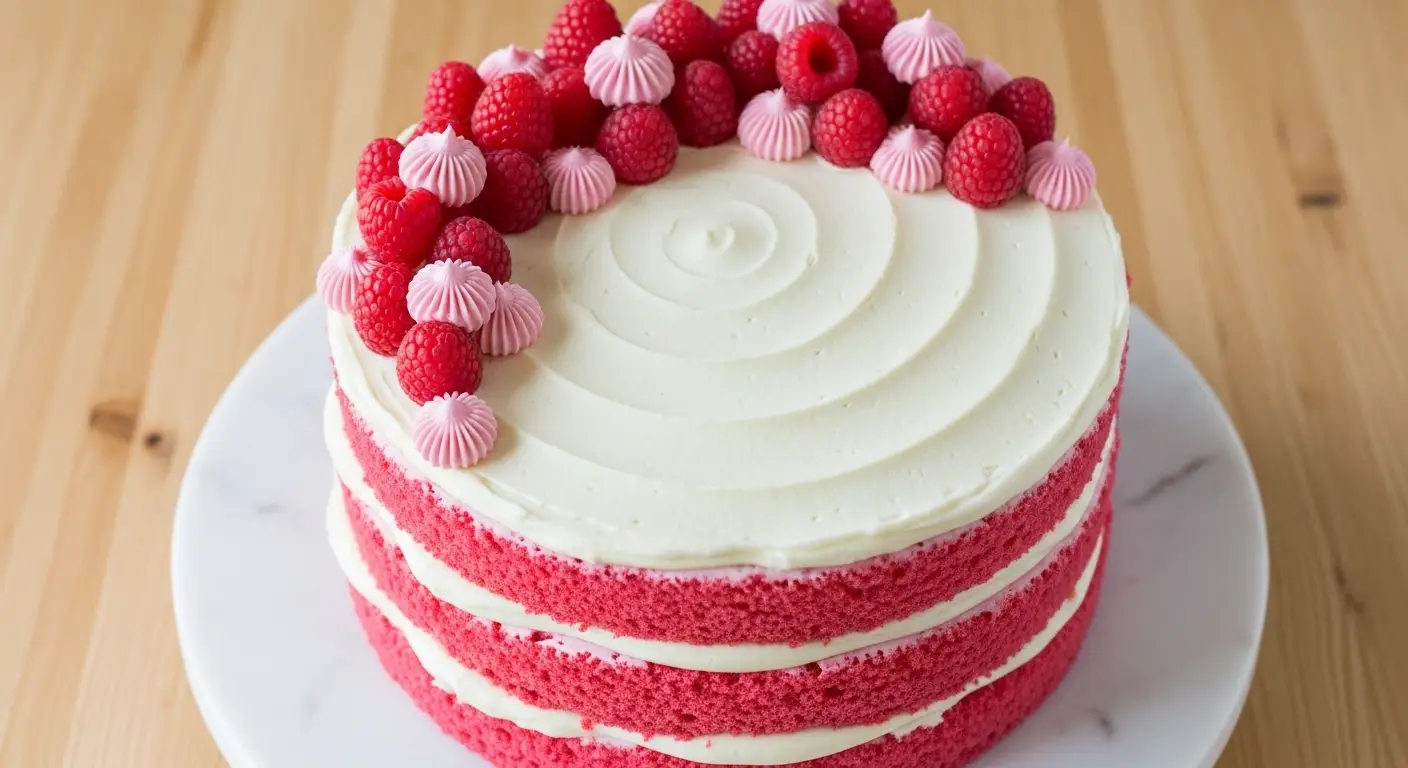
- Use a piping bag fitted with your favorite tip to add decorative swirls, rosettes, or borders if desired.
- You can tint some frosting a darker pink for contrast, or keep it all white for a classic look.
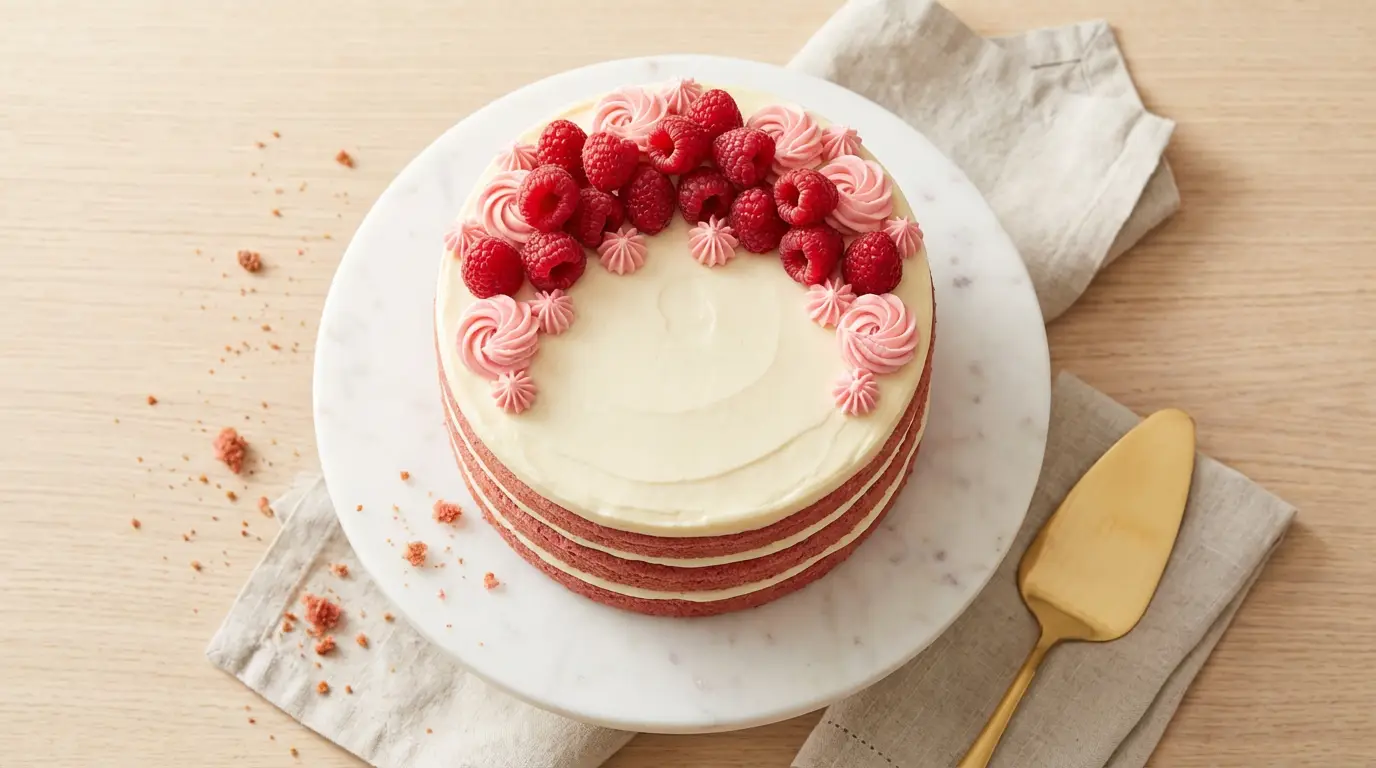
- Add sprinkles, edible flowers, or fresh berries for extra visual appeal.
- Refrigerate the finished cake for at least 30 minutes to set the frosting before slicing.
- Allow the cake to sit at room temperature for 15 to 20 minutes before serving for the best texture and flavor.
Another variation you might love is my Black Velvet Cake Recipe for a dramatic twist.
Tips for The Best Pink Velvet Cake
These tips come from years of trial and error, and they’ll help you avoid the common pitfalls that can turn a beautiful cake into a frustrating disaster.
- Room temperature ingredients are non-negotiable. Cold eggs, butter, or buttermilk will cause the batter to curdle and won’t blend properly. Take everything out of the fridge at least 1 hour before you start baking.
- Don’t skip the cake flour. All-purpose flour contains more protein and will create a denser, less tender crumb. Cake flour is essential for that signature velvet texture.
- Use gel food coloring, not liquid. Liquid food coloring requires way too much to achieve a vibrant pink, which throws off the batter’s moisture balance. Gel gives you intense color with just a tiny amount.
- Weigh your cake pans. The most foolproof way to get even layers is to weigh your empty pans first, then add batter until each pan weighs the same. This eliminates guesswork completely.
- Don’t overmix the batter. Once you add the wet ingredients to the dry, mix only until just combined. Overmixing develops gluten and creates a tough, dense cake instead of a tender one.
- Test for doneness early. Start checking your cakes at the 28-minute mark. A toothpick should come out with a few moist crumbs, not completely clean, for the moistest result.
- Let frosting come to temperature. If your cream cheese frosting was refrigerated, let it sit at room temperature for 30 minutes before using. Cold frosting is nearly impossible to spread smoothly.
- Freeze layers for easier assembly. If you’re nervous about handling delicate cake layers, wrap them and freeze for 30 minutes after cooling. Frozen layers are sturdier and easier to work with.
- Use a cake strip for flat layers. Wrapping your pans with a damp cake strip before baking helps the cakes bake more evenly without doming in the center.
- Invest in an offset spatula. This one tool makes frosting cakes dramatically easier and gives you much more control than a regular butter knife ever could.
What to Serve with Pink Velvet Cake
This cake is rich and indulgent, so I like to balance it with lighter accompaniments that complement rather than compete with those gorgeous pink layers.
Fresh berries are my go-to choice because their natural tartness cuts through the sweetness beautifully. I particularly love Strawberry Sauce drizzled alongside each slice for a restaurant-worthy presentation.
- Fresh strawberries sliced and macerated with a touch of sugar
- Raspberry coulis for a tart contrast to the sweet frosting
- Whipped cream lightly sweetened with vanilla
- Vanilla ice cream for a classic pairing
- Champagne or sparkling rosé for adult celebrations
- Milk or hot chocolate for kids’ parties
- Fresh mint leaves as an edible garnish that adds color
- Candied rose petals for an elegant, romantic touch
Variations of Pink Velvet Cake
Once you’ve mastered the classic version, these variations let you customize the cake for different occasions and flavor preferences.
- Strawberry Pink Velvet by replacing half the vanilla extract with strawberry extract and folding in ½ cup of freeze-dried strawberry powder into the dry ingredients for authentic fruit flavor.
- Pink Champagne Velvet by substituting the milk with pink champagne and adding 1 tablespoon of champagne to the frosting for a sophisticated adult version.
- Ombre Pink Velvet by dividing the batter into three bowls and adding progressively more food coloring to each portion, creating beautiful gradient layers from light to dark pink.
- Raspberry Pink Velvet by spreading seedless raspberry jam between the layers in addition to the cream cheese frosting for extra moisture and fruity flavor.
- Pink Velvet Cupcakes by dividing the batter into 24 cupcake liners and baking at 350°F for 18 to 20 minutes, perfect for parties and easier portion control.
- Chocolate Pink Velvet by adding 2 tablespoons of cocoa powder to the dry ingredients for a flavor that bridges the gap between pink and red velvet.
- Lemon Pink Velvet by adding 2 tablespoons of lemon zest to the batter and 1 tablespoon of lemon juice to the frosting for a bright, citrusy twist.
- Pink Velvet Bundt Cake by using a bundt pan greased and floured thoroughly, baking at 325°F for 45 to 55 minutes, and glazing instead of frosting.
For more cake ideas, check out my Pumpkin Cheesecake Recipe for another show-stopping dessert.
Storage and Reheating
Proper storage keeps your pink velvet cake tasting fresh and maintaining that perfect texture for days after baking.
Room Temperature Storage:
- Cover the cake with a cake dome or large bowl to protect it from air exposure.
- Store at room temperature for up to 2 hours if the cake is frosted with cream cheese frosting.
- Do not leave frosted cake at room temperature longer than 2 hours due to the dairy in the frosting.
- Unfrosted cake layers can stay at room temperature, wrapped tightly in plastic wrap, for up to 2 days.
Refrigerator Storage:
- Place the frosted cake in an airtight container or cover it completely with plastic wrap.
- Store in the refrigerator for up to 5 days.
- Always remove the cake from the fridge 30 to 45 minutes before serving to allow it to come to room temperature for the best flavor and texture.
- Cold cake tastes muted and the texture is firmer than it should be.
Freezer Storage:
- Freeze unfrosted cake layers wrapped tightly in plastic wrap, then aluminum foil, for up to 3 months.
- You can also freeze the fully assembled and frosted cake by placing it in the freezer uncovered for 30 minutes to firm up the frosting, then wrapping it carefully.
- Thaw frozen cake layers or whole cakes in the refrigerator overnight.
- Bring to room temperature before serving for the best taste and texture.
Reheating:
- This cake is meant to be served at room temperature, not reheated.
- If you must warm a slice, microwave for 5 to 8 seconds only to take the chill off.
- Avoid reheating the entire cake as it can cause the frosting to melt and slide.
Try my Red Velvet Cheesecake Cake Recipe for another delicious velvet cake variation.
Nutritional Facts
Per slice (based on 12 servings):
- Calories: 685
- Total Fat: 32g
- Saturated Fat: 18g
- Cholesterol: 125mg
- Sodium: 380mg
- Total Carbohydrates: 95g
- Dietary Fiber: 0.5g
- Sugars: 78g
- Protein: 6g
- Calcium: 95mg
- Iron: 1.2mg
Note: Nutritional information is approximate and will vary based on exact ingredients and portion sizes used.
Health Benefits of Key Ingredients
While pink velvet cake is definitely an indulgent treat, some of the ingredients do offer nutritional benefits beyond just tasting amazing.
Eggs provide high-quality protein and contain essential vitamins like B12, riboflavin, and vitamin D. The yolks are rich in choline, which supports brain health and metabolism.
- Buttermilk contains probiotics that support digestive health and gut bacteria balance
- Calcium and vitamin D from dairy ingredients support bone health and immune function
- Vanilla extract contains trace amounts of antioxidants and has been linked to mood improvement
- Butter provides fat-soluble vitamins A, D, E, and K when consumed in moderation
- Eggs deliver complete protein with all nine essential amino acids your body needs
Read Also: Eggnog Cake Recipe
FAQs About Pink Velvet Cake
1. What’s the difference between pink velvet cake and red velvet cake?
The main difference is the cocoa powder. Red velvet cake contains 2 to 3 tablespoons of cocoa powder, which gives it a subtle chocolate flavor and requires more red food coloring to overcome the brown tint.
Pink velvet cake has no cocoa powder, so the vanilla flavor is more prominent and you need less food coloring to achieve that pretty pink hue. Both cakes share the same velvety texture from the buttermilk and vinegar combination.
2. Can I make this cake ahead of time?
Absolutely, and I actually recommend it. You can bake the cake layers up to 2 days in advance, wrap them tightly in plastic wrap, and store them at room temperature.
For even more convenience, freeze the unfrosted layers for up to 3 months. The frosted cake can be assembled and refrigerated up to 2 days before serving, which makes it perfect for party planning.
3. Why is my pink velvet cake dense instead of fluffy?
Dense cake usually results from one of three issues: overmixing the batter, using all-purpose flour instead of cake flour, or not using room temperature ingredients. Overmixing develops too much gluten, creating a tough texture.
Cake flour has less protein than all-purpose, which is essential for that tender crumb. Cold ingredients don’t emulsify properly and can cause the batter to separate or become heavy.
4. Can I use liquid food coloring instead of gel?
You can, but I don’t recommend it. Liquid food coloring is much less concentrated than gel, so you’ll need to use a lot more to get a vibrant pink color.
This extra liquid throws off the moisture balance in your batter, potentially resulting in a cake that doesn’t rise properly or has a gummy texture. Gel coloring gives you intense color with just ½ to 1 teaspoon.
5. How do I get perfectly level cake layers?
The secret is using cake strips, which are strips of fabric you soak in water and wrap around your pans before baking. They insulate the sides of the pan so the edges don’t set faster than the center, preventing that domed top.
You can also simply trim the domed tops off with a serrated knife or cake leveler after the layers cool. Weighing your batter into each pan also ensures equal layer heights.
You might also enjoy: Fruit Cocktail Cake Recipe
Pink Velvet Cake
Ingredients
- 2 1/2 cups cake flour - 300g, spooned and leveled
- 2 cups granulated sugar - 400g
- 1 teaspoon baking soda
- 1 teaspoon baking powder
- 1/2 teaspoon salt
- 1 cup buttermilk - 240ml, room temperature
- 1/2 cup whole milk - 120ml, room temperature
- 1/2 cup unsalted butter - 112g, room temperature
- 1/2 cup vegetable oil - 120ml
- 3 large eggs - room temperature
- 2 teaspoons pure vanilla extract
- 1 tablespoon white vinegar
- 1-2 teaspoons pink gel food coloring - adjust for desired shade
- 16 ounces cream cheese - 452g, full-fat, room temperature
- 1 cup unsalted butter - 226g, room temperature
- 6 cups powdered sugar - 720g, sifted
- 2 teaspoons pure vanilla extract
- 1/4 teaspoon salt
- 2-3 tablespoons heavy cream - if needed for consistency
Equipment
- Three 8-inch round cake pans - 2-inch deep
- Parchment paper rounds
- Stand mixer or handheld electric mixer
- Large mixing bowls - at least 2
- Whisk
- Rubber spatula
- Measuring cups and spoons
- Kitchen scale - recommended for accuracy
- Offset spatula - for frosting
- Wire cooling racks
- Toothpick or cake tester
- Cake turntable - optional but helpful
- Piping bags and tips - for decoration (optional)
Method
- Preheat oven to 350°F (175°C). Grease three 8-inch round cake pans, line with parchment paper, and grease the parchment.
- In a large bowl, whisk together cake flour, sugar, baking soda, baking powder, and salt for 30 seconds.
- In a separate bowl, whisk together buttermilk, milk, oil, eggs, vanilla extract, and vinegar until combined.
- Beat butter on medium speed for 2 minutes. Add dry ingredients on low speed and mix until mixture resembles coarse sand.
- Slowly add wet ingredients in three additions, mixing after each. Add pink gel food coloring and mix until evenly distributed.
- Divide batter evenly among prepared pans (about 600g each). Bake for 28-32 minutes until a toothpick comes out with moist crumbs.
- Cool in pans for 15 minutes, then invert onto wire racks. Remove parchment and cool completely, 1-2 hours.
- Beat cream cheese and butter on medium-high for 3 minutes until fluffy. Add powdered sugar gradually, then vanilla and salt. Beat 2-3 minutes, adding cream if needed.
- Level cake layers with a serrated knife. Place first layer on serving plate, spread 1 cup frosting on top. Repeat with second layer, then add third layer.
- Apply thin crumb coat over entire cake and refrigerate 20-30 minutes. Apply final thick layer of frosting and smooth with offset spatula.
- Decorate with piped frosting, sprinkles, or fresh berries as desired. Refrigerate 30 minutes to set, then bring to room temperature 15-20 minutes before serving.
Nutrition
Notes
- All ingredients must be at room temperature for proper emulsification and texture.
- Use gel food coloring instead of liquid to achieve vibrant color without adding excess moisture.
- Cake flour is essential for the tender velvet texture; do not substitute with all-purpose flour.
- Weigh cake pans to ensure even layers by adding equal amounts of batter to each pan.
- Store frosted cake in refrigerator for up to 5 days; bring to room temperature before serving.
- Unfrosted cake layers can be frozen for up to 3 months wrapped tightly in plastic wrap and foil.
- For easier handling, freeze cooled layers for 30 minutes before assembling.
- Pink champagne variation: Replace milk with pink champagne for adult celebrations.
- Make cupcakes: Divide batter into 24 liners and bake 18-20 minutes at 350°F.
- Test doneness at 28 minutes; toothpick should have moist crumbs, not come out completely clean.
Private Notes
Tried this recipe?
Let us know how it was!Final Thoughts
This Pink Velvet Cake Recipe has become my signature dessert for celebrations, and I can’t tell you how many times I’ve been asked to make it for birthdays, showers, and Valentine’s Day parties. The combination of that gorgeous pink color, incredibly moist texture, and perfectly balanced cream cheese frosting never fails to impress.
I love how versatile this cake is—you can keep it simple with smooth frosting or go all out with elaborate decorations. Either way, you’re going to have a stunning centerpiece that tastes every bit as good as it looks.
Give this recipe a try for your next special occasion and watch everyone’s faces light up when you bring it to the table. I’d love to hear how it turns out for you, so drop a comment below and let me know if you tried any of the variations!
Recommended:
- White Velvet Cake Recipe
- Red Velvet Cake Recipe
- Black Velvet Cake Recipe
- Blue Velvet Cake Recipe
- Red Velvet Cheesecake Cake Recipe
- Pumpkin Cheesecake Recipe
- Eggnog Cake Recipe
- Fruit Cocktail Cake Recipe
- Chocolate Chip Cookies Recipe
- Creme Brulee Cheesecake Recipe