
I first stumbled onto Japanese Sweet Potato Recipe territory after a trip to a local Asian grocery store where I spotted these gorgeous purple-skinned potatoes labeled “Murasaki.” I grabbed a few on a whim, not entirely sure what I was getting myself into.
What followed was one of the best accidental kitchen discoveries of my life. These aren’t your regular orange sweet potatoes — they’re denser, nuttier, almost chestnut-like in flavor, and when you bake them low and slow, they develop a candy-like sweetness that feels borderline magical.
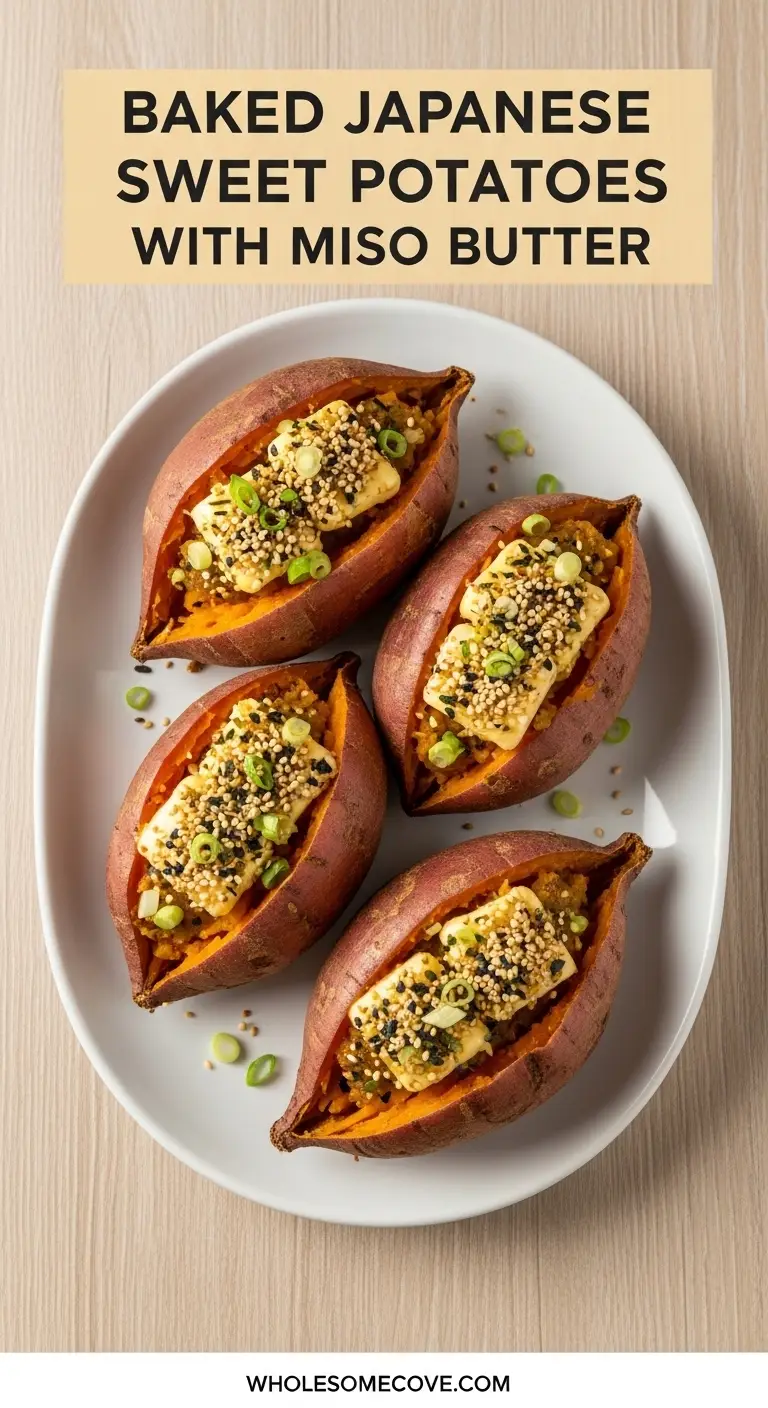
The classic way to enjoy Japanese sweet potatoes is as Yaki Imo (焼き芋), a beloved Japanese street food where whole potatoes are slow-baked until incredibly tender and sweet. That’s the foundation of this recipe, with a simple miso butter finish that takes each bite to a whole new level.
I’ve made these probably a dozen times now, and I’ll be the first to tell you: the biggest mistake I made early on was rushing them in a hot oven. Low and slow is everything with these beauties. Trust the process, and you’ll be rewarded.
| Quick Recipe Summary | |
|---|---|
| Prep Time | 10 minutes |
| Cook Time | 75 minutes |
| Total Time | 85 minutes |
| Servings | 4 servings |
| Difficulty Level | Easy |
If you love baked sweet potato dishes, you might also enjoy this Baked Sweet Potato Recipe as a great companion to this one.
Why You’ll Love This Japanese Sweet Potato Recipe
This recipe strips things back to the bare essentials, and that’s exactly what makes it so special. You only need a handful of ingredients to create something that tastes genuinely impressive.
The natural sweetness that develops during slow baking is unlike anything a regular sweet potato can produce. It almost tastes like dessert, even when eaten as a side dish.
The miso butter topping adds a beautiful salty-umami contrast that makes every bite feel perfectly balanced. It’s one of those combinations that just makes sense the second it hits your tongue.
This is also a naturally gluten-free, vegetarian-friendly recipe that works for a huge range of dietary needs. You don’t need any fancy techniques or special equipment to pull it off.
Making these is genuinely hands-off once they go in the oven. That frees you up to prepare the rest of your meal without stress.
- Deeply sweet, nutty flavor that develops naturally through slow baking — no added sugar needed
- Only a few ingredients — the quality of the potato does all the heavy lifting
- Naturally gluten-free and vegetarian — works for many dietary lifestyles without any swaps
- Minimal prep work — just scrub, poke, and bake; the oven handles the rest
- Versatile — serve as a side, a snack, a light meal, or even a healthy dessert
- Meal-prep friendly — these keep well in the fridge for several days and reheat beautifully
- Visually stunning — the golden flesh against the purple skin makes a beautiful presentation on any plate
You might also enjoy making these alongside a bowl of Sweet Potato Soup for a cozy autumn spread.
Ingredients
Japanese sweet potatoes need very little to shine. The goal here is to enhance their natural flavor, not cover it up. I learned this the hard way after over-seasoning a batch early on — the potato itself is the star.
- 4 medium Japanese sweet potatoes (Satsumaimo/Murasaki) (about 2 lbs / 900 g total) — look for firm ones with smooth, unbroken purple skin
- 1 tablespoon (15 ml) olive oil — just enough to lightly coat the skin before baking
- ½ teaspoon (2.5 g) coarse sea salt — for sprinkling over the skin
For the Miso Butter:
- 3 tablespoons (42 g) unsalted butter, softened to room temperature
- 1½ tablespoons (22 g) white miso paste — white (shiro) miso is the mildest and most balanced option
- 1 teaspoon (5 ml) toasted sesame oil — adds incredible depth and nuttiness
- 1 teaspoon (7 g) honey or maple syrup — balances the saltiness of the miso
- 1 tablespoon (9 g) toasted sesame seeds — for garnish
- 2 green onions (scallions), thinly sliced — for a fresh, bright finish
- Furikake seasoning (optional but highly recommended) — a Japanese rice seasoning blend with seaweed, sesame, and salt
Read Also: Roasted Sweet Potato Recipe
Kitchen Equipment Needed
You don’t need anything elaborate for this recipe. I’ve been making these with the same basic setup for over a year, and it works perfectly every time.
- Baking sheet or rimmed sheet pan — to catch any drips from the potatoes as they bake
- Aluminum foil — you can bake the potatoes wrapped for extra moisture, or unwrapped for a crispier skin
- Parchment paper — optional, to line the baking sheet and make cleanup easier
- Fork or chopstick — for piercing the potatoes before baking to allow steam to escape
- Small mixing bowl — for combining the miso butter ingredients
- Silicone pastry brush — for brushing olive oil on the potato skins
- Sharp knife — for slicing the potatoes open once baked
- Instant-read thermometer (optional) — helpful for checking doneness; internal temperature should reach 210°F (99°C)
- Cutting board — for prepping the green onions and slicing the potatoes
For a similar hands-off sweet potato preparation, check out this Air Fryer Sweet Potato Recipe.
Recommended Products for This Recipe
These are products I genuinely use and recommend based on my own experience making this recipe. They’re not required, but they do make a noticeable difference in the final result.
1. White Miso Paste (Shiro Miso)
A good quality white miso paste is the heart of the miso butter topping. It should be smooth, light in color, and mildly sweet with a clean umami finish — not overly salty or pungent. A quality miso will make your butter taste genuinely restaurant-worthy.
2. Furikake Japanese Seasoning
Furikake is one of those pantry staples I wish I’d discovered years earlier. Sprinkling it over your finished miso butter sweet potato adds layers of flavor — toasted sesame, dried seaweed, a little sweetness — that you simply can’t recreate any other way.
3. Nordic Ware Natural Aluminum Baker’s Half Sheet
A sturdy, heavy-gauge baking sheet distributes heat evenly so your sweet potatoes bake consistently from end to end. Thin, cheap sheet pans can cause hot spots and uneven baking — this is one tool worth investing in.
4. Toasted Sesame Oil
A small bottle of good toasted sesame oil goes a long way. The difference between a bland miso butter and a deeply nutty, aromatic one is usually this one ingredient. Don’t skip it.
Another cozy dish you might love alongside these: Kale and Sweet Potato Soup

Step-by-Step Instructions: How to Make Japanese Sweet Potatoes
Step 1: Preheat the Oven and Prepare Your Baking Sheet
- Preheat your oven to 325°F (163°C). This lower temperature is intentional — it allows the enzyme amylase in the potato to slowly convert starches into sugars, giving you a much sweeter result than high-heat roasting.
- Line a rimmed baking sheet with parchment paper or aluminum foil. This step makes cleanup significantly easier, as the potatoes may release some caramelized juices during baking.
- Position the oven rack in the center of the oven to ensure even, all-around heat distribution.
Step 2: Scrub and Dry the Sweet Potatoes
- Rinse all four Japanese sweet potatoes under cold running water, scrubbing the purple skin thoroughly with a vegetable brush or your hands.
- Pat each potato completely dry with a paper towel. Moisture on the skin can prevent it from crisping up properly and can also affect even baking.
- Check each potato for any soft spots, cuts, or bruised areas. If you find any, trim them away with a sharp knife before proceeding.
Step 3: Poke and Oil the Potatoes
- Using a fork or the tip of a chopstick, pierce each potato about 8–10 times all over its surface. This is an important step — the holes allow steam to escape during baking, preventing the potatoes from potentially bursting in the oven.
- Using a silicone pastry brush or your hands, rub approximately 1 tablespoon (15 ml) of olive oil evenly over the skin of each potato. You want a light, even coat — not soaking wet, just glistening.
- Sprinkle a pinch of coarse sea salt over each oiled potato. This will help draw out moisture and season the skin as it bakes.
Step 4: Bake the Sweet Potatoes Low and Slow
- Place the prepared sweet potatoes directly on the lined baking sheet, spaced at least 2 inches apart to allow air circulation around each one.
- Slide the baking sheet into the preheated 325°F (163°C) oven.
- Bake for 70 to 90 minutes. Baking time will vary depending on the size of your potatoes. Begin checking at the 60-minute mark for smaller potatoes.
- To test for doneness, insert a fork, chopstick, or thin knife into the thickest part of the potato. It should slide in with zero resistance, like going through warm butter. Alternatively, use an instant-read thermometer — the internal temperature should read 210°F (99°C).
- Once done, turn off the oven and let the potatoes rest inside the still-warm oven for an additional 10 minutes. This resting period allows residual heat to continue developing their sweetness.
Step 5: Make the Miso Butter
- While the potatoes are in their final baking minutes or resting period, prepare the miso butter.
- In a small mixing bowl, combine the softened unsalted butter (3 tablespoons / 42 g), white miso paste (1½ tablespoons / 22 g), toasted sesame oil (1 teaspoon / 5 ml), and honey or maple syrup (1 teaspoon / 7 g).
- Using a fork or small spatula, mash and stir everything together until completely smooth and well-combined. Taste it — it should be savory, slightly sweet, and deeply aromatic. If you’d like it saltier, add just a tiny pinch more miso. If too salty, add a little more honey.
- Set the miso butter aside at room temperature until the potatoes are ready.
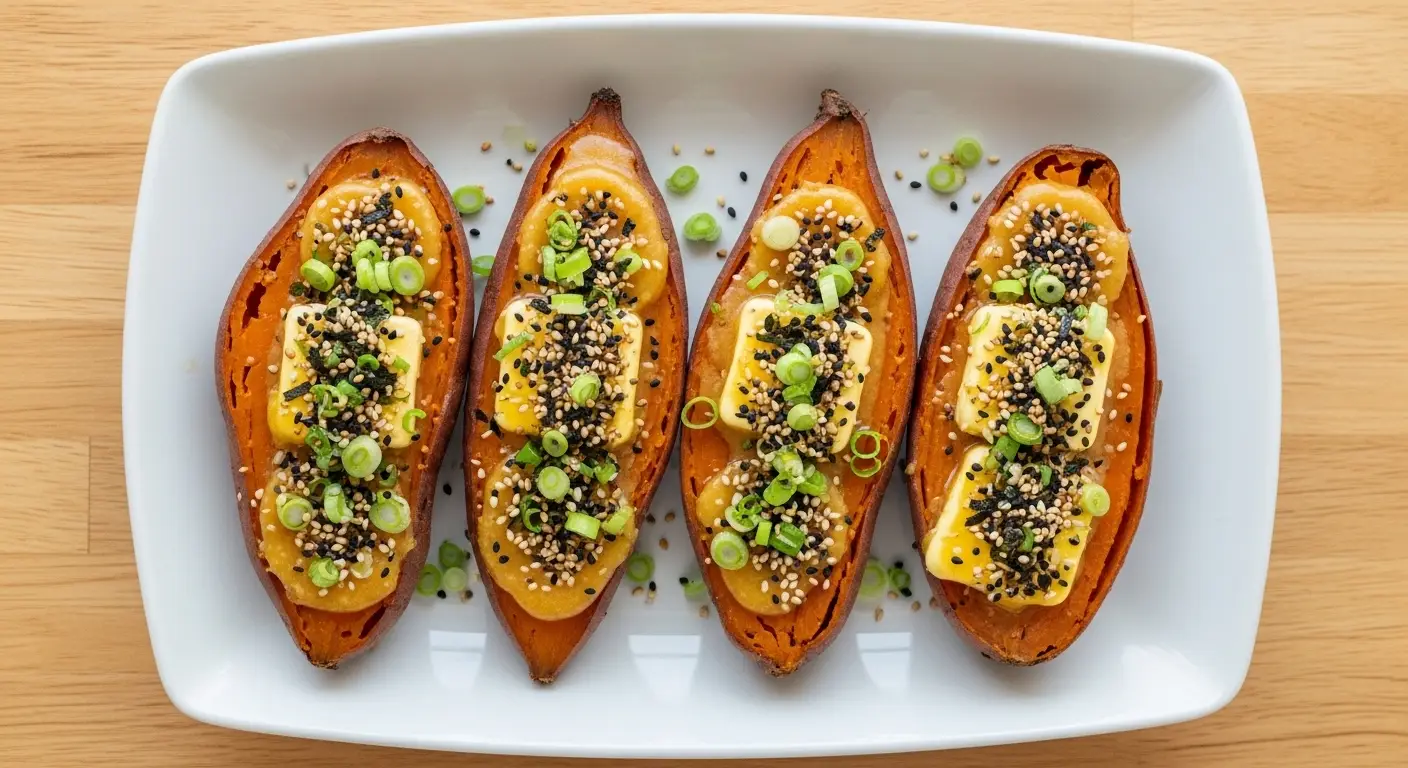
Step 6: Open and Top the Potatoes
- Remove the baked sweet potatoes from the oven. Allow them to cool for 3 to 5 minutes — they’ll be extremely hot inside.
- Using a sharp knife, cut a lengthwise slit down the center of each potato, going about halfway through. Then make a perpendicular crosswise cut to create an “X” shape, which will allow you to push the ends gently to open the potato up like a bloomed flower.
- Push the ends of each potato toward the center to open it up fully, creating a well in the middle to hold the miso butter.
- Spoon a generous portion of miso butter into the opening of each potato — approximately 1 tablespoon per potato, or more if you’re feeling generous.
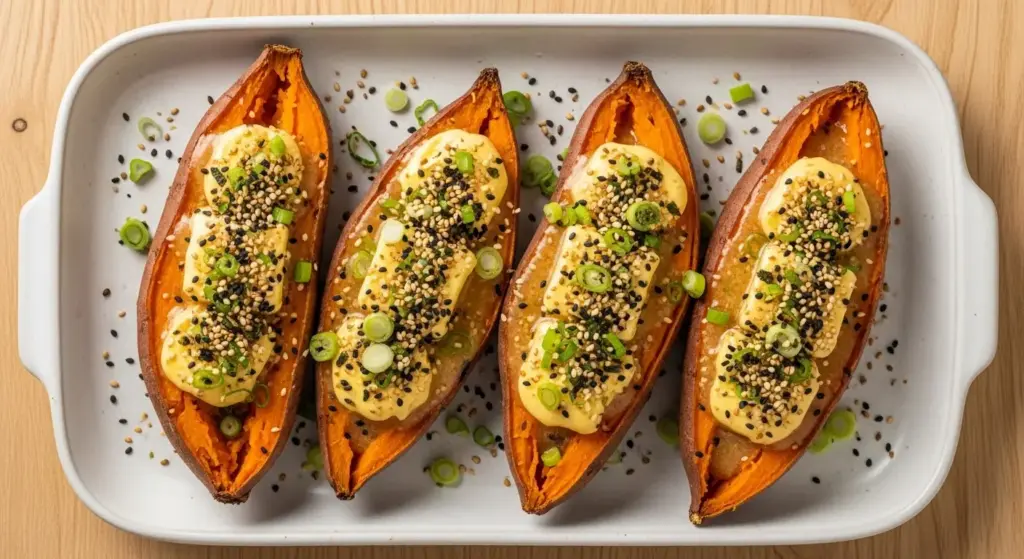
Step 7: Garnish and Serve
- Immediately after adding the miso butter (while the potato is still hot enough to melt it), sprinkle toasted sesame seeds over the top.
- Add thinly sliced green onions for a fresh, bright contrast to the rich butter.
- If you have furikake seasoning on hand, now is the time to use it — a light sprinkle over each potato adds a wonderful burst of umami flavor and visual appeal.
- Serve immediately while hot. The miso butter should be melting into the fluffy potato interior as you eat it.
For another satisfying sweet potato dish, try this Stuffed Sweet Potato Recipe.

Tips for The Best Japanese Sweet Potatoes
Getting Japanese sweet potatoes right comes down to a few key decisions. These are the lessons I’ve learned through multiple batches — some great, some not so much.
- Buy the right potato. Look specifically for Murasaki or Satsumaimo variety sweet potatoes with purple-red skin. Regular orange sweet potatoes won’t give you the same chestnut-like sweetness or fluffy texture. Check Whole Foods, Trader Joe’s, Asian grocery stores, or farmers’ markets.
- Size matters for timing. Medium potatoes (about 8 oz / 225 g each) are the sweet spot. Very large potatoes can take up to 100 minutes, while small ones may be done in 60. Weigh them if you can.
- Never rush with high heat. Baking at 325°F (163°C) activates the amylase enzyme that converts starches to sugars. Cranking the heat to 400°F+ can get the potato cooked, but you’ll miss out on that deep, natural sweetness.
- Use room-temperature butter for the miso compound. Cold butter won’t blend smoothly with the miso paste. Take it out at least 30 minutes before you need it.
- White miso is the right miso. Red miso (aka miso) is much bolder and can overpower the potato’s natural sweetness. White miso (shiro miso) has a gentler, slightly sweet flavor that pairs beautifully here.
- Don’t skip the resting time in the oven. After baking, turning off the oven and letting the potatoes sit inside for 10 extra minutes genuinely improves the texture and flavor. This is a step I almost always skipped early on, and I’m glad I stopped.
- Use foil for moister flesh, go naked for crispier skin. Wrapping the potatoes tightly in aluminum foil before baking results in a softer, more steamed texture inside. Leaving them unwrapped gives you a crispier skin with a slightly drier (but still fluffy) interior. Both are delicious — try it both ways and see what you prefer.
- The poke step is non-negotiable. I once skipped poking a potato and it cracked dramatically in the oven. Always pierce all the way through in at least 8 spots.
Read Also: Sweet Potato and Black Bean Bowls Recipe
What to Serve with Japanese Sweet Potatoes
These baked sweet potatoes are filling enough to eat on their own as a snack or light meal. They also make a beautiful side dish that pairs well with both simple and complex mains.
They complement grilled proteins like teriyaki chicken especially well — try pairing them with Teriyaki Grilled Chicken for a complete Asian-inspired dinner.
- Grilled salmon — the richness of the fish and the sweet potato’s nuttiness is an outstanding combination; try the Grilled Salmon with Dill Sauce
- Miso soup — a classic Japanese pairing that ties the whole meal together with warm, comforting broth
- Steamed edamame — a simple, protein-rich side that complements the sweet potato without competing with it
- Asian Chicken Lettuce Cups — the contrast of the crispy lettuce cups against the soft, creamy potato makes a well-rounded plate; find the recipe for Asian Chicken Lettuce Cups
- Simple green salad — a lightly dressed arugula or spinach salad with a soy-ginger vinaigrette keeps things feeling fresh and balanced
- Brown rice or cauliflower rice — rounds out the meal with additional complex carbohydrates and makes it more filling
- Mochi waffles — for a creative brunch spread, serve alongside Mochi Waffles for a fun Japanese-inspired meal
- Tofu and veggie stir fry — keeps the meal plant-based from start to finish; the Tofu and Veggie Stir Fry with Brown Rice is a personal favorite pairing
Variations of Japanese Sweet Potatoes
The base baked potato method stays the same across all of these, but the toppings and finishing touches are where you can really get creative. I’ve tried most of these myself at various points.
- Daigaku Imo (Candied Japanese Sweet Potatoes): Peel and cube the potatoes, then deep-fry or pan-fry in oil until crispy. Toss immediately with a sauce made from soy sauce, sugar, sesame oil, and black sesame seeds. This is a popular Japanese street food that leans fully sweet and sticky.
- Tahini Miso Butter: Swap out some of the butter for tahini (sesame paste) for an even nuttier, more complex topping. Add a squeeze of lime juice at the end for brightness.
- Spicy Gochujang Butter: Mix softened butter with gochujang (Korean chili paste), a drop of sesame oil, and a little honey. This gives you sweet heat that plays beautifully against the potato’s natural sweetness.
- Maple Cinnamon Version: For a sweeter, American-inspired take, top the baked potato with butter, maple syrup, a pinch of cinnamon, and a sprinkle of flaky sea salt. Skip the miso entirely.
- Twice-Baked Japanese Sweet Potato: Scoop out the cooked flesh, mash it with miso, butter, and a spoonful of cream, then stuff it back into the skin and bake at 400°F (200°C) for 15 minutes until golden on top.
- Vegan Version: Swap the unsalted butter for high-quality vegan butter or coconut oil, and use maple syrup instead of honey. The result is just as satisfying.
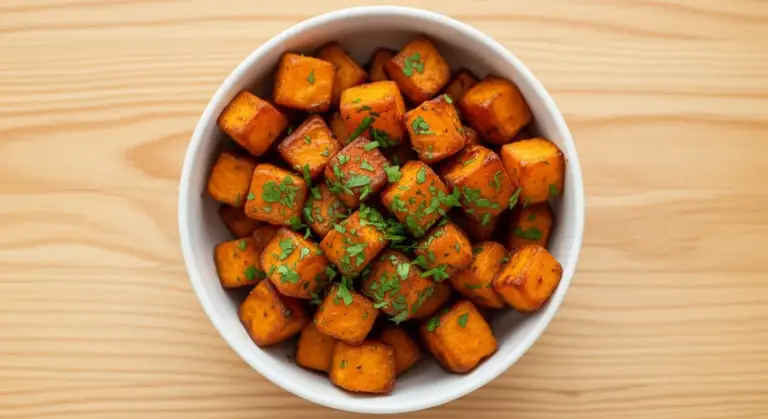
- Sweet Potato Fries Style: Slice the raw Japanese sweet potato into thick wedges or fries, toss with sesame oil and soy sauce, and roast at 400°F (200°C) for 30–35 minutes — inspired by the Sweet Potato Fries Recipe
Read Also: Mashed Sweet Potato Recipe
Storage and Reheating
Japanese sweet potatoes store very well, which makes them ideal for meal prep. I always bake a few extra to have ready throughout the week.
- Refrigerator storage: Allow baked sweet potatoes to cool completely to room temperature before storing. Wrap each one individually in plastic wrap or place in an airtight container. They’ll keep in the fridge for up to 5 days.
- Freezer storage: Wrap fully cooled potatoes tightly in plastic wrap, then place in a freezer-safe zip-top bag with as much air removed as possible. They’ll keep in the freezer for up to 1 month. Thaw overnight in the refrigerator before reheating.
- Oven reheating (best method): Preheat the oven to 350°F (175°C). Place the cold potato on a baking sheet and bake for 15–20 minutes until heated through. This is the best way to preserve the texture and bring back some of that crispy skin.
- Microwave reheating (fastest method): Wrap the potato in a damp paper towel and microwave on high for 2–3 minutes, flipping halfway through. The texture will be slightly softer and the skin won’t be as crispy, but the flavor will still be great.
- Miso butter storage: Store leftover miso butter separately in a small airtight container in the refrigerator for up to 2 weeks. It also freezes well for up to 3 months — roll it into a log in plastic wrap for easy portioning.
Another great potato dish to make ahead: Sweet Potato Casserole Recipe
Nutritional Facts
The following values are estimates per serving (1 medium Japanese sweet potato with approximately 1 tablespoon miso butter). Exact values will vary based on the size of your potato.
| Nutrient | Per Serving |
|---|---|
| Calories | ~280 kcal |
| Carbohydrates | 52 g |
| Protein | 4 g |
| Fat | 9 g |
| Saturated Fat | 5 g |
| Fiber | 7 g |
| Sugar | 14 g |
| Sodium | 310 mg |
| Potassium | 950 mg |
| Vitamin A | 35,000 IU |
| Vitamin C | 30 mg |
| Calcium | 70 mg |
| Iron | 1.5 mg |
You might also love making Pork and Sweet Potato Stew for a hearty way to use these potatoes.
Health Benefits of Key Ingredients
Japanese sweet potatoes are genuinely one of the most nutrient-dense foods you can put on your plate. The miso butter topping adds its own set of meaningful benefits, making this a snack or side dish that actually works for your body.
Here’s a breakdown of what each key ingredient brings to the table:
- Japanese sweet potatoes (Satsumaimo): Packed with beta-carotene, which converts to Vitamin A in the body and supports eye health, skin health, and immune function. They’re also an excellent source of Vitamin C, potassium, and dietary fiber. Their lower glycemic index compared to regular potatoes means they release energy more steadily, helping to keep blood sugar levels stable.
- White miso paste: A fermented food that contains beneficial probiotics to support gut health. Miso is also a source of B vitamins, manganese, copper, and zinc. The fermentation process also increases the bioavailability of nutrients, meaning your body can absorb them more easily.
- Toasted sesame oil: Rich in heart-healthy monounsaturated and polyunsaturated fats. Sesame oil also contains sesamol and sesamin, antioxidants that have been studied for their anti-inflammatory properties.
- Sesame seeds: A surprisingly good source of calcium and magnesium, both critical for bone health. They also provide protein, healthy fats, and small amounts of iron and zinc.
- Green onions (scallions): A low-calorie source of Vitamin K, which plays a key role in blood clotting and bone metabolism. They also contain quercetin, an antioxidant with anti-inflammatory properties.
- Honey: Contains trace antioxidants and has antimicrobial properties. When used in small amounts as here, it rounds out flavor while keeping sugar additions minimal.
- Olive oil: A cornerstone of anti-inflammatory eating, olive oil provides heart-healthy oleic acid and fat-soluble antioxidants called polyphenols.
For another healthy sweet potato option, try the Chicken and Sweet Potato Recipe for a protein-packed meal.
FAQs About Japanese Sweet Potatoes
1. Where can I find Japanese sweet potatoes?
Look for them at Whole Foods, Trader Joe’s (often labeled as Murasaki sweet potatoes), Asian or Japanese grocery stores, and some farmers’ markets in fall and winter. They’re increasingly available year-round at well-stocked grocery stores.
They can also be ordered from specialty produce online retailers if you can’t find them locally.
2. Can I use regular orange sweet potatoes instead?
You can, but the result will be noticeably different. Orange sweet potatoes have a higher moisture content and a less complex flavor than Japanese ones.
If using orange sweet potatoes, increase the oven temperature to 400°F (200°C) and reduce the baking time to 45–55 minutes.
3. Do I need to peel the skin before eating?
No — the skin of a baked Japanese sweet potato is perfectly edible and many people actually enjoy it. The skin gets slightly caramelized and crispy during baking.
If you prefer to eat only the flesh, simply scoop it out with a spoon after the potato has been opened.
4. Why are my sweet potatoes not sweet enough?
This is almost always a temperature issue. Baking at too high a temperature deactivates the amylase enzyme before it can fully convert starches to sugars.
Try dropping your oven temperature to 325°F (163°C) and extending the bake time. The longer, slower cook makes a significant difference.
5. Can I make the miso butter ahead of time?
Absolutely — the miso butter actually improves after resting in the fridge overnight as the flavors meld together. Make it up to a week ahead and store it in an airtight container in the refrigerator.
You can also roll it into a log using plastic wrap and freeze it for up to 3 months, slicing off portions as needed.
Read Also: Sweet Potato Bread Recipe
Japanese Sweet Potatoes (Yaki Imo Style with Miso Butter)
Ingredients
- 4 medium Japanese sweet potatoes (Satsumaimo/Murasaki) - about 2 lbs / 900g total; look for firm ones with smooth, unbroken purple skin
- 1 tbsp olive oil - 15ml; just enough to lightly coat the skin before baking
- 1/2 tsp coarse sea salt - 2.5g; for sprinkling over the skin
- 3 tbsp unsalted butter - 42g; softened to room temperature
- 1 1/2 tbsp white miso paste (shiro miso) - 22g; white miso is the mildest and most balanced option
- 1 tsp toasted sesame oil - 5ml; adds depth and nuttiness
- 1 tsp honey or maple syrup - 7g; balances the saltiness of the miso
- 1 tbsp toasted sesame seeds - 9g
- 2 green onions (scallions) - thinly sliced
- furikake seasoning - (optional but highly recommended) Japanese rice seasoning blend with seaweed, sesame, and salt
Equipment
- Baking sheet or rimmed sheet pan - To catch drips from the potatoes as they bake
- Aluminum foil - For wrapping potatoes or lining the baking sheet
- Parchment paper - (optional) To line the baking sheet for easier cleanup
- Fork or chopstick - For piercing the potatoes before baking
- Small mixing bowl - For combining the miso butter ingredients
- Silicone pastry brush - For brushing olive oil onto the potato skins
- Sharp knife - For slicing the potatoes open once baked
- Instant-read thermometer - (optional) For checking doneness; internal temperature should reach 210°F (99°C)
- Cutting board - For prepping the green onions and slicing the potatoes
Method
- Preheat your oven to 325°F (163°C) and line a rimmed baking sheet with parchment paper or aluminum foil. Position the oven rack in the center for even heat distribution.
- Rinse the sweet potatoes under cold running water, scrubbing the skin thoroughly, then pat each one completely dry with a paper towel. Trim away any soft spots or bruised areas.
- Pierce each potato 8–10 times all over with a fork or chopstick, then rub evenly with olive oil and sprinkle with coarse sea salt.
- Place the potatoes on the prepared baking sheet spaced at least 2 inches apart and bake at 325°F (163°C) for 70–90 minutes, until a fork slides in with zero resistance or an instant-read thermometer reads 210°F (99°C).
- Turn off the oven and leave the potatoes inside for an additional 10 minutes to allow residual heat to continue developing their sweetness.
- While the potatoes rest, combine the softened butter, white miso paste, toasted sesame oil, and honey in a small bowl and mash together with a fork until completely smooth. Taste and adjust saltiness or sweetness as desired.
- Remove the potatoes from the oven, let cool 3–5 minutes, then cut an X-shaped slit into the top of each one and gently push the ends toward the center to open them up like a flower.
- Spoon about 1 tablespoon of miso butter into the opening of each hot potato, then immediately garnish with toasted sesame seeds, sliced green onions, and furikake if using. Serve at once.
Nutrition
Notes
- Low and slow is essential: Baking at 325°F (163°C) activates the amylase enzyme that converts starches into sugars. Increasing the temperature will cook the potato faster but significantly reduce its natural sweetness.
- Use the right potato: Look specifically for Murasaki or Satsumaimo sweet potatoes with purple-red skin at Whole Foods, Trader Joe’s, Asian grocery stores, or farmers’ markets. Regular orange sweet potatoes won’t produce the same chestnut-like flavor.
- Size affects timing: Medium potatoes (about 8 oz / 225g each) are the sweet spot. Small ones may be done in 60 minutes; very large ones can take up to 100 minutes.
- Don’t skip poking: Piercing the potatoes at least 8 times in all sides is essential to allow steam to escape and prevent cracking or bursting in the oven.
- Softened butter matters: Take the butter out at least 30 minutes before making the miso compound — cold butter won’t blend smoothly with miso paste.
- White miso only: Red miso (aka miso) is much bolder and can overpower the potato’s natural sweetness. Stick to white (shiro) miso for the best balance.
- Foil vs. unwrapped: Wrapping potatoes in foil before baking gives a softer, more steamed texture. Leaving them unwrapped gives crispier skin with a slightly drier but still fluffy interior.
- Make-ahead miso butter: The miso butter actually improves overnight as flavors meld. Store in an airtight container in the fridge for up to 1 week, or freeze rolled in plastic wrap for up to 3 months.
- Storage: Baked potatoes keep in the fridge for up to 5 days wrapped individually, or in the freezer for up to 1 month. Reheat in a 350°F (175°C) oven for 15–20 minutes for best results.
- Vegan option: Swap unsalted butter for high-quality vegan butter or coconut oil, and use maple syrup instead of honey.
Private Notes
Tried this recipe?
Let us know how it was!Final Thoughts
If you’ve never made a Japanese sweet potato recipe before, this is the one to start with. The low-and-slow baking method is practically foolproof, and that miso butter topping is the kind of thing you’ll want to put on everything.
I genuinely believe this will become a weekly staple in your kitchen the way it has in mine.
Give it a try, and let me know in the comments how it went! I’d love to hear whether you stuck with the classic miso butter or tried one of the variations — drop your experience below and share it with anyone who deserves a seriously good sweet potato in their life.
Recommended:
- Sweet Potato Pie Recipe
- Sweet Potato Soup Recipe
- Sweet Potato Fries Recipe
- Pork and Sweet Potato Stew
- Healthy Fried Rice Recipe
- Summer Vegetable Stir Fry Recipe
- Cauliflower Fried Rice with Tofu Recipe
- Teriyaki Sauce Recipe
- Air Fryer Sesame Pork Skewers Recipe
- Baked Salmon with Asparagus and Lemon Recipe

