
I never thought much about brown gravy until I hosted my first Thanksgiving dinner. I’d roasted a beautiful turkey, prepared all the sides, and then realized I had no idea how to make a decent gravy without relying on those salty packet mixes.
That first attempt was a disaster. My gravy was lumpy, pale, and tasted like flour soup. My grandmother would have been horrified.
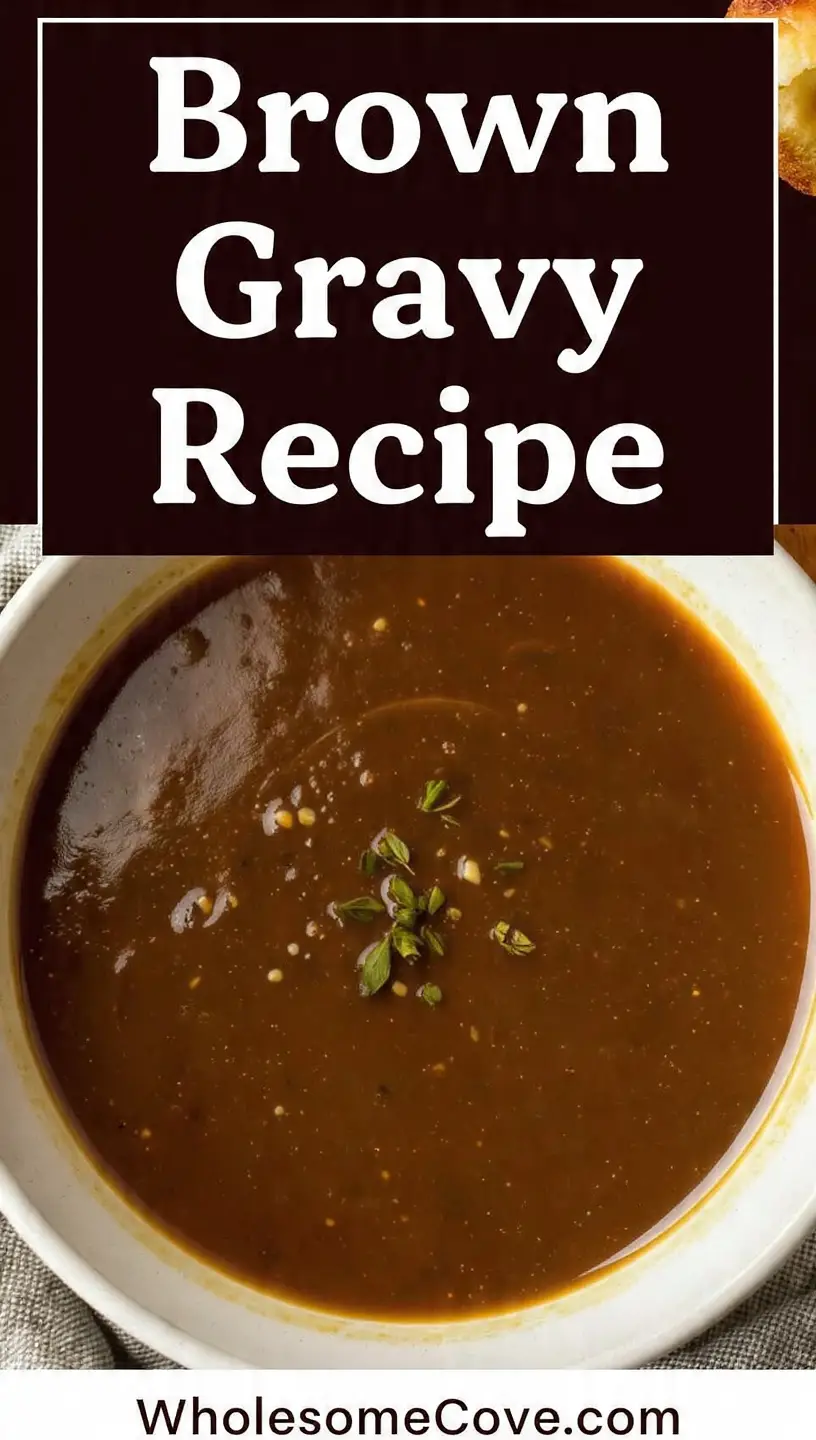
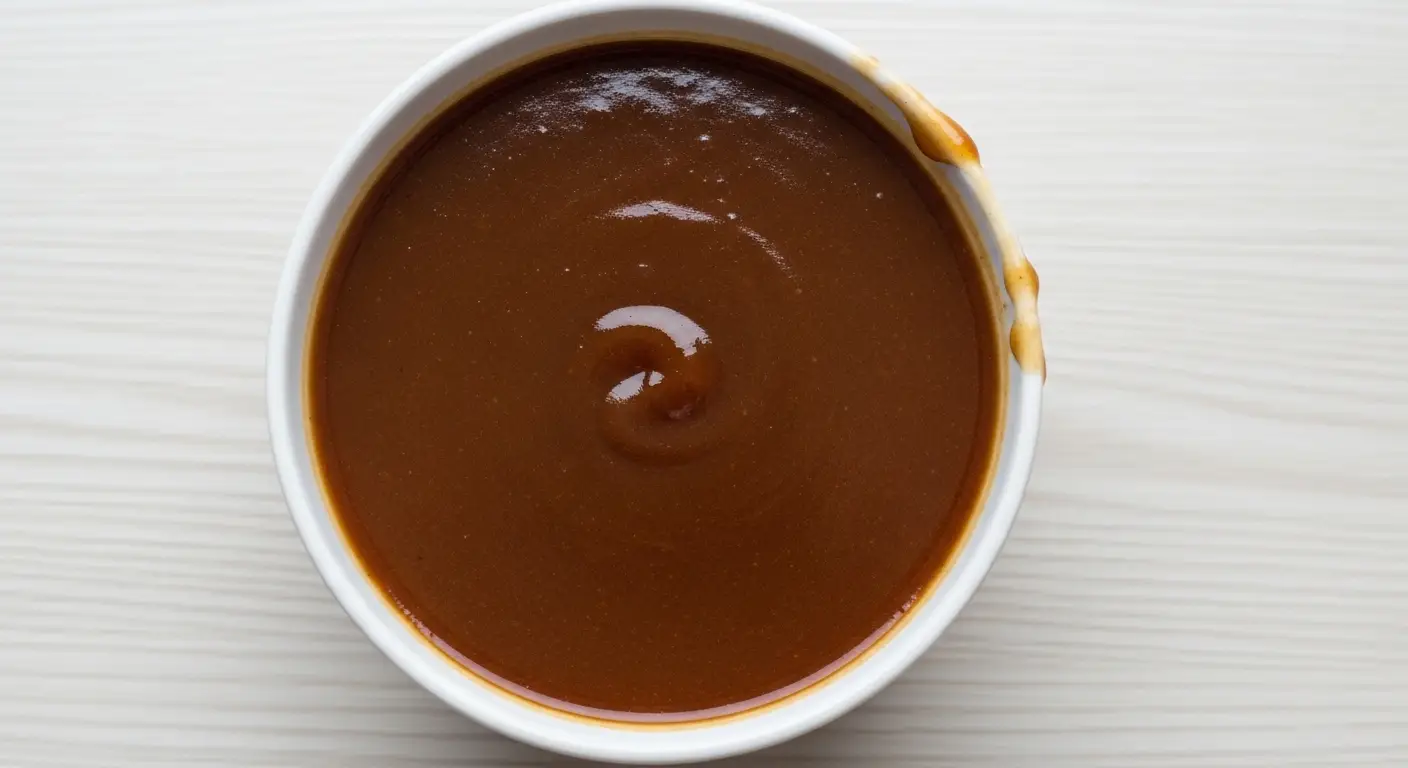
After years of trial and error, I’ve perfected this brown gravy recipe that works every single time. The best part? You don’t need pan drippings to make it rich and flavorful.
This recipe relies on beef broth, a proper roux, and a few secret ingredients that add incredible depth. I’ve made this gravy for holiday dinners, weeknight pot roasts, and lazy Sunday breakfasts over biscuits.
| Quick Recipe Summary | |
|---|---|
| Prep Time | 3 minutes |
| Cook Time | 10 minutes |
| Total Time | 13 minutes |
| Servings | 8 servings (2 cups) |
| Difficulty Level | Easy |
If you’re looking for more rich, savory sauces to complement your meals, my Worcestershire Sauce Recipe is another pantry staple worth mastering.
Why You’ll Love This Brown Gravy Recipe
This gravy has saved more dinners in my house than I can count. It’s the kind of recipe you’ll make once and keep coming back to for the rest of your life.
Here’s what makes this brown gravy recipe special:
- No drippings required – Make perfect gravy any night of the week without roasting meat first
- Ready in 10 minutes – From start to finish, this gravy comes together faster than heating up a jar
- Rich, deep flavor – The combination of beef broth, Worcestershire sauce, and properly browned roux creates restaurant-quality taste
- Versatile – Pour it over mashed potatoes, roasted chicken, meatloaf, biscuits, or even fries
- Budget-friendly – Uses basic pantry ingredients that cost a fraction of store-bought gravy
- Gluten-free option available – Simply swap the flour for cornstarch using a slurry method
Ingredients
This recipe keeps things simple with ingredients you probably already have in your pantry. I’ve tested this with different brands of broth and various types of butter, and it works beautifully every time.
For the Gravy:
- 4 tablespoons unsalted butter
- 4 tablespoons all-purpose flour
- 2 cups beef broth or beef stock (I prefer low-sodium)
- 1 tablespoon Worcestershire sauce
- 1/2 teaspoon garlic powder
- 1/2 teaspoon onion powder
- 1/4 teaspoon black pepper
- Salt to taste
- Optional: 2-3 drops Kitchen Bouquet browning sauce for deeper color
Ingredient Notes:
The butter is what creates the foundation of your roux, so don’t skip it. I learned the hard way that margarine doesn’t give the same silky texture.
I always use low-sodium beef broth because it gives me better control over the final saltiness. If you’re using regular broth or bouillon cubes, go easy on adding extra salt.
The Worcestershire sauce is my secret weapon. It adds an umami depth that makes people think you’ve been simmering this gravy for hours.
You might also enjoy my Cheese Sauce Recipe for another versatile sauce option.
Kitchen Equipment Needed
You don’t need fancy equipment to make amazing brown gravy. These are the basic tools I use every single time, and they’ve never let me down.
Essential Equipment:
- Medium saucepan or skillet (2-3 quart capacity)
- Wire whisk
- Measuring cups and spoons
- Small bowl (for optional cornstarch slurry method)
Equipment Tips:
Use a saucepan with a heavy bottom to prevent burning. I ruined more than one batch of gravy in a thin, cheap pan before investing in better cookware.
A proper wire whisk is non-negotiable. I tried using a fork once when my whisk was dirty, and ended up with lumpy gravy that I had to strain.
If you’re making gravy regularly, a flat-bottomed whisk works even better than a balloon whisk for getting into the corners of your pan.
Recommended Products for This Recipe
After making brown gravy countless times, I’ve found a few products that genuinely make the process easier and the results better. These aren’t just random recommendations but tools and ingredients I actually use in my own kitchen.
1. Better Than Bouillon Beef Base
This concentrated beef paste adds incredible depth of flavor that regular broth can’t match. I keep a jar in my fridge and add about half a teaspoon to my gravy for extra richness. It’s also perfect when you need to boost weak-tasting broth.
2. OXO Good Grips 11-Inch Balloon Whisk
This whisk changed my gravy game. The comfortable grip means I can whisk continuously without hand fatigue, and the wire design breaks up any flour clumps instantly. I’ve had mine for five years and it still works like new.
3. All-Clad Stainless Steel Saucepan
Yes, it’s an investment, but this saucepan distributes heat so evenly that I never have to worry about scorching my roux. The heavy bottom means I can cook over medium heat without hot spots. If you make gravy often, it’s worth every penny.
4. Kitchen Bouquet Browning and Seasoning Sauce
Just 2-3 drops of this stuff transforms pale gravy into the deep, rich brown color you’d expect from hours of simmering. It doesn’t change the flavor much but makes your gravy look absolutely professional.
Another fantastic sauce to try is my Bechamel Sauce Recipe, which uses a similar roux technique.
Step-by-Step Instructions: How to Make Brown Gravy
I’m going to walk you through this process exactly how I do it in my kitchen. Don’t rush the roux step because that’s where all the flavor develops.
1. Make the Roux
- Place your saucepan over medium heat and add the 4 tablespoons of butter
- Let the butter melt completely, swirling the pan occasionally to coat the bottom evenly
- Once the butter is fully melted and begins to foam slightly, add the 4 tablespoons of flour all at once
- Immediately start whisking vigorously to combine the flour and butter into a smooth paste
- Continue whisking constantly for 2-3 minutes until the roux turns a light golden brown color and develops a nutty aroma
- The mixture should bubble gently and look like wet sand
Why This Matters: Cooking the roux properly eliminates that raw flour taste and creates the foundation for smooth, lump-free gravy. Don’t be tempted to rush this step or your gravy will taste pasty.
2. Add the Liquid Slowly
- Keep the heat at medium and begin adding the beef broth very slowly, starting with just 1/4 cup
- Whisk constantly as you add the first portion of broth until it’s completely incorporated and smooth
- Continue adding the broth in small increments (about 1/4 cup at a time), whisking thoroughly between each addition
- Once you’ve added about half the broth and the mixture is smooth and thin, you can add the remaining broth more quickly
- Keep whisking to prevent any lumps from forming
The Secret: Adding liquid slowly to a roux is the golden rule for lump-free gravy. I learned this from my grandmother, who made the best gravy I’ve ever tasted. If you dump all the liquid in at once, you’ll get a clumpy mess.
3. Season and Simmer
- Add the Worcestershire sauce, garlic powder, onion powder, and black pepper to the gravy
- Stir well to distribute all the seasonings evenly throughout the liquid
- Increase the heat slightly to bring the gravy to a gentle boil
- Once it’s bubbling, reduce the heat to medium-low
- Let the gravy simmer for 5-7 minutes, whisking occasionally, until it thickens to your desired consistency
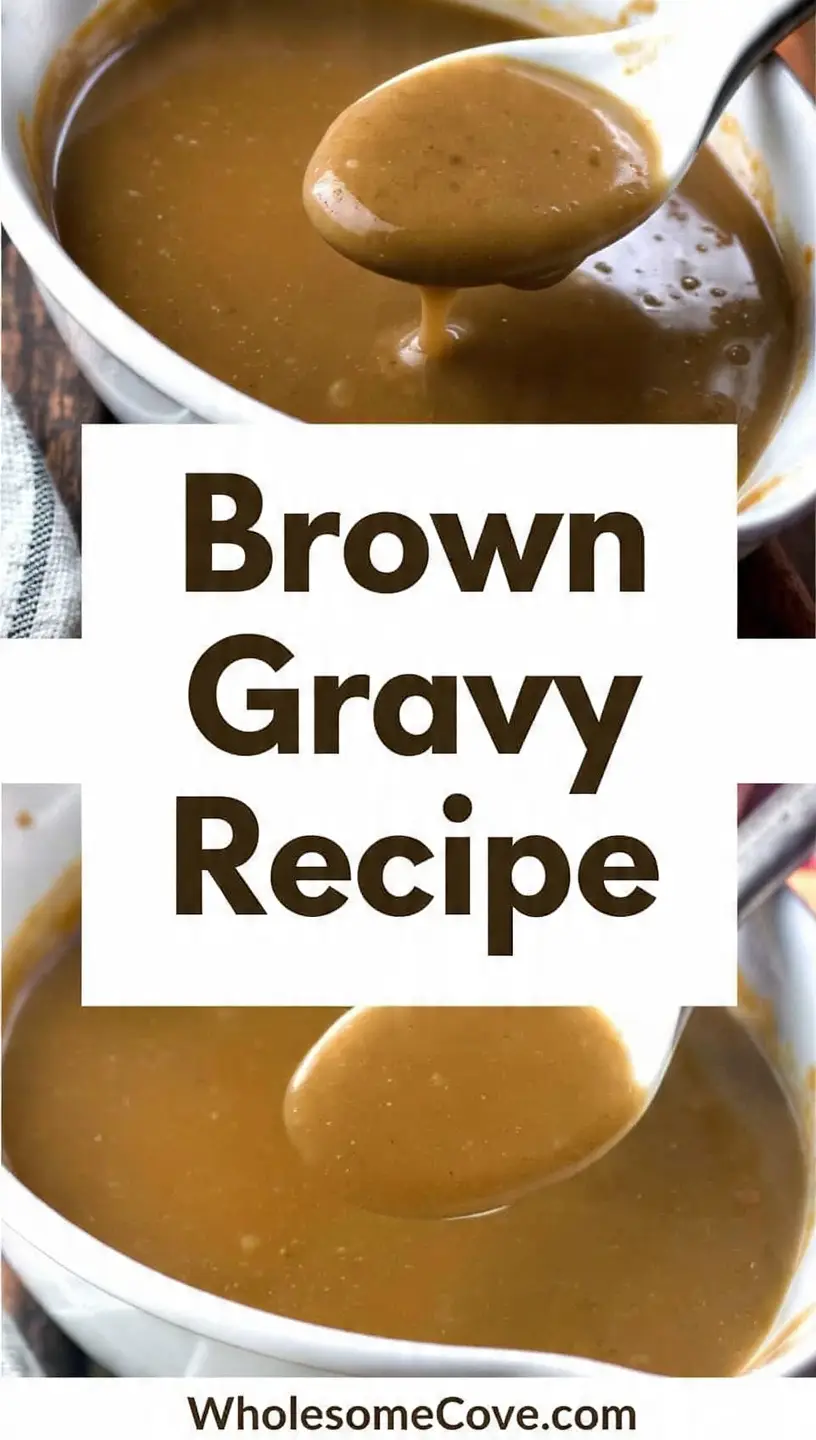
- The gravy will coat the back of a spoon when it’s ready
Consistency Tip: Remember that gravy thickens as it cools, so make it slightly thinner than you want it to be when served. I usually aim for the consistency of heavy cream while it’s hot.
4. Adjust and Finish
- Taste the gravy and add salt as needed (start with 1/4 teaspoon and adjust from there)
- If you want a darker color, add 2-3 drops of Kitchen Bouquet browning sauce and stir well
- For an extra silky finish, remove the pan from heat and whisk in 1 tablespoon of cold butter until melted (this is called “mounting” the sauce)
- Strain through a fine-mesh sieve if you notice any lumps
Final Touch: That last tablespoon of cold butter adds a gorgeous sheen and velvety texture. It’s a chef’s technique that takes your gravy from good to restaurant-quality.
For another delicious sauce that pairs well with comfort foods, check out my Buffalo Sauce Recipe.
Tips for The Best Brown Gravy
I’ve made enough gravy mistakes to write a book about them. Here are the lessons I learned the hard way so you don’t have to repeat my errors.
My Top Tips:
- Use cold butter for the finish – Adding a tablespoon of cold butter at the very end creates that glossy, professional appearance you see in restaurants
- Don’t walk away during the roux – Burned roux tastes bitter and can’t be saved; I stay at the stove and whisk constantly for those critical 2-3 minutes
- Bring broth to room temperature – Cold broth straight from the fridge can shock the roux and cause lumps; I pour my broth into a measuring cup while I’m making the roux
- Control the heat carefully – Too high and you’ll burn the roux, too low and the gravy won’t thicken properly; medium heat is your friend
- Whisk in a figure-eight pattern – This ensures you’re reaching every part of the pan and prevents flour from settling in the corners
- Save pan drippings in the freezer – Whenever I roast meat, I save the drippings in ice cube trays; they add incredible flavor when you have them
- Taste before serving – Different broths have different salt levels, so always taste and adjust seasoning at the end
- Strain if needed – If you do get lumps despite your best efforts, just pour the gravy through a fine-mesh strainer; no one will ever know
- Make it ahead – Gravy actually tastes better the next day as the flavors meld; just add a splash of broth when reheating to adjust consistency
If you love savory sauces, my Hoisin Sauce Recipe is another must-try.
What to Serve with Brown Gravy
This is where brown gravy really shines. I’ve served it with everything from holiday roasts to breakfast biscuits, and it makes everything better.
Perfect Pairings:
- Mashed potatoes – The classic combination; I especially love it over Healthy Mashed Potatoes
- Roasted Potatoes – The gravy seeps into all the crispy crevices
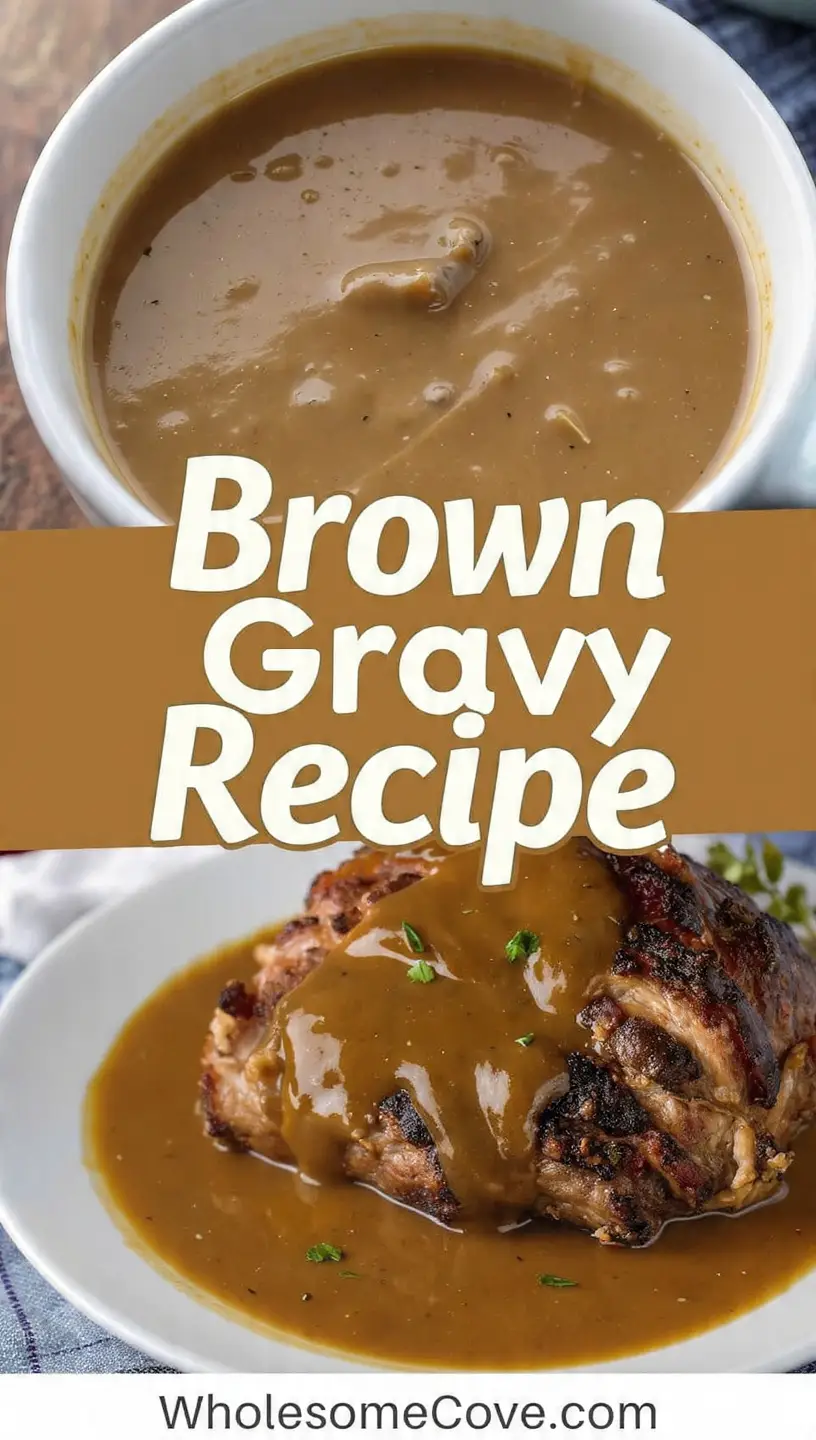
- Meatloaf – Essential for keeping meatloaf moist and adding extra flavor
- Roast chicken or turkey – Even without pan drippings, this gravy complements poultry perfectly
- Shepherds Pie – Pour it over the filling before adding the mashed potato topping
- Biscuits and gravy – Use this as a base and add cooked sausage for a hearty breakfast
- Pot roast – Spoon it generously over sliced beef and vegetables
- Fried chicken – Southern-style comfort food at its finest
- Poutine – The Canadian classic of fries, cheese curds, and gravy
- Smashed Potatoes – The crispy edges hold onto gravy beautifully
Variations of Brown Gravy
Once you’ve mastered the basic recipe, you can customize this gravy in countless ways. These are the variations I make most often depending on what I’m serving.
Popular Variations:
- Mushroom brown gravy – Sauté 8 ounces of sliced mushrooms in the butter before adding the flour; the earthy flavor is incredible with steak
- Onion gravy – Cook one thinly sliced onion in the butter until caramelized before making the roux; perfect for liver and onions or bangers and mash
- Herb gravy – Add 1 teaspoon of fresh thyme, rosemary, or sage during the simmering stage for a holiday-worthy version
- Red wine gravy – Replace 1/2 cup of the beef broth with red wine for a more sophisticated flavor profile
- Peppercorn gravy – Add 1 tablespoon of crushed green peppercorns for a steakhouse-style sauce
- Chicken gravy – Use chicken broth instead of beef for a lighter, more delicate flavor
- Sausage gravy – Brown 1/2 pound of breakfast sausage and use the drippings as your fat; add the crumbled sausage back at the end
- Turkey gravy – Substitute turkey broth and add 1/2 teaspoon of dried sage for Thanksgiving
- Gluten-free version – Mix 2 tablespoons cornstarch with 1/4 cup cold water to make a slurry; add to simmering broth instead of making a roux
- Vegan brown gravy – Use olive oil instead of butter and vegetable broth instead of beef broth; add soy sauce for depth
You might also enjoy my Vodka Sauce Recipe for Italian dishes.
Storage and Reheating
I always make extra gravy because it stores beautifully and saves me time later in the week. Here’s exactly how I handle leftovers.
Storage Guidelines:
- Refrigerator storage – Transfer cooled gravy to an airtight container; it will keep for 4-5 days in the fridge
- Freezer storage – Pour gravy into freezer-safe containers or ice cube trays for portioned servings; freeze for up to 3 months
- Freezing tip – Leave about 1 inch of headspace in containers because gravy expands when frozen
- Ice cube method – Once frozen, pop the gravy cubes into a freezer bag; each cube is about 2 tablespoons, perfect for quick meals
- Label everything – Write the date and contents on the container; I can’t tell you how many mystery containers I’ve found in my freezer
Reheating Instructions:
- Stovetop method – Pour gravy into a saucepan over medium-low heat, whisking frequently until heated through; add 2-3 tablespoons of broth or water to thin if needed
- Microwave method – Heat in 30-second intervals, stirring between each interval, until hot; add a splash of liquid if it’s too thick
- From frozen – Thaw overnight in the refrigerator before reheating, or heat frozen gravy directly in a saucepan over very low heat, stirring frequently
- Consistency adjustment – Gravy always thickens when refrigerated; add broth or water a tablespoon at a time until you reach the desired consistency
- Don’t overheat – High heat can break the emulsion and make the gravy separate; low and slow is the way to go
For another make-ahead sauce option, try my Tomato Sauce Recipe.
Nutritional Facts
Per Serving (1/4 cup):
- Calories: 70
- Total Fat: 6g
- Saturated Fat: 4g
- Cholesterol: 15mg
- Sodium: 180mg (with low-sodium broth)
- Total Carbohydrates: 3g
- Dietary Fiber: 0g
- Sugars: 0g
- Protein: 1g
Note: Nutritional information is approximate and will vary based on specific brands used and any optional additions.
Try pairing this gravy with my Healthy Shepherds Pie Recipe for a balanced meal.
Health Benefits of Key Ingredients
While gravy isn’t exactly a health food, the ingredients do offer some nutritional value. Here’s what you’re getting in each serving.
Nutritional Highlights:
- Beef broth – Provides protein, B vitamins, and minerals like iron and zinc; bone broth versions offer collagen which supports joint and skin health
- Garlic powder – Contains allicin, which has anti-inflammatory and immune-boosting properties; also supports cardiovascular health
- Onion powder – Rich in antioxidants like quercetin; may help reduce inflammation and support heart health
- Black pepper – Contains piperine, which aids nutrient absorption and has antioxidant properties
- Butter – Provides fat-soluble vitamins A, D, E, and K; grass-fed butter contains beneficial omega-3 fatty acids and CLA
- Worcestershire sauce – Adds minimal calories while providing umami flavor and small amounts of iron and potassium
For more nutritious sauce options, check out my Peanut Sauce Recipe.
FAQs About Brown Gravy
1. Can I make brown gravy without drippings?
Absolutely, and that’s exactly what this recipe does. You don’t need any pan drippings to make rich, flavorful gravy.
The combination of beef broth, Worcestershire sauce, and properly browned roux creates deep flavor that rivals traditional dripping-based gravy. If you do have drippings, you can substitute them for part of the butter or broth for even more flavor.
2. Why is my gravy lumpy?
Lumpy gravy usually happens when you add the liquid too quickly to the roux or don’t whisk vigorously enough. The key is adding the broth slowly, especially at the beginning, and whisking constantly.
If you do end up with lumps, don’t panic. Pour the gravy through a fine-mesh strainer into a clean pan and continue cooking. I’ve saved many batches this way.
3. How do I thicken gravy that’s too thin?
Make a slurry by mixing 1 tablespoon of cornstarch with 2 tablespoons of cold water until smooth. Bring your gravy to a simmer and whisk in the slurry.
Let it cook for 2-3 minutes until thickened. You can repeat this process if needed, but add slurry gradually to avoid over-thickening.
4. Can I make brown gravy ahead of time?
Yes, gravy is one of those rare dishes that actually improves with time. Make it up to 3 days ahead and store it in the refrigerator.
The flavors meld and deepen overnight. Just reheat gently and add a splash of broth to adjust the consistency before serving.
5. What’s the difference between brown gravy and white gravy?
Brown gravy uses beef or chicken broth and has a rich, savory flavor, while white gravy (also called country gravy) is made with milk or cream and has a milder taste. White gravy is typically made with sausage drippings and served over biscuits.
Brown gravy pairs better with roasted meats and potatoes. The cooking method is similar, but the liquids and flavor profiles are quite different.
Don’t forget to explore my Teriyaki Sauce Recipe for Asian-inspired dishes.
Brown Gravy
Ingredients
- 4 tablespoons unsalted butter - 56g
- 4 tablespoons all-purpose flour - 30g
- 2 cups beef broth or beef stock - 480ml, low-sodium preferred
- 1 tablespoon Worcestershire sauce - 15ml
- 1/2 teaspoon garlic powder
- 1/2 teaspoon onion powder
- 1/4 teaspoon black pepper
- salt - to taste
- 2-3 drops Kitchen Bouquet browning sauce - (optional) for deeper color
Equipment
- Medium saucepan or skillet - 2-3 quart capacity, heavy bottom preferred
- Wire whisk
- Measuring cups and spoons
- Small bowl - (optional) for cornstarch slurry method
Method
- Place saucepan over medium heat and melt the butter completely, swirling occasionally. Add flour all at once and whisk vigorously to combine into a smooth paste, continuing to whisk constantly for 2-3 minutes until roux turns light golden brown with a nutty aroma.
- Begin adding beef broth slowly, starting with 1/4 cup and whisking constantly. Continue adding broth in small increments, whisking thoroughly between additions until all broth is incorporated and mixture is smooth.
- Add Worcestershire sauce, garlic powder, onion powder, and black pepper, stirring well. Bring to a gentle boil, then reduce heat to medium-low and simmer for 5-7 minutes, whisking occasionally, until gravy thickens to desired consistency.
- Taste and add salt as needed. If desired, add Kitchen Bouquet for deeper color and whisk in 1 tablespoon cold butter for extra shine. Strain through fine-mesh sieve if any lumps remain.
Nutrition
Notes
- Gravy thickens as it cools, so aim for slightly thinner consistency than desired when hot (like heavy cream).
- Add broth slowly to prevent lumps – this is the most critical step for smooth gravy.
- Don’t walk away during roux preparation; burned roux tastes bitter and cannot be saved.
- For gluten-free version: mix 2 tablespoons cornstarch with 1/4 cup cold water to make a slurry, add to simmering broth instead of making a roux.
- Save pan drippings in freezer ice cube trays to add extra flavor when available.
- For mushroom gravy: sauté 8 oz sliced mushrooms in butter before adding flour.
- Storage: refrigerate in airtight container for 4-5 days or freeze for up to 3 months.
- Reheating: add 2-3 tablespoons broth or water to adjust consistency, heat gently over medium-low.
- Substitute chicken broth for lighter flavor or add fresh herbs like thyme, rosemary, or sage.
- For richer gravy, add 1/2 teaspoon Better Than Bouillon beef base.
Private Notes
Tried this recipe?
Let us know how it was!Final Thoughts
Brown gravy might seem simple, but getting it right makes all the difference between a mediocre meal and something truly special. This recipe has become my go-to because it’s foolproof, flavorful, and works with everything from weeknight dinners to holiday feasts.
The best part is that once you master the basic technique, you can adapt it endlessly. Add mushrooms for steak night, herbs for Sunday roast, or keep it simple for perfect mashed potatoes.
Give this recipe a try and let me know how it turns out. I’d love to hear about your favorite way to use brown gravy or any variations you come up with!
Recommended:
- Garlic Parmesan Sauce Recipe
- Sweet And Sour Sauce Recipe
- Honey Mustard Sauce Recipe
- Shepherds Pie Recipe
- Baked Ziti Recipe
- Twice Baked Potatoes Recipe
- Scalloped Potatoes Recipe
- Au Gratin Potatoes Recipe
- Funeral Potatoes Recipe
- Cheesy Potatoes Recipe
