
I’ll be honest with you: I used to crack open a can of refried beans, plop the cold gelatinous brick straight into a pan, and call it dinner prep.
The result was always the same. Thick, pasty, and somehow both bland and funky all at once.
It wasn’t until a neighbor brought over her homemade Mexican food one Sunday that I realized a good canned refried beans recipe doesn’t just warm up the can. It transforms it.
With the right fat, the right aromatics, and a few spices, canned refried beans can genuinely taste like what you’d get at your favorite taqueria.
I’ve been making this version for years now, and I can tell you with confidence: this is the recipe that will make you stop buying the fancy pre-seasoned stuff.
| Quick Recipe Summary | |
|---|---|
| Prep Time | 5 minutes |
| Cook Time | 15 minutes |
| Total Time | 20 minutes |
| Servings | 4 servings |
| Difficulty Level | Easy |
If you love bean-based Mexican sides, you might also want to check out the classic Refried Beans Recipe on this site for the from-scratch version made with dried pinto beans.
Why You’ll Love This Canned Refried Beans Recipe
This recipe is about making your life easier without sacrificing flavor.
You only need one can of beans and a handful of pantry staples you almost certainly already have.
It takes about 20 minutes start to finish, making it ideal for busy weeknights when you still want something homemade.
The technique of sautéing aromatics first is what separates this from just heating up the can.
That little step alone adds a depth of flavor that’s hard to believe came together so quickly.
- It’s budget-friendly. A single can of refried beans costs under a dollar, and this entire recipe feeds four people for next to nothing.
- You can control the texture. Prefer thick and spreadable? Leave it as is. Love the loose, saucy restaurant style? Just add a splash more liquid and you’re there.
- It’s completely customizable. Make it spicy, smoky, cheesy, or keep it simple. This recipe is a canvas.
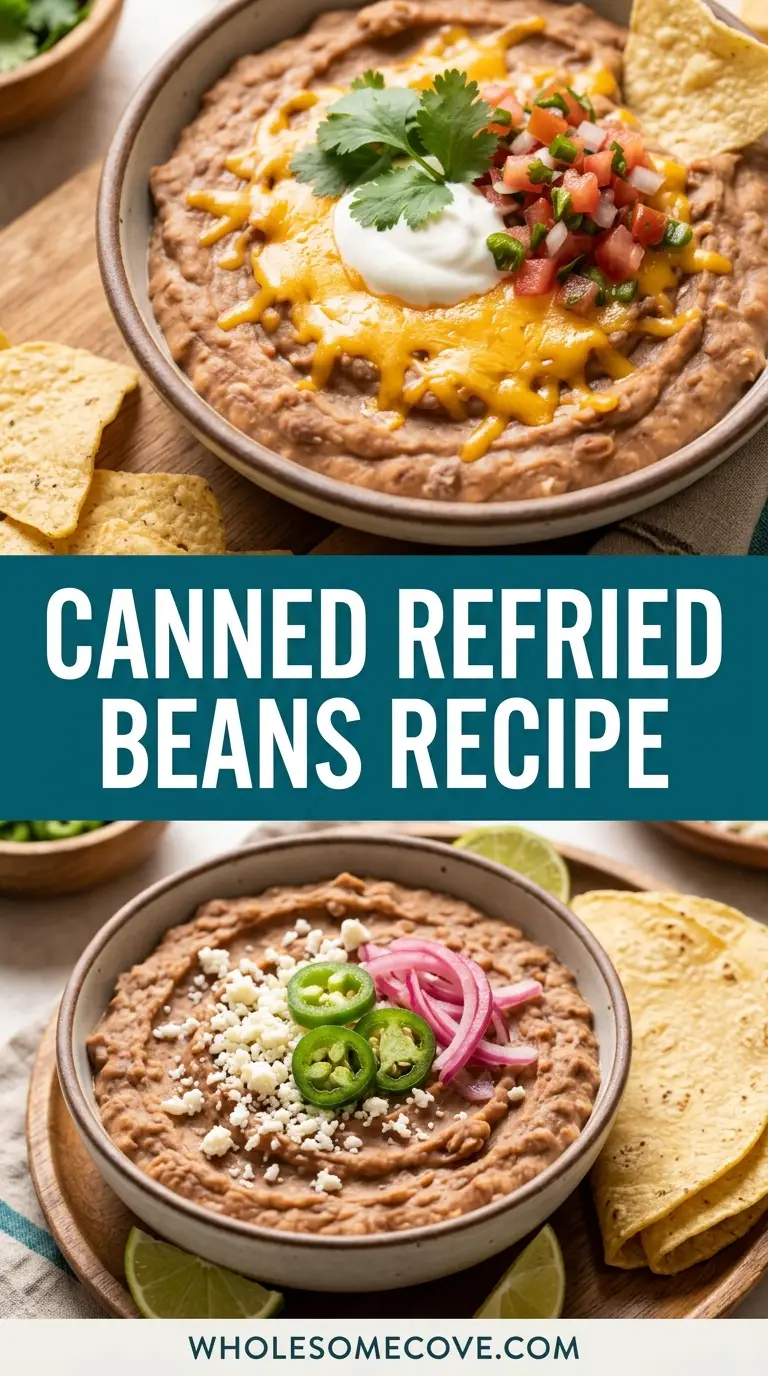
- It works as a side dish, a dip, or a filling. Tuck these into burritos, spread them on tostadas, or serve them in a bowl alongside your main dish.
- Kids love it. My kids will eat these beans plain with a spoon, which honestly says everything.
- It reheats perfectly. Make a big batch on Sunday and you’ve got an easy side dish ready all week long.
Read Also: Authentic Mexican Refried Beans Recipe
Ingredients
This recipe takes a humble can of pinto beans and layers on real flavor with a short list of simple ingredients. Every single item here matters, and I’ll explain why.
- 1 can (16 oz / 454g) traditional refried beans (pinto)
- 1 tablespoon (15ml) butter or lard (for the richest flavor) OR olive oil (for a lighter version)
- 2 cloves garlic, minced (or ½ teaspoon / 1.25g garlic powder in a pinch)
- ¼ cup (60ml) low-sodium chicken broth, vegetable broth, or water
- ¼ teaspoon (0.65g) ground cumin
- ¼ teaspoon (0.65g) smoked paprika
- ¼ teaspoon (0.65g) chili powder
- Salt to taste
- Optional: 2 tablespoons (30ml) sour cream or Mexican crema, for extra richness
- Optional: ¼ cup (28g) shredded Mexican cheese blend or cotija cheese, for topping
- Optional: Fresh cilantro and a squeeze of lime juice, for serving
For the richest, most restaurant-like result, I highly recommend using lard or butter over olive oil. That fat is what gives the beans that unmistakable silky quality.
Read Also: Refried Black Beans Recipe
Kitchen Equipment Needed
You genuinely don’t need much here. This is a one-pan recipe that’s done in about 15 minutes.
- Medium non-stick skillet or saucepan (a 9-10 inch pan works perfectly)
- Can opener
- Wooden spoon or silicone spatula, for stirring
- Garlic press or sharp knife for mincing garlic
- Measuring spoons
- Immersion blender (optional, but great if you want ultra-smooth beans)
- Ladle or serving spoon
If you have an immersion blender sitting in a drawer somewhere, this is a great excuse to pull it out. A quick blitz after cooking gives you beans so creamy they don’t even look like they came from a can.
You might also enjoy: Mexican Street Corn Recipe
Recommended Products for This Recipe
These are my personal go-to picks based on years of making this recipe. They make a genuine difference.
1. Lard for Authentic Flavor
If you want that true Mexican restaurant flavor, lard is the secret weapon. It gives the beans a silky richness that butter and olive oil simply can’t match. A small tub lasts a long time and transforms so many dishes.
2. Immersion Blender
This tool is the single biggest upgrade you can make to this recipe. A 10-second blend turns thick, lumpy canned beans into silky smooth, restaurant-quality beans every time. It’s also useful for soups, sauces, and dips.
3. Mexican Crema
Mexican crema is tangier and thinner than sour cream, and a tablespoon stirred in at the end makes these beans taste like they’ve been simmering all day. It’s one of those ingredients that quietly does everything.
4. Smoked Paprika
Not all paprika is created equal. Smoked paprika adds a subtle depth that regular paprika just doesn’t have. A small jar goes a long way and adds warmth to the beans without making them spicy.
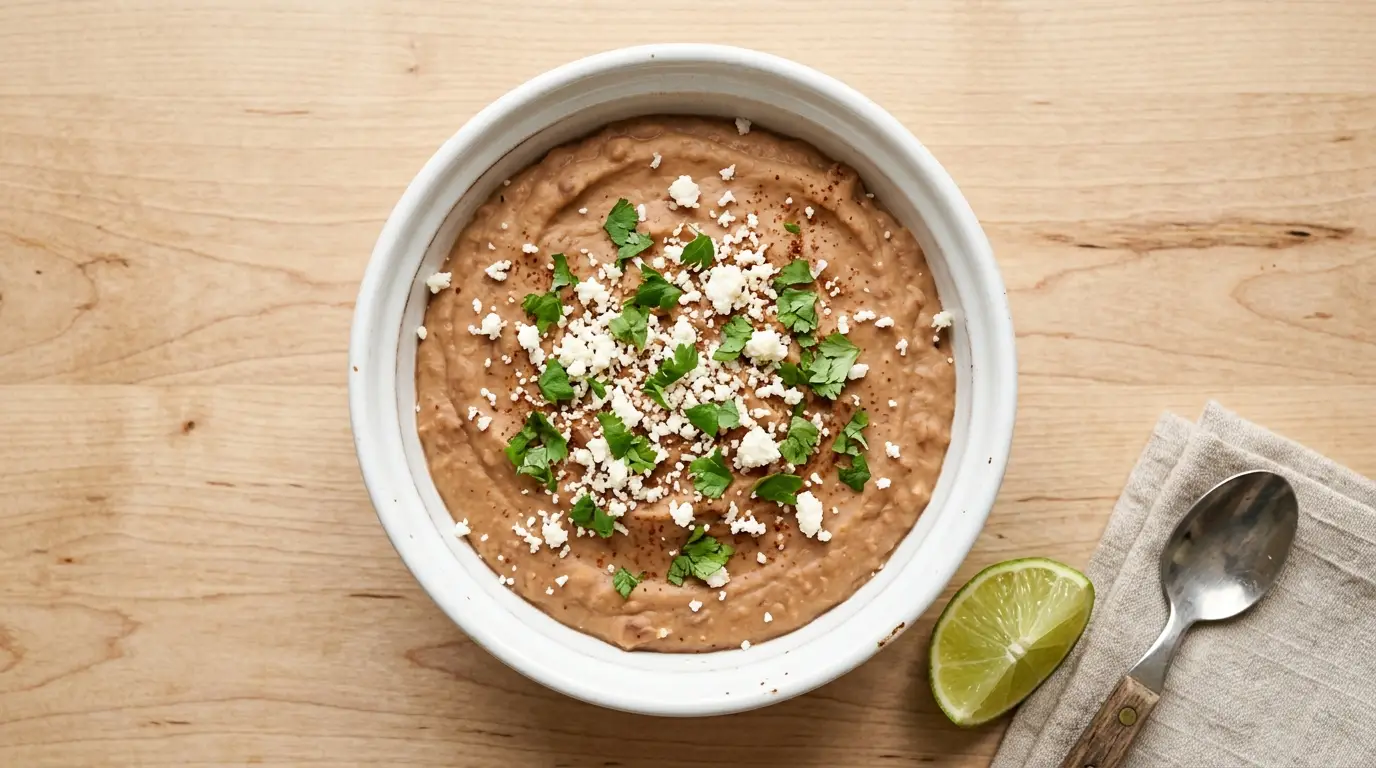
5. Cotija Cheese
Crumbled cotija on top of warm refried beans is one of the simplest and best finishing touches you can add. It’s salty, crumbly, and adds a wonderful contrast to the creamy beans underneath.
For a hearty meal idea, I love serving these beans alongside this Chicken Quesadilla.

Step-by-Step Instructions: How to Make Canned Refried Beans
Step 1: Prepare Your Ingredients
- Open your can of refried beans using a can opener and set it aside. Do not drain the can; the small amount of liquid in it is useful later.
- Mince your garlic cloves as finely as you can. The finer the mince, the better it incorporates into the beans. If you only have garlic powder, that’s fine too.
- Measure out your spices (cumin, smoked paprika, chili powder) and have them ready to go next to the stove. Having everything within reach before you start cooking will make this go smoothly.
- If using sour cream or Mexican crema, measure it out and set it nearby. You’ll be adding it near the end.
Step 2: Heat Your Fat
- Place your skillet or saucepan over medium-low heat. Medium-low is important here because refried beans scorch easily if the heat is too high.
- Add your butter, lard, or olive oil to the pan.
- Allow the fat to melt completely. If using butter, wait until it stops foaming, which takes about 30 to 45 seconds. If using lard, wait until it becomes fully liquid and shimmery.
- Swirl the pan gently to coat the bottom evenly with fat.
Step 3: Sauté the Garlic
- Add your minced garlic to the melted fat. Immediately reduce the heat slightly if you feel it’s running hot, because garlic burns fast and burnt garlic is bitter.
- Stir the garlic constantly for about 30 to 60 seconds. You’re looking for it to turn pale golden and fragrant, not brown.
- The moment you smell that sweet, toasty garlic aroma, you’re ready for the next step. Don’t walk away from the pan during this step.
Step 4: Add the Spices
- Sprinkle the ground cumin, smoked paprika, and chili powder directly into the garlic and fat.
- Stir the spices into the fat for about 15 to 20 seconds. This step is called blooming the spices, and it activates their oils in a way that makes them taste significantly deeper and more complex.
- The mixture will look like a thick paste. That’s exactly what you want before the beans go in.
Step 5: Add the Canned Refried Beans
- Scoop the beans from the can directly into the skillet. They will be cold and thick, and may come out in a solid block shape. That’s completely normal.
- Begin breaking up the bean block with your wooden spoon or spatula, pressing and stirring to incorporate the spiced garlic fat into the beans.
- Keep stirring and folding for about 1 to 2 minutes until the beans begin to loosen and warm through slightly.
Step 6: Add Liquid and Adjust Consistency
- Pour in your chicken broth, vegetable broth, or water a little at a time. Start with 2 tablespoons (30ml) and stir it in completely before adding more.
- Continue adding liquid until the beans reach your preferred consistency. For thick, spreadable beans (great for tostadas and burritos), stop at about 3 tablespoons. For saucier, restaurant-style beans (great as a side dish), use the full ¼ cup (60ml).
- Keep in mind the beans will thicken slightly as they cool, so make them a little looser than you want the final result to be.
Step 7: Stir in the Sour Cream (Optional but Recommended)
- If using sour cream or Mexican crema, add it now and stir it in thoroughly.
- The dairy adds a subtle tang and creaminess that really elevates the beans from “good” to “people will ask for this recipe.”
- Keep the heat on low at this point and stir constantly to avoid any scorching on the bottom of the pan.
Step 8: Season and Taste
- Taste the beans before adding any salt. Canned refried beans are already salted, and depending on the brand, they may not need much more.
- Add salt in small pinches, stirring and tasting after each addition, until the flavor is bright and balanced.
- If you like a hit of acidity, now is a great time to add a small squeeze of lime juice. It makes everything taste fresher and more vibrant.
Step 9: Blend (Optional, for Ultra-Smooth Beans)
- If you want silky-smooth, ultra-creamy beans, take the pan off the heat and use your immersion blender to blend the beans directly in the pan for about 10 seconds.
- If you don’t have an immersion blender, you can transfer the beans to a regular blender or food processor in batches. Be very careful when blending hot food, and leave the lid slightly open to vent steam.
- Alternatively, if you prefer some texture, you can skip this step entirely. A slightly chunky refried bean is perfectly delicious.
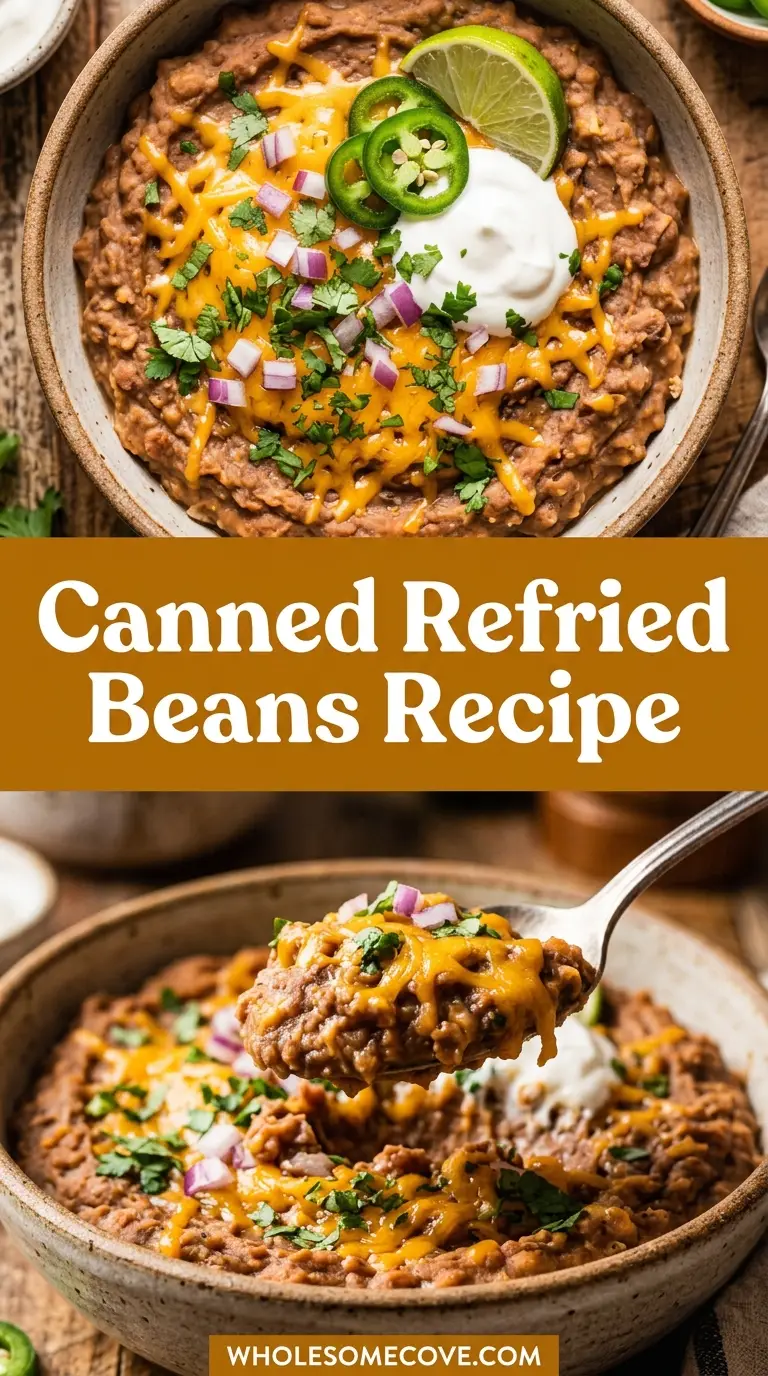
Step 10: Serve and Top
- Transfer the beans to a serving bowl or plate immediately while hot.
- Top with shredded Mexican cheese blend or crumbled cotija cheese and let it melt slightly from the heat of the beans.
- Garnish with fresh cilantro leaves and a wedge of lime on the side if desired.
- Serve right away for the best texture and flavor.
Another great pairing: these beans go beautifully inside a Chipotle Burrito.
Tips for The Best Canned Refried Beans
Getting great results from canned beans is all about technique. These tips will make sure you nail it every single time.
- Choose the right brand. Not all canned refried beans are equal. Look for brands that use simple ingredients and avoid those with too many additives or a strong preservative smell. Traditional pinto bean versions tend to taste the most authentic.
- Always use fat. Skipping the fat is the number one way to end up with bland, gluey beans. Butter and lard produce the richest results, but even a teaspoon of olive oil makes a noticeable difference.
- Don’t rush the garlic. Sautéing fresh garlic even briefly before adding the beans adds a layer of flavor you simply can’t get from garlic powder alone. If you only have powder, add it to the fat and stir it for 15 seconds before the beans go in.
- Bloom your spices. Adding the cumin, paprika, and chili powder to the hot fat before the beans go in toasts them and activates their oils. This step takes 15 extra seconds and makes the beans taste like they’ve been cooking all day.
- Add liquid gradually. It’s much easier to loosen beans than to thicken them back up. Add your broth or water one tablespoon at a time and stir between each addition.
- Use low heat. Refried beans scorch and stick badly on high heat. Keep the temperature at medium-low the entire time and stir frequently.
- Taste before salting. Canned beans are already salted. Always taste first, then season. You may find you need very little or no additional salt at all.
- A squeeze of lime at the end is a game changer. The acidity brightens everything and makes the beans taste more complex and fresh.
- For the smoothest result, blend it. Even 10 seconds with an immersion blender transforms the texture completely. This is the move if you’re serving guests or making a bean dip.
- Stir in cheese off the heat. If you want cheesy beans, add shredded cheese after removing from the heat and stir until melted. This prevents the cheese from getting oily or grainy.
Read Also: Beef Quesadilla Recipe
What to Serve with Canned Refried Beans
These beans are one of the most versatile sides in Mexican and Tex-Mex cooking. Here’s what I love pairing them with.
They work equally well as a filling, a dip, a spread, or a hearty side dish at just about any Mexican-inspired meal.
- Street Tacos: Spread a thin layer inside the tortilla before adding your taco filling. It adds richness and helps hold everything together.
- Guacamole: Serve a bowl of refried beans right alongside guacamole and tortilla chips for the ultimate starter spread.
- Breakfast Burrito: Add a generous scoop of these beans inside your breakfast burrito along with scrambled eggs and cheese.
- Healthy Nachos: Dollop beans between the layers of chips before baking for nachos that hold up beautifully.
- Black Bean Enchilada Casserole: Use these beans as a base layer or filling in enchilada casseroles for extra depth.
- 7 Layer Taco Salad: Refried beans are the classic second layer in any proper 7-layer situation.
- Mexican rice: Beans and rice are a natural pairing, and together they form a complete protein.
- Warm flour tortillas: Scoop beans onto a warm tortilla with a little cheese and you have one of the simplest, most satisfying meals imaginable.
- Tostadas: Spread the beans generously on a crispy tostada shell and pile on your toppings.
Variations of Canned Refried Beans
This recipe is incredibly easy to riff on. Here are some of my favorite ways to change things up depending on the occasion or what’s in my fridge.
- Spicy refried beans: Add a pinch of cayenne pepper or a few dashes of your favorite hot sauce to the fat along with the other spices. For a more complex heat, stir in a teaspoon of chipotle in adobo sauce.
- Cheesy refried beans: Stir in ¼ cup (28g) of shredded pepper jack or Mexican blend cheese after removing from the heat. The residual heat melts it beautifully.
- Smoky bacon refried beans: Use bacon fat instead of butter or lard, and crumble a strip of crispy cooked bacon on top before serving.
- Vegan refried beans: Use olive oil as your fat and vegetable broth as your liquid. Skip the sour cream or swap it for a dollop of cashew cream. These are completely dairy-free and still delicious.
- Black bean version: Swap the pinto refried beans for a can of black refried beans. The flavor is earthier and a little more robust. You can also find the full version at the Refried Black Beans Recipe on this site.
- Restaurant-style dip: After blending the beans until smooth, transfer them to an oven-safe dish, top with shredded cheese, and broil for 3 to 4 minutes until bubbly and golden. Serve with tortilla chips.
- Tex-Mex refried beans: Add a teaspoon of taco seasoning instead of the individual spices for a bolder, Tex-Mex flavor profile.
Another great variation idea: the full Authentic Mexican Refried Beans Recipe walks through making these entirely from scratch with dried pinto beans for the deepest possible flavor.
Storage and Reheating
Refried beans store and reheat extremely well, which makes them a great meal prep staple to have in your weekly rotation.
- Refrigerator: Allow the beans to cool completely before transferring to an airtight container. Do not store them in the opened can, as the metal can affect the flavor of leftover beans. They will keep in the refrigerator for up to 5 days.
- Freezer: Refried beans freeze beautifully. Scoop them into a zip-top freezer bag or a freezer-safe container, pressing out as much air as possible. Label with the date. They keep for up to 3 months.
- Stovetop reheating: Transfer the beans to a small saucepan over medium-low heat. Add a splash of water or broth (about 1 to 2 tablespoons / 15 to 30ml) and stir frequently until heated through. The beans will have thickened in the fridge, so don’t be alarmed.
- Microwave reheating: Transfer to a microwave-safe bowl and loosely cover with a paper towel to prevent splattering. Heat in 30-second intervals, stirring between each, until hot throughout. Add a splash of water if needed to loosen the texture.
- From frozen: Thaw overnight in the refrigerator before reheating using either method above. You can also reheat directly from frozen in the microwave, adding extra time as needed.
You might also like this warming Taco Soup Recipe that pairs wonderfully with these beans as a weeknight dinner combo.
Nutritional Facts
The following values are approximate and based on one serving (approximately ½ cup / 120ml) using butter and chicken broth with no optional cheese or sour cream.
| Nutritional Facts (Per Serving) | |
|---|---|
| Calories | 120 kcal |
| Total Fat | 4g |
| Saturated Fat | 2g |
| Cholesterol | 8mg |
| Sodium | 390mg |
| Total Carbohydrates | 16g |
| Dietary Fiber | 5g |
| Total Sugars | 1g |
| Protein | 6g |
| Potassium | 280mg |
| Iron | 1.5mg |
| Calcium | 45mg |
| Vitamin C | 2mg |
For a satisfying Mexican dinner idea, try these beans alongside this Chicken Enchilada Casserole.
Health Benefits of Key Ingredients
Refried beans made from canned pinto beans are a genuinely nutritious food, and it’s worth knowing exactly why they’re so good for you.
They’re one of the most affordable sources of plant-based protein and fiber you can find in any grocery store.
- Pinto beans are high in fiber. A single serving provides around 5 grams of dietary fiber, which supports healthy digestion, helps regulate blood sugar, and keeps you feeling full longer.
- Rich in plant-based protein. With about 6 grams of protein per serving, refried beans are a legitimate protein source, especially useful in meatless meals.
- Packed with iron. Pinto beans are a good source of non-heme iron, which is important for energy production and supporting healthy red blood cells.
- Good source of folate. Beans are one of the best dietary sources of folate (vitamin B9), a nutrient that’s especially important during pregnancy and for overall cell function.
- Garlic supports immune health. The garlic in this recipe contains allicin, a compound with well-documented antibacterial and anti-inflammatory properties.
- Cumin aids digestion. Cumin has been used for centuries to support healthy digestion and reduce bloating. It also adds iron to your meal.
- Low in saturated fat (when made with olive oil). Using olive oil instead of butter keeps this recipe heart-healthy while still adding richness and flavor.
- Potassium content supports heart health. Pinto beans are a solid source of potassium, a mineral that helps regulate blood pressure and supports cardiovascular function.
Read Also: Healthy Guacamole Recipe
FAQs About Canned Refried Beans
1. Can I use black beans instead of pinto refried beans?
Absolutely. Canned black refried beans work great in this exact recipe with zero changes needed. The flavor is slightly earthier and more robust than pinto beans, which some people actually prefer. Just follow the same steps and you’ll get equally delicious results.
2. How do I make canned refried beans less thick?
The simplest fix is adding liquid a little at a time. Add chicken broth, vegetable broth, or water one tablespoon at a time, stirring constantly over low heat until you reach the consistency you want. Adding a spoonful of sour cream or crema also helps loosen and smooth them out.
3. Are canned refried beans already cooked?
Yes, canned refried beans are fully cooked and safe to eat straight from the can. Heating them in a pan isn’t strictly necessary for food safety, but it does dramatically improve the flavor and texture. The brief stovetop treatment in this recipe is what transforms them from “edible” to “genuinely delicious.”
4. Can I make this recipe dairy-free?
Yes, very easily. Use olive oil instead of butter or lard, skip the sour cream, and use vegetable broth as your liquid. The beans will still be flavorful and creamy, especially if you add good spices and blend them smooth. They will also be naturally vegan.
5. Why do my refried beans stick to the pan?
Sticking happens when the heat is too high or you’re not stirring frequently enough. Always cook refried beans over medium-low heat and keep stirring every 30 to 60 seconds. Using a non-stick pan also helps significantly. If they start to stick, add a splash of broth right away and stir vigorously to release anything on the bottom.
Read Also: Taco Casserole Recipe
Canned Refried Beans
Ingredients
- 1 can traditional refried beans - 16 oz / 454g pinto beans; do not drain
- 1 tablespoon butter - or lard for richest flavor; or olive oil for lighter version
- 2 cloves garlic - minced; or ½ teaspoon garlic powder
- ¼ cup low-sodium chicken broth - or vegetable broth or water; about 60ml
- ¼ teaspoon ground cumin - 0.65g
- ¼ teaspoon smoked paprika - 0.65g
- ¼ teaspoon chili powder - 0.65g
- salt - to taste
- 2 tablespoons sour cream - or Mexican crema; 30ml for extra richness
- ¼ cup shredded Mexican cheese blend - or cotija cheese; 28g for topping
- fresh cilantro - for serving
- lime juice - squeeze for serving
Equipment
- Medium non-stick skillet or saucepan - 9-10 inch pan works perfectly
- Can opener
- Wooden spoon or silicone spatula - for stirring
- Garlic press or sharp knife - for mincing garlic
- Measuring spoons
- Immersion blender - (optional) for ultra-smooth beans
- Ladle or serving spoon
Method
- Open the can of refried beans (do not drain) and set aside. Mince the garlic finely and measure out all spices. Have everything ready before starting.
- Place skillet over medium-low heat. Add butter, lard, or olive oil and let it melt completely, swirling to coat the pan. Wait until butter stops foaming or lard is shimmery.
- Add minced garlic to the hot fat. Stir constantly for 30-60 seconds until pale golden and fragrant. Do not let it brown.
- Sprinkle in the cumin, smoked paprika, and chili powder. Stir for 15-20 seconds to bloom the spices in the fat until fragrant and pasty.
- Scoop the canned beans into the skillet. Break up the block with a spoon and stir for 1-2 minutes to incorporate the spiced fat and warm the beans slightly.
- Stir in broth or water gradually, starting with 2 tablespoons, until desired consistency is reached. Make slightly looser than final preference as beans thicken on cooling.
- If using, stir in sour cream or Mexican crema thoroughly over low heat for added creaminess and tang.
- Taste and add salt if needed. Stir in a squeeze of lime juice for brightness if desired.
- Remove from heat. For ultra-smooth texture, blend briefly with an immersion blender (or transfer to a regular blender carefully). Skip for chunkier beans.
- Transfer to a serving bowl while hot. Top with cheese to melt slightly, garnish with cilantro and lime wedges. Serve immediately.
Nutrition
Notes
- Choose simple-ingredient canned refried pinto beans without excessive additives for best flavor.
- Use lard or butter for the richest, most authentic restaurant-style silky texture; olive oil works for lighter/vegan version.
- Blooming spices in hot fat and sautéing garlic are key steps that add significant depth—don’t skip them.
- Add liquid gradually; beans thicken as they cool, so make them a bit saucier than desired for final serving.
- Cook over medium-low heat and stir frequently to prevent scorching and sticking.
- Taste before salting as canned beans are pre-seasoned.
- For vegan/dairy-free: use olive oil, vegetable broth, and skip sour cream/cheese (or use plant-based alternatives).
- Refrigerate leftovers up to 5 days or freeze up to 3 months in airtight container; reheat with a splash of liquid.
- Make ahead on Sunday for easy weeknight sides; reheats perfectly on stovetop or microwave.
- Variations: add cayenne for spicy, bacon fat and crumbled bacon for smoky, or cheese and broil for a bubbly dip.
Private Notes
Tried this recipe?
Let us know how it was!Final Thoughts
This canned refried beans recipe is one of those simple recipes that punches way above its weight.
Twenty minutes, one pan, and a can of beans you probably already have in the cupboard, and you end up with something genuinely crave-worthy.
The secret has always been in those few extra steps: the fat, the garlic, the bloomed spices.
Once you try it this way, the plain heated-up-from-a-can version will never feel like enough again.
I hope this recipe becomes a regular in your kitchen, and I’d love to hear how it goes. Leave a comment below and let me know what you’re serving these beans with, or if you tried any of the variations!
Recommended:
- Street Tacos Recipe
- Breakfast Burrito Recipe
- Shrimp Quesadilla Recipe
- Steak Quesadilla Recipe
- Buffalo Chicken Quesadilla Recipe
- Beef Enchilada Casserole Recipe
- Green Chile Chicken Enchilada Casserole Recipe
- Enchilada Sauce Recipe
- Mexican Chicken Soup Recipe
- Chipotle Guacamole Recipe