
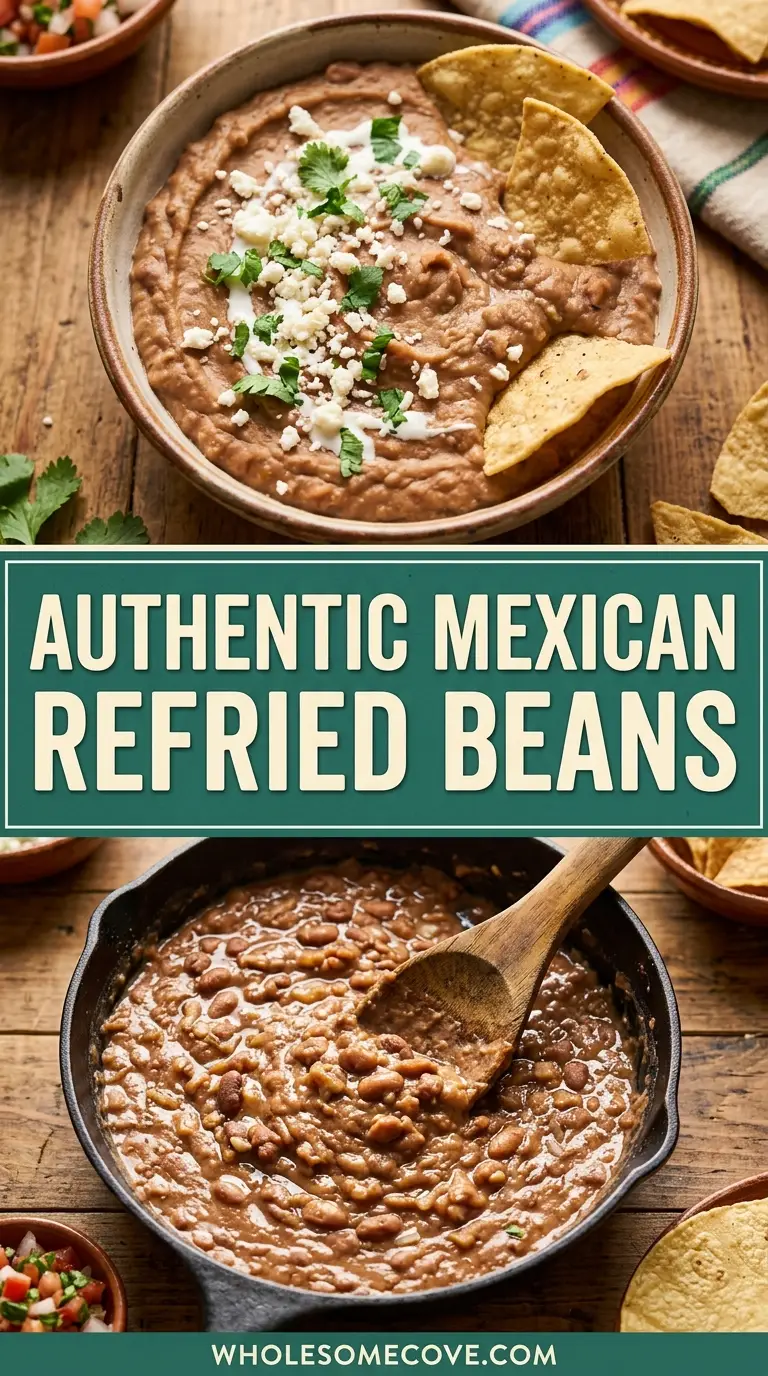
My grandmother had a cast iron skillet that practically lived on her stovetop. Every time I walked into her kitchen, the smell of beans and onion sizzling in lard would stop me in my tracks.
That smell is exactly what this authentic Mexican refried beans recipe is all about. It’s humble, it’s deeply satisfying, and once you make it from scratch, you will never reach for a can again.
I made the mistake of using canned beans for years. They’re fine in a pinch, but the texture is always a little gluey and the flavor is muted. The first time I made these from dried pinto beans, I genuinely couldn’t believe the difference.
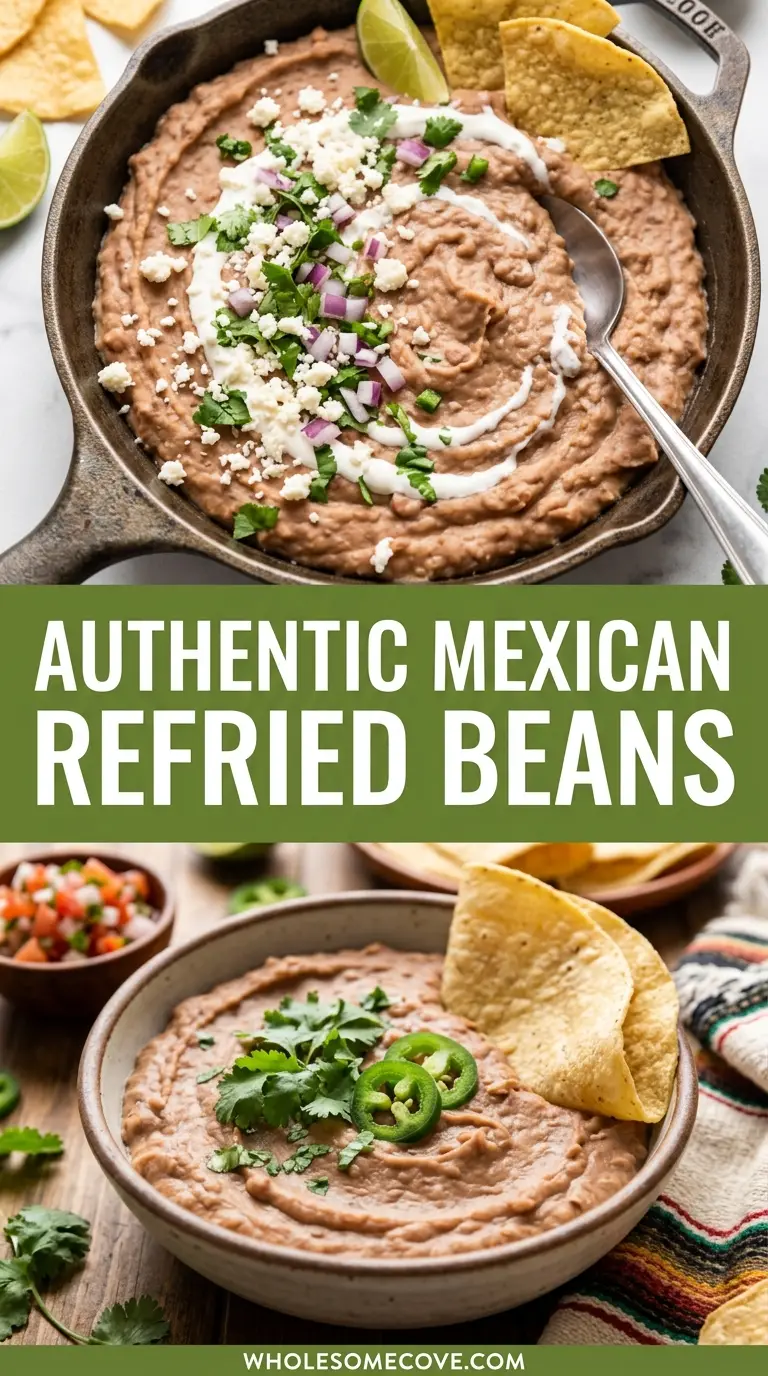
This recipe is the real deal. We’re talking dried pinto beans cooked low and slow, fried in lard with white onion and garlic, and mashed to a creamy, rustic consistency that holds its own next to any taco, enchilada, or burrito you can dream up.
| Quick Recipe Summary | |
|---|---|
| Prep Time | 15 minutes (plus overnight soak) |
| Cook Time | 1 hour 45 minutes |
| Total Time | 2 hours (plus soaking time) |
| Servings | 6 servings |
| Difficulty Level | Easy |
If you love Mexican bean dishes, you’ll also want to check out my Refried Black Beans Recipe for a smoky, slightly earthier twist on this classic.
Why You’ll Love This Authentic Mexican Refried Beans Recipe
Making refried beans from scratch is one of those kitchen projects that pays off in every single way. The flavor you get from dried pinto beans is in a completely different league from anything that comes out of a can.
Here’s why this recipe will quickly become a staple in your kitchen:
- Incredibly creamy texture: Dried beans that are cooked slowly develop a silky, starchy consistency that blends into a beautifully smooth mash.
- Deep, authentic flavor: Cooking the beans with onion, garlic, and a bay leaf builds a savory base that just doesn’t happen with canned beans.
- Only a handful of ingredients: You don’t need a long shopping list to make something this good. Dried pinto beans, lard (or oil), onion, garlic, salt, cumin, and dried oregano are all you need.
- Budget-friendly: A one-pound bag of dried pinto beans costs almost nothing and feeds a crowd.
- Totally customizable: Adjust the consistency from chunky to completely smooth, make them spicy, add cheese on top, the options are endless.
- Freezer-friendly: These beans freeze beautifully, making them perfect for meal prep.
- Better than any restaurant: Once you dial in this recipe, you’ll wonder why you ever ordered refried beans elsewhere.
You might also enjoy: Street Tacos Recipe
Ingredients
You won’t believe how few ingredients go into making truly exceptional refried beans. The magic is in the process, not in a complicated pantry list.
Here’s everything you need:
- 1 lb (450g) dried pinto beans, sorted and rinsed
- 8 cups (1.9L) water for cooking, plus more for soaking
- 1 medium white onion, halved (half for boiling, half finely diced for frying)
- 6 cloves garlic, divided (3 whole for boiling, 3 minced for frying)
- 1 bay leaf
- 1/2 tsp dried Mexican oregano
- 1 tsp ground cumin
- 3 tbsp lard (or neutral oil such as avocado or vegetable oil)
- 1 1/2 tsp kosher salt, or to taste
- 1/4 tsp black pepper
- Optional for serving: crumbled cotija cheese, pickled jalapeños, sour cream
Read Also: Refried Beans Recipe
Kitchen Equipment Needed
Having the right tools makes this process so much smoother, especially when it comes to getting that perfect mashed consistency.
- Large pot or Dutch oven for boiling the beans
- Cast iron skillet or large heavy-bottomed skillet for frying
- Potato masher for mashing the beans
- Colander for draining the beans
- Large bowl for soaking
- Wooden spoon or silicone spatula for stirring
- Ladle for transferring bean broth
- Measuring cups and spoons
- Optional: immersion blender if you prefer completely smooth beans
Another favorite: Mexican Street Corn Recipe
Recommended Products for This Recipe
These are products I personally use and think make a real difference when cooking this dish from scratch.
1. Enameled Cast Iron Skillet
A quality enameled cast iron skillet holds heat evenly and gives the beans a perfect, slightly crisped fry before you start mashing. The heavy base prevents any scorching and makes the whole cooking process more forgiving.
2. Manteca (Pork Lard)
Using real lard instead of vegetable oil transforms the flavor of these beans. It gives them that unmistakable richness you get at authentic Mexican restaurants, and a little goes a long way.
3. Dried Mexican Oregano
Mexican oregano is a completely different herb from the Italian variety. It’s earthier, slightly citrusy, and is essential for authentic flavor in this recipe. Keep a jar in your pantry and you’ll use it constantly.
4. Heavy-Duty Potato Masher
A solid, wide-headed potato masher makes quick work of the beans without over-mashing them. I’ve snapped flimsy mashers before mid-recipe, so investing in a sturdy one is worth it.
I learned how to build deep flavor into everyday Mexican dishes while also perfecting my Enchilada Sauce Recipe — that same patience applies here.
Step-by-Step Instructions: How to Make Authentic Mexican Refried Beans
Step 1: Sort and Soak the Dried Beans
Before anything else, you need to pick through your beans and get them soaking. This step is easy to rush, but it’s worth taking your time.
- Spread the dried pinto beans out on a clean baking sheet or large plate in a single layer.
- Pick out and discard any shriveled, broken, or discolored beans, and remove any small stones or debris that may have made their way into the bag.
- Place the sorted beans into a large bowl or pot.
- Cover the beans with cold water by at least 3 to 4 inches (7 to 10 cm), since they will absorb a significant amount of water as they soak.
- Cover the bowl and let the beans soak at room temperature for at least 8 hours, or overnight for best results.
- After soaking, drain the beans through a colander and rinse them under cold running water until the water runs clear. Discard the soaking water completely.
Step 2: Cook the Beans
Getting the beans perfectly tender is the most important step in this whole recipe. Under-cooked beans will not mash properly.
- Transfer the drained, soaked beans into a large pot or Dutch oven.
- Add 8 cups (1.9 liters) of fresh, cold water to the pot. Do not use the soaking water.
- Add the halved white onion (half of the onion), 3 whole garlic cloves, the bay leaf, and the dried Mexican oregano.
- Bring the pot to a boil over medium-high heat, skimming off any foam that rises to the surface during the first 10 minutes of boiling.
- Once boiling, reduce the heat to a low simmer, partially cover the pot, and cook for 1 to 1.5 hours, or until the beans are completely tender and can be easily crushed between your fingers.
- Begin checking the beans at the 1-hour mark. They should be creamy and soft all the way through, not just on the outside.
- Once the beans are done, remove the bay leaf and discard it.
- Use a ladle to scoop out and reserve at least 1 to 1.5 cups (240 to 360 ml) of the bean cooking liquid (broth) in a bowl. This liquid is essential for achieving the right consistency when mashing.
- Drain the remaining liquid from the beans and set the beans aside.
Step 3: Prepare the Aromatics
While the beans are finishing their cooking time, you can get your aromatics ready so you’re not scrambling later.
- Finely dice the remaining half of the white onion into small, even pieces, approximately 1/4 inch (6mm) or smaller.
- Mince the remaining 3 garlic cloves as finely as possible. You want small pieces that will melt into the beans rather than big chunks.
- Measure out your lard (or oil of choice), ground cumin, salt, and black pepper and set them near the stove.
Step 4: Fry the Beans
This is the step that gives refried beans their name and their flavor. Frying them in fat creates a rich, savory depth that you simply cannot achieve by mashing alone.
- Heat a large cast iron skillet or heavy-bottomed skillet over medium-high heat.
- Add the lard (or oil) and let it melt and heat up for about 30 to 60 seconds, until it shimmers.
- Add the finely diced onion and cook, stirring frequently, for about 4 to 5 minutes until the onion is softened and translucent.
- Add the minced garlic and cook for another 1 to 2 minutes, stirring constantly so the garlic does not burn. The garlic should be fragrant and just barely golden.
- Add the drained, cooked beans to the skillet all at once. The mixture may sizzle and pop, so stand back slightly and use caution.
- Sprinkle the ground cumin, salt, and black pepper over the beans.
- Stir everything together and fry the beans for 2 to 3 minutes, stirring occasionally, allowing them to pick up some color and absorb the flavor of the fat and aromatics.
Step 5: Mash and Finish the Beans
Now comes the most satisfying part. The consistency you aim for is entirely up to you, somewhere between chunky and smooth.
- Reduce the heat to medium-low.
- Using a potato masher, begin mashing the beans directly in the skillet. Work in sections, mashing across the entire surface of the pan.
- As you mash, ladle in the reserved bean broth a small amount at a time (about 2 tablespoons or 30 ml at a time) to loosen the consistency. The beans will thicken as they cool, so aim for slightly looser than your target consistency.
- Continue mashing and adding broth until you reach your preferred texture: rustic and chunky, or smooth and creamy. For a restaurant-style smooth texture, use an immersion blender directly in the skillet or transfer the beans to a blender in batches.
- Taste the beans and adjust the salt as needed. The seasoning makes an enormous difference.
- Cook the mashed beans over medium-low heat for an additional 3 to 5 minutes, stirring frequently, until they reach a thick, spreadable consistency and pull slightly away from the edges of the pan.
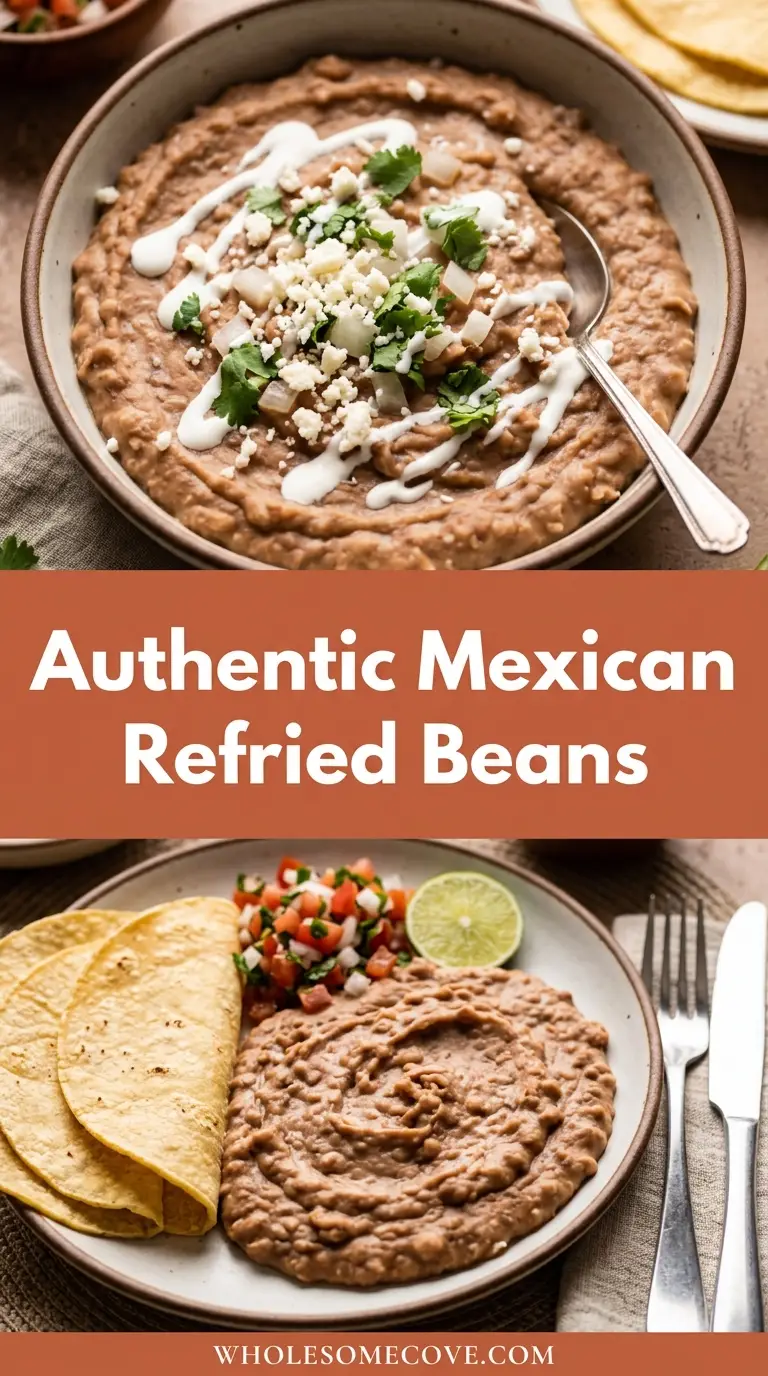
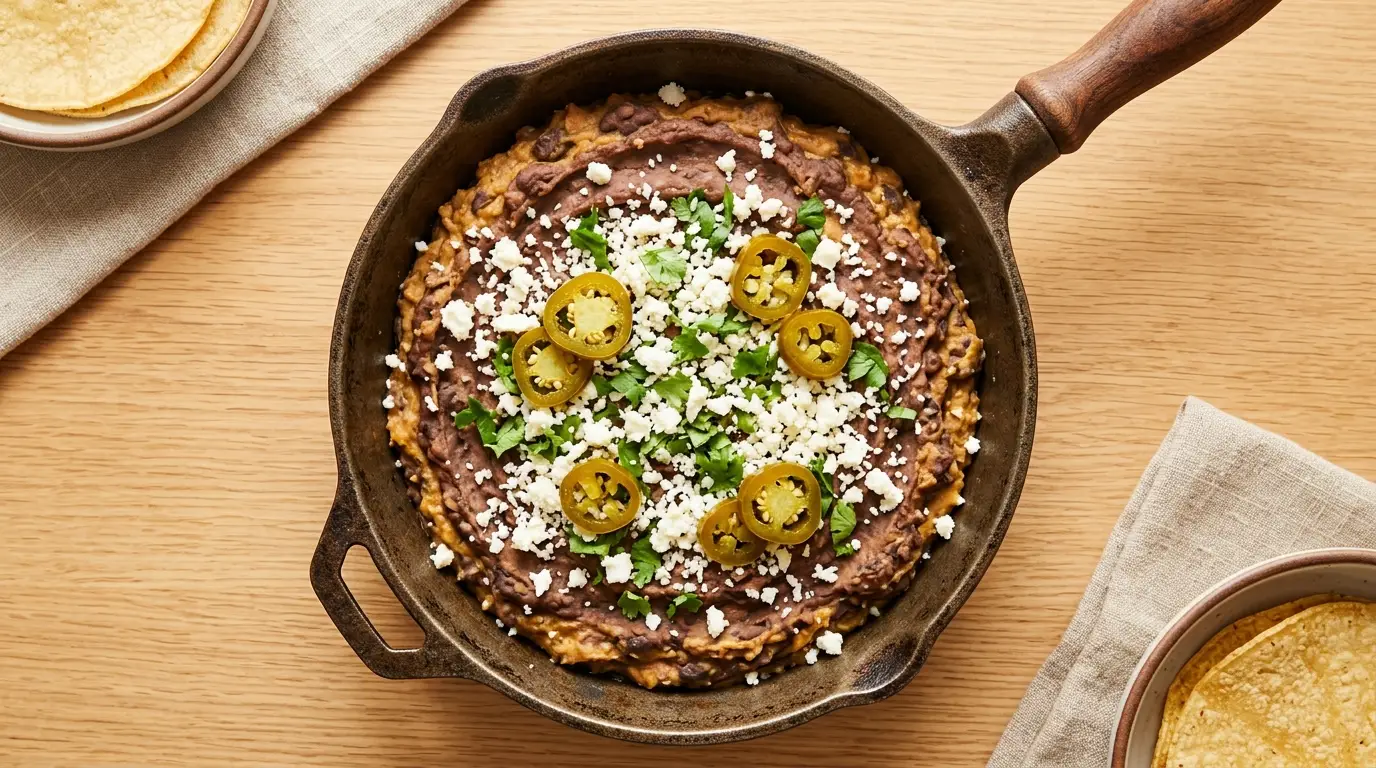
- Remove from heat and serve immediately, topped with crumbled cotija cheese, pickled jalapeños, or a dollop of sour cream if desired.
For a great pairing, try serving these alongside my Chipotle Burrito Recipe for a full Mexican-inspired spread.
Tips for The Best Authentic Mexican Refried Beans
Getting this recipe right comes down to a few key habits that make a real difference. Keep these in mind and you’ll nail it every single time.
- Don’t skip the overnight soak. Soaking the beans shortens the cooking time, helps with texture, and reportedly makes the beans easier to digest. It only takes 30 seconds of actual effort the night before.
- Save the bean cooking liquid. This starchy, flavorful broth is what transforms mashed beans into something creamy and luscious. If you toss it, you’ll end up adding water, which dilutes the flavor. Save at least 1.5 cups (360 ml).
- Use lard if you can. I know it’s not for everyone, but lard is what gives authentic refried beans that unmistakable restaurant flavor. Bacon fat is a close second. Avocado oil works well for a cleaner option.
- Fry before you mash. Don’t just boil and mash the beans directly. That brief frying step in the skillet is where the flavor truly develops. Let the beans sizzle for a couple of minutes before you start mashing.
- Don’t rush the onion and garlic. Let the onion soften fully before adding the garlic, and never let the garlic burn. Bitter, scorched garlic will ruin the whole batch.
- Adjust consistency gradually. Add the reserved broth a small amount at a time. You can always add more liquid but you can’t take it away once you’ve gone too far.
- Season at the end. Beans absorb salt differently once mashed. Always do a final taste test after mashing and adjust the salt before serving.
- Older beans take longer. If your dried pinto beans have been sitting in the pantry for a long time, they may take an extra 30 to 45 minutes to soften. Fresher dried beans are always better.
Read Also: Healthy Nachos Recipe
What to Serve with Authentic Mexican Refried Beans
Refried beans are one of the most versatile things you can have in your kitchen. They work as a side dish, a spread, a dip, and a filling.
Here are some of my favorite ways to serve them:
- Street Tacos: Spread a spoonful of refried beans on each tortilla before adding the meat and toppings. It adds a creaminess that ties everything together.
- Chipotle Burrito: Layer the beans with rice, salsa, cheese, and your protein for a restaurant-quality burrito at home.
- Chicken Quesadilla: Spread beans inside the quesadilla along with the chicken and cheese for extra richness.
- Beef Enchilada Casserole: Serve the beans on the side to make it a complete, filling meal.
- Mexican Chicken Salad: Add a scoop of refried beans to a Mexican-inspired bowl with this salad on top.
- Healthy Guacamole: Use both the beans and the guacamole as a layered dip with tortilla chips for a crowd-pleasing appetizer spread.
- Cheese Quesadilla: The simplest of all quesadillas gets a major upgrade with refried beans tucked inside.
- Taco Soup: Stir a cup of refried beans into taco soup to make it thicker and heartier.
- Scrambled eggs: Serve the beans alongside eggs with warm tortillas for a hearty Mexican-style breakfast.
- As a bean dip: Serve warm in a bowl topped with cotija, sour cream, and pickled jalapeños with tortilla chips on the side.
You might also enjoy: Black Bean Enchilada Casserole Recipe
Variations of Authentic Mexican Refried Beans
Once you’ve made the classic version a couple of times, it’s really fun to start experimenting. The base recipe is incredibly flexible.
Here are some popular variations worth trying:
- Refried Black Beans: Substitute dried black beans for the pinto beans for a slightly earthier, denser result. Black beans have a stronger flavor and a darker color, making them perfect for tostadas and tacos. Check out the full Refried Black Beans Recipe for specific tips.
- Vegetarian or vegan refried beans: Simply swap the lard for avocado oil, vegetable oil, or coconut oil. The beans will still be absolutely delicious and completely plant-based.
- Spicy refried beans: Finely dice a jalapeño or serrano pepper and sauté it along with the onion and garlic in Step 4. You can also stir in a spoonful of chipotle in adobo sauce for a smoky heat.
- Cheesy refried beans: Stir 1/2 cup (50g) of shredded Monterey Jack, pepper jack, or Mexican blend cheese into the hot beans right after mashing. Top with additional crumbled cotija for serving.
- Bacon refried beans: Fry 3 to 4 strips of bacon in the skillet first, remove the bacon, then use the rendered bacon fat to fry the beans. Crumble the cooked bacon back over the finished beans.
- Roasted garlic refried beans: Instead of raw minced garlic, roast an entire head of garlic in the oven and squeeze the soft, sweet cloves into the beans during the mashing stage. This gives a milder, more complex garlic flavor.
- Quick canned bean version: In a rush? Use two 15-oz (425g) cans of drained pinto beans. Reserve the liquid from one can, and follow the recipe starting at Step 4, using the canned liquid in place of the bean broth. The flavor won’t be quite as deep, but it’s a solid weeknight shortcut.
Read Also: Taco Casserole Recipe
Storage and Reheating
Leftover refried beans keep well and reheat beautifully, making them a fantastic make-ahead option for busy weeks.
Here are all the details on keeping them fresh:
- Refrigerator storage: Allow the beans to cool completely before transferring them to an airtight container. Store in the refrigerator for up to 5 days.
- Freezer storage: Transfer cooled beans to freezer-safe bags or containers, pressing out as much air as possible. Freeze for up to 3 months. Label the bags with the date so you always know what you have.
- Thawing frozen beans: Move the container from the freezer to the refrigerator the night before you plan to use them. They will thaw overnight and reheat perfectly the next day.
- Stovetop reheating: Place the beans in a small saucepan over low to medium heat. Add a tablespoon or two (15 to 30 ml) of water or chicken broth and stir frequently until heated through. The extra liquid brings the creamy consistency right back.
- Microwave reheating: Place beans in a microwave-safe bowl, add a splash of water or broth, and cover loosely with a damp paper towel. Microwave in 30-second intervals, stirring between each, until hot throughout.
- Make-ahead tip: These beans actually taste even better the next day as the flavors deepen and meld together overnight. Making them a day ahead is highly encouraged if you’re planning a taco night or dinner party.
For another great make-ahead dish, check out my Slow Cooker Chicken Enchilada Casserole Recipe.
Nutritional Facts
The values below are based on one serving (approximately 1/3 cup or 80g of prepared refried beans), with the recipe making 6 servings. Calculated using lard as the fat.
| Nutritional Facts (Per Serving) | |
|---|---|
| Calories | 175 kcal |
| Total Fat | 7g |
| Saturated Fat | 2.5g |
| Cholesterol | 7mg |
| Sodium | 390mg |
| Total Carbohydrates | 22g |
| Dietary Fiber | 7g |
| Sugars | 1g |
| Protein | 8g |
| Potassium | 480mg |
| Iron | 2.4mg |
| Calcium | 55mg |
Nutritional values are estimates and may vary based on the fat used and specific ingredients.
For another protein-rich Mexican-inspired dish, try: Mexican Pork Stew Recipe
Health Benefits of Key Ingredients
Refried beans aren’t just comfort food. They’re genuinely nourishing and pack a surprisingly strong nutritional punch.
Here’s what’s working in your favor with this recipe:
- Pinto beans are high in plant-based protein. A single serving provides around 8 grams of protein, making refried beans a filling and satisfying addition to any meal. They are a staple protein source in Mexican cooking for good reason.
- Excellent source of dietary fiber. Pinto beans contain roughly 7 grams of fiber per serving, supporting healthy digestion, promoting fullness, and helping to regulate blood sugar levels.
- Rich in folate. Pinto beans are one of the best dietary sources of folate, a B vitamin that is essential for cell repair and particularly important during pregnancy.
- Heart-healthy fats when using avocado oil. Choosing avocado or vegetable oil over lard reduces saturated fat while still delivering a rich, satisfying result.
- Garlic has antimicrobial and anti-inflammatory properties. Adding fresh garlic to this recipe isn’t just about flavor. Garlic contains allicin, a compound studied for its potential benefits for immune function and cardiovascular health.
- White onion is a source of quercetin. Onions contain antioxidants, including quercetin, which has been associated with reducing inflammation and supporting overall immune health.
- Naturally gluten-free. This entire recipe is free from gluten-containing ingredients, making it an excellent option for those with gluten sensitivities or celiac disease.
- Cumin supports digestion. Cumin, used in small amounts in this recipe, has a long history of use as a digestive aid and is a great source of iron.
Read Also: Mexican Chicken Soup Recipe
FAQs About Authentic Mexican Refried Beans
1. Do I have to soak the beans overnight?
Soaking is not strictly required, but it is highly recommended. Soaking shortens the cooking time significantly and helps the beans cook more evenly.
Without soaking, your dried pinto beans could take 2.5 to 3 hours to become tender enough to mash properly.
2. Can I use canned pinto beans instead of dried?
You can, and the recipe will still be tasty. Drain two 15-oz (425g) cans of pinto beans, reserving the liquid from one can to use in place of the bean broth.
The flavor and texture won’t be quite as deep or creamy as the dried bean version, but it’s a perfectly acceptable shortcut when you’re pressed for time.
3. What is the best fat to use for authentic flavor?
Lard is the most traditional choice and gives the beans the richest, most authentic flavor. Bacon fat is a close and delicious second option.
For a plant-based version, avocado oil or a neutral vegetable oil both work very well and still produce creamy, flavorful beans.
4. Why are my refried beans too thick or too dry?
Beans naturally thicken as they cool, so what looks perfect in the pan will often thicken further by the time it hits the table. Simply stir in a tablespoon or two of reserved bean broth, water, or warm chicken stock while reheating to bring the consistency back.
If your beans are thick immediately after mashing, you likely need more of the reserved bean cooking liquid. Add it a small amount at a time, stirring between each addition.
5. Are refried beans really fried twice?
Despite the name, no. The Spanish word “refritos” translates closer to “well-fried” or “intensely fried,” not “twice-fried.” The beans are cooked once in water to become tender, then fried once in fat while mashing.
The “re” in refried comes from a translation quirk that stuck around and became the name most people know. The cooking method is really just a single frying step after boiling.
For another classic Mexican-inspired dish, try my Green Chile Chicken Enchilada Casserole Recipe.
Authentic Mexican Refried Beans Recipe (Frijoles Refritos)
Ingredients
- 1 lb dried pinto beans - 450g, sorted and rinsed
- 8 cups water - 1.9L for cooking, plus more for soaking
- 1 medium white onion - halved (half for boiling, half finely diced for frying)
- 6 cloves garlic - divided (3 whole for boiling, 3 minced for frying)
- 1 bay leaf
- 1/2 tsp dried Mexican oregano
- 1 tsp ground cumin
- 3 tbsp lard - or neutral oil such as avocado or vegetable oil
- 1 1/2 tsp kosher salt - or to taste
- 1/4 tsp black pepper
- crumbled cotija cheese
- pickled jalapeños
- sour cream
Equipment
- Large pot or Dutch oven - for boiling the beans
- Cast iron skillet or large heavy-bottomed skillet - for frying
- Potato masher
- Colander - for draining the beans
- Large bowl - for soaking
- Wooden spoon or silicone spatula - for stirring
- Ladle - for transferring bean broth
- Measuring cups and spoons
- Immersion blender - (optional) if you prefer completely smooth beans
Method
- Sort the dried pinto beans on a baking sheet, discarding any debris. Soak in cold water for at least 8 hours or overnight. Drain and rinse.
- Place soaked beans in a large pot with 8 cups fresh water, halved onion, 3 whole garlic cloves, bay leaf, and oregano. Boil, skim foam, then simmer 1-1.5 hours until tender. Reserve 1-1.5 cups broth, drain beans, and discard bay leaf.
- Finely dice the remaining onion half and mince the remaining 3 garlic cloves. Measure out lard, cumin, salt, and pepper.
- Heat lard in a cast iron skillet over medium-high. Cook diced onion 4-5 minutes until translucent, then add minced garlic for 1-2 minutes until fragrant. Add drained beans, cumin, salt, and pepper. Fry 2-3 minutes, stirring occasionally.
- Reduce heat to medium-low. Mash beans with a potato masher, adding reserved broth gradually until desired creamy consistency. Cook 3-5 minutes more, stirring frequently. Adjust salt to taste and serve with optional toppings.
Nutrition
Notes
- Don’t skip the overnight soak to shorten cooking time and improve texture and digestibility.
- Always reserve at least 1.5 cups of bean cooking liquid for mashing—never use plain water as it dilutes flavor.
- Use real lard or bacon fat for the most authentic rich flavor; avocado oil works for a vegetarian version.
- Fry the beans before mashing to develop deep savory flavor from the fat and aromatics.
- Older dried beans may need 30-45 extra minutes to soften; fresher beans cook faster.
- Beans thicken as they cool, so make them slightly looser than your final desired consistency.
- Season with salt after mashing, as absorption changes.
- These freeze beautifully for up to 3 months; thaw overnight in the fridge and reheat with a splash of broth.
- For a quick version, substitute two 15-oz cans of pinto beans and use their liquid.
- Make ahead—the flavors improve the next day, making them ideal for meal prep or taco night.
Private Notes
Tried this recipe?
Let us know how it was!Final Thoughts
Making authentic Mexican refried beans from scratch is one of those recipes that genuinely changes how you cook. Once you see how simple it is and taste the difference dried beans make, opening a can will feel like a step backward.
These beans are warm, creamy, deeply savory, and flexible enough to go alongside almost anything you’re cooking. I hope this recipe becomes as much of a regular in your kitchen as it has in mine.
If you give this recipe a try, I would love to hear how it went! Drop a comment below and let me know what you served them with, or share a photo if you’re feeling proud of that beautiful skillet of beans.
Recommended:
- Refried Black Beans Recipe
- Street Tacos Recipe
- Chicken Quesadilla Recipe
- Beef Quesadilla Recipe
- Mexican Chicken Thigh Recipes
- Taco Soup Recipe
- Guacamole Recipe
- Chipotle Guacamole Recipe
- Mexican Street Corn Recipe
- Steak Quesadilla Recipe