
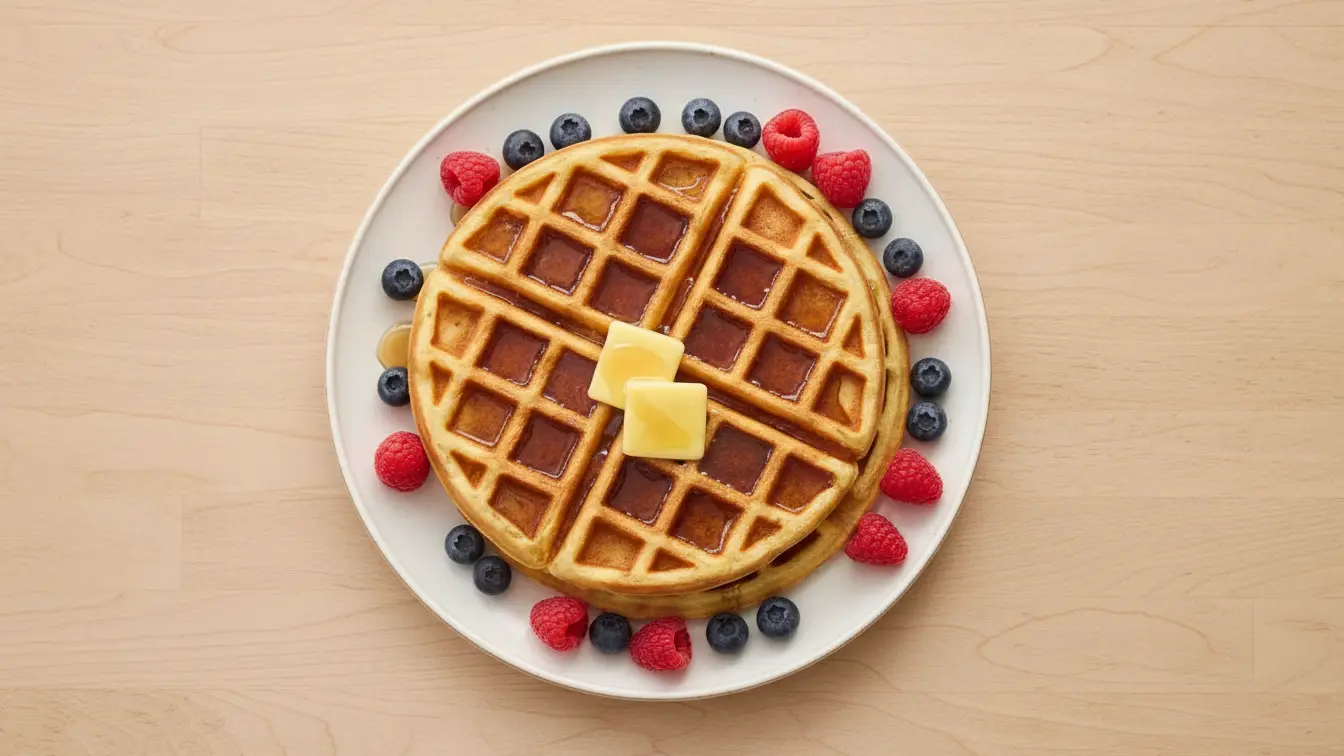
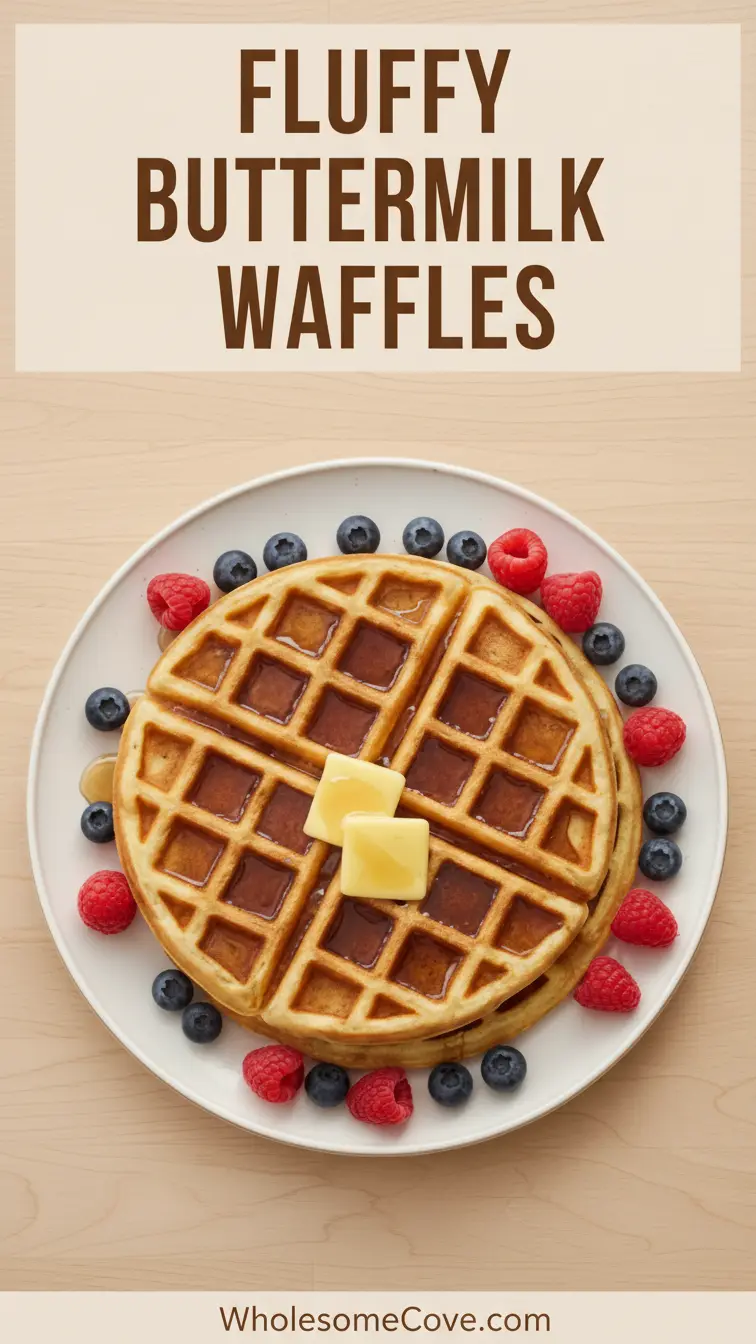
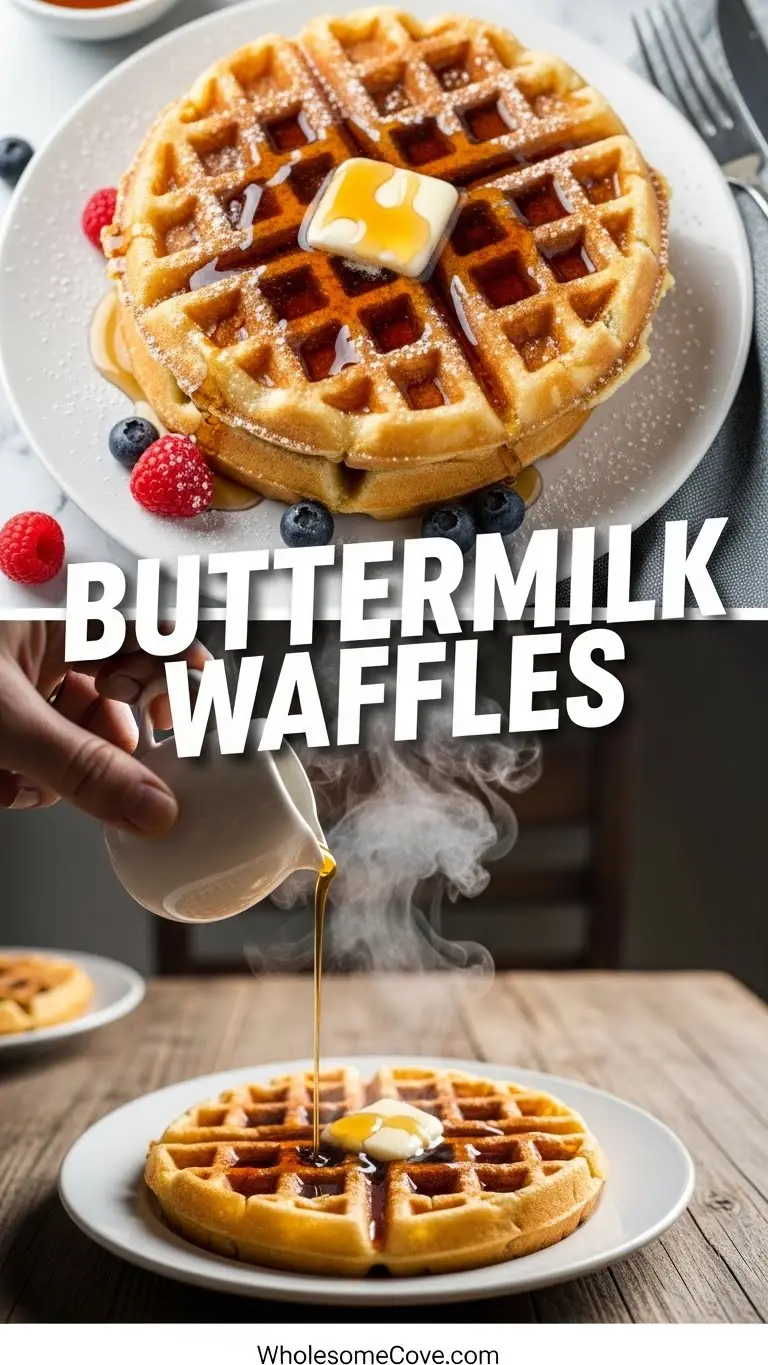
I grew up in a house where Sunday mornings meant the smell of waffles drifting from the kitchen. My grandmother’s Buttermilk Waffle Recipe was the star of every weekend breakfast, and I still remember standing on a chair beside her, watching the batter bubble and listening to the satisfying sizzle as it hit the hot iron.
Years later, I’ve perfected her recipe, making it my own through countless weekend mornings and special occasions. The secret is in the buttermilk, which gives these waffles that tangy flavor and incredibly light texture that everyone raves about.
| Quick Recipe Summary | |
|---|---|
| Prep Time | 10 minutes |
| Cook Time | 15 minutes |
| Total Time | 25 minutes |
| Servings | 6 waffles |
| Difficulty Level | Easy |
You may also like: Best Waffle Recipe.
Why You’ll Love This Buttermilk Waffle Recipe
This isn’t just another waffle recipe. It’s the one that’ll have your family rushing to the breakfast table before you even call them.
The buttermilk creates a tender crumb inside while the outside crisps up beautifully in the waffle iron. You get that perfect contrast of textures that makes every bite interesting.
I’ve tested dozens of variations over the years, and this recipe strikes the ideal balance of ingredients. Nothing complicated or hard to find, just simple pantry staples that come together into something truly special.
These waffles hold up wonderfully to toppings without getting soggy, and they freeze like a dream for busy mornings. Trust me, once you make these, you’ll never go back to the boxed mix.
Here’s what makes this recipe stand out:
- Tangy buttermilk flavor that’s distinctive without being overwhelming
- Crispy exterior that stays crunchy even under syrup
- Light, fluffy interior with perfect air pockets
- Simple ingredients you probably already have
- Quick preparation that doesn’t require any special techniques
- Freezer-friendly for make-ahead breakfast solutions
You might also enjoy: Belgian Waffle Recipe
Ingredients
These measurements create the perfect balance of flavor and texture. I’ve learned through experience that precision matters here, especially with the leavening agents.
- 2 cups (250g) all-purpose flour
- 2 tablespoons (25g) granulated sugar
- 2 teaspoons (8g) baking powder
- 1 teaspoon (5g) baking soda
- 1/2 teaspoon (3g) salt
- 2 cups (480ml) buttermilk, at room temperature
- 2 large eggs, at room temperature
- 1/3 cup (75ml) unsalted butter, melted and slightly cooled
- 2 teaspoons (10ml) pure vanilla extract
Kitchen Equipment Needed
Having the right tools makes this recipe foolproof. I learned the hard way that a quality waffle iron makes all the difference in achieving that perfect golden brown crust.
- Waffle iron (Belgian or classic style)
- Large mixing bowl
- Medium mixing bowl
- Whisk
- Measuring cups and spoons
- Ladle or measuring cup with pour spout
- Cooling rack
- Small pot or microwave-safe bowl for melting butter
Recommended Products for This Recipe
After making these waffles hundreds of times, I’ve found a few products that genuinely make the process easier and improve the final result. These aren’t just nice to have, they’re items I reach for every single time.
1. Cuisinart Double Belgian Waffle Maker
This is the waffle iron I’ve used for over five years, and it’s still going strong. The dual feature means you can cook two waffles at once, which is essential when feeding a crowd. The browning control lets you get the exact level of crispiness you want, from light golden to deep brown.
2. King Arthur Baking Company All-Purpose Flour
I switched to King Arthur flour three years ago and noticed an immediate improvement in texture. The protein content is perfectly balanced for waffles, giving you structure without toughness. It’s consistently high-quality, which matters when you want reliable results every time.
3. Organic Valley Buttermilk
The quality of your buttermilk directly affects the flavor and texture of these waffles. Organic Valley has that perfect tangy richness that makes the waffles taste special. I always keep an extra quart in the fridge because once you make these waffles, you’ll want to make them again.
4. Nordic Ware Natural Aluminum Cooling Rack
This might seem like an odd recommendation, but keeping your waffles on a cooling rack instead of stacking them preserves that crispy exterior. The aluminum construction is sturdy and oven-safe, so you can also use it to keep waffles warm in a low oven while you finish the batch.

Step-by-Step Instructions: How to Make Buttermilk Waffles
I’ve broken down every step to make this completely foolproof. Even if you’ve never made waffles from scratch before, you’ll succeed with these detailed instructions.
1. Prepare Your Ingredients and Equipment
- Take your eggs and buttermilk out of the refrigerator 20-30 minutes before starting
- Room temperature ingredients incorporate more smoothly and create better texture
- Plug in your waffle iron and set it to preheat according to manufacturer instructions
- Most waffle irons need 5-10 minutes to reach optimal temperature
- Place a cooling rack on your counter near the waffle iron
- This prevents waffles from getting soggy as you cook the rest of the batch
- Melt your butter in a small pot over low heat or in the microwave
- Let it cool for 5 minutes so it doesn’t scramble the eggs when combined
Read Also: French Toast Recipe
2. Mix the Dry Ingredients
- Add flour, sugar, baking powder, baking soda, and salt to your large mixing bowl
- Whisk these together thoroughly for at least 30 seconds
- This distributes the leavening agents evenly, ensuring uniform rise
- Make a well in the center of the dry ingredients
- This technique helps prevent lumps when you add the wet ingredients
- Set this bowl aside while you prepare the wet ingredients
- Don’t skip the whisking step, it makes a real difference in texture
3. Combine the Wet Ingredients
- Crack eggs into your medium mixing bowl
- Whisk them lightly until the yolks and whites are just combined
- Add buttermilk to the eggs and whisk until fully incorporated
- The mixture should look smooth and slightly frothy
- Pour in the melted, cooled butter
- Whisk continuously as you pour to prevent the butter from forming clumps
- Add vanilla extract and whisk one final time
- The wet mixture should be homogeneous with no separation
4. Combine Wet and Dry Ingredients
- Pour the wet ingredients into the well you created in the dry ingredients
- Start whisking from the center, gradually incorporating flour from the sides
- Whisk until just combined, about 30 seconds
- The batter should have small lumps, not be completely smooth
- Overmixing develops gluten and creates tough, chewy waffles instead of tender ones
- A few streaks of flour are perfectly fine
- Let the batter rest for 5 minutes while your waffle iron finishes heating
- This resting period allows the flour to hydrate and the leavening to activate
5. Test Your Waffle Iron
- Flick a few drops of water onto the waffle iron surface
- If they sizzle and evaporate immediately, the iron is ready
- If the water just sits there, wait another minute or two
- Lightly brush or spray the waffle iron with oil or cooking spray
- Even nonstick waffle irons benefit from a light coating
- Focus on the corners and edges where batter tends to stick
- Only oil the iron for the first waffle, subsequent ones usually don’t need it
This recipe pairs beautifully with my Strawberry Sauce for a fresh twist.
6. Cook the Waffles
- Use a ladle or measuring cup to pour batter onto the center of the waffle iron
- For a standard 7-inch waffle iron, use about 1/2 to 2/3 cup of batter
- The exact amount varies by waffle iron, so check your manual
- Pour slowly, allowing the batter to spread naturally
- Close the lid gently but firmly
- Don’t lift the lid to peek for at least 3-4 minutes
- Opening too early can tear the waffle apart
- Most waffle irons have an indicator light that signals when the waffle is done
- If yours doesn’t, cook for 4-5 minutes until golden brown
- The waffle should release easily when it’s fully cooked
- If it sticks, it needs another 30 seconds to a minute
7. Remove and Keep Warm
- Open the waffle iron carefully, steam will escape
- Use a fork or tongs to gently lift the waffle from the iron
- Don’t use metal utensils on nonstick surfaces
- Place the waffle directly on your cooling rack
- Never stack hot waffles on a plate, they’ll steam and lose their crispiness
- If you’re making multiple waffles, keep finished ones warm in a 200°F (95°C) oven
- Place them on a baking sheet lined with a cooling rack
- This method keeps them crispy while staying warm
- Repeat the cooking process with remaining batter
- Give the iron about 30 seconds to reheat between waffles
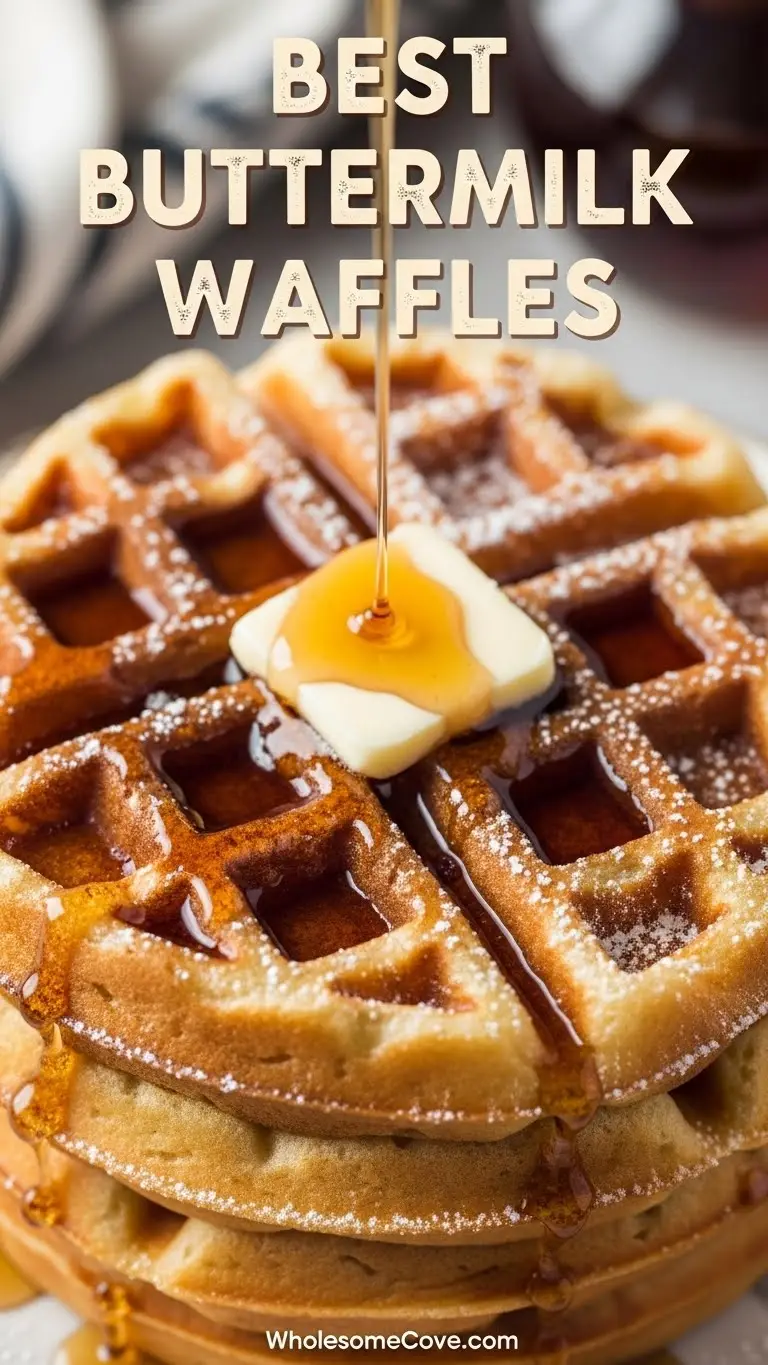
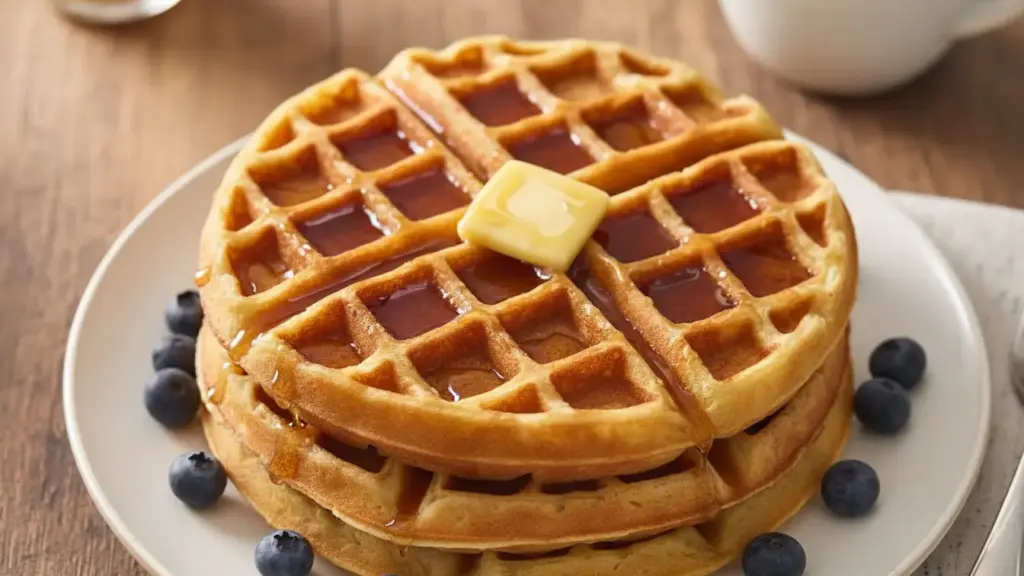
8. Serve Immediately
- Transfer waffles to plates as soon as you’re ready to eat
- Top with your favorite accompaniments while they’re still hot
- The crispy exterior is at its peak right after cooking
- Classic maple syrup is always wonderful, but don’t be afraid to experiment
- Fresh berries, whipped cream, or even fried chicken make excellent toppings
- Serve with butter, allowing it to melt into those perfect waffle pockets
- Have all your toppings ready before you start cooking
- Nobody likes waiting for cold butter to soften
Tips for The Best Buttermilk Waffles
These tips come from years of trial and error. Each one addresses a common issue I’ve encountered or a way to elevate the recipe even further.
- Don’t overmix the batter: Lumps are your friend here. Overmixed batter creates dense, chewy waffles instead of light and fluffy ones. Stop mixing as soon as you don’t see any dry flour streaks.
- Use room temperature ingredients: Cold eggs and buttermilk don’t incorporate as smoothly and can cause the melted butter to solidify into little clumps. Give ingredients 20-30 minutes to warm up before starting.
- Preheat your waffle iron thoroughly: An underheated waffle iron produces pale, soggy waffles that stick. Wait until your indicator light confirms it’s ready, or test with water drops.
- Don’t open the waffle iron too early: I know it’s tempting to check, but opening too soon tears the waffle apart. Wait until the steam stops escaping or your indicator light signals doneness.
- Keep finished waffles on a rack, not stacked: Stacking traps steam and makes waffles soggy. A wire rack allows air circulation and keeps them crispy.
- Adjust the sugar for savory waffles: If you’re making these to serve with fried chicken or gravy, reduce sugar to 1 tablespoon and add a pinch of black pepper.
- Fresh baking powder matters: Old leavening agents lose potency. If your waffles are flat, your baking powder or baking soda might be expired. Test by adding a spoonful to hot water, it should fizz vigorously.
- Make buttermilk substitutes in a pinch: No buttermilk? Add 2 tablespoons of lemon juice or white vinegar to regular milk and let it sit for 5 minutes. It won’t be quite as tangy but works well.
- Separate eggs for extra fluffiness: For special occasions, separate the eggs. Mix yolks with wet ingredients, whip whites to soft peaks, and fold them in at the end. This creates incredibly light waffles.
- Brush butter between each waffle: Even nonstick surfaces benefit from a light brush of melted butter between batches. It enhances browning and prevents sticking.
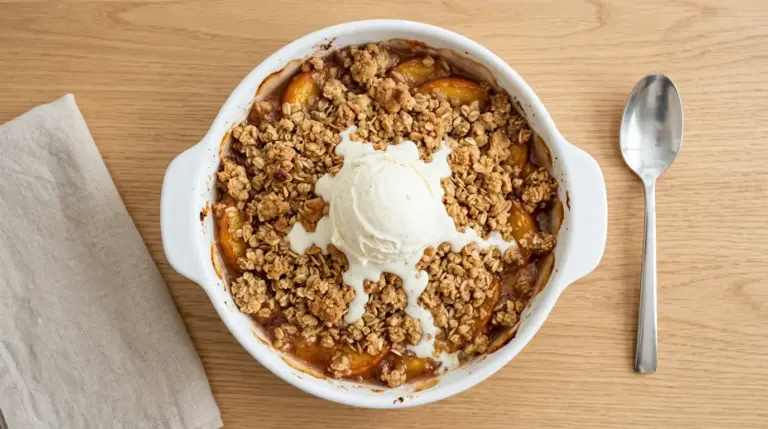
Another favorite: Baked Oatmeal Recipe
What to Serve with Buttermilk Waffles
The beauty of these waffles is their versatility. They work with sweet toppings for breakfast or savory options for brunch.
These waffles are substantial enough to stand on their own, but adding complementary dishes turns breakfast into a real feast. I like to offer a variety of options so everyone can customize their plate.
Here are my favorite serving suggestions:
- Sausage Balls: The savory, herby flavor balances the slight sweetness of the waffles perfectly. I make a batch every time I serve these for a crowd.
- Fresh berries: Strawberries, blueberries, raspberries, or blackberries add brightness and freshness. Macerate them with a little sugar for extra juiciness.
- Whipped cream: Homemade whipped cream takes these from good to restaurant-quality. Add a splash of vanilla and a tablespoon of powdered sugar.
- Caramel Sauce: Drizzle this over the waffles for an indulgent treat that feels like dessert for breakfast.
- Bacon or breakfast sausage: The salty, crispy texture of bacon contrasts beautifully with soft, tangy waffles. Cook it in the oven while making waffles for easy multitasking.
- Scrambled eggs: Soft, creamy scrambled eggs add protein and create a more complete meal. The eggs nestle perfectly into the waffle pockets.
- Maple syrup: Use real maple syrup, not pancake syrup. The complex flavor of real maple enhances rather than overwhelms the buttermilk tang.
- Fried chicken: Yes, chicken and waffles is a classic for good reason. The combination of sweet, savory, and crispy is unbeatable. Drizzle with hot honey for extra impact.
- Greek yogurt and honey: For a lighter option, dollop of tangy Greek yogurt and a drizzle of honey creates a more sophisticated breakfast.
- Nut butter and sliced bananas: Spread almond or peanut butter on warm waffles and top with banana slices. Add a sprinkle of cinnamon for warmth.
Variations of Buttermilk Waffles
Once you’ve mastered the basic recipe, these variations let you customize the waffles for different occasions and preferences. I rotate through these depending on what I’m craving.
- Blueberry Buttermilk Waffles: Gently fold 1 cup of fresh or frozen blueberries into the batter just before cooking. Don’t overmix or the batter will turn purple. Frozen berries work better than fresh since they’re less likely to burst.
- Chocolate Chip Waffles: Add 3/4 cup of mini chocolate chips to the batter. Mini chips distribute more evenly than regular chips. For extra decadence, use dark chocolate chips and top with whipped cream.
- Cinnamon Waffles: Increase sugar to 3 tablespoons and add 1 1/2 teaspoons of ground cinnamon to the dry ingredients. These smell incredible as they cook and taste like cinnamon rolls in waffle form.
- Lemon Poppy Seed Waffles: Add 2 tablespoons of poppy seeds and the zest of one lemon to the batter. Replace vanilla with lemon extract. These are bright and perfect for spring brunches.
- Whole Grain Waffles: Replace 1 cup of all-purpose flour with whole wheat flour. Add an extra tablespoon of butter to compensate for the drier texture. These have a nuttier flavor and more fiber.
- Pumpkin Spice Waffles: Reduce buttermilk to 1 3/4 cups and add 1/2 cup pumpkin puree. Mix in 1 teaspoon cinnamon, 1/2 teaspoon ginger, 1/4 teaspoon nutmeg, and 1/4 teaspoon cloves. Perfect for fall mornings.
- Savory Herb Waffles: Reduce sugar to 1 tablespoon and add 2 tablespoons of chopped fresh herbs like chives, parsley, or dill. Add 1/4 teaspoon of garlic powder. Serve with eggs and bacon.
- Banana Nut Waffles: Mash one very ripe banana and add it to the wet ingredients. Fold in 1/2 cup of chopped walnuts or pecans. The banana adds moisture and natural sweetness.
- Coconut Waffles: Replace 1/4 cup of buttermilk with coconut milk and add 1/2 cup of sweetened shredded coconut to the batter. Toast the coconut first for deeper flavor.
- Cornmeal Waffles: Replace 1/2 cup of flour with fine cornmeal. These have a slightly coarser texture and wonderful corn flavor. Excellent with honey butter.
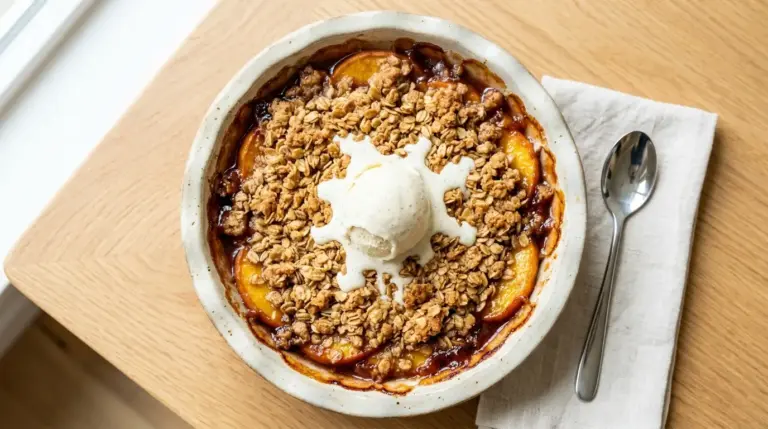
For a morning twist, try making these alongside Breakfast Burrito.
Storage and Reheating
Proper storage keeps these waffles fresh and delicious for days. I always make a double batch because they freeze so well and make weekday mornings easier.
Refrigerator Storage:
- Let waffles cool completely on a wire rack before storing, about 20 minutes
- Stack cooled waffles with parchment paper between each one to prevent sticking
- Place the stack in an airtight container or resealable plastic bag
- Store in the refrigerator for up to 3 days
- The waffles will soften slightly in the fridge but crisp up beautifully when reheated
Freezer Storage:
- Cool waffles completely on a wire rack, this step is crucial
- Arrange cooled waffles in a single layer on a baking sheet
- Freeze for 1-2 hours until solid, this prevents them from sticking together
- Transfer frozen waffles to a freezer-safe bag or container
- Remove as much air as possible from the bag before sealing
- Label the bag with the date, frozen waffles stay fresh for up to 3 months
- You can grab individual waffles as needed without thawing the whole batch
Reheating Methods:
- Toaster (best method): Toast frozen or refrigerated waffles directly in a toaster on medium-high setting. This restores the crispy exterior perfectly and takes only 3-4 minutes.
- Oven: Preheat oven to 350°F (175°C). Place waffles directly on oven rack or on a baking sheet. Heat for 5-7 minutes for refrigerated waffles, 10 minutes for frozen. This method works great for reheating multiple waffles at once.
- Toaster oven: Use the same temperature and timing as a regular oven. This is my go-to for reheating 2-3 waffles.
- Microwave (last resort): Place waffle on a microwave-safe plate and heat for 30-45 seconds. This works in a pinch but won’t restore crispiness. The waffle will be soft and slightly chewy.
- Air fryer: Heat at 350°F (175°C) for 3-4 minutes. This method rivals the toaster for crispiness and works especially well for frozen waffles.
Nutritional Facts
Per serving (1 waffle, without toppings):
- Calories: 285
- Total Fat: 11g
- Saturated Fat: 6g
- Cholesterol: 85mg
- Sodium: 420mg
- Total Carbohydrates: 38g
- Dietary Fiber: 1g
- Sugars: 8g
- Protein: 8g
- Calcium: 180mg
- Iron: 2mg
- Potassium: 210mg
Nutritional information is approximate and calculated based on standard ingredient measurements. Values may vary depending on specific brands used and portion sizes.
You might also love: Homemade Biscuit Recipe
Health Benefits of Key Ingredients
While waffles are definitely an indulgence, some ingredients in this recipe offer surprising nutritional benefits. Understanding what each component contributes helps you appreciate the recipe even more.
Here’s what makes these waffles more than just delicious:
- Buttermilk: Despite its name, buttermilk is actually lower in fat than regular milk. It’s rich in probiotics that support gut health and contains calcium for strong bones. The lactic acid in buttermilk also helps your body absorb other minerals more effectively. Plus, it’s easier to digest than regular milk for many people.
- Eggs: A powerhouse of nutrition, eggs provide high-quality protein with all nine essential amino acids. They’re loaded with vitamins B12, D, and choline, which supports brain health. The protein helps you feel full longer, preventing mid-morning energy crashes.
- Whole grain variations: If you substitute some white flour with whole wheat, you add fiber that aids digestion and helps regulate blood sugar. Whole grains also contain B vitamins and minerals like magnesium and iron.
- Moderate sugar content: This recipe uses less sugar than many waffle recipes, letting the natural tang of buttermilk shine through. You can reduce it further if serving with sweet toppings.
- Baking powder and baking soda: While not particularly nutritious, these leavening agents create air pockets that make waffles lighter and easier to digest than dense, unleavened alternatives.
FAQs About Buttermilk Waffles
1. Can I make buttermilk waffle batter ahead of time?
You can prepare the dry and wet ingredients separately the night before and store them in the refrigerator. Mix them together right before cooking for best results.
I don’t recommend storing mixed batter for more than an hour because the leavening agents start working immediately and lose effectiveness over time. Your waffles won’t be as fluffy if the batter sits too long.
2. Why are my waffles sticking to the waffle iron?
Sticking usually happens for three reasons: the iron isn’t hot enough, you’re opening it too early, or there isn’t enough fat in the batter or on the iron.
Make sure your waffle iron is fully preheated and lightly greased before the first waffle. Let each waffle cook completely before trying to remove it, usually 4-5 minutes or until steam stops escaping.
3. Can I substitute regular milk for buttermilk?
Regular milk won’t give you the same tangy flavor or tender texture, but you can make a substitute. Add 2 tablespoons of lemon juice or white vinegar to 2 cups of milk and let it sit for 5 minutes.
This creates the acidity needed to react with the baking soda, though it won’t be quite as rich as real buttermilk. I always recommend using actual buttermilk when possible for the best results.
4. How do I know when the waffles are done cooking?
Most waffle irons have an indicator light that tells you when the waffle is ready. If yours doesn’t, wait until the steam stops escaping from the sides.
The waffle should be golden brown and release easily from the iron when done. If it sticks or looks pale, give it another 30 seconds to a minute.
5. Can I make these waffles without eggs?
Yes, you can substitute each egg with a “flax egg” made from 1 tablespoon ground flaxseed mixed with 3 tablespoons water. Let the mixture sit for 5 minutes to thicken before using.
The waffles will have a slightly different texture and won’t be quite as fluffy, but they’ll still be delicious. Another option is using 1/4 cup of applesauce per egg for a moister waffle.
For something different, check out Shakshuka Recipe.
Final Thoughts
These Buttermilk Waffles have been a staple in my kitchen for years, and they never get old. The combination of crispy edges and fluffy centers creates the perfect breakfast that works any day of the week.
What I love most is how easy they are to customize and how well they hold up in the freezer. You can make a big batch on Sunday and have quick, homemade breakfasts ready all week long.
I hope you’ll give this Buttermilk Waffle Recipe a try. Once you taste the difference that real buttermilk makes, you’ll understand why this recipe has become such a favorite. Let me know in the comments how they turn out for you, or share any creative topping combinations you discover!
Recommended:
- Waffle Recipe
- Creme Brulee French Toast Casserole Recipe
- Creme Brulee French Toast Recipe
- Easy Pancake Recipe
- Air Fryer Pancake Recipe
- Hashbrown Casserole Recipe
- Overnight Oats Recipe
- Avocado Toast Recipe
- Peanut Butter Overnight Oats Recipe
- Protein Overnight Oats Recipe
