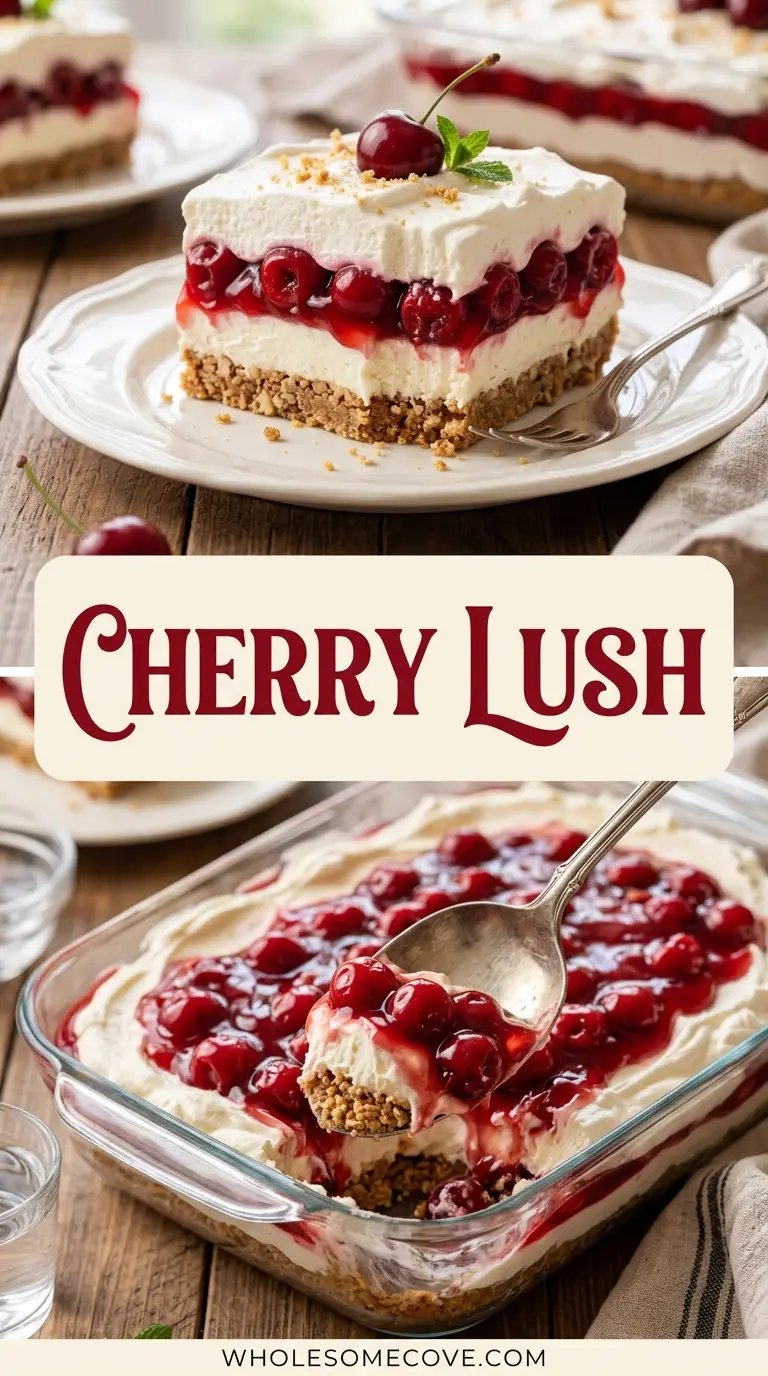
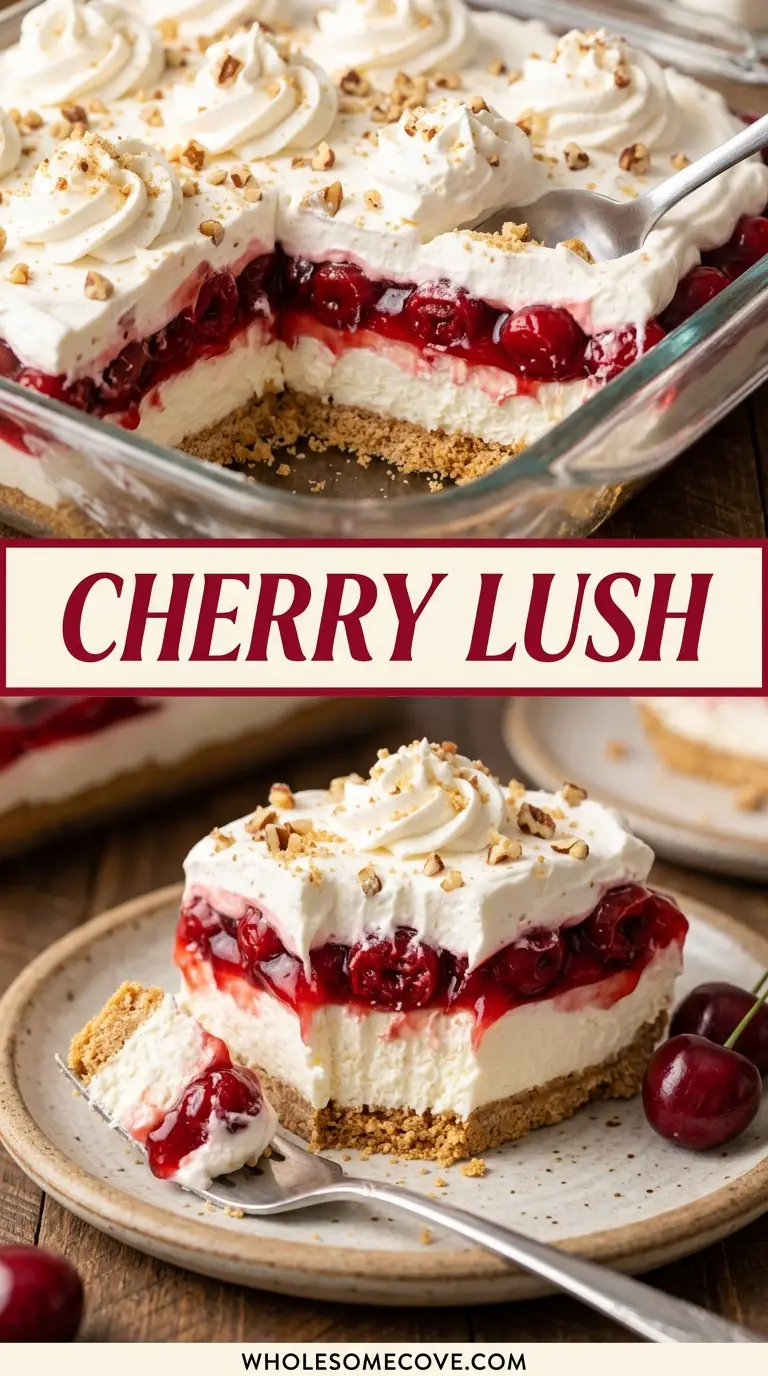
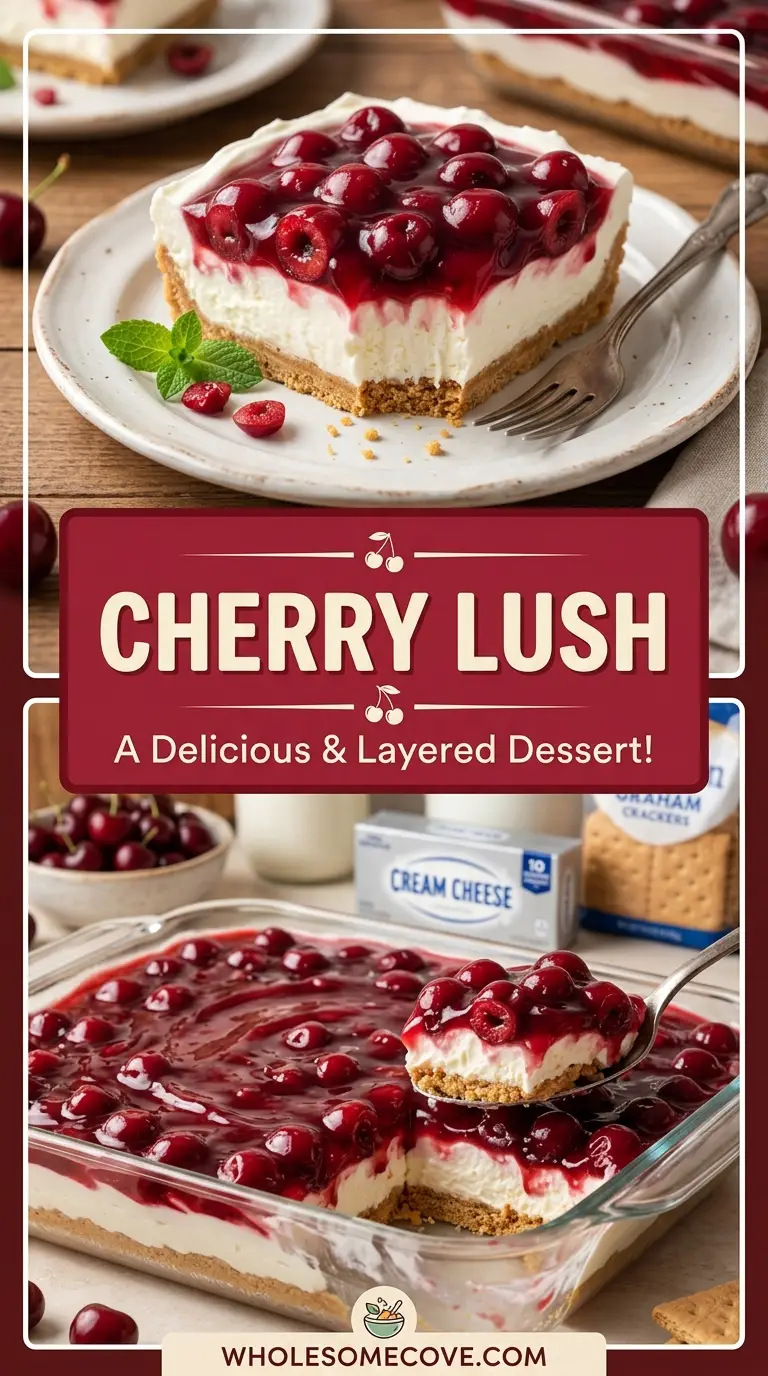
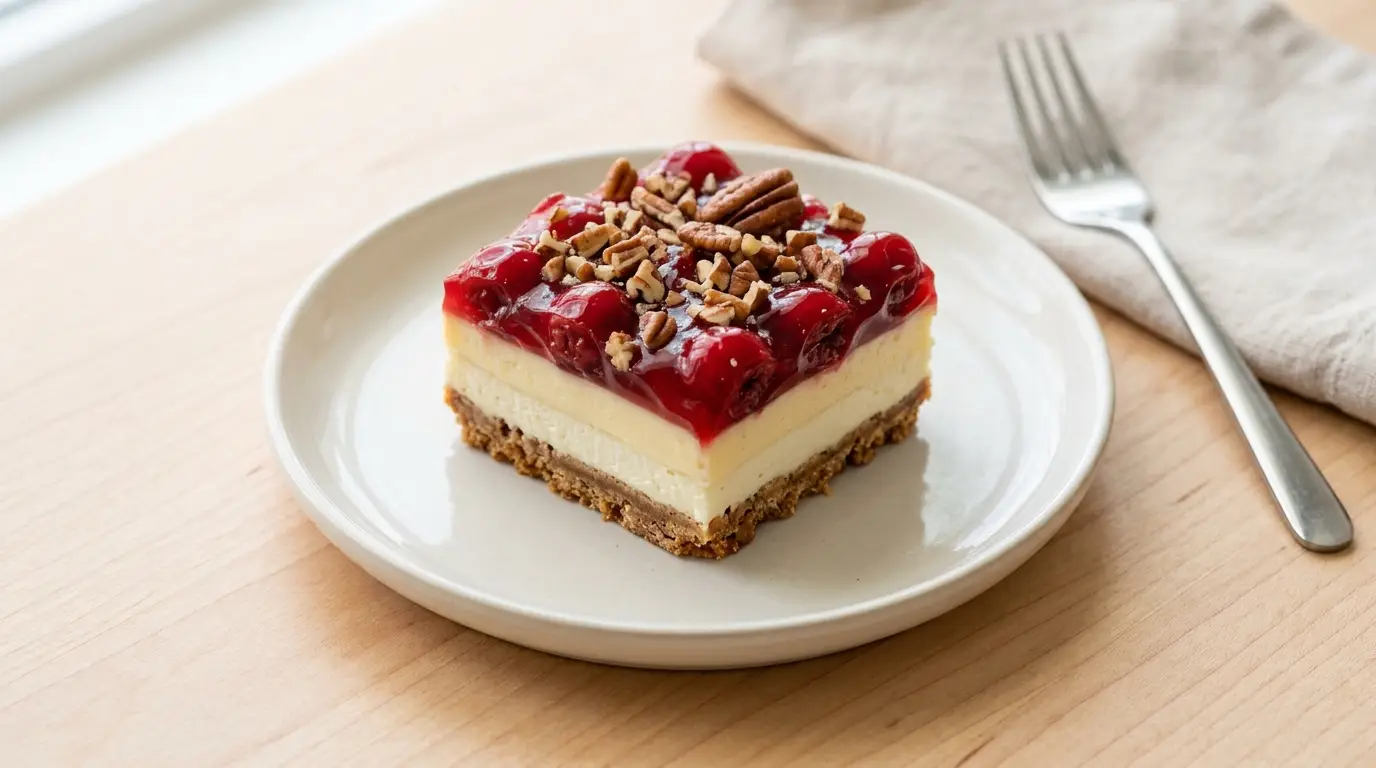
This cherry lush recipe stacks four layers into one 9×13 pan: a baked pecan crust, a sweet cream cheese layer, cheesecake pudding, and a ruby cap of cherry pie filling.
The pale cream sets off that glossy red top, so every slice shows four clean bands from bottom to fork. No single layer overpowers the rest.
The crust here is baked rather than pressed from raw crumbs, which keeps it crisp under the cream instead of going soft and pasty.
That one step is the difference between a lush that cuts into neat squares and one that slides apart. Beginners can still put it together with almost no skill.
Most versions turn out runny because they lean on low-fat cream cheese and a rushed chill, and neither one ever firms up the way it should.
Full-fat cream cheese and a few hours in the fridge fix that. You end up with layers sharp enough to see and a topping that stays exactly where you spread it.
| Quick Recipe Summary | |
|---|---|
| Prep Time | 25 minutes |
| Cook Time | 12 minutes |
| Chill Time | 4 hours |
| Total Time | 4 hours 37 minutes |
| Servings | 15 squares |
| Difficulty Level | Easy |
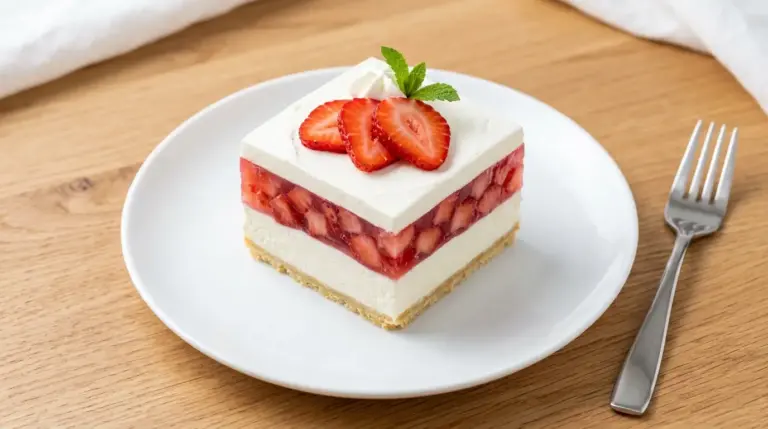
Read Also: Strawberry Lush
Why You’ll Love This Cherry Lush Recipe
This is the dessert you assemble the night before and forget about until it’s time to serve. The work is spread across a few five-minute steps, none of them fussy.
Here is what makes it worth keeping in your rotation:
- It feeds a crowd from one pan. A single 9×13 dish yields 15 generous squares, which covers most potlucks and holiday tables without a second batch.
- The layers stay distinct. A baked crust and full-fat cream cheese hold their shape, so you cut clean squares instead of scooping a puddle.
- Only the crust sees the oven. Twelve minutes of baking is the entire hot-kitchen commitment, and everything else comes together cold.
- It uses pantry and freezer staples. Cherry pie filling, cream cheese, instant pudding, and whipped topping are easy to keep on hand.
- It travels well. Cover the pan, chill it firm, and it holds its layers on a car ride to a party.
- You can swap the fruit. The same base takes blueberry, strawberry, or apple filling with zero other changes.
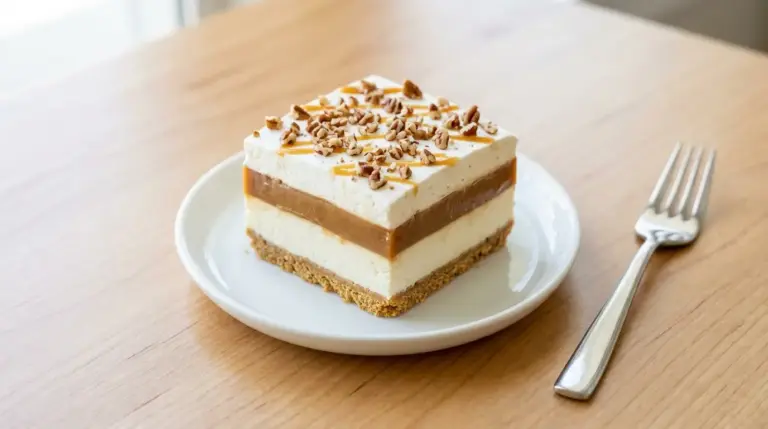
For a citrusy spin on the same layered idea, Lemon Lush uses the identical crust and cream cheese method with a bright lemon pudding center.
Ingredients
Every layer here is built from a short, familiar list. Softening the cream cheese and thawing the whipped topping ahead of time are the only prep notes that matter, and both happen while the crust cools.
- 1 cup (125 g) all-purpose flour: the base of the baked crust.
- ½ cup (60 g) pecans, finely chopped: for the crust, plus 2 tablespoons (15 g) for garnish.
- ½ cup (113 g, 1 stick) unsalted butter, melted: to bind the crust.
- 2 tablespoons (25 g) granulated sugar: for a lightly sweet crust.
- 8 oz (226 g) full-fat cream cheese, softened: to room temperature.
- 1 cup (120 g) powdered sugar: sweetens the cream cheese layer.
- ½ teaspoon pure vanilla extract: rounds out the cream cheese layer.
- 2 packages (3.4 oz/96 g each) instant cheesecake pudding mix: for a thick, cheesecake-flavored middle.
- 3 cups (720 ml) cold whole milk: to set the pudding.
- 1 tub (16 oz/455 g) frozen whipped topping, thawed: divided between two layers and the top.
- 1 can (21 oz/595 g) cherry pie filling: the fruit layer.
You might also enjoy: Chocolate Lush
Kitchen Equipment Needed
Nothing here is specialized. If you own a hand mixer and a rectangular baking dish, you are already set.
- 9×13-inch baking dish: glass or ceramic works best for even crust browning and easy slicing.
- Electric hand mixer: for whipping the cream cheese smooth in about a minute.
- Mixing bowls: at least two, one for the cream cheese layer and one for the pudding.
- Offset spatula: the fastest way to spread each layer without dragging up the one below.
- Silicone spatula: for folding whipped topping in gently and scraping bowls clean.
- Measuring cups and spoons: for the crust ratios and the pudding milk.
- Whisk: to beat the pudding and milk until it thickens.
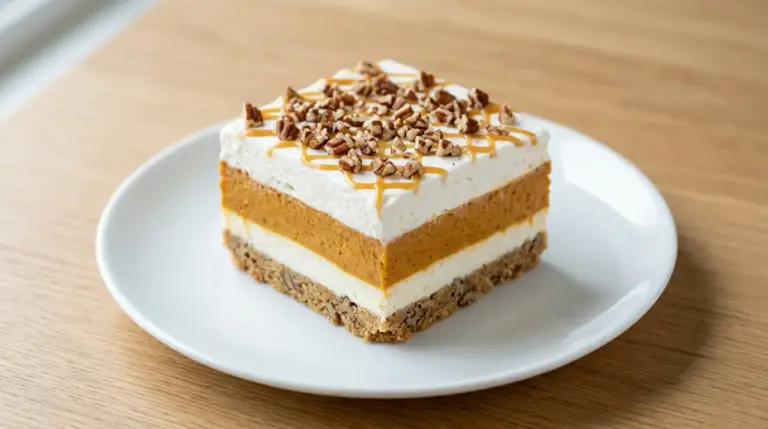
A similar layered approach shows up in Pumpkin Lush, if you want to try the technique with a fall flavor.
Recommended Products for This Recipe
These are the specific products I reach for when I want this cherry lush to look and taste like the version in the photos. Each one solves a problem that shows up when you use the cheapest option instead.
1. Lucky Leaf Premium Cherry Pie Filling
Budget cherry fillings often skimp on actual fruit and pad the can with thick red gel, which reads as sticky and one-note on top of the cream. This one carries more whole cherries per can, so the top layer tastes like fruit instead of sweetened glaze and looks glossier when sliced.
2. Nielsen-Massey Pure Vanilla Extract
Imitation vanilla can leave a faint chemical edge in the cream cheese layer, where there is nothing else to hide behind. A pure extract keeps that layer tasting clean and slightly floral, which balances the sweetness of the powdered sugar.
3. Wilton Angled Icing Spatula
Spreading the cream cheese layer with the back of a spoon tends to tear it and lift crumbs from the crust. An angled icing spatula floats the layer flat in a few strokes, which keeps the crust down where it belongs and the cream smooth on top.
4. Pyrex 9×13 Glass Baking Dish with Lid
Thin metal pans heat unevenly and leave you with a crust that is dark at the edges and pale in the middle. Glass browns the crust at one steady rate, and the snap-on lid means you can chill and transport the finished lush in the same dish.
For a lighter after-dinner option, try: Butterscotch Lush
Step-by-Step Instructions: How to Make Cherry Lush
Follow these steps in order and let each layer settle before the next, and you’ll have a clean, four-layer cherry lush ready to slice.
Step 1: Bake and Cool the Crust
- Preheat the oven to 375°F (190°C) and lightly grease a 9×13-inch baking dish.
- In a bowl, stir together 1 cup (125 g) flour, ½ cup (60 g) chopped pecans, and 2 tablespoons (25 g) granulated sugar.
- Pour in ½ cup (113 g) melted butter and mix until the crumbs are evenly damp and hold together when pressed.
- Tip the mixture into the dish and press it into a firm, even layer across the bottom.
- Bake for 12 minutes, or until the edges turn light golden and the kitchen smells nutty.
- Set the dish on a rack and cool completely before adding anything on top. A warm crust melts the cream cheese layer and the whole thing slides.
Step 2: Make the Cream Cheese Layer
- Beat 8 oz (226 g) softened cream cheese on medium until smooth, about one minute.
- Add 1 cup (120 g) powdered sugar and ½ teaspoon vanilla, then beat until no lumps remain.
- Fold in 1 cup of the thawed whipped topping by hand with a silicone spatula until just combined.
- Spread this over the cooled crust in an even layer, working gently so you don’t pull up crumbs. Room-temperature cream cheese blends smooth in about a minute, while cold cream cheese leaves little lumps that never fully disappear no matter how long you beat it.
Step 3: Whisk the Pudding Layer
- In a separate bowl, whisk 2 packages of instant cheesecake pudding mix with 3 cups (720 ml) cold milk for about 2 minutes.
- Keep whisking until the mixture visibly thickens and starts to hold soft ridges.
- Fold in another 1 cup of the whipped topping until smooth.
- Spread the pudding gently over the cream cheese layer. Chill the pan for 20 minutes at this stage so the pudding firms up before the fruit goes on.
Step 4: Add the Cherry Layer
- Spoon the full 21 oz (595 g) can of cherry pie filling over the set pudding.
- Spread it out carefully with the back of a spoon, keeping it to a single even layer.
- Work from the center outward so the cherries don’t drag the pudding up with them.
Step 5: Top and Chill
- Spread the remaining whipped topping (about 2 cups) over the cherries in soft swoops.
- Scatter 2 tablespoons (15 g) chopped pecans over the top for a little crunch.
- Cover the dish and refrigerate for at least 4 hours, or overnight, until every layer is set firm.
- Slice into 15 squares with a knife wiped clean between cuts for tidy edges.
Read Also: Butterfinger Lush
Tips for The Best Cherry Lush
A lush is forgiving, but a few small habits are what separate a sharp, sliceable dessert from a soft one. Most of them come down to temperature and patience.
- Use full-fat cream cheese only. Reduced-fat blocks hold more water and never firm up, which is the single most common cause of a runny lush.
- Thaw the whipped topping in the fridge, not on the counter. I keep the tub in the fridge overnight to thaw, since counter-thawed topping goes loose and won’t hold a peak on the cream cheese layer.
- Cool the crust completely. Even slightly warm, it will soften the cream layer above it.
- Chill the pudding before the cherries. I ruined my first cherry lush by spreading the cherry filling onto a loose pudding layer, and the red bled straight down into the cream. A 20-minute chill in between keeps the colors separate.
- Wipe the knife between cuts. Clean slices show off the layers instead of smearing them together.
- Give it the full four hours. The layers taste the same after two hours but slump when you cut them. The extra chill is what holds the squares upright.
- Toast the pecans first if you want more crunch. Five minutes in the oven deepens their flavor before they go into the crust.
For another make-ahead chilled dessert with the same fridge-set logic, see Pumpkin Cheesecake.
What to Serve with Cherry Lush
Cherry lush is rich and sweet, so the best partners either cut through the cream or lean into the cozy, dessert-table mood. It shines at potlucks, holiday spreads, and summer cookouts, where a cold, sliceable dessert earns its keep.
Here are pairings that work:
- Hot coffee or espresso: the bitterness balances the sweet cream layers beautifully.
- A mug of Hot Chocolate: for a cozy winter dessert table.
- Eggnog: a natural match on a Christmas spread alongside the cherries.
- A Pumpkin Spice Latte: the warm spice plays against the tart cherry top in fall.
- Fresh cherries or berries: a small bowl on the side keeps the fruit note bright.
- Vanilla ice cream: a small scoop next to a square for anyone who wants it extra indulgent.
- Sparkling water with lime: a light, palate-cleansing option between bites.
For a different chilled dessert to round out a dessert table, see Coconut Cream Pie.
Variations of Cherry Lush
The four-layer structure is a template, and almost every part of it swaps cleanly. Once you have made it once, these changes need no new technique.
- Any fruit filling: blueberry, strawberry, raspberry, or apple pie filling all work in place of cherry with no other adjustments.
- Chocolate cherry lush: use chocolate instant pudding instead of cheesecake for a black forest flavor.
- Graham cracker crust: swap the baked pecan crust for 1½ cups (150 g) graham crumbs mixed with 6 tablespoons (85 g) melted butter, pressed and chilled for a fully no-bake base.
- Vanilla wafer crust: crushed vanilla wafers plus melted butter make a sweeter, softer foundation.
- Nut-free: leave the pecans out of the crust and top with chocolate shavings instead.
- Almond accent: add ¼ teaspoon almond extract to the cream cheese layer, since almond and cherry are a natural pair. I’ve found canned pie filling holds its shape on top far better than a homemade cherry sauce, which tends to weep and slide down into the cream.
- Individual cups: layer everything into small clear glasses for single-serving parfaits.
A related recipe worth trying is Cherry Smoothie, which uses the same fruit in a lighter form.
Storage and Reheating
Cherry lush is a chilled dessert, so storage is simple and there is no reheating involved. Keeping it cold and covered is the whole job.
- Refrigerator: cover the pan tightly and store for up to 4 days. The crust stays crispest in the first 2 days.
- Keep it covered: exposed whipped topping picks up fridge odors and forms a skin, so press plastic wrap lightly over the surface or use a lidded dish.
- Freezer: freeze the assembled lush, covered well, for up to 1 month. The texture of the pudding layer softens slightly after thawing but still slices.
- Thawing: move a frozen lush to the fridge overnight before serving rather than leaving it on the counter.
- Make-ahead: this dessert is better the next day, so assembling it a full day before serving is the ideal plan.
- Do not reheat: serve it cold, straight from the fridge.
Read Also: No-Bake Cookies
Nutritional Facts
The values below are estimates for one square, based on 15 servings per 9×13 pan. Actual numbers vary with the brands of pie filling and whipped topping you use.
| Nutrient | Amount per Serving |
|---|---|
| Calories | 325 kcal |
| Total Fat | 17 g |
| Saturated Fat | 10 g |
| Cholesterol | 30 mg |
| Sodium | 250 mg |
| Total Carbohydrates | 40 g |
| Sugars | 28 g |
| Protein | 4 g |
For a lighter fruit-forward dessert to balance the menu, try: Fruit Tart
Health Benefits of Key Ingredients
This is a dessert, so it lands firmly in the treat column. That said, several of its core ingredients bring real nutritional value worth knowing about.
- Cherries: a natural source of antioxidants, particularly anthocyanins, which give the fruit its deep red color and are linked to reduced inflammation.
- Pecans: provide healthy monounsaturated fats, fiber, and minerals like manganese and zinc, along with a satisfying crunch.
- Cream cheese: contributes calcium and protein, and its fat helps the dessert feel rich enough that a modest square satisfies.
- Milk: the base of the pudding layer adds calcium, vitamin D, and protein.
- Eggs and dairy in the pudding: offer small amounts of protein that round out the creamy layers.
- Portion control built in: because it is sliced into 15 defined squares, serving sizes stay reasonable without guesswork.
A related recipe in the same nutty, fruity family is Pecan Pie.
FAQs About Cherry Lush
1. Can I make cherry lush ahead of time?
Yes, and it is actually better when you do. Assemble it a full day ahead so the layers have time to set firm and the flavors settle.
Keep it covered in the fridge until you are ready to slice and serve.
2. Why is my cherry lush runny or soupy?
The usual culprit is low-fat cream cheese, which holds too much water to firm up. Use full-fat cream cheese and make sure the whipped topping is fully thawed but still cold when you fold it in.
The second cause is not chilling long enough, so give it the full 4 hours.
3. Can I use fresh cherries instead of canned pie filling?
You can, though you will need to cook them down first. Simmer pitted fresh cherries with a little sugar and cornstarch until thick, then cool completely before spreading.
Canned filling is faster and holds its shape more reliably on top.
4. Do I have to bake the crust?
No, you have a no-bake option. Swap the pecan crust for a graham cracker or vanilla wafer crust pressed with melted butter and chilled until firm.
The baked pecan version simply gives you a sturdier, crunchier base.
5. How long does cherry lush last in the fridge?
Tightly covered, it keeps for up to 4 days. The crust is at its crispest in the first 2 days and softens gradually after that.
Store it with a lid or pressed wrap so the top does not dry out.
6. Can I freeze cherry lush?
Yes, it freezes for up to 1 month when wrapped well. Thaw it overnight in the fridge rather than at room temperature.
The pudding layer softens a little after freezing but still slices cleanly.
For another chilled, layered classic to add to your repertoire, see Creme Brulee.
Cherry Lush
Ingredients
- 1 cup all-purpose flour - 125 g
- ½ cup pecans - 60 g, finely chopped for the crust
- ½ cup unsalted butter - 113 g, 1 stick, melted
- 2 tablespoons granulated sugar - 25 g
- 8 oz full-fat cream cheese - 226 g, softened to room temperature
- 1 cup powdered sugar - 120 g
- ½ teaspoon pure vanilla extract
- 2 packages instant cheesecake pudding mix - 3.4 oz/96 g each
- 3 cups cold whole milk - 720 ml
- 1 tub frozen whipped topping - 16 oz/455 g, thawed and divided between two layers and the top
- 1 can cherry pie filling - 21 oz/595 g
- 2 tablespoons pecans - 15 g, chopped, for garnish
Equipment
- 9×13 inch baking dish - glass or ceramic works best for even crust browning and easy slicing
- Electric hand mixer - for whipping the cream cheese smooth in about a minute
- Mixing bowls - at least two, one for the cream cheese layer and one for the pudding
- Offset spatula - the fastest way to spread each layer without dragging up the one below
- Silicone spatula - for folding whipped topping in gently and scraping bowls clean
- Measuring cups and spoons - for the crust ratios and the pudding milk
- Whisk - to beat the pudding and milk until it thickens
Method
- Preheat the oven to 375°F (190°C) and lightly grease a 9×13-inch baking dish.
- In a bowl, stir together 1 cup (125 g) flour, ½ cup (60 g) chopped pecans, and 2 tablespoons (25 g) granulated sugar. Pour in ½ cup (113 g) melted butter and mix until the crumbs are evenly damp and hold together when pressed.
- Tip the mixture into the dish and press it into a firm, even layer across the bottom. Bake for 12 minutes, or until the edges turn light golden. Set the dish on a rack and cool completely before adding anything on top.
- Beat 8 oz (226 g) softened cream cheese on medium until smooth, about one minute. Add 1 cup (120 g) powdered sugar and ½ teaspoon vanilla, then beat until no lumps remain.
- Fold in 1 cup of the thawed whipped topping by hand with a silicone spatula until just combined. Spread this over the cooled crust in an even layer, working gently so you don’t pull up crumbs.
- In a separate bowl, whisk 2 packages of instant cheesecake pudding mix with 3 cups (720 ml) cold milk for about 2 minutes, until the mixture visibly thickens and starts to hold soft ridges. Fold in another 1 cup of the whipped topping until smooth.
- Spread the pudding gently over the cream cheese layer. Chill the pan for 20 minutes at this stage so the pudding firms up before the fruit goes on.
- Spoon the full 21 oz (595 g) can of cherry pie filling over the set pudding. Spread it out carefully with the back of a spoon, keeping it to a single even layer and working from the center outward.
- Spread the remaining whipped topping (about 2 cups) over the cherries in soft swoops. Scatter 2 tablespoons (15 g) chopped pecans over the top for a little crunch.
- Cover the dish and refrigerate for at least 4 hours, or overnight, until every layer is set firm. Slice into 15 squares with a knife wiped clean between cuts for tidy edges.
Nutrition
Notes
- Use full-fat cream cheese only. Reduced-fat blocks hold more water and never firm up, which is the single most common cause of a runny lush.
- Thaw the whipped topping in the fridge, not on the counter. Counter-thawed topping goes loose and won’t hold a peak on the cream cheese layer.
- Cool the crust completely. Even slightly warm, it will soften the cream layer above it.
- Chill the pudding before the cherries. A 20-minute chill in between keeps the colors separate and prevents the red from bleeding into the cream.
- Wipe the knife between cuts. Clean slices show off the layers instead of smearing them together.
- Give it the full four hours. The extra chill is what holds the squares upright when you cut them.
- Toast the pecans first if you want more crunch. Five minutes in the oven deepens their flavor before they go into the crust.
- Make-ahead: This dessert is better the next day, so assembling it a full day before serving is the ideal plan. Store covered in the fridge for up to 4 days.
- Freezer: Freeze the assembled lush, covered well, for up to 1 month. Thaw overnight in the fridge before serving.
- Variations: Swap cherry for blueberry, strawberry, raspberry, or apple pie filling. Use chocolate instant pudding for a black forest flavor. Swap the pecan crust for graham cracker or vanilla wafer crust.
Private Notes
Tried this recipe?
Let us know how it was!Final Thoughts
Cherry lush earns its spot at the table because it does the hard part for you overnight. You spend twenty minutes layering, then the fridge handles the rest.
Once you have made it with cherry, the same four layers open the door to every fruit filling in the aisle. It is the kind of recipe that quietly becomes a request.
Make it for your next gathering and see how fast the pan empties. If you try a variation, leave a comment and share how it turned out so other readers can follow your lead.
Recommended:
- Sugar Cookies
- Chocolate Chip Cookies
- Fudge
- Apple Crumble
- Apple Crisp
- Peach Cobbler
- Fruit Cocktail Cake
- Red Velvet Cheesecake Cake
- Pumpkin Roll